

Printing & Transfer
How to Use a Tattoo Thermal Stencil Printer Without Losing the Stencil
Use a tattoo thermal stencil printer with a repeatable file-to-paper workflow: control size and mirror, load transfer paper correctly, test output, and diagnose blank, faint, blurry, merged, skewed, or missing lines.
tattoo thermal stencil printer · tattoo stencil printer workflow · thermal stencil printing · tattoo transfer paper · tattoo guest spot printer setup · tattoo convention stencil printer
- August 9, 2026
- August 14, 2026
- 17 min
A tattoo thermal stencil printer should be the reproduction stage of the workflow, not the place where you try to rescue a weak stencil.
If the file is overcrowded, scaled incorrectly, mirrored twice, or full of lines that already merge at final size, the printer can reproduce the problem very efficiently. A reliable studio workflow therefore separates four decisions:
- stencil structure - what information belongs in the map;
- physical size - how large that map must be on paper and skin;
- printer setup - how the specific machine and transfer paper need to be loaded;
- print QC - whether the sheet that came out still matches the digital plan.
Use this guide for that full operating sequence. If you are deciding which printer to buy, use How to Choose a Tattoo Thermal Printer. If the main problem is printing at exact size from an iPhone, use How to Print a Tattoo Stencil From iPhone.
If a bad print is already in front of you and you want the fastest symptom-first path, start with the Tattoo Stencil Printer Troubleshooter. It asks for the visible failure, then uses a few boundary checks to route you toward the finished file, physical size/layout, paper/feed path, or model-specific printer/app layer. Return here when you need the complete operating sequence and the reasoning behind those checks.
The printer is downstream. First prove that the digital stencil is readable at the size you intend to tattoo.
1. Prepare a printer-ready stencil, not a finished illustration
Thermal transfer works best when the file already makes clear decisions about what should become a transfer mark.
Before opening the printer workflow, check:
- the outer silhouette and main structural contours;
- recognition-critical landmarks;
- important overlaps;
- the smallest negative spaces that must remain open;
- whether tonal guidance is selective rather than a field of photographic texture;
- whether lettering and asymmetrical details face the intended direction;
- whether the design is cropped to the area you actually want to print.
A dense screen preview is not proof that the stencil is usable. Zooming out to the intended tattoo dimensions often reveals lines that touch, tiny marks that no longer have a job, and texture that will become a grey-looking transfer.
If the source still needs conversion, use the free tattoo stencil maker. For a deeper structural check, compare Simple, Standard, and Detailed before changing line weight.
2. Set physical size before the printer sees the file
Do not let the printer app decide the tattoo size implicitly.
A PNG or JPG has pixel dimensions, but the same image can be printed at many different physical sizes. Define the target width or height first and create a print master with known page dimensions.
The free Tattoo Stencil Size & Print Calculator can:
- set the stencil width or height in centimetres or inches;
- preserve the artwork proportions;
- place it on A4, US Letter, A3, or custom paper;
- tile a larger stencil over multiple pages;
- add crop ticks and page labels;
- add a 50 mm scale check;
- export a 1:1 PDF.
That scale check matters because a printer driver or manufacturer app can still fit, shrink, crop, or enlarge a correct file.
For a measured tattoo stencil, the ruler beats the preview.
3. Decide where mirroring happens - once
A tattoo stencil workflow may require the artwork to be mirrored so that the transferred result has the intended orientation on skin. The exact point where that flip happens depends on your complete setup.
The rule is simple:
mirror once, then verify with an asymmetrical detail.
Do not mirror the file in the stencil app, mirror it again in the PDF tool, and then leave a third mirror option enabled in the printer software.
Lettering, dates, a face in profile, a hand, or any deliberately asymmetric element makes the check obvious.
If you are not sure whether the printer or its companion app applies a flip automatically, make a small non-client test first. Printer models and manufacturer apps do not all use the same controls. For the full cross-workflow check from approved design through file, printer app, paper, and skin, use How to Mirror a Tattoo Stencil for Printing.
4. Follow the paper-loading instructions for the exact printer and paper
Tattoo transfer paper is a layered system, and loading it incorrectly can produce a blank, faint, reversed, smeared, or badly fed sheet.
Do not memorize one universal orientation from a random printer video and assume it applies to every machine.
Before the first studio run:
- identify the exact printer model;
- identify the transfer paper being used;
- read the printer manufacturer's loading instructions;
- read the paper manufacturer's layer/orientation instructions where provided;
- remove only the protective/interleaving sheets the system tells you to remove;
- keep the paper square to the feed path;
- avoid curled, creased, damp, contaminated, or damaged sheets.
Many thermal stencil systems use heat rather than an ink cartridge to create the transfer, but the mechanical path, loading direction, app, darkness controls, and supported media vary by device. Treat the manual for the actual machine as the source of truth for those model-specific steps.
For choosing and testing paper itself, keep that decision separate with How to Choose Tattoo Stencil Paper.
5. Run a calibration print before a client-critical sheet
Do not make the first print of the day a large back-piece stencil.
Use a small repeatable test area containing several types of information:
- one long clean contour;
- a few fine landmarks;
- a medium-density section;
- one or two small enclosed negative spaces;
- a broader dark or heavy structure;
- the 50 mm scale check when physical size matters.
The goal is not to make a beautiful test sheet. It is to expose failure modes quickly.
When you want known geometry instead of inventing a new test file, use the Tattoo Stencil Printer Test Sheet. It gives you a true-size reference for long lines, fine strokes, gaps, counters, and dark-mass behavior, so repeated prints are easier to compare against the same physical baseline.
Inspect whether:
- long lines remain continuous;
- fine marks survive;
- neighboring lines stay separate;
- dark areas do not contaminate nearby detail;
- the sheet feeds straight;
- the scale check measures correctly.
Once that calibration is good, use the same settings for the real stencil unless the design genuinely requires a different output treatment.
6. Do not use maximum darkness to compensate for a weak file
A common failure pattern is:
- fine lines print weakly;
- printer darkness is increased aggressively;
- those lines become stronger;
- medium-density areas become too heavy;
- negative spaces begin to close.
That is not a clean solution.
First determine whether the problem is the file, line weight, paper, printer condition, or printer setting.
There is no single best tattoo stencil printer setting that can be prescribed across machines. Density, heat, media, and app controls vary by device. Use the manufacturer instructions for model-specific settings, then change one variable at a time against a known-good print or test sheet.
If the complete stencil is structurally right but the surviving lines are too light, compare the output line treatment. Fine, Normal, and Bold line weight change the mass of the same surviving marks; they are a different decision from adding more stencil detail.
The best print setting is the lowest intervention that reproduces the intended stencil reliably on your actual paper.
7. Diagnose blank, faint, or missing output in the right order
When the print is weak, do not immediately regenerate the stencil.
If paper feeds but the page is blank or nearly blank
First separate a client-file problem from the physical print path.
- Open the final raster or PDF and confirm the marks you expect to print are actually present.
- Verify the transfer-paper type, loading direction, and required layer preparation against the instructions for the exact printer and paper.
- Run the Tattoo Stencil Printer Test Sheet through the same printer, paper, app, and settings.
- If the known test sheet is also blank, keep troubleshooting the physical printer/paper path and follow the manufacturer guidance for that device.
- If the test sheet prints but the client stencil does not, return to the file, import path, or app settings instead of changing hardware variables at random.
If the final stencil itself is uncertain, the Tattoo Stencil Print Checker can inspect source sampling and threshold-sensitive regions at the intended physical size. That is file-side evidence, not a simulation of the printer.
If the print job never starts at all, connection, Bluetooth/Wi-Fi support, driver, and companion-app requirements are model-specific. Use the printer manufacturer's support path for those controls rather than a generic density recipe.
If the entire sheet is faint
Check:
- transfer paper orientation and preparation;
- whether the correct paper/media mode is selected when the device exposes one;
- printer battery/power state where relevant;
- darkness or density controls;
- printer cleaning/maintenance guidance from the manufacturer;
- a second sheet from the same paper batch;
- the same file through a known-good setup if available.
If every line is equally weak, the cause is less likely to be one specific part of the stencil drawing.
If only the finest lines disappear
Check the digital file at final size.
The lines may simply be below the practical output threshold of that printer/paper combination. If so, increasing global darkness can damage the rest of the stencil.
Try a slightly stronger output line weight or simplify the smallest marks while protecting the important structure.
If the same areas disappear on repeated prints
Inspect the source file first. A low-opacity mark, soft grey edge, merged detail, or extremely short line may already be unstable before printing. Run the finished raster through the Tattoo Stencil Print Checker at the intended physical size when you need to inspect source sampling, very fine geometry, or threshold-sensitive regions before blaming the hardware.
Then check the printer path and maintenance instructions if the digital marks are unquestionably clean.
8. Diagnose blurry, too-dark, or merged output
"Blurry" is not one failure mode. If edges are already soft, grey, or crowded in the final raster, fix the file first. If the digital stencil is clean but the paper output spreads or closes gaps, troubleshoot the printer, paper, and density path. The Print Checker helps with the first question without pretending to predict the second.
If fine areas turn into heavy blocks, separate two different problems.
The file is already overcrowded
Symptoms:
- lines touch before printing;
- small negative spaces are almost closed on screen;
- texture is evenly distributed everywhere;
- the stencil only looks readable while zoomed in.
Solution: return upstream. Reduce information density or remove secondary marks that do not help execution.
The digital file is clean but the printed output gains too much mass
Symptoms:
- open gaps in the PDF close only after printing;
- medium lines become visibly wider;
- dark sections contaminate nearby fine detail.
Check the printer's darkness/density setting, media setup, paper, and maintenance guidance. Print the same controlled test again before changing the artwork.
The goal is to isolate one variable at a time.
9. Diagnose skew, clipping, wrinkles, and feed problems
A structurally perfect stencil is still unusable when the sheet shifts during the run.
If the print is skewed or clipped:
- verify that the transfer sheet entered square;
- confirm the file paper size matches the physical paper;
- check for a crop/fill/borderless setting in the print path;
- inspect guides, rollers, and feed areas according to the manufacturer's maintenance instructions;
- try a fresh flat sheet;
- repeat the same file without changing multiple settings at once.
If the sheet wrinkles or jams, stop the run rather than pulling aggressively against the feed mechanism. Follow the printer's own jam-clearing instructions.
If the sheet completes the feed but comes out physically creased, folded, buckled, wrinkled, or indented, use Tattoo Stencil Printer Creasing the Paper to classify the deformation before treating it as a jam, skew, or image-quality problem.
Repeated skew in the same direction is a different problem from a single poorly loaded sheet. Record what changed between tests.
10. Verify exact scale after printing
A print can look perfect and still be the wrong physical size.
When size matters, measure:
- the 50 mm calibration line;
- the intended width or height of the stencil;
- one important internal landmark distance when placement depends on it.
If the 50 mm line is not exactly 50 mm, stop. Do not compensate by randomly enlarging or shrinking the source image.
Instead, inspect:
- PDF paper size;
- loaded paper size;
- Fit to Page / Shrink to Fit;
- crop or borderless modes;
- scaling inside the printer app or desktop driver;
- whether the image was printed as a photo instead of the prepared document.
If the physical sheet is already larger or smaller than intended, use Tattoo Stencil Printed the Wrong Size? to carry one known dimension through target size, document, print path, and paper. For the complete AirPrint or iPhone manufacturer-app workflow, use the iPhone exact-size guide.
11. Build a repeatable studio QC routine
A professional thermal workflow should be easy to repeat by you or another artist in the studio.
Before the stencil goes to skin, confirm:
- correct client/design version;
- correct orientation and mirror state;
- correct physical dimensions;
- continuous primary contours;
- readable fine landmarks;
- open negative spaces;
- no unexpected dark bands, streaks, or missing areas;
- straight paper feed;
- no accidental crop;
- clean transfer sheet without creases or contamination.
For recurring printer setups, keep one known-good test file and record the paper, device path, and settings that produced a reliable result.
That gives you a baseline when something changes later.
Guest spot and convention preflight
A guest spot or convention does not create a new printing method. It creates more variables around the same method: a different table, different power path, different network conditions, a travel device, unfamiliar paper, or a printer that has just been transported.
The goal is to re-establish a known baseline before the first client-critical stencil.
Before travel
Keep the complete travel path reproducible:
- save the final client print masters locally on the device you will actually carry;
- save the Tattoo Stencil Printer Test Sheet locally as well;
- verify the primary connection method supported by the exact printer and travel device;
- test a fallback connection only if both devices actually support it;
- confirm required manufacturer app or driver availability before leaving;
- carry the model-specific charger, cable, adapter, or battery setup required by the printer;
- protect transfer paper from bends, moisture, and contamination;
- note the known-good paper type, loading orientation, paper size, mirror convention, and printer/app settings from the last verified run.
Do not build a travel plan around a connection mode or battery behavior inferred from another printer model. Current manufacturer documentation is the source of truth for the exact device.
On arrival, assume the environment changed until you prove otherwise
Before printing a large or client-critical stencil:
- identify the actual transfer paper and confirm the loading method;
- run the same known test sheet used in your studio baseline;
- measure the 50 mm calibration line when size matters;
- inspect long-line continuity, fine gaps, counters, dark-mass behavior, and feed alignment;
- only after that baseline is acceptable, print the client file without changing unrelated variables.
If the destination paper is different from your normal paper, treat that as a new variable even when the sheet fits the printer. A different paper can change how much printed mass appears in fine or dense regions.
If the guest-spot output is heavier or lighter than your studio baseline
Do not immediately edit every client stencil.
First compare the same diagnostic sheet through the guest-spot setup:
- if the test sheet also changed, investigate paper, loading, printer state, power, connection/app path, and manufacturer-supported output controls;
- if the test sheet matches the baseline but one client file fails, return to that file or its import/print path;
- if a setting must change, change one supported variable at a time and reprint the same test geometry.
This preserves causality. Otherwise a paper change, a new app setting, and an edited stencil can all move at once and leave you with no idea which change fixed or damaged the result.
For a bad print already in hand, the Tattoo Stencil Printer Troubleshooter remains the fastest symptom-first route. For choosing equipment specifically because it must travel, the thermal printer buying guide now treats portability as the repeatability of the whole mobile print path, not just printer weight.
12. Separate the four failure layers
When a print is wrong, classify the failure before fixing it.
| Layer | Typical symptoms | First place to look | |---|---|---| | Source/reference | irrelevant texture, weak edges, clutter | crop and source preparation | | Stencil file | merged detail, too many marks, poor hierarchy | Simple / Standard / Detailed, cleanup, line weight | | Print layout | wrong size, clipping, unexpected rotation | PDF page size, scale, margins, mirror | | Printer/paper | faint output, streaks, skew, feed inconsistency | loading, paper, settings, power, cleaning, manufacturer guidance |
This diagnosis prevents the most expensive kind of troubleshooting: repeatedly changing the stencil because a printer setting is wrong, or repeatedly changing printer settings because the stencil itself is overcrowded.
Use the right diagnostic tool
Do not make one page or one control solve every printing problem. Use the narrowest diagnostic for the job:
| Problem to solve | Use | |---|---| | A physical stencil already printed larger or smaller than the intended dimensions | Tattoo Stencil Printed the Wrong Size? | | Create an exact physical size, choose A4 vs US Letter, or generate a multi-page 1:1 PDF | Tattoo Stencil Size & Print Calculator | | Fine, grey, under-sampled, threshold-sensitive, or dense regions in the finished raster | Tattoo Stencil Print Checker | | Whether the physical printer/paper setup reproduces known lines, gaps, counters, and dark areas | Tattoo Stencil Printer Test Sheet | | Exact-size printing through AirPrint or an iPhone manufacturer app | Print a Tattoo Stencil From iPhone | | A bad print that needs symptom-first isolation across file, layout, paper/feed, and device/app layers | Tattoo Stencil Printer Troubleshooter | | Loading, mirror, blank/faint output, blur, merging, skew, jams, and the full printer-path operating explanation | This guide |
Thermal stencil printer checklist
Before printing:
- [ ] stencil structure is approved;
- [ ] smallest important gaps survive final size;
- [ ] physical width/height is defined;
- [ ] paper size matches the print master;
- [ ] mirror will happen exactly once;
- [ ] the correct transfer paper is loaded according to the specific system;
- [ ] printer is ready according to manufacturer guidance.
After printing:
- [ ] primary contours are continuous;
- [ ] fine landmarks survived;
- [ ] negative spaces did not close;
- [ ] no unexpected dark streaks or missing bands;
- [ ] sheet fed straight;
- [ ] 50 mm calibration line measures 50 mm when used;
- [ ] final stencil dimensions match the plan;
- [ ] orientation is correct before transfer.
FAQ
How do I use a tattoo thermal stencil printer?
Prepare a clean stencil first, set its physical size, decide where mirroring will happen, load the transfer paper according to the exact printer/paper instructions, make a calibration print, inspect line continuity and negative space, measure scale when needed, then print the client sheet using the verified setup.
How should I set up a thermal stencil printer for a guest spot or convention?
Take the same known test sheet and exact-size print masters you use at home, verify the printer's supported connection and power path before travel, and run the diagnostic sheet again on arrival before a client-critical stencil. If the destination paper changes, treat it as a new variable and compare that paper against the same baseline before editing the artwork.
Why is my tattoo stencil printer printing faint lines?
Check paper orientation, the correct media setup, printer power state, darkness settings, paper quality, and manufacturer cleaning guidance. If only the finest marks disappear, inspect the digital stencil at final size before increasing darkness globally.
Why is my tattoo stencil printer feeding paper but printing a blank page?
Verify the transfer-paper type, orientation, and required layer preparation first. Then print a known diagnostic test sheet with the same paper, app, and settings. If that sheet is also blank, troubleshoot the physical printer/paper path using the manufacturer's guidance. If the diagnostic sheet prints normally, inspect the client file and import path instead.
Why are my thermal stencil lines merging together?
If the lines already touch in the digital file, reduce stencil density first. If the PDF has open gaps but the print closes them, inspect printer darkness/density, paper, and the specific printer setup before editing the artwork.
Should I mirror a tattoo stencil before thermal printing?
Mirror only when your complete printer-and-transfer workflow requires it, and apply the flip once. Check lettering or another asymmetric feature before transfer so a second mirror setting does not reverse the design again.
Does a thermal tattoo stencil printer use ink?
Traditional thermal stencil systems create the transfer through heat acting on compatible transfer paper rather than a conventional ink cartridge. Specific printer technologies and consumables vary, so follow the manufacturer instructions for the exact device and paper you use.
Can a thermal printer fix a bad tattoo stencil?
No. A printer can reproduce a clean file consistently, but it cannot restore hierarchy to an overcrowded stencil, reopen negative spaces that are already closed, or decide which photographic detail should have been removed.
Related Collections
Jump from the guide to reviewed stencil examples
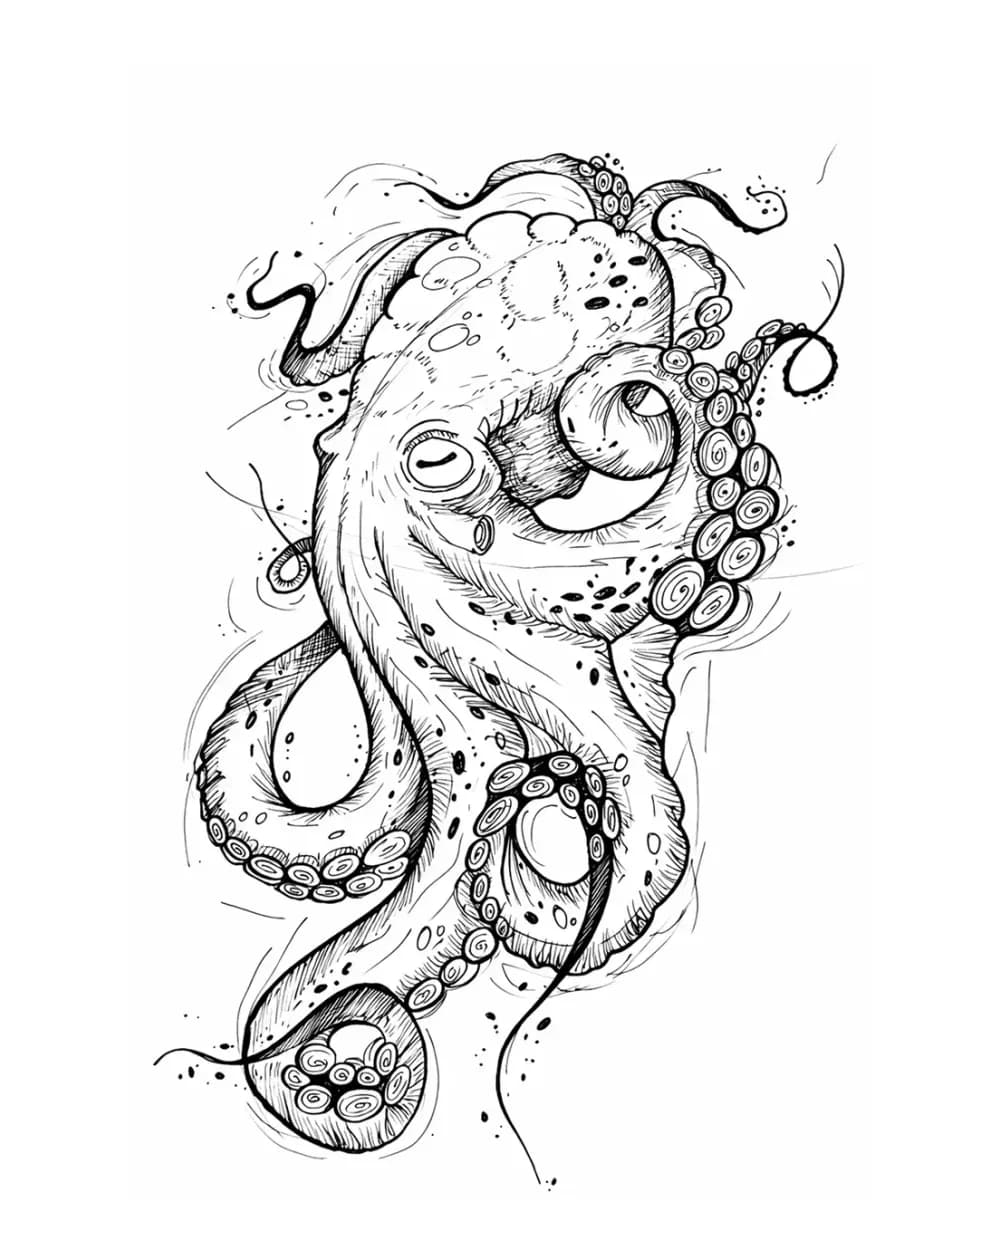
Animal Tattoo Stencil Gallery
12 curated examplesCompare 12 curated animal tattoo stencil examples across wildlife, pets, birds, and sea life. Start with the animal silhouette and recognition landmarks, then compare ho…
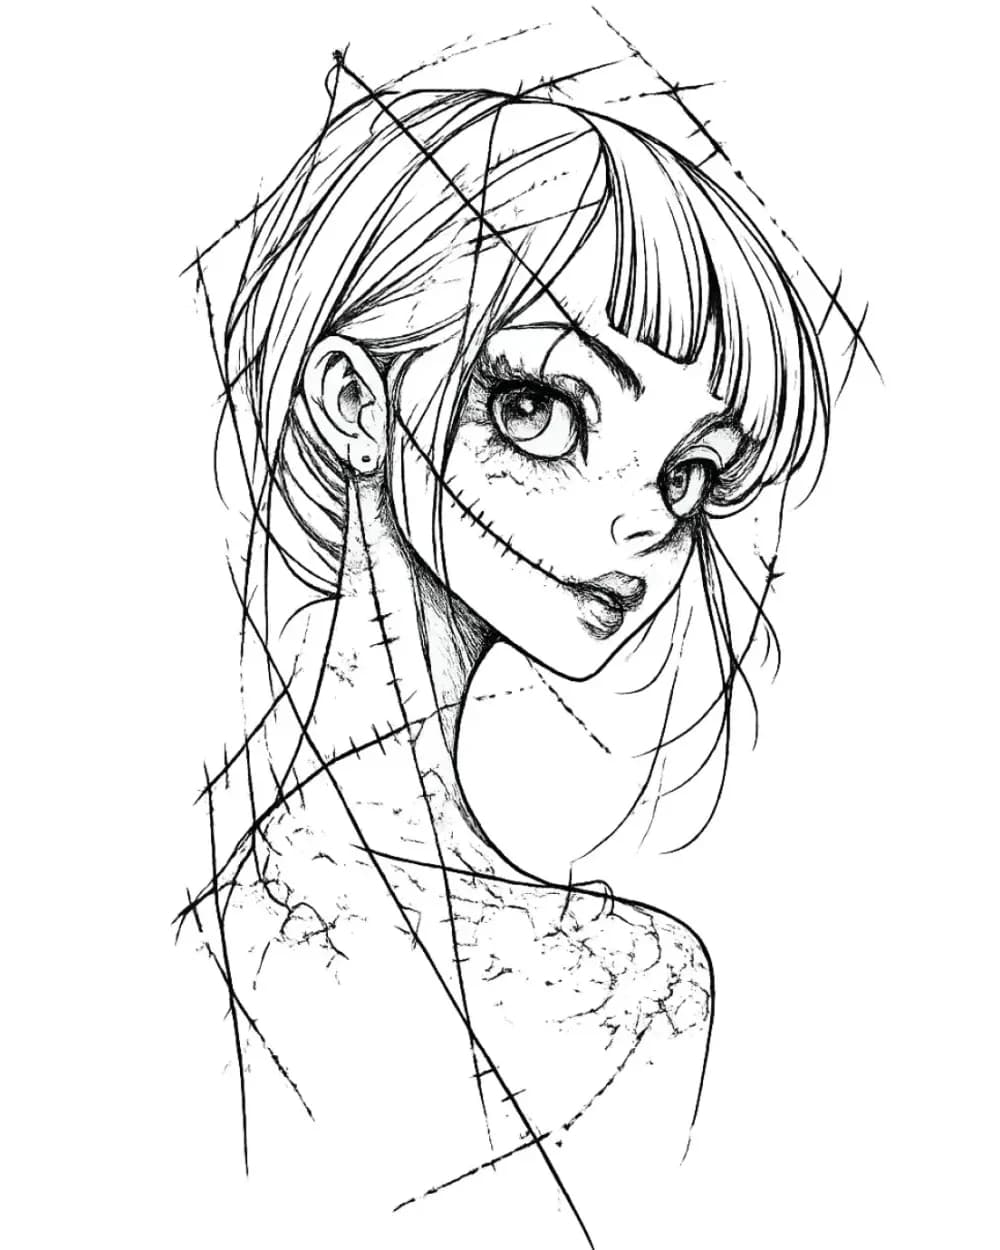
Portrait & Figure Tattoo Stencil Examples
9 curated examplesCompare first-party portrait, face, and figure tattoo stencil examples to see which recognition anchors, expression cues, body shapes, and detail clusters need to surviv…
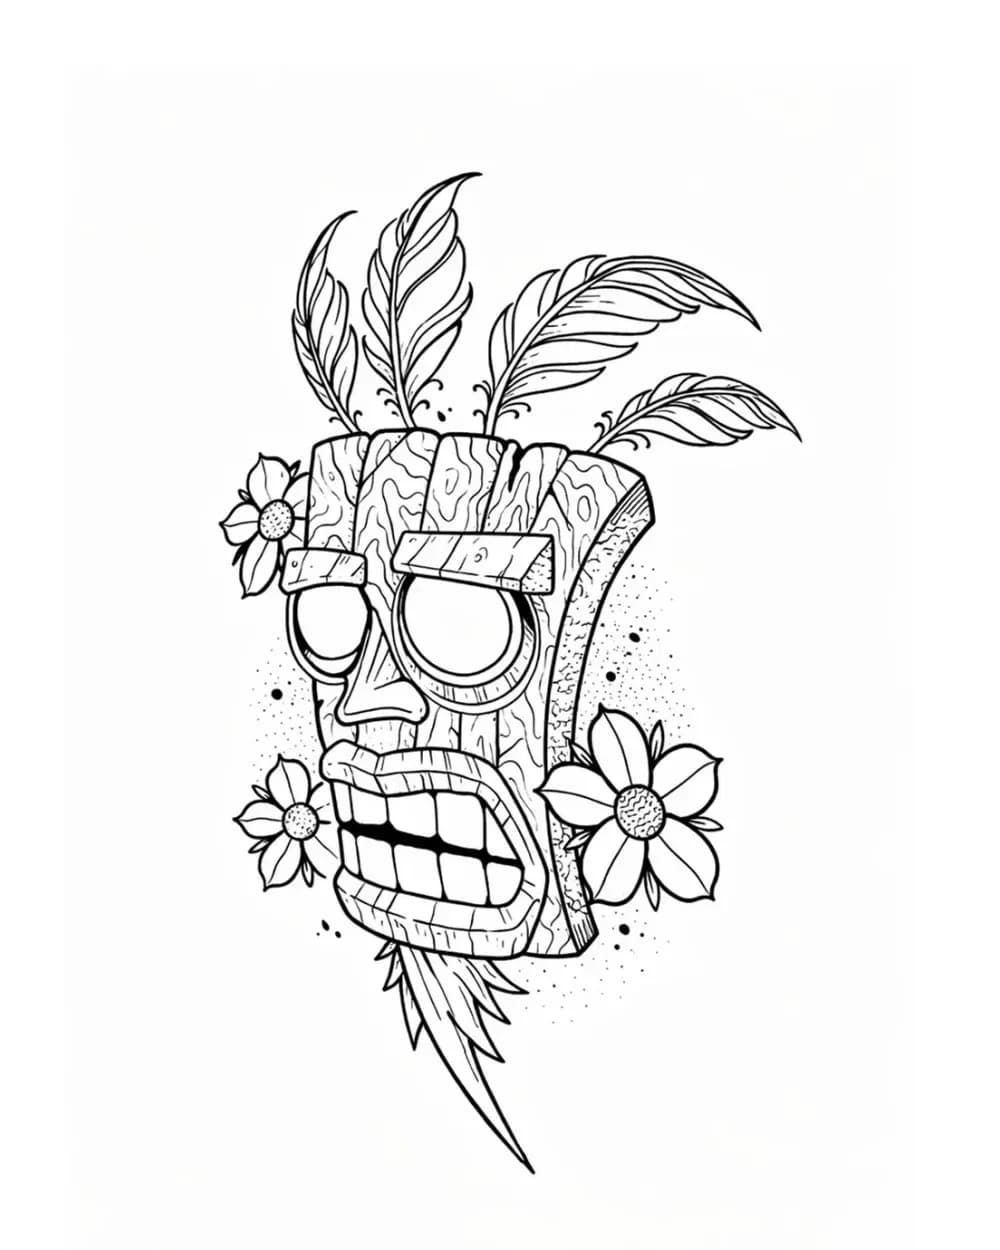
Tattoo Symbol Stencils
7 curated examplesCompare compact tattoo symbol stencils to see which silhouettes, internal gaps, repeated details, and orientation cues stay readable before adapting your own reference.…
Related Guides
Keep reading from here

Tattoo Stencil Printed the Wrong Size? Find Where Scale Changed
Diagnose a tattoo stencil that printed larger or smaller than intended. Measure the paper, compare target and document size, then isolate scaling in the print path.
tattoo stencil wrong size · tattoo stencil printed too small
Read guideTattoo Thermal Stencil Printer: How to Choose for Your Workflow
Choose a thermal tattoo stencil printer by repeatability, paper feed, line clarity, print width, device path, portability, and true-size output.
thermal tattoo stencil printer · tattoo thermal printer
Read guideHow to Print a Tattoo Stencil From iPhone
Print a tattoo stencil from iPhone without silent resizing: prepare a 1:1 PDF, use AirPrint or your printer app, and verify the 50 mm scale check.
print tattoo stencil from iPhone · AirPrint tattoo stencil
Read guideAuthor
Andrea Mezzadra
Founder and product builder at StencilStudio
Andrea builds StencilStudio and tests how the tools fit into real stencil prep, using real references and outputs to document what works, what changes, and where artist judgment still matters.
In the App
Fix the stencil before asking the printer to reproduce it
Create or clean the stencil first, set the physical size, then send a controlled file into the thermal print workflow.