

Buying Guides
Tattoo Stencil Printer: Choose the Right System for Your Workflow
Compare tattoo stencil printers by thermal vs inkjet workflow, print size, phone connectivity, portability, paper, repeatability, and real studio use.
tattoo stencil printer · thermal tattoo stencil printer · portable tattoo stencil printer · wireless tattoo stencil printer · bluetooth tattoo stencil printer · tattoo transfer printer
- September 9, 2026
- October 13, 2026
- 19 min
The best tattoo stencil printer is the one that fits the way you actually work. For most artists, the first decision is not brand or DPI. It is thermal vs inkjet.
- Choose direct thermal when you want a compact, inkless workflow, especially for phone/tablet printing, travel, guest spots, or conventions.
- Consider inkjet stencil printing when you want a desktop workflow and are comfortable managing stencil ink or transfer film, paper, drivers, nozzle checks, and printer maintenance.
- Keep an existing copier or older stencil machine when it already produces reliable work and replacing it would not solve a real problem.
Whatever system you choose, check the things that matter in the studio: usable print width, exact physical size, paper compatibility, device connection, repeatability, maintenance, and whether the printed stencil still matches the file you approved.
A receipt, label, or office thermal is not a substitute for a stencil-capable thermal, and an office inkjet is not a stencil system until the ink or film, media, and settings belong to one supported workflow. The comparison below makes that compatibility boundary explicit before any buying checklist.
StencilStudio does not manufacture printers, and we have not tested every current model side by side. The product examples below use current manufacturer or system-vendor specifications checked on September 15, 2026 rather than a fake universal ranking.
Thermal vs inkjet tattoo stencil printer
A direct-thermal stencil printer uses heat to move carbon from multi-layer thermal transfer paper onto the top stencil sheet. No liquid ink sits inside the printer. An inkjet stencil system sprays liquid onto compatible media: either specialist stencil ink in a supported tank printer, or normal ink onto a printable transfer film, depending on the system. The paper-to-skin transfer step then follows that system's own method.
That is why the required consumables are different by design:
- Thermal: a stencil-capable thermal printer plus compatible thermal transfer paper in a supported size. No ink, toner, or ribbon.
- Inkjet: a supported printer plus the exact stencil ink or transfer film plus the exact compatible media, plus the driver settings and cleaning routine for that combination.
What is not interchangeable:
- Thermal transfer paper does not turn a receipt or shipping-label thermal into a tattoo printer. Those machines are built for narrower rolls, different heat profiles, and different feed paths, and they do not support tattoo transfer sheets.
- Normal Epson or office ink plus office paper does not create a stencil system. A stencil-ink workflow needs the specified ink, and a transfer-film workflow needs the specified film and original-ink setup. Mixing brands across those paths is the most common failed purchase.
- Copier or imager consumables do not transfer to either path. Keep a working legacy machine on its own supplies rather than feeding it the wrong media.
| | Direct thermal | Inkjet stencil system | | --- | --- | --- | | Ink | No liquid ink or toner in the printer | Specialist stencil ink or a compatible transfer-film workflow | | Typical strength | Simple, portable file-to-stencil printing | Desktop workflow with system-specific ink/media options | | Common setup | Thermal printer + compatible transfer paper | Supported printer + ink or film + compatible media | | Phone/tablet use | Common on current Bluetooth/Wi-Fi models | Depends on printer, driver, app, and stencil system | | Travel | Often strong because printers can be compact and battery powered | Usually better suited to a fixed desktop setup | | Maintenance | Paper feed, printhead, battery/app/connection | Adds ink path, nozzles, media profile, and cleaning considerations | | Main risk | Buying for Bluetooth or DPI without checking width, paper, or app workflow | Mixing printer, ink, paper, and settings from different systems |
Core trade-off: thermal trades desktop media flexibility for a simpler inkless chain that travels well, while inkjet trades portability and low maintenance for a desktop chain that needs the full system to stay matched. Neither technology fixes a bad stencil file. The printer can only reproduce what it receives.
When a thermal tattoo stencil printer makes sense
Choose direct thermal first when most of these are true:
- your normal output fits the printer's supported transfer-paper width, or you accept tiling for larger work;
- you print from a phone or tablet and want Bluetooth or Wi-Fi without managing ink;
- you work guest spots, conventions, or more than one station and need battery power and fast setup;
- you want fewer consumable variables: paper plus printer, without nozzles, ink paths, or media profiles;
- you already use thermal transfer paper and want the new printer to fit that workflow.
Direct thermal is the most straightforward choice when you want:
- no liquid stencil ink inside the printer;
- a compact device for guest spots or conventions;
- phone or tablet printing;
- quick setup and fewer consumable variables;
- a familiar thermal-transfer-paper workflow;
- easy replacement or travel between studios.
It fits less well when you regularly need oversized single-sheet output, desktop volume with the lowest per-sheet consumable cost, or a film-based shading workflow. In those cases read the inkjet rules below before assuming a smaller thermal will stretch.
Current thermal printers still differ significantly. Check the actual paper width, supported devices, app or driver, battery, USB/Bluetooth/Wi-Fi options, and paper-loading method rather than assuming every thermal printer works the same way. A receipt or label thermal that cannot feed tattoo transfer sheets is not a cheaper alternative, even when the print technology name sounds the same.
If you already know you want direct thermal and need a deeper buying guide, use Tattoo Thermal Stencil Printer: How to Choose. If you already own one and need setup and operation, use How to Use a Tattoo Thermal Stencil Printer.
When an inkjet tattoo stencil printer makes sense
Choose inkjet only when most of these are true:
- the printer stays in one studio space with reliable power and room for ink, media, and cleaning supplies;
- you accept a dedicated printer for stencils, including a new tank when the stencil-ink vendor requires it;
- you will follow one vendor's printer, ink, paper or film, driver, and transfer instructions without mixing systems;
- you print enough volume or need the desktop flexibility to justify nozzles, profiles, and maintenance;
- your phone or tablet path is verified for that exact printer and system, not assumed from another inkjet.
Inkjet becomes more relevant when you intentionally want a desktop printer workflow and are prepared to maintain the entire printer/ink/media combination.
A current inkjet stencil setup can mean very different things:
- an Epson EcoTank filled with specialist stencil ink;
- a purpose-built tattoo stencil printer based on inkjet technology;
- a normal inkjet printing onto a special transfer film.
That is why “Can I use an Epson for tattoo stencils?” is not answered by the printer model alone. The ink or transfer-film system has to support that printer.
For current Epson EcoTank compatibility, stencil ink, paper, settings, dedicated-printer questions, and troubleshooting, use the Inkjet Tattoo Stencil Printing guide.
What to check before buying a tattoo stencil printer
1. Maximum stencil width and paper size
Start with the tattoos you actually print.
Ask:
- Do you normally use A4, US Letter, A3, rolls, or another format?
- What is the printer's usable print width, not just its body width?
- Can it feed the stencil paper you already use?
- Will larger sleeves, ribs, back pieces, or wrap designs need tiling?
A very portable printer can still be the wrong purchase if it cannot handle the physical width you need most often. The common failure is buying a compact portable for palm-size flash, then discovering weekly thigh or rib pieces need two or three tiled sheets every time.
Studio test: pull your last ten stencils and note the widest one you print monthly, not just daily. If that width exceeds the printer's usable print area, price the workaround honestly: tiling time, extra transfer sheets, and seam alignment against the cost and weight of a full-page portable or a desktop system.
Use the Tattoo Stencil Size & Print Calculator to set real dimensions and create a true-size tiled PDF when the design exceeds one sheet.
2. Phone, tablet, Mac, and PC support
Bluetooth, Wi-Fi, USB, and wireless are not interchangeable features.
Before buying, verify the exact path you plan to use:
- iPhone or iPad;
- Android phone or tablet;
- Mac;
- Windows PC;
- manufacturer app;
- printer driver;
- Bluetooth pairing;
- Wi-Fi or Wi-Fi Direct;
- USB fallback;
- whether the workflow still works without internet.
If a printer depends on a proprietary mobile app, that app is part of the purchase decision. Check its recent reviews, offline behavior, supported file types, and how it handles PDF page size and scale. The common failure is assuming AirPrint or generic Bluetooth printing: many stencil thermals only print through their own app, and some desktop inkjet paths need a full driver that a phone cannot provide.
Studio test: save a true-size PDF locally on the exact phone or tablet you will travel with, pair from a cold start, print, power everything off, then reconnect and print again. If the second print needs studio Wi-Fi, a forgotten password, or a reinstalled app, that limit travels with you.
3. Paper and consumables
A printer is only useful with the media it is designed to handle.
For thermal printers, check the transfer-paper loading instructions and supported format. For inkjet systems, confirm the exact stencil ink or transfer film, compatible paper, media profile, and transfer method.
Failure looks like this: office receipt rolls or label stock in a thermal that expects A4 or Letter transfer sheets, or normal inkjet ink in a tank that the stencil vendor says must start new and dedicated. Both produce faint, smeared, or non-transferring sheets and waste the consumable.
Studio test: confirm the exact printer plus consumable pairing in the vendor's current compatibility page before ordering, then run one known design on that pairing and keep the sheet. Cost reality: thermal running cost is mostly paper, while inkjet adds ink, extra media, cleaning cycles, and idle-clog risk, which favors thermal for low-volume or intermittent travel use and favors a busy fixed studio only when volume absorbs the maintenance.
Use How to Choose Tattoo Stencil Paper when the paper itself is the decision you are trying to make.
4. Exact physical size
A file can look perfect on screen and still print too large or too small.
Before client use:
- set the intended physical dimensions;
- match PDF paper size to the paper loaded in the printer;
- avoid Fit, Fill, or borderless enlargement when those settings change scale;
- print a calibration copy when exact size matters;
- measure the paper result rather than trusting the print preview alone.
The failure point is almost always silent rescaling in the app or driver, not the artwork. For example, a 50 mm calibration line that measures 48 or 52 mm means every placement landmark is off by the same ratio.
Studio test: print the calculator PDF with a 50 mm mark at 100 percent or Actual Size, measure with a steel ruler, and only then print the client stencil on transfer media with identical settings.
The Size & Print Calculator handles the exact-size part of that workflow.
5. Repeatability
Do not judge a printer from one attractive demo stencil.
Print the same known design several times with unchanged settings and compare:
- main contours;
- fine lines;
- small gaps and openings;
- dense areas;
- crop;
- feed alignment;
- physical scale;
- whether the second and third print match the first.
The failure point is drift across prints: the first sheet looks crisp, then heat, battery sag, feed wear, or drying nozzles soften or darken later sheets. That matters more than a single sharp demo because client work needs the third print to match the first.
Studio test: print the same file three times, power off, cold-start, print a fourth, then compare gaps and dense areas side by side before approving the printer for bookings.
The Tattoo Stencil Printer Test Sheet gives you fixed patterns for that comparison.
6. Travel and power
For conventions and guest spots, test the complete packed workflow:
- printer weight and size;
- battery life or power adapter;
- charging cable;
- phone/tablet connection;
- app or driver;
- stencil paper;
- maximum width;
- a known test file saved locally;
- reconnection after the printer has been powered off and packed.
A printer is not truly convenient for travel if the hardware is small but pairing or paper handling becomes unreliable away from the studio. Battery specs are best-case: an advertised page count assumes short prints at moderate density, so a day of large dense stencils, repeated reconnections, and cold starts drains faster.
Studio test: pack everything, print from battery on the travel device with venue-style conditions (no studio Wi-Fi, screen-locked phone, paper loaded flat in a folder), then repack and repeat. If any step needs a wall outlet, a download, or a different cable, fix the kit before the event.
Current tattoo stencil printer examples
These are examples of different approaches, not a 1-to-3 ranking.
Phomemo M08F: compact Bluetooth thermal printer
Phomemo currently lists the M08F tattoo stencil printer as:
- direct thermal and inkless;
- 203 dpi;
- Bluetooth and USB;
- compatible with iOS, Android, laptops, and desktop computers;
- 1200 mAh battery;
- Letter-size paper on the current official listing;
- approximately 715 g on the specification table.
That makes it a useful example of the portable/Bluetooth category. Phomemo also now sells newer variants such as the M08F Plus, so compare the exact model rather than assuming every M08F-family listing has identical paper or interface features.
Best fit: phone-first artists and guest-spot kits doing small to medium stencils where pack size and fast Bluetooth setup matter more than maximum width. Limit: 203 dpi and a compact feed path favor clean linework over very fine script or dense micro detail, and oversized pieces still need tiling. It does not replace a full-page portable when you need maximum width every day, and it does not run an inkjet shading workflow.
Manufacturer reference: Phomemo M08F Tattoo Stencil Printer.
Brother PocketJet: portable full-page thermal workflow
Brother maintains a tattoo-specific PocketJet workflow. Its tattoo pages describe direct thermal printing at up to 300 × 300 dpi on A4-format portable printers, with model-dependent USB, Bluetooth, MFi, or Wi-Fi Direct options.
The current PJ-800 family continues the PocketJet full-page portable format. Brother's PJ-883 data sheet lists direct thermal printing, 300 dpi, a maximum print width of 203.2 mm, and media support up to Letter/Legal width.
The useful lesson is not “Brother wins on DPI.” It is that full-page portable and small portable are different buying categories even when both products are described as mobile stencil printers.
Best fit: traveling artists who need true Letter-width output with finer 300 dpi line retention and can work within Brother's tattoo workflow, paper, and connection options. Limit: connectivity and paper handling are model-dependent, so verify USB, Bluetooth, MFi, or Wi-Fi Direct for your exact phone or laptop plus the tattoo transfer paper you will actually carry. It does not print beyond Letter or Legal width in one pass, and it does not become a desktop inkjet system by changing media.
Manufacturer references: Brother PocketJet tattoo stencil workflow and Brother PJ-883 data sheet.
Epson EcoTank stencil-ink workflow
InkJet Stencils currently supports Epson EcoTank printers with its specialist stencil ink and recommends the monochrome ET-M1170 for its own system.
Electrum Eco-Stencil is another current EcoTank stencil-ink option with its own ink and paper guidance. These products illustrate why an “Epson tattoo stencil printer” is usually a printer plus stencil system, not a stock Epson feature.
System references: InkJet Stencils setup and Electrum Eco-Stencil.
Best fit: a fixed studio that prints steady volume, can dedicate a printer to stencils, and will follow one vendor's new-printer, ink, paper, settings, and cleaning routine. Limit: this is a desktop system with nozzle checks, media profiles, and idle-clog risk, not a battery travel printer, and phone printing depends on the exact printer, driver, and system support. It does not work as a mixed-brand setup: stock Epson ink on office paper, or one vendor's ink on another vendor's film, is a different workflow with its own failure modes.
Best tattoo stencil printer by use case
For a fixed studio
Verdict: default to the system you can keep matched and repeatable at full width. For most fixed stations that is a full-page thermal or a supported desktop inkjet system you will maintain as a dedicated unit, not the smallest travel thermal.
Prioritize:
- reliable full-size output;
- repeatable paper feed;
- easy access from the devices artists already use;
- media availability;
- simple maintenance;
- manufacturer support;
- consistent exact-size printing.
Portability matters less if the printer rarely leaves the workstation.
If you have already settled on thermal for the studio, use Tattoo Thermal Stencil Printer: How to Choose for the deeper thermal evaluation. If you have settled on inkjet, use the Inkjet Tattoo Stencil Printing guide for printer, ink, and settings depth.
For guest spots and conventions
Verdict: choose the smallest thermal you can still reconnect from a cold start with your travel phone and your travel paper. A compact Bluetooth thermal usually beats a desktop inkjet here because the whole kit must survive packing, power, and offline files.
Prioritize:
- compact size and realistic packed weight;
- battery or simple power requirements;
- phone/tablet support;
- fast reconnection;
- offline access to files;
- enough print width for the work you travel with;
- paper you can carry reliably.
A Bluetooth label in the product name is not enough. Test the complete travel setup before depending on it at an event. For the phone-to-printer size and app checks that most often break on the road, use How to Print a Tattoo Stencil From iPhone alongside the travel test in section 6.
For large tattoo stencils
Verdict: keep the tattoo at true size and pick the paper route your printer actually supports. A full-page thermal plus tiling covers occasional sleeves, while continuous media only helps when the exact printer and transfer paper support it.
Prioritize usable paper width and a reliable tiling workflow.
Even a full-page A4 or Letter printer will not fit every sleeve, back piece, or large placement on one sheet. Use How to Print a Large Tattoo Stencil when you need overlapping multi-page output at the same physical scale.
For fine details
Verdict: judge with your own linework, not the DPI headline. A 300 dpi full-page thermal often holds script and tight geometry better than a 203 dpi compact, but only a three-print test on your smallest gaps and counters proves it for your style.
Do not buy from the DPI number alone.
Print the kinds of details that actually matter in your work: fine lines, repeated parallel lines, small negative spaces, lettering counters, long contours, and one dense area. Judge the physical result on the paper and at the size you actually tattoo.
If your current printer already works
Do not replace a reliable printer just because a newer model has Bluetooth, a touchscreen, or a higher headline resolution.
If your existing printer consistently reproduces clean files at the right physical size on paper you can source easily, the next bottleneck may be file preparation rather than hardware.
Why a good printer can still produce a bad stencil
Before blaming the hardware, check where the problem is visible.
| What you see | Check first | | --- | --- | | Line is already missing or merged in the final PNG/PDF | Stencil file | | File is correct but printed size is wrong | Print scaling, paper size, driver/app | | File is correct but lines break or disappear on paper | Printer, paper, heat/ink, settings, maintenance | | Paper feeds crooked or wrinkles | Paper loading, feed path, hardware | | Paper stencil is clean but the transfer on skin is bad | Skin-transfer stage, not the printer | | Design is reversed | Mirror/orientation workflow |
Use the Tattoo Stencil Print Checker before printing and the Tattoo Stencil Printer Troubleshooter when the physical paper output itself looks wrong.
If the paper stencil looks correct but the skin transfer does not, move to How to Apply a Tattoo Stencil to Skin or the Transfer Troubleshooter.
Do not choose a tattoo stencil printer from DPI alone
Resolution is useful, but it is not a complete stencil-quality score.
Two printers can advertise different DPI values while using different print mechanisms, paper, feed paths, apps, drivers, and transfer processes. A higher number does not prove that one machine will preserve your particular stencil better.
What matters is whether the printer keeps the lines, gaps, scale, and geometry you need at the physical size you use.
A repeatable printer test before client work
Before relying on a new printer:
- prepare one known stencil at a fixed physical size;
- print it three times with the same settings;
- compare lines, gaps, dense areas, crop, feed, and scale;
- measure one known dimension;
- power the printer off and repeat after a cold start;
- if it will travel, repeat after disconnecting and reconnecting the real phone or tablet;
- if you change paper, repeat the same test before changing anything else;
- keep one good print as a reference for future troubleshooting.
This tells you far more about a printer than a product photo or a single demo sheet.
Tattoo stencil printer buying checklist
Before buying, confirm:
- thermal, inkjet, or another system fits your workflow;
- normal stencil width and paper format are supported;
- the printer works with the phone, tablet, Mac, or PC you actually use;
- required app or driver is acceptable;
- battery or power setup fits studio or travel use;
- compatible paper, ink, or other consumables are easy to obtain;
- exact-size output can be verified;
- the same known file prints consistently;
- paper feeds straight;
- maintenance requirements are realistic;
- manufacturer support and warranty fit your expectations.
The right printer is the one you can reproduce reliably from file to paper, not the one with the longest feature list.
FAQ
What is the best tattoo stencil printer?
There is no universal best model. Direct thermal is often the simplest choice for portable, inkless stencil printing, while inkjet systems can suit artists who want a fixed desktop workflow and are comfortable managing ink, media, drivers, and maintenance. Choose by print width, paper, device support, exact-size output, repeatability, and your studio or travel needs.
Is a thermal printer the same as a tattoo stencil printer?
Not always. Many modern tattoo stencil printers are direct thermal, but a receipt, label, or shipping thermal built for narrow rolls is not a stencil printer even when the technology name matches. Dedicated inkjet stencil systems and older copier or imager workflows also exist. Check the printer technology and compatible media before buying.
Can you use any thermal printer for tattoo stencils?
No. A stencil-capable thermal must feed tattoo transfer sheets in a supported size, with a feed path and heat profile made for that paper plus an app or driver that handles stencil files at true size. A receipt or label printer fails on paper size, feed, and transfer chemistry before print quality matters. Before buying, confirm transfer-paper support in the manufacturer's current specs, the supported sheet size, and the exact phone or computer path you will use.
Is thermal or inkjet better for tattoo stencils?
Neither is universally better. Thermal printers usually offer a simpler inkless path and are common for portable use. Inkjet stencil systems can provide a familiar desktop workflow but add ink, paper, driver, and maintenance variables. Choose the workflow you can maintain reliably.
What should I look for in a portable tattoo stencil printer?
Check packed size and weight, battery or power, usable paper width, phone/tablet compatibility, Bluetooth or Wi-Fi behavior, app dependency, offline printing, and whether reconnecting the printer is reliable after travel.
Does Bluetooth make a tattoo stencil printer better?
Bluetooth can make phone or tablet printing more convenient, but it says nothing by itself about print width, battery life, paper handling, app quality, exact-size output, or stencil clarity.
Can I use a regular printer for tattoo stencils?
Only when the stencil method explicitly supports that printer, ink, and media. Specialist Epson EcoTank stencil systems and printable transfer-film systems are examples, but their instructions are different. Do not assume any office inkjet will become a tattoo stencil printer simply by changing the ink or paper.
Why does a good tattoo stencil printer still produce a bad stencil?
The problem may already be in the stencil file, physical size, mirror state, paper setup, print scaling, or later skin transfer. Compare the final file with the printed sheet before changing the printer itself.
Current manufacturer and system references
Related Collections
Jump from the guide to reviewed stencil examples
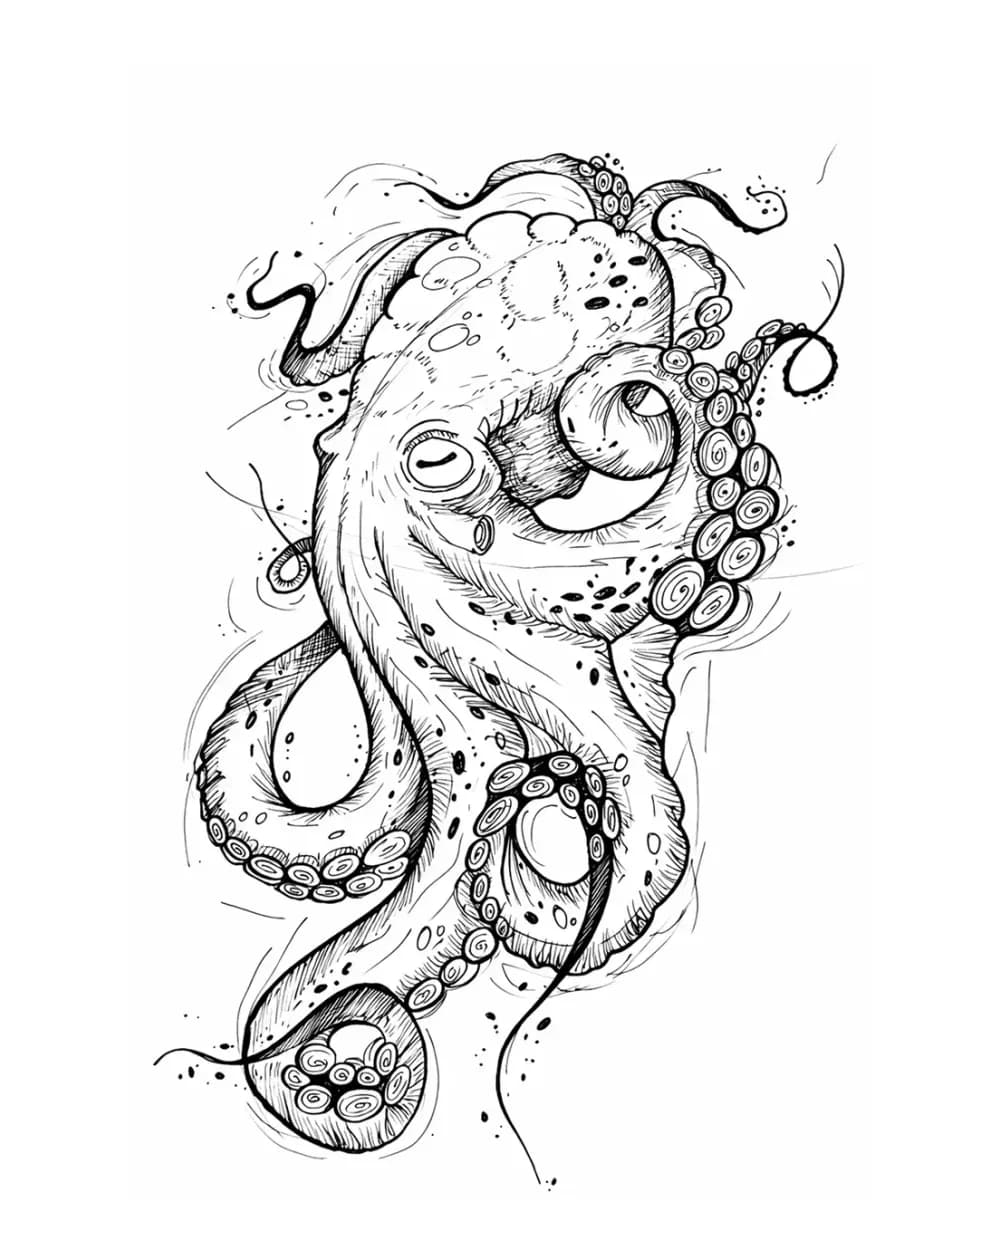
Animal Tattoo Stencil Gallery
12 curated examplesBrowse and compare 12 animal tattoo stencil examples in one gallery across big cats, wolves, pet portraits, birds, and sea life, plus ornamental and multi-animal edge ca…
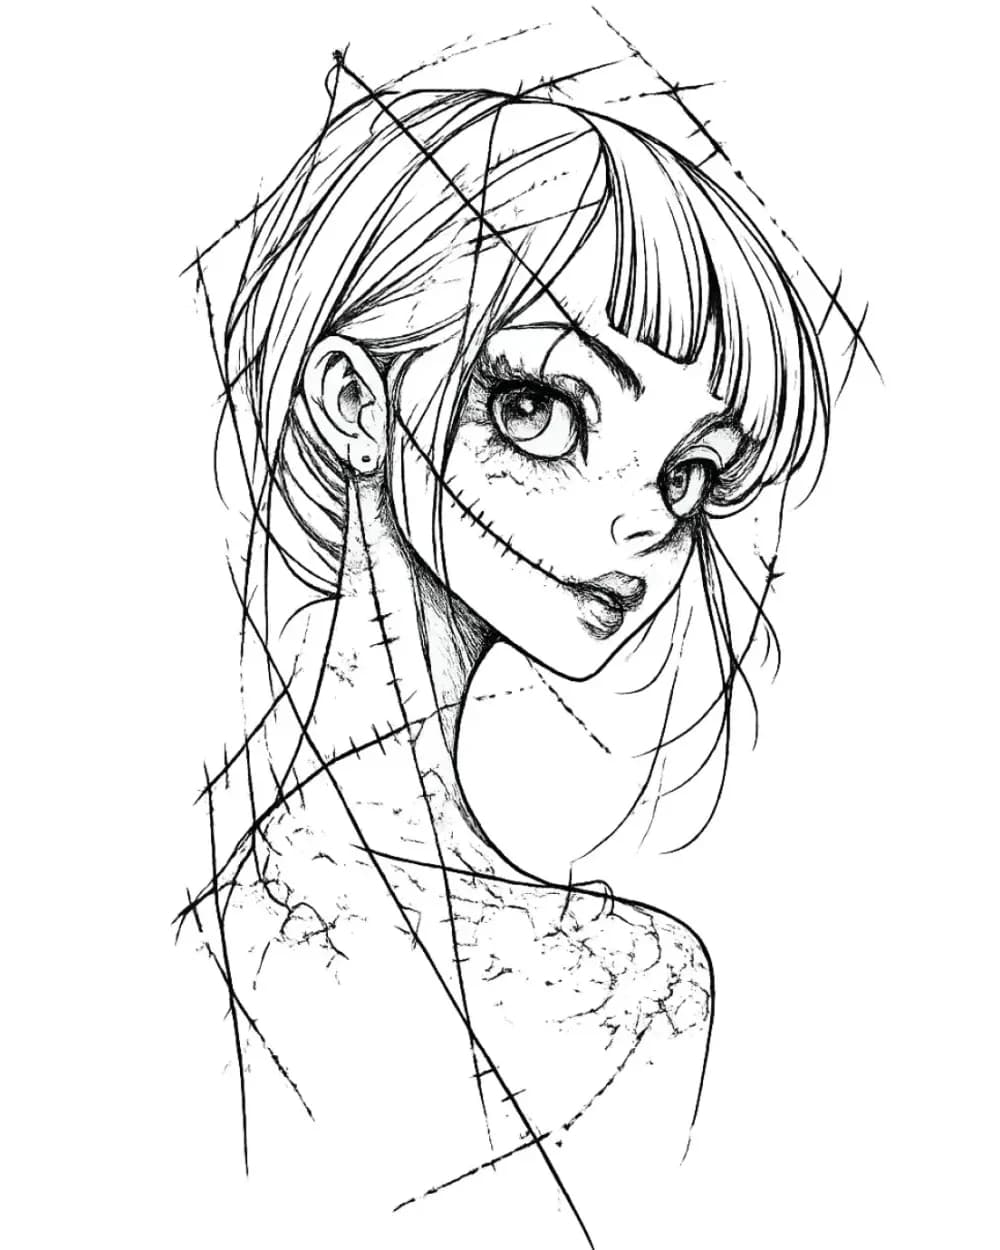
Portrait & Figure Tattoo Stencil Examples
9 curated examplesCompare first-party portrait, face, and figure tattoo stencil examples to see which recognition anchors, expression cues, body shapes, and detail clusters need to surviv…
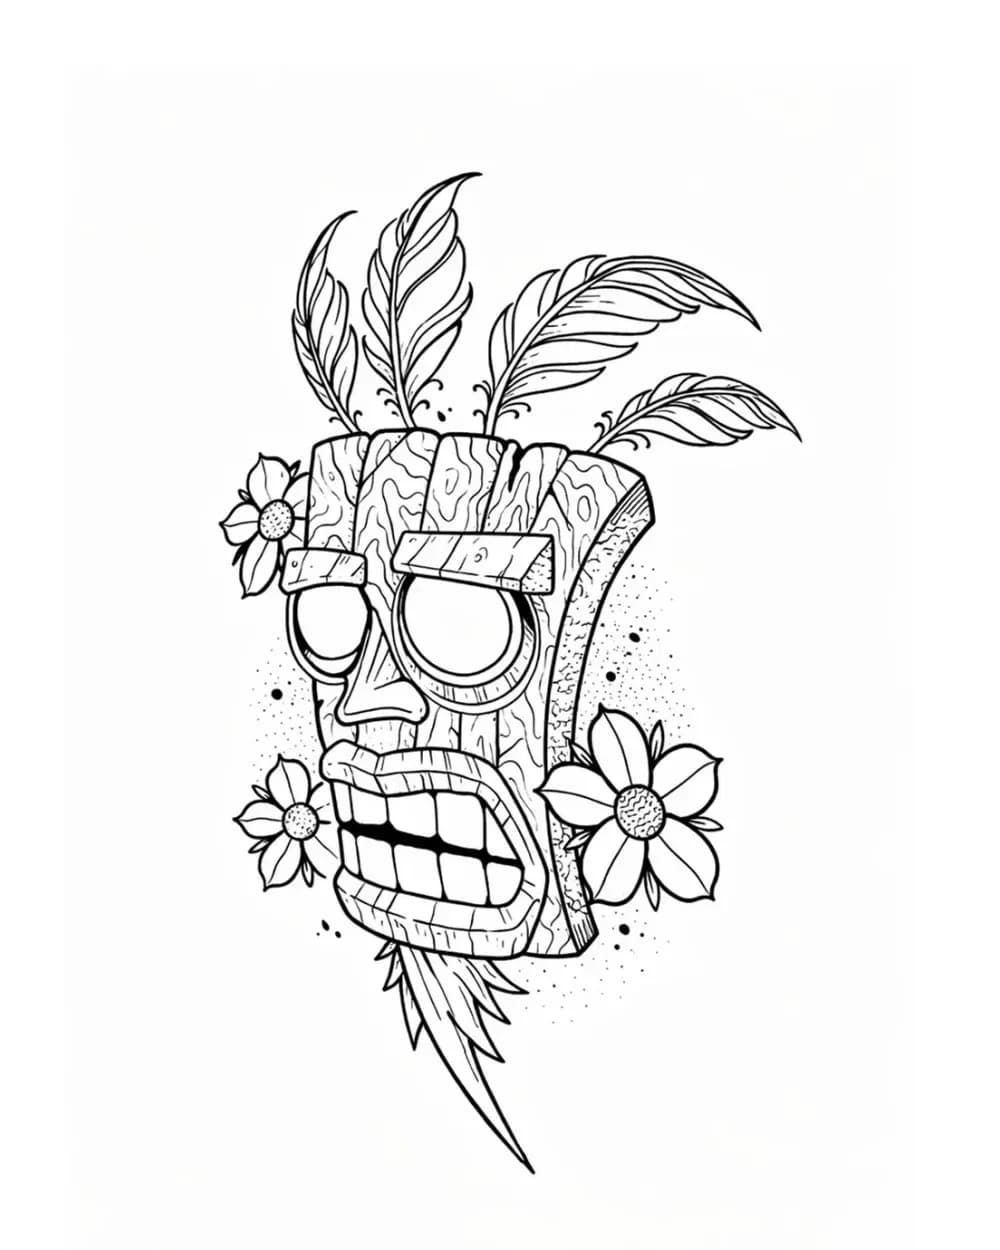
Tattoo Symbol Stencils
7 curated examplesCompare compact tattoo symbol stencils to see which silhouettes, internal gaps, repeated details, and orientation cues stay readable before adapting your own reference.…
Related Guides
Keep reading from here

Inkjet Tattoo Stencil Printing: Epson EcoTank Workflow
Set up an Epson or inkjet tattoo stencil workflow with the right printer, stencil ink, paper, print settings, file size, and troubleshooting steps.
epson tattoo stencil printer · inkjet tattoo stencil printer
Read guideTattoo Thermal Stencil Printer: How to Choose for Your Workflow
Evaluate a tattoo thermal printer before buying: 7 selection criteria, a repeat-print true-size test, portable guest-spot checks, and a decision checklist.
thermal tattoo stencil printer · tattoo thermal printer
Read guideHow to Use a Tattoo Thermal Stencil Printer Without Losing the Stencil
Use a tattoo thermal stencil printer with a repeatable file-to-paper workflow: control size and mirror, load transfer paper correctly, test output, and diagnose blank, faint, blurry, merged, skewed, or missing lines.
tattoo thermal stencil printer · tattoo stencil printer workflow
Read guideAuthor
Andrea Mezzadra
Founder and product builder at StencilStudio
Andrea builds StencilStudio and tests how the tools fit into real stencil prep, using real references and outputs to document what works, what changes, and where artist judgment still matters.
In the App
Prepare the stencil before the printer becomes the variable
Generate a clean stencil, set physical size, control mirror state, and check the file before sending it to any printer.