Stencil Gallery

Portrait & Figure Tattoo Stencil Examples

Compare first-party portrait, face, and figure tattoo stencil examples to see which recognition anchors, expression cues, body shapes, and detail clusters need to survive when human subjects are simplified. Use the gallery to contrast likeness-led faces, stylized expressions, multi-face compositions, horror and surreal portraits, classical figures, and body-led concepts before moving a specific client photo into the portrait workflow.

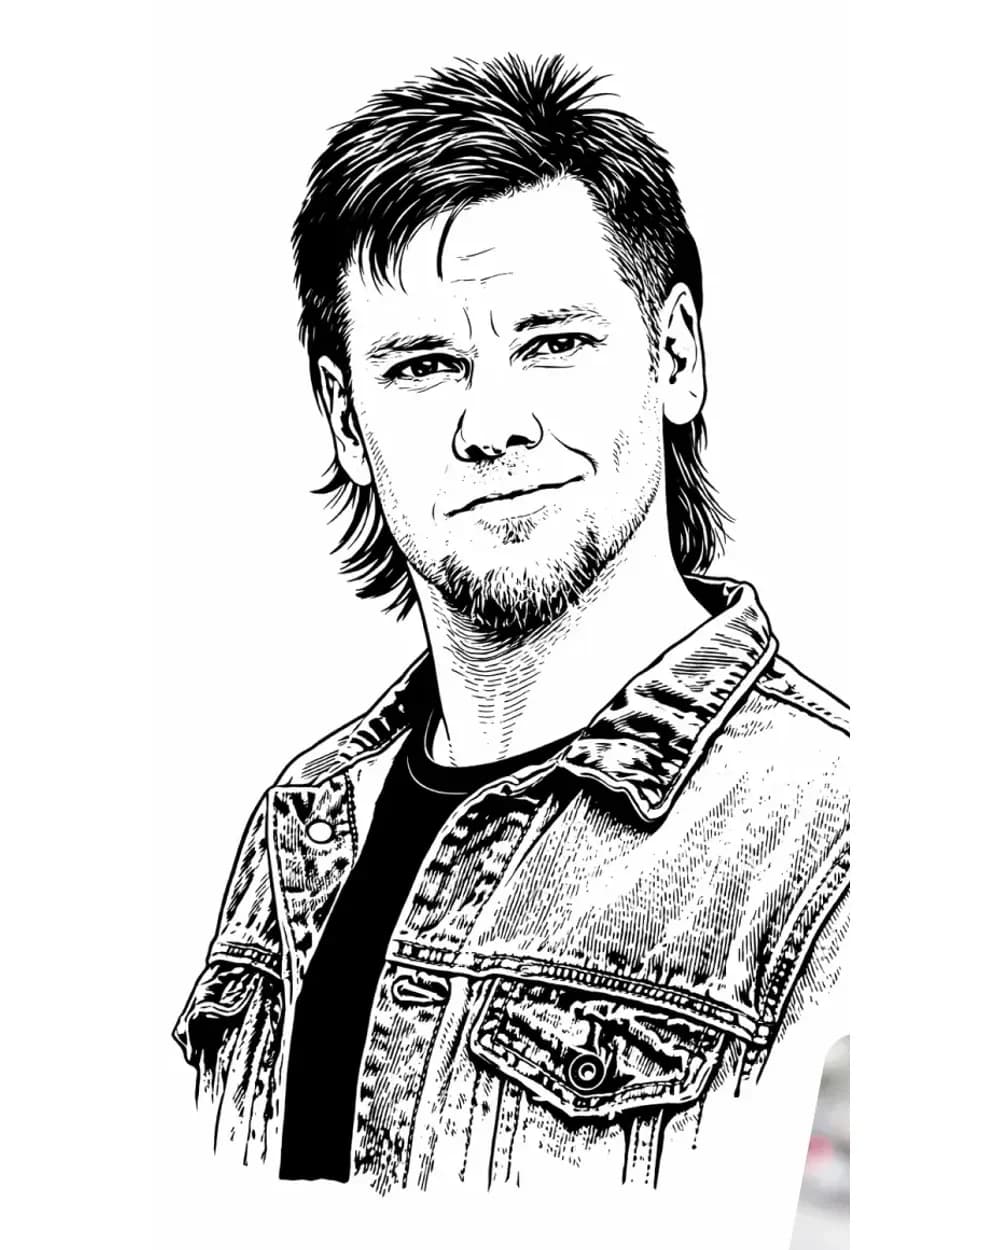
Face-led portrait stencil with fine-line facial structure and a clear outer silhouette
9
6
Final size

Curated portrait and figure references

Compare human-subject structure before you preserve more detail.

Nine reviewed examples span likeness-led portraits, stylized faces, multi-face and horror compositions, classical figures, sparse linework, and body-led surreal structure. Use the image notes first, then compare the same examples by recognition anchor and final-size risk.

Face-led portrait stencil with fine-line facial structure and a clear outer silhouette

Single-portrait reference for comparing feature relationships before tertiary face and hair detail.

The portrait keeps the face as one readable structure, so the eye line, nose direction, mouth, jaw, and outer silhouette can be compared before texture.
Likeness-led comparison when you need to decide which facial relationships matter more than raw detail count.
Fine interior marks can look sophisticated while still crowding the relationships that actually carry recognition.
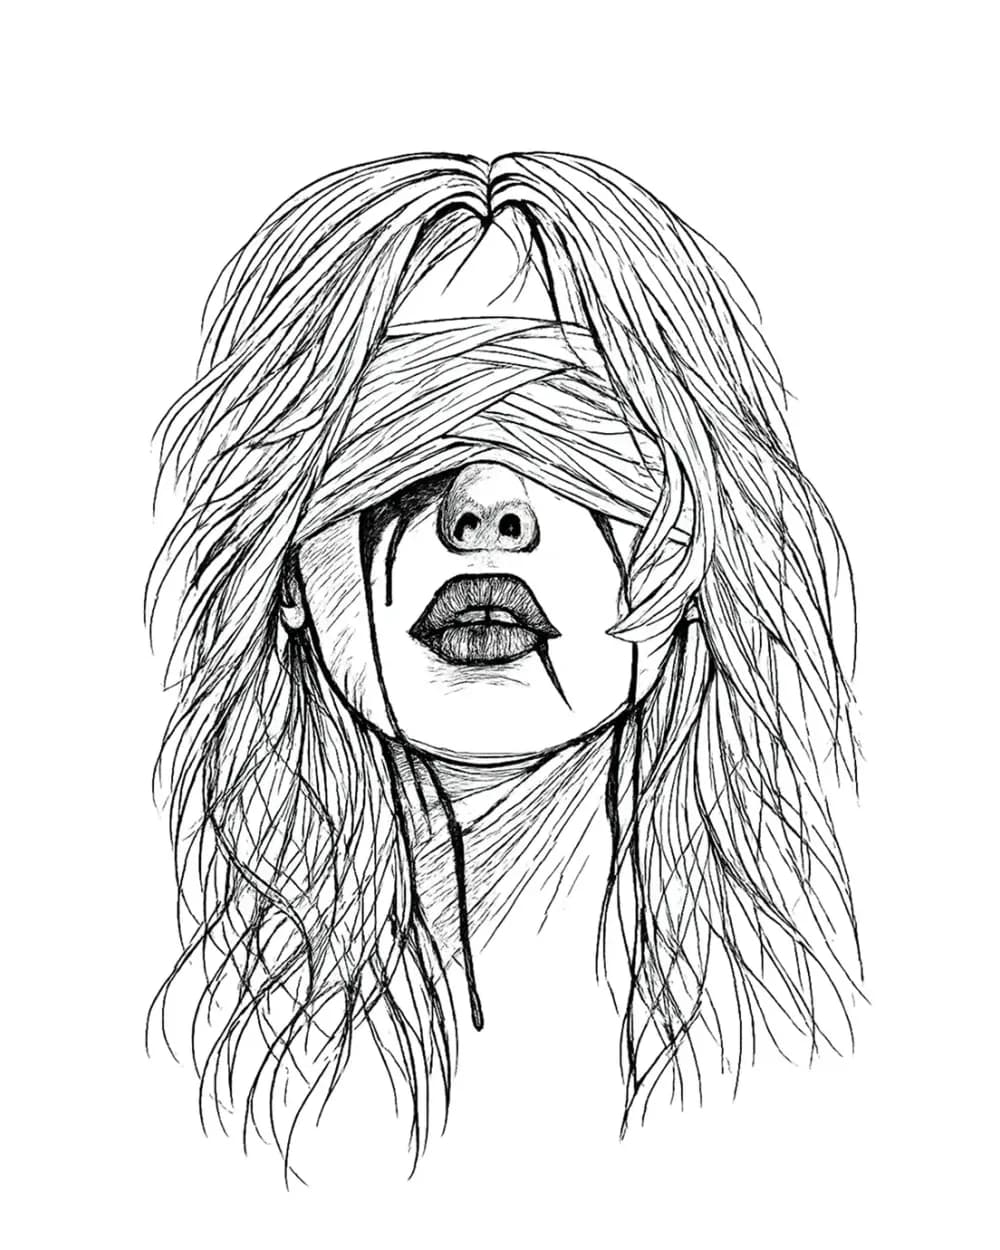
Blindfolded woman portrait stencil with clear mouth, nose, jaw, and layered hair landmarks

Blindfolded portrait reference for checking which facial landmarks still carry the human read when the eyes are intentionally hidden.

The blindfold changes the eye area without erasing the nose, mouth, jaw, and outer face structure that keep the portrait coherent.
Symbolic or surreal portraits where likeness is not carried by visible eyes and the mouth, nose, jaw, and face contour need to do more structural work.
Blindfold edges and loose hair can create a dense horizontal band if they are given the same emphasis as the remaining facial landmarks.
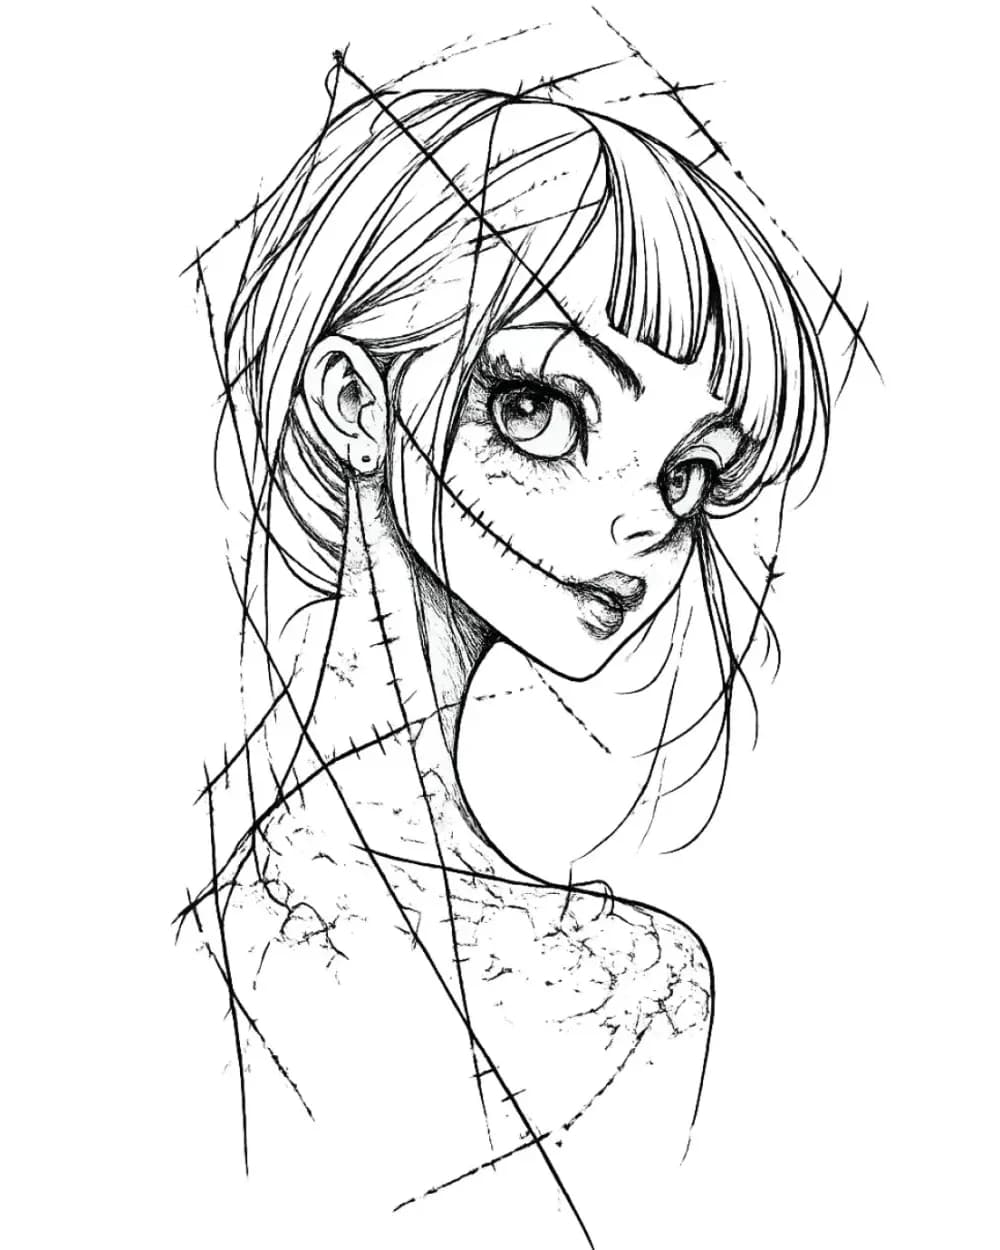
Stylized woman face stencil with oversized eyes and secondary scratch-like linework

Stylized face reference where expression and graphic landmarks matter more than realistic anatomy.

The oversized eyes and mouth establish the expression immediately while the extra graphic marks stay secondary.
Expression-first face work where recognizability comes from a few exaggerated landmarks rather than exact portrait likeness.
Scratch-like overlays around the face can compete with the eyes and mouth if they are preserved at equal weight.
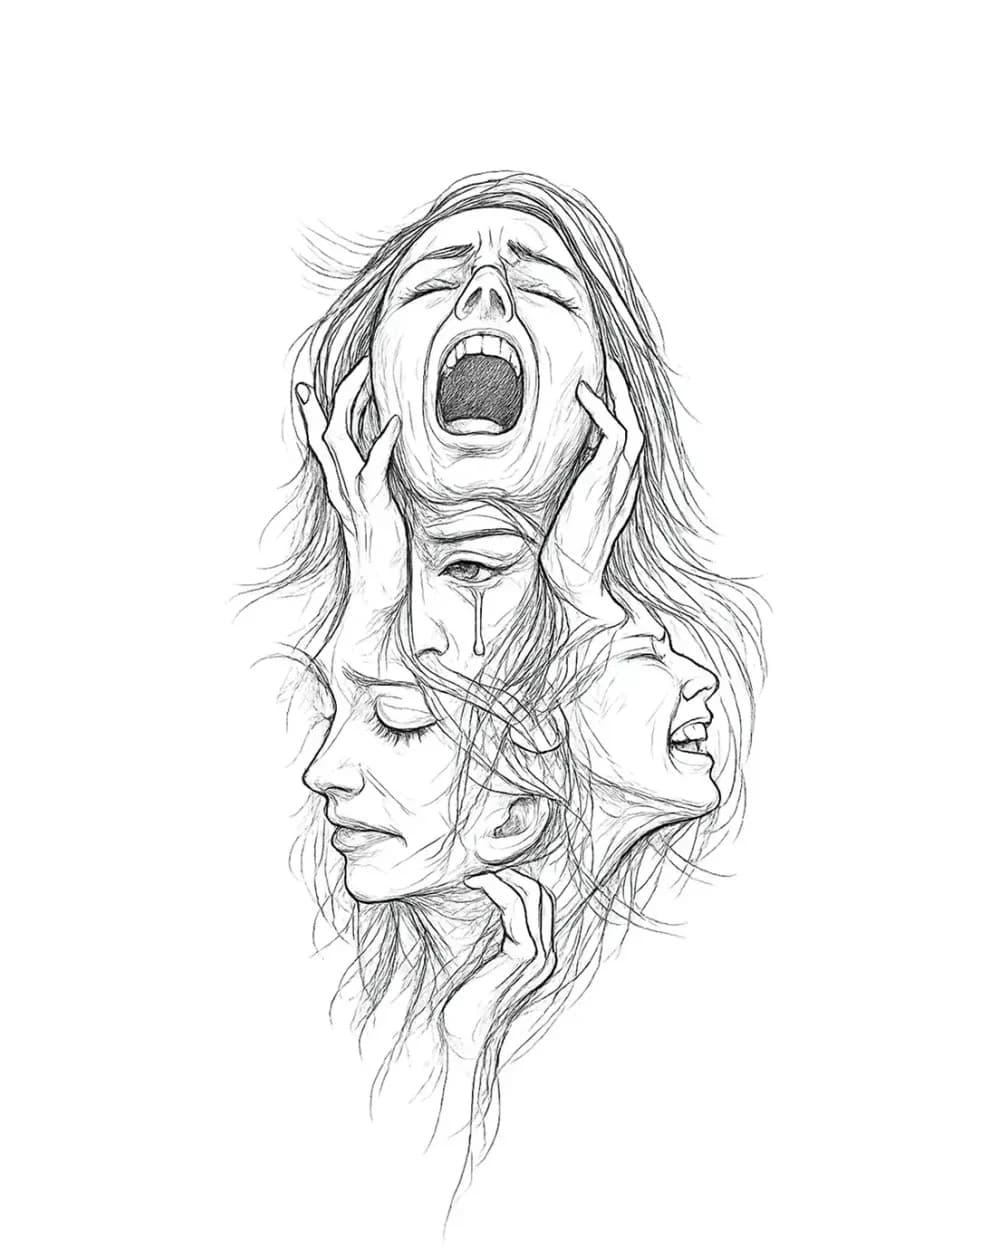
Stacked screaming-face stencil with three separated expressions in a vertical composition

Multi-face reference for checking face separation, overlap, and focal hierarchy.

Each face keeps a distinct mouth, eye area, and contour so the expressions remain separate within one vertical piece.
Larger multi-face layouts where secondary faces still need enough separation to read individually.
Hair texture and overlap zones can merge first when the composition is reduced.
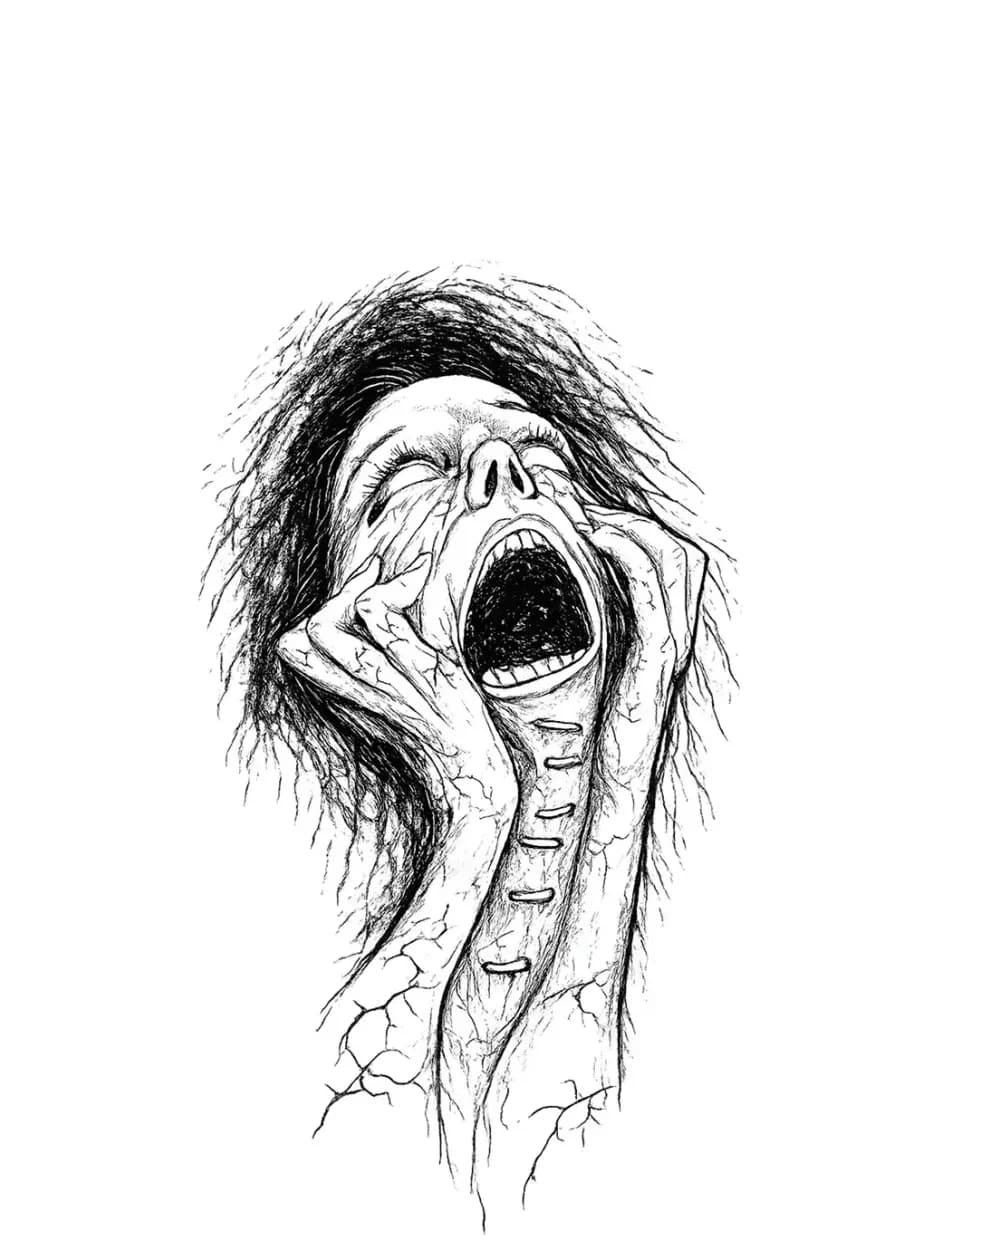
Screaming horror portrait stencil with elongated face, open mouth, and hair-framed silhouette

Horror portrait reference where expression should stay ahead of scratchy texture.

The open mouth and elongated face establish the emotional read before the surrounding hair and texture add atmosphere.
Single-face horror work where one exaggerated expression is the primary recognition anchor.
Hair scribble and neck texture can become darker than the face landmarks and bury the expression.
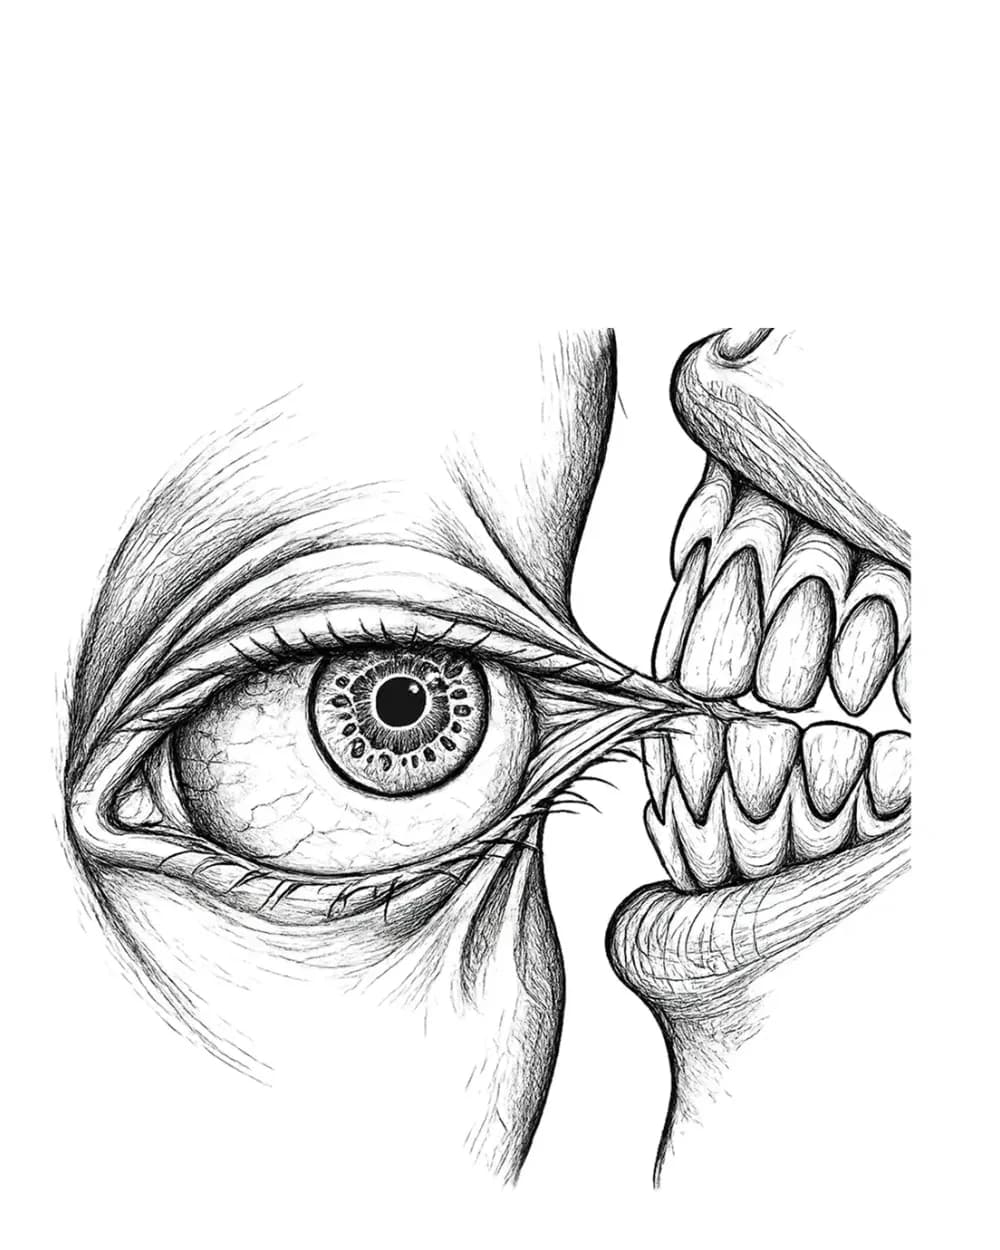
Surreal split-face stencil with one dominant eye and a dense teeth-and-mouth section

Surreal face reference for comparing one dominant anchor against a dense secondary detail cluster.

The eye creates an immediate first read while the split mouth provides a clearly separate second focal area.
Surreal portrait work where a dense detail cluster must support, not replace, the primary facial anchor.
Tooth and gum detail can gain too much visual mass and flatten the intended eye-versus-mouth hierarchy.
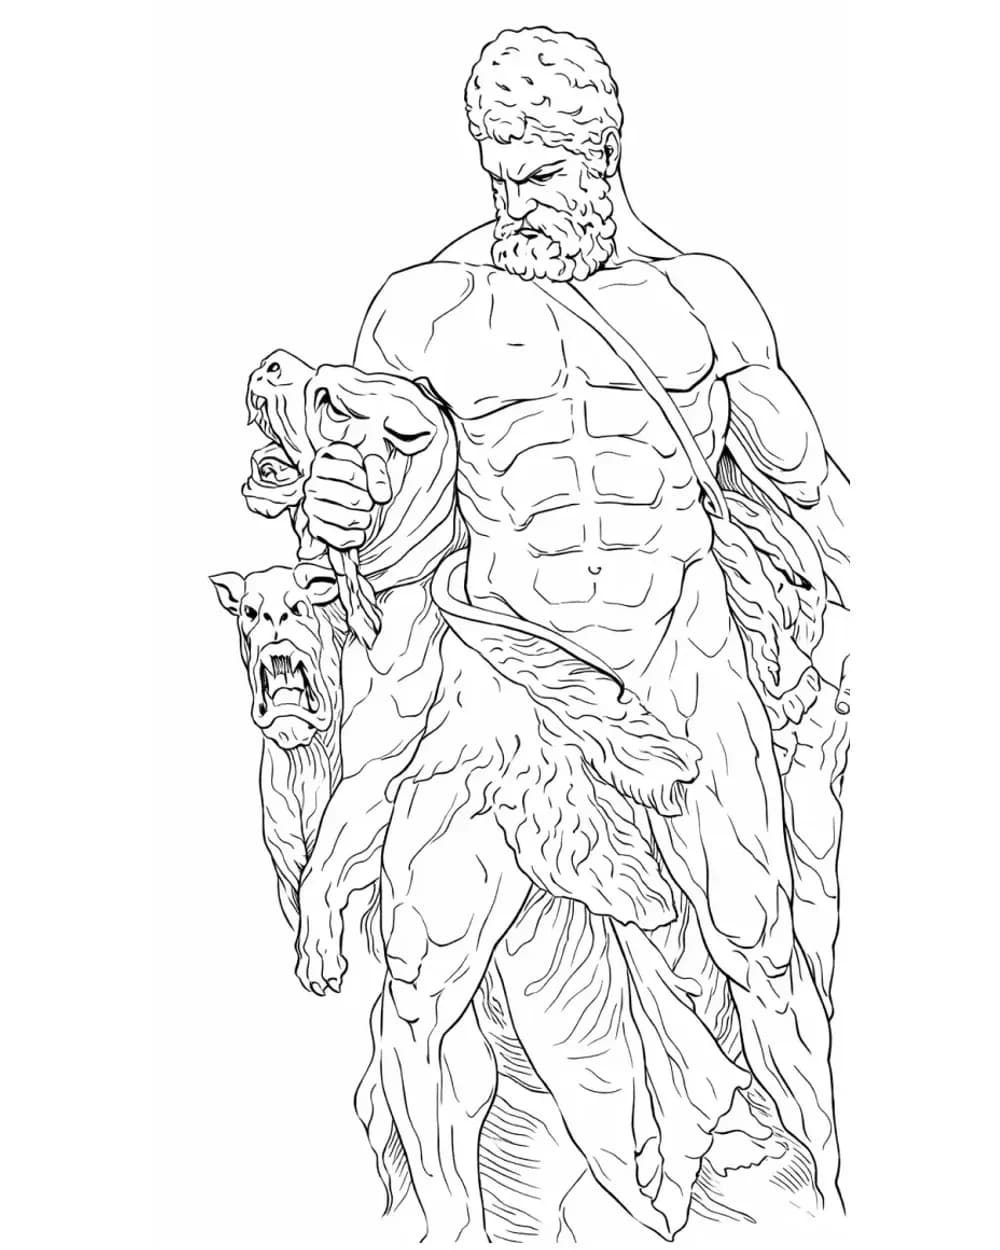
Classical full-figure stencil with drapery, readable anatomy, and a strong vertical silhouette

Full-figure reference where pose and silhouette carry the first read before small anatomy details.

The whole-body pose and vertical silhouette remain readable without relying on facial micro-detail.
Figure-led compositions where limb-to-torso relationships and the overall pose matter more than face detail.
Small anatomy lines, hands, and drapery folds need enough final-size separation to avoid local crowding.
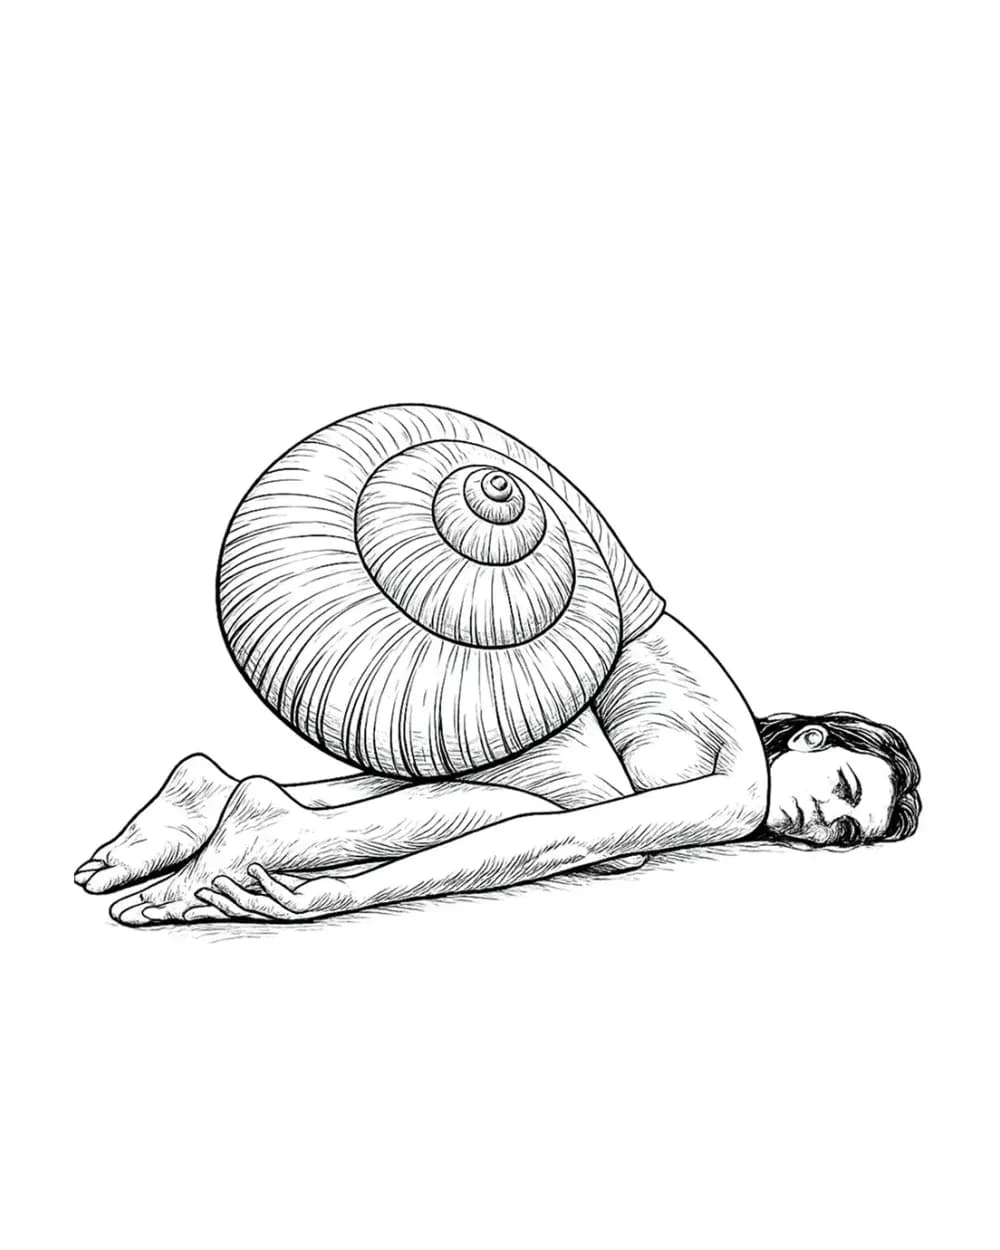
Curled human figure stencil integrated with a large shell in a surreal body-led composition

Body-led surreal reference for testing whether pose remains readable under a strong concept layer.

The curled pose and shell form read as one controlled silhouette because the human body remains structurally legible.
Surreal figure concepts where the body and a second major form must remain distinguishable at the same scale.
Repeated shell rings can compete with body contours until the figure starts reading as texture instead of form.
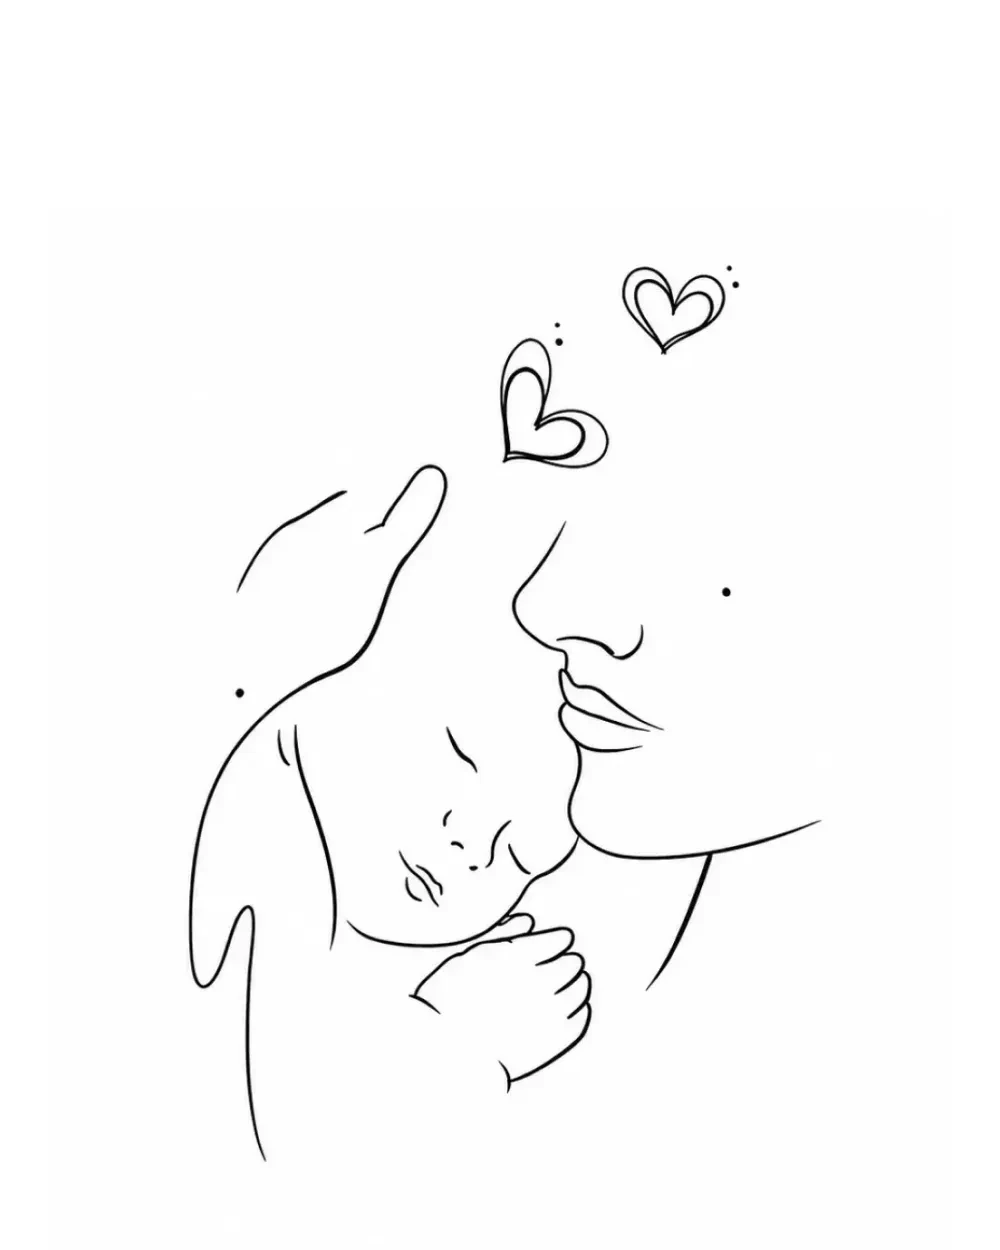
Sparse one-line mother-and-baby portrait stencil using very few strokes for the human read

Low-detail human reference showing that recognition can survive through relationships rather than line count.

A small number of connected contours still communicates the two figures and their relationship without dense interior rendering.
Comparing how far a human subject can simplify while the pose and emotional relationship still read.
The overlap between the baby face and the adult chin is a small area where sparse lines can become ambiguous.

Portrait vs figure comparison map

Compare what has to survive before you preserve more detail.

Human-subject stencils do not all fail for the same reason. A likeness-led face depends on feature relationships, a stylized face can depend more on expression, and a full figure can stay readable through pose and silhouette even when facial detail is secondary. Use the examples below to identify the first-read structure before adapting your own reference.

Single portrait / likeness-first

Face-led portrait
Recognition anchor
Protect the relationship between the eye line, nose direction, mouth shape, jaw, and outer face silhouette before adding tertiary texture.
What can simplify first
Fine hair strands, tiny surface marks, and low-priority interior texture can reduce before the main feature relationships do.
Highest-risk detail cluster
Small facial marks can crowd the eye-nose-mouth block and make a detailed stencil feel less like the intended face.
Final-size check
Check whether the eyes, mouth, jaw, and face outline still separate clearly when the image is viewed at the intended physical size.

Use Portrait Maker when a specific person's likeness must survive

Stylized face / expression-first

Stylized woman face
Recognition anchor
The oversized eye pair, mouth, and dominant face contour carry the expression more than exact realistic anatomy.
What can simplify first
Secondary scratch-like overlays and decorative marks should stay behind the face read.
Highest-risk detail cluster
Graphic texture near the eyes and mouth can become the first read instead of supporting the expression.
Final-size check
Reduce the preview until the expression either survives through the major features or collapses into texture.
Use your own stylized reference in Generate

Multi-face composition

Stacked screaming faces
Recognition anchor
Each face needs a distinct expression and enough separation that one mouth, eye pair, or cheek contour does not merge into the next.
What can simplify first
Repeated hair texture and secondary sketch marks can reduce before the spacing and focal hierarchy between faces.
Highest-risk detail cluster
The overlap zones between hair, mouths, and neighboring contours are the first place the composition can turn into one dense block.
Final-size check
Check whether each face is still individually readable and whether the secondary faces remain separate at the final scale.
Diagnose final-size crowding if the faces begin to merge

Horror / surreal portrait

Eye-and-teeth split portrait
Recognition anchor
The dominant eye and split mouth create the first read; the surreal cut only works if those anchors remain visually separate.
What can simplify first
Secondary tooth, gum, and surrounding texture can reduce before the eye-mouth relationship.
Highest-risk detail cluster
Dense tooth and gum detail can overpower the eye and flatten the intended hierarchy.
Final-size check
Check the negative space between the eye, mouth split, and tooth groups before keeping more micro-detail.
Generate from your own surreal reference once the hierarchy is decided

Classical / full figure

Classical full figure
Recognition anchor
The whole-body pose, vertical silhouette, and major limb-to-torso relationships carry the figure before facial micro-detail does.
What can simplify first
Minor drapery folds and small anatomy marks can reduce while the pose and body relationships stay intact.
Highest-risk detail cluster
Drapery, fingers, and small anatomy lines can create dense local clusters even when the overall silhouette is strong.
Final-size check
Zoom out to confirm the full pose still reads, then inspect hands, folds, and close limb intersections at output size.
Set physical size after the figure structure is approved

Body-led surreal composition

Curled figure with shell
Recognition anchor
The curled pose and relationship between the human body and the concept layer must read as one controlled silhouette.
What can simplify first
Repeated shell rings and secondary surface texture can reduce before the body arc and shell-body relationship.
Highest-risk detail cluster
Shell rings and body contours can compete until the pose stops reading as a figure and becomes undifferentiated texture.
Final-size check
Check whether the body arc, limbs, and main concept shape remain separable before preserving smaller repeated marks.
Move to body-fit review when a specific figure composition is ready for placement

Specific face or photo?

Leave the gallery when likeness becomes the job.

This collection compares finished first-party portrait, face, and figure stencil structures. It does not preserve the identity of a specific client, repair a portrait photo, or generate a personalized likeness.

If you are working from one specific client face or photograph and the identity needs to survive conversion, use the Portrait Tattoo Stencil Maker. If the reference is already chosen and likeness is not the specialist problem, Generate owns the general reference-to-stencil step.

Portrait and figure preparation notes

Keep recognition and pose ahead of texture.

Use these notes after the comparison map: portraits, expressive faces, and full figures have different first-read structures, but all become harder to recover when secondary detail wins too early.

Likeness is carried by relationships before micro-detail

More lines do not automatically preserve a portrait better. In face-led work, recognizability can depend more on the relationship between the eye line, nose direction, mouth, jaw, hair mass, and outer silhouette than on lashes, individual hairs, wrinkles, or texture. Compare the simpler and denser examples here by asking which relationships still read when the smaller marks stop attracting attention.

Protect the expression before texture becomes the focal point

Stylized, screaming, and horror faces can tolerate distortion without becoming a likeness problem, but the intended expression still needs a hierarchy. Eyes, mouth, brows, jaw, and dominant face contours should stay ahead of hair scribble, tooth texture, decorative marks, and secondary sketch lines. In multi-face work, separation and overlap become an additional problem because a secondary face can disappear long before the whole composition does.

A full figure is often recognized from pose before the face

Figure-led stencils shift the first-read problem outward. Whole-body silhouette, limb-to-torso relationships, gesture, drapery direction, and the relationship between a body and a surreal concept layer can matter more than facial detail. That is why this collection stays broader than portraits alone: a strong figure can remain readable even when the face is a small secondary element.

Check the smallest recognition-critical cluster at real output size

A portrait or figure can look clear at gallery scale and still lose eye separation, mouth structure, hair gaps, fingers, drapery, or separation between multiple faces when reduced. There is no universal minimum tattoo size for human subjects. Set the intended physical dimensions, then inspect the feature or overlap cluster that would most damage recognition if it closed or disappeared.

Related stencils

Keep exploring.

Useful guides

Take the next step in the workflow.

Browse guides

FAQ

Portrait and figure stencil questions.

Start with the first-read structure: facial feature relationships for likeness-led portraits, expression anchors for stylized faces, separation for multi-face compositions, and pose or silhouette for full figures. Then inspect the densest local cluster at the physical size you plan to use.

Next step

Use your own portrait or figure reference

After you decide which recognition anchors, expression cues, or figure relationships need to survive, generate a stencil from the reference you actually plan to use.