

Buying Guides
Tattoo Stencil Paper: Choose the Right Media for Your Workflow
Choose the right tattoo stencil or transfer paper for thermal printers, freehand tracing, portable printers, and inkjet stencil systems.
tattoo stencil paper · tattoo transfer paper · tattoo printer paper · thermal tattoo stencil paper · inkjet stencil paper
- April 1, 2026
- September 15, 2026
- 15 min
The right tattoo stencil paper depends on how you are making the physical stencil.
- Thermal stencil printer: use thermal or thermographic transfer paper that is compatible with the printer.
- Manual or freehand tracing: use freehand, carbon, or tracing media designed for hand-created stencils.
- Inkjet tattoo stencil printer: use the paper or film specified for that inkjet stencil system and its ink.
- Portable thermal printer: it is still a thermal-paper workflow, but loading and supported sheet sizes can be model-specific.
Do not choose paper only because it says A4, four-layer, carbon, or tattoo transfer paper on the listing. A sheet can physically fit the printer and still be the wrong media for the way that printer creates the stencil.
What tattoo stencil paper do I need?
Start from how the stencil gets made, not from the product name. Find your row, read only that type section, then run the compatibility checklist before you buy.
| Your workflow | Paper or media to look for | One check that decides it | | --- | --- | --- | | Thermal stencil printer or copier | Thermal / thermographic tattoo transfer paper | Paper is documented for your exact printer model, in a sheet size and loading direction that printer supports | | Portable Bluetooth thermal printer | Compatible thermal transfer paper for that model | Feed width, sheet length, layer removal, and print-side orientation match that exact portable model | | Hand tracing or freehand stencil | Freehand transfer paper, sheet carbon, or tracing media | Product is rated for manual use, with the correct sheet pairing and tracing orientation | | Epson / inkjet stencil system | Inkjet stencil paper or transfer film specified by the system | Printer, ink, media, feed path, driver setting, and transfer method all come from the same documented system |
Read only the section for your workflow: Thermal for studio thermal printers, the portable-printer section for narrow portable models, Freehand for hand tracing, Inkjet for Epson and inkjet systems. Every other section is background, not a second option to combine.
The easiest mistake is to treat tattoo stencil paper as one universal product category. It is not.
Is tattoo stencil paper the same as tattoo transfer paper?
The names overlap heavily in stores and search results, but they do not describe one universal sheet.
You may see products called:
- tattoo stencil paper;
- tattoo transfer paper;
- thermal transfer paper;
- tattoo carbon paper;
- hectograph paper;
- freehand transfer paper;
- stencil printer paper;
- inkjet stencil paper.
The useful question is not the label. It is how the design gets onto the stencil sheet.
Spirit, for example, currently sells separate thermal and freehand product families. Its Classic Thermal paper is made for thermal stencil workflows, while Classic Freehand is intended for hand drawing without a printer. Spirit also sells Sheet Carbon and Transfer Tracing Paper for manual workflows. Those products serve related jobs, but they are not interchangeable simply because all of them can produce a tattoo stencil.
Thermal tattoo stencil paper
Thermal transfer paper is designed for a compatible thermal stencil printer or copier.
Quick check for this type: creation method is heat from the printer marking the dye layer; use with thermal or thermographic paper matched to your exact printer model; format and loading check is usable width and length plus print-side orientation and which backing or protective sheet comes off first; mismatch failure is blank or patchy output, creasing, or jams even when the sheet physically fits.
Before buying a large pack, check:
- Printer compatibility. Confirm that the paper is intended for your printer type or model.
- Sheet size. Check usable width and length, not only whether the product is described as A4 or Letter.
- Loading direction. Follow the paper and printer instructions for which side faces the print mechanism.
- Layer handling. Some products or printers require a protective or backing sheet to be removed before printing; others use a different stack.
- Long-stencil support. If you regularly print sleeves or larger pieces, check whether the printer supports longer sheets, rolls, or whether you should tile the design across normal pages.
Do not memorize one universal “four-layer paper setup.” Construction and loading instructions differ by product and printer.
Spirit currently sells Classic Thermal paper in several lengths as well as roll media. Phomemo publishes model-specific transfer-paper instructions for its M08F workflow, including how the sheet is prepared and loaded. Those examples are useful precisely because they show why the correct instructions belong to the exact product and device.
If you are still choosing the printer itself, start with the Tattoo Stencil Printer guide.
Freehand, carbon, and hectograph tattoo transfer paper
If you are tracing or drawing the stencil by hand, use media intended for manual transfer rather than assuming thermal printer paper is the best choice.
Quick check for this type: creation method is hand pressure from tracing or drawing, with no printer heat or ink; use with freehand, carbon or hectograph, or tracing media rated for manual use; format and loading check is the correct sheet pairing and tracing orientation for that manual product; mismatch failure is faint or uneven hand transfer, or damage when manual media meets heat it was never made for.
Current Spirit products illustrate the distinction:
- Classic Freehand is made for hand-drawn stencils and does not require a printer.
- Classic Sheet Carbon is intended for manual use and is specifically described as not suitable for thermal or fax-style machines.
- Transfer Tracing Paper is designed to work with Spirit's manual carbon/freehand products.
The terminology can vary between brands. “Hectograph,” “carbon,” “freehand,” and “transfer paper” may describe overlapping manual workflows, so read the product instructions rather than buying from the name alone.
If you need the actual tracing workflow rather than help choosing the paper, use How to Use Tattoo Transfer Paper Without a Thermal Copier.
Inkjet tattoo stencil paper
Inkjet stencil media is more system-specific than many listings make it appear.
Quick check for this type: creation method is liquid stencil ink jetted onto coated paper or film; use with only the paper or film specified for your printer plus ink combination; format and loading check is feed path, printable side, driver or media setting, and transfer method for that system; mismatch failure is beading, feathering, smearing, or pooling when ink and coating do not match.
An inkjet stencil workflow can involve:
- an Epson EcoTank filled with specialist stencil ink;
- a purpose-built inkjet tattoo stencil printer;
- a printable transfer film used with normal OEM printer ink.
Those approaches do not automatically use the same paper.
InkJet Stencils, for example, currently sells single-ply stencil printing paper validated for its own stencil ink and Epson EcoTank workflow. Other inkjet systems publish different combinations of printer, ink, film, and settings.
Do not load normal thermal transfer sheets into an inkjet printer simply because the sheet dimensions fit.
For Epson/EcoTank setup, stencil ink, media profiles, settings, and troubleshooting, use the Inkjet Tattoo Stencil Printer guide.
What paper works with a portable tattoo stencil printer?
Most current portable tattoo stencil printers are thermal, so start with the paper requirements for the exact printer model.
Quick check for this type: creation method is heat, same as studio thermal, through a narrower portable feed path; use with thermal transfer paper that the exact portable model supports; format and loading check is maximum feed width, supported sheet length, single-sheet feed rule, layer removal, and print-side orientation; mismatch failure is skew, creasing, or partial prints when a full-size studio sheet is forced into a portable path.
Check:
- supported transfer-paper type;
- maximum feed width;
- supported sheet length;
- whether layers need to be removed before printing;
- which side faces up or down;
- whether the printer requires one sheet at a time;
- whether the manufacturer recommends its own branded paper or documents compatible alternatives.
A Bluetooth connection does not create a new kind of paper. It only changes how the file reaches the printer.
Phomemo's M08F paper instructions are a good example: the company publishes a specific preparation and loading sequence for its transfer sheets. Do not assume another portable printer uses the same sequence.
How many layers does tattoo transfer paper have?
There is no useful universal answer for every product.
Many thermal tattoo transfer sheets are sold as multi-layer products, often described as four-layer paper, but what those layers do and what you remove before printing depends on the product and printer instructions.
Manual carbon systems can use a different sheet arrangement. Inkjet stencil paper can be single-ply. Transfer films are different again.
So do not choose paper because one listing says “four layers” and another does not. Choose it because the paper construction matches the way you create the stencil.
Tattoo stencil paper compatibility checklist
Before ordering or loading a new paper, run these seven checks in order. Stop at the first failure and fix it there, because a later check cannot pass when an earlier one fails.
1. Name the creation method
Pass when you can state one method: thermal printer, hand tracing, or inkjet system.
If you have not decided that yet, choose the printer workflow first.
2. Name the exact printer or manual system
Pass when you can state the model plus the paper or ink system you actually use.
“Thermal,” “Bluetooth,” or “Epson” alone is not specific enough, because compatible media changes by model.
3. Confirm documented compatibility, not just size
Pass when the paper instructions name your printer type, ink, or manual method.
A sheet being the right width does not prove it is designed for your printer, ink, or transfer method.
4. Confirm the format fits the tattoos you print
Pass when width, length, feed path, and your normal stencil sizes all fit without forcing the sheet.
If the design is larger than one supported sheet, use the Tattoo Stencil Size & Print Calculator to create a true-size multi-page layout rather than forcing unsupported media through the printer.
5. Confirm the loading sequence before printing
Pass when you can state which side prints, which layers stay, which layers come off, and whether a carrier or special feed path is required.
Do a dry load with the instructions open. If orientation or layer prep is a guess, do not print the client stencil yet.
6. For inkjet, confirm the full ink system matches
Pass when stencil ink, paper, printer, and driver or media setting come from one documented combination.
Do not mix parts from different systems without compatibility guidance.
7. Confirm consistency on repeat prints
Pass when three prints of the same unchanged file, size, printer, and settings look materially similar.
Look for:
- clean main contours;
- fine lines that should still be present;
- open gaps and counters;
- straight feeding;
- no creasing or buckling;
- no smearing or ink pooling;
- repeatable output from one sheet to the next.
The Tattoo Stencil Printer Test Sheet gives you fixed patterns for this comparison.
How to compare tattoo stencil paper without trusting marketing claims
Words such as high detail, professional, sharpest, and best transfer do not tell you whether the paper works with your printer and workflow.
Judge the paper on practical questions. Run every candidate through the same check: freeze the file, physical size, printer or manual method, and settings, then print or trace the same design three times and score each row below.
| Check | Pass looks like this | Fail that rules the paper out | | --- | --- | --- | | Compatibility | Paper instructions name your printer, ink, or manual method | Correct width but no documented match for your system | | Feeding | Prepared sheets feed straight with no repeated skew, jams, or buckling | Creasing or skew returns after correct layer prep and orientation | | Line reproduction | Main contours, fine lines, and open gaps survive on the physical stencil | Contours stay but fine lines or counters fill in or drop out | | Consistency | All three repeats look materially similar | One clean print followed by faint or uneven repeats | | Format | Sheet size covers the tattoos you normally print without trimming tricks | Only small flash fits, or long designs need unsupported forcing | | Handling | The stencil survives normal positioning without tearing or smudging away | Dye lifts, flakes, or smears during ordinary handling | | Instructions | Loading and prep can be repeated from the written steps alone | Each print needs a new guess about sides, layers, or settings |
There is no honest “best overall tattoo stencil paper” without specifying the printer or manual workflow first.
Is the tattoo stencil paper actually the problem?
Changing paper will not fix every bad stencil.
Use the visible problem to decide what to check:
| What happens | What to check | | --- | --- | | Paper jams, skews, buckles, or creases | Paper compatibility, sheet condition, layer preparation, loading direction, feed path, printer | | Ink beads, feathers, or smears on inkjet paper | Ink/paper pairing, printable side, media profile, inkjet setup | | Lines are missing in the digital file before printing | Fix the stencil file, not the paper | | Digital file is correct but lines disappear on paper | Printer, settings, printhead/thermal output, paper compatibility | | Printed stencil is the wrong physical size | Paper size selection, Fit/Fill scaling, driver or app settings | | Paper stencil is clean but skin transfer is faint or patchy | Transfer solution, contact, body curvature, movement, setting process | | Stencil is reversed | Mirror/orientation workflow, not paper quality |
For physical printer failures, use the Tattoo Stencil Printer Troubleshooter. If the paper looks correct and the problem appears only on skin, move to How to Apply a Tattoo Stencil to Skin or the Transfer Troubleshooter.
Do not blame the paper for detail that was already missing
Before switching media, open the exact PNG or PDF you sent to the printer.
Paper cannot restore:
- a line removed during stencil simplification;
- a gap that already closed at final size;
- detail lost because the image was enlarged too far;
- a wrong mirror state;
- a design silently rescaled by the print path.
Use the Tattoo Stencil Print Checker when you need to inspect the final file at its intended physical size before consuming more paper.
“Printable tattoo stencil” is not the same as stencil paper
Someone searching for a printable tattoo stencil may be looking for a tattoo design, downloadable stencil, or a way to turn artwork into a printable file. That is a different job from choosing transfer paper.
If you need the stencil itself, use Generate or browse the Tattoo Stencil Gallery. If the stencil already exists but needs exact physical dimensions or tiling, use Tattoo Stencil Size & Print.
A simple file-to-skin workflow
When the whole process is getting confusing, use this order:
- Prepare the stencil file. Use Generate or your normal stencil-prep workflow.
- Set the physical size. Use Size & Print.
- Choose the printer or manual method. Use the Tattoo Stencil Printer guide when needed.
- Choose compatible paper. Match the media to the exact thermal, manual, or inkjet method.
- Print or trace the stencil. Follow the instructions for that system.
- Inspect the physical stencil. Compare it with the file before skin transfer.
- Apply it to skin. Use the Tattoo Stencil Application guide.
Keeping those steps separate makes it much easier to work out whether a failure came from the file, the printer, the paper, or the transfer to skin.
FAQ
What paper do tattoo artists use for stencils?
It depends on how the stencil is made. Thermal stencil printers use compatible thermal transfer paper. Hand-traced stencils use freehand, carbon, or tracing media made for manual use. Inkjet stencil systems use paper or transfer film specified for the printer and ink system.
Is tattoo stencil paper the same as tattoo transfer paper?
The terms are often used interchangeably in stores and search results, but they do not identify one universal product. Thermal, freehand/manual, and inkjet media can all be called stencil or transfer paper even though they work differently.
Can I use thermal tattoo stencil paper with any thermal printer?
Do not assume every thermal paper works with every printer. Check the paper instructions together with the exact printer's supported width, loading method, feed path, and media guidance.
How many layers does tattoo transfer paper have?
Many thermal products are sold as multi-layer or four-layer transfer paper, but construction and preparation vary. Manual carbon systems and inkjet media can use different arrangements, including single-ply products. Follow the instructions for the exact paper and printer rather than relying on a universal layer count.
Can I use thermal tattoo stencil paper in an inkjet printer?
Not by default. Inkjet stencil workflows can require their own paper, transfer film, and stencil ink. Use the media specified for the inkjet system rather than substituting thermal paper because it is the same size.
What paper works with an Epson tattoo stencil printer?
Use the paper specified by the Epson/EcoTank stencil system you selected. For example, InkJet Stencils currently validates its own single-ply paper with its own stencil ink. Other Epson-based systems can publish different media requirements.
Can I use tattoo transfer paper without a thermal printer?
Yes, when you use paper designed for freehand or manual tracing. Products such as freehand transfer paper, sheet carbon, and tracing paper can create stencils without a thermal printer. Follow the manual product's own sheet and tracing instructions.
Which side of tattoo transfer paper goes into the printer?
There is no safe universal orientation for every paper and printer. Follow the exact loading instructions for the media and device. Some portable-printer workflows specify which layers to remove and which side faces the print mechanism.
Why is my tattoo stencil paper jamming or creasing?
Check that the paper is supported by the printer, prepared with the correct layers, loaded in the right orientation, within the supported width and length, and not damaged or curled. If those checks pass, move to the printer feed path and hardware rather than assuming the paper brand alone is responsible.
Why is my tattoo stencil printing faint or missing fine lines?
First check whether the final digital file contains the detail. If the file is correct but the physical stencil is not, compare the printer settings, printhead or thermal output, loading, and paper compatibility. If the physical stencil is clean but the skin transfer is weak, move to the transfer process instead of changing paper.
Manufacturer and system references
- Spirit Classic Thermal Paper - current manufacturer example of thermal tattoo transfer media.
- Spirit Classic Freehand - current manufacturer example of a no-printer freehand transfer-paper workflow.
- Spirit Classic Sheet Carbon - current manufacturer example of manual sheet carbon that is not intended for thermal/fax printers.
- Spirit Transfer Tracing Paper - current tracing-paper example intended to pair with Spirit manual carbon/freehand media.
- InkJet Stencils Stencil Printing Paper - current example of single-ply media validated for a dedicated stencil-ink system.
- InkJet Stencils: How to Use - current printer, ink, media, and settings workflow for that system.
- Phomemo M08F Transfer Paper - current example of model-specific transfer-sheet preparation and loading guidance.
Related Collections
Jump from the guide to reviewed stencil examples
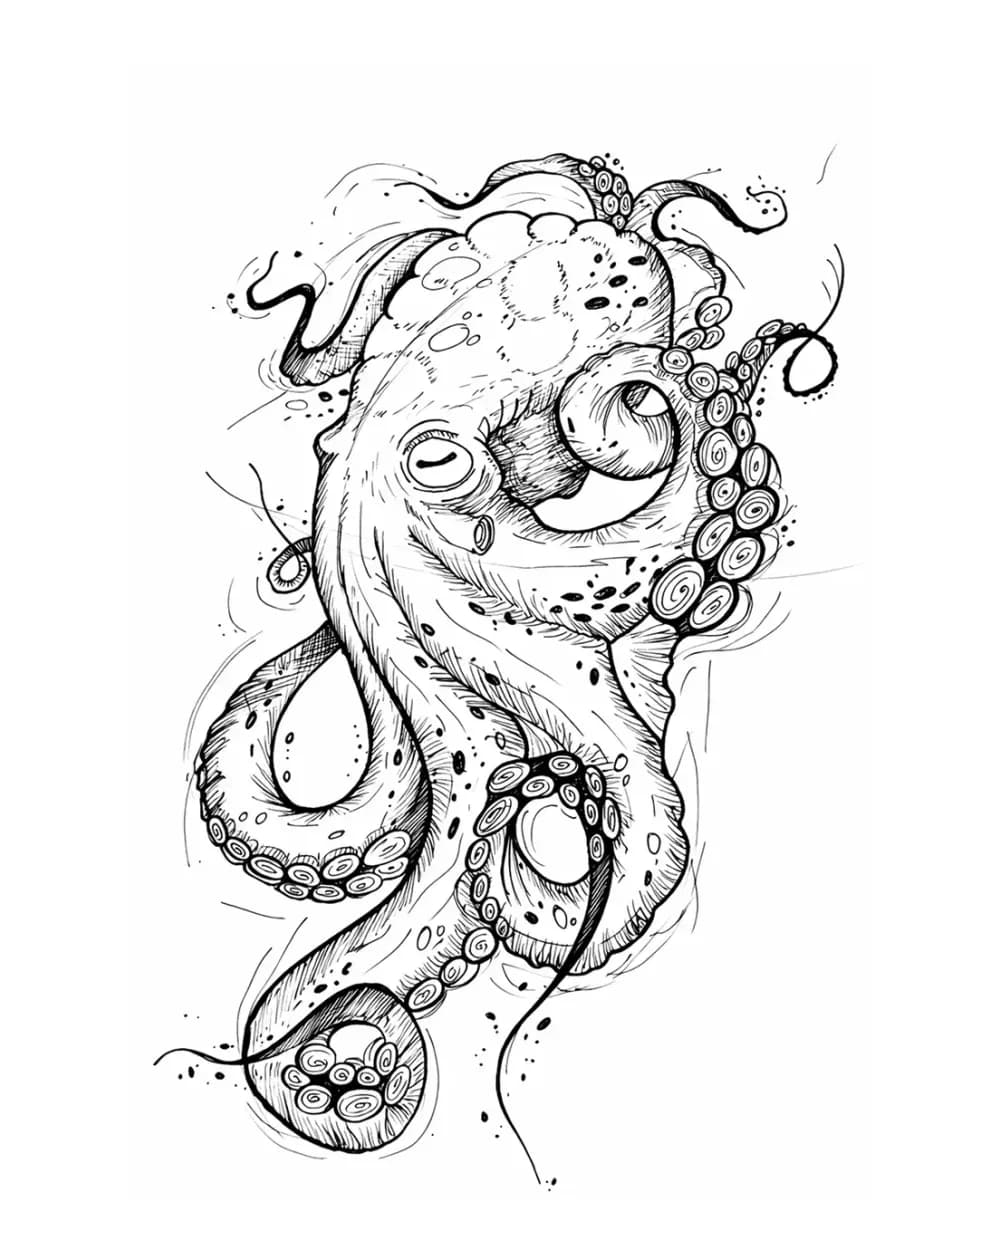
Animal Tattoo Stencil Gallery
12 curated examplesCompare 12 curated animal tattoo stencil examples across wildlife, pets, birds, and sea life. Start with the animal silhouette and recognition landmarks, then compare ho…
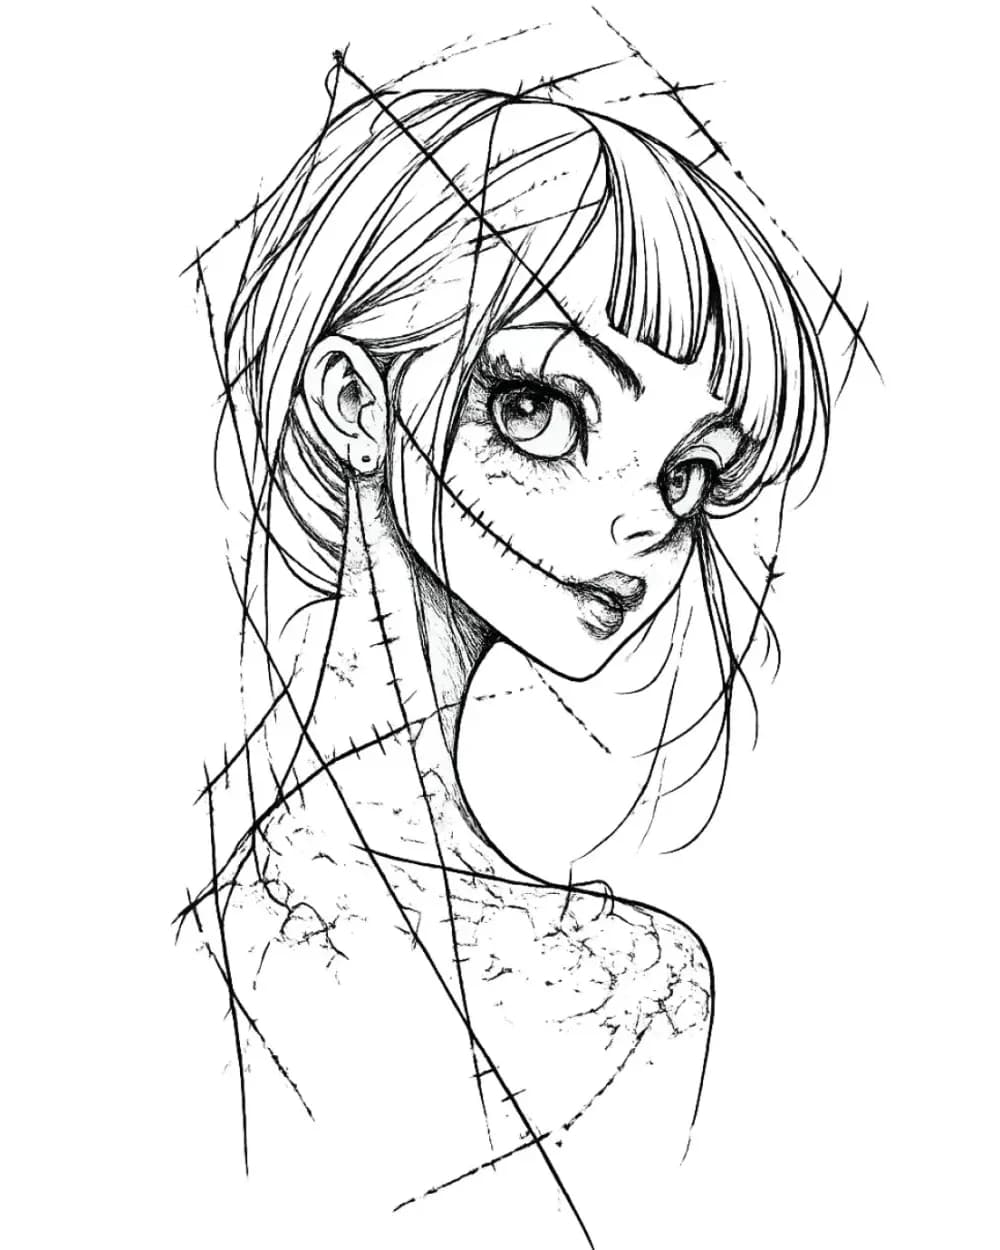
Portrait & Figure Tattoo Stencil Examples
9 curated examplesCompare first-party portrait, face, and figure tattoo stencil examples to see which recognition anchors, expression cues, body shapes, and detail clusters need to surviv…
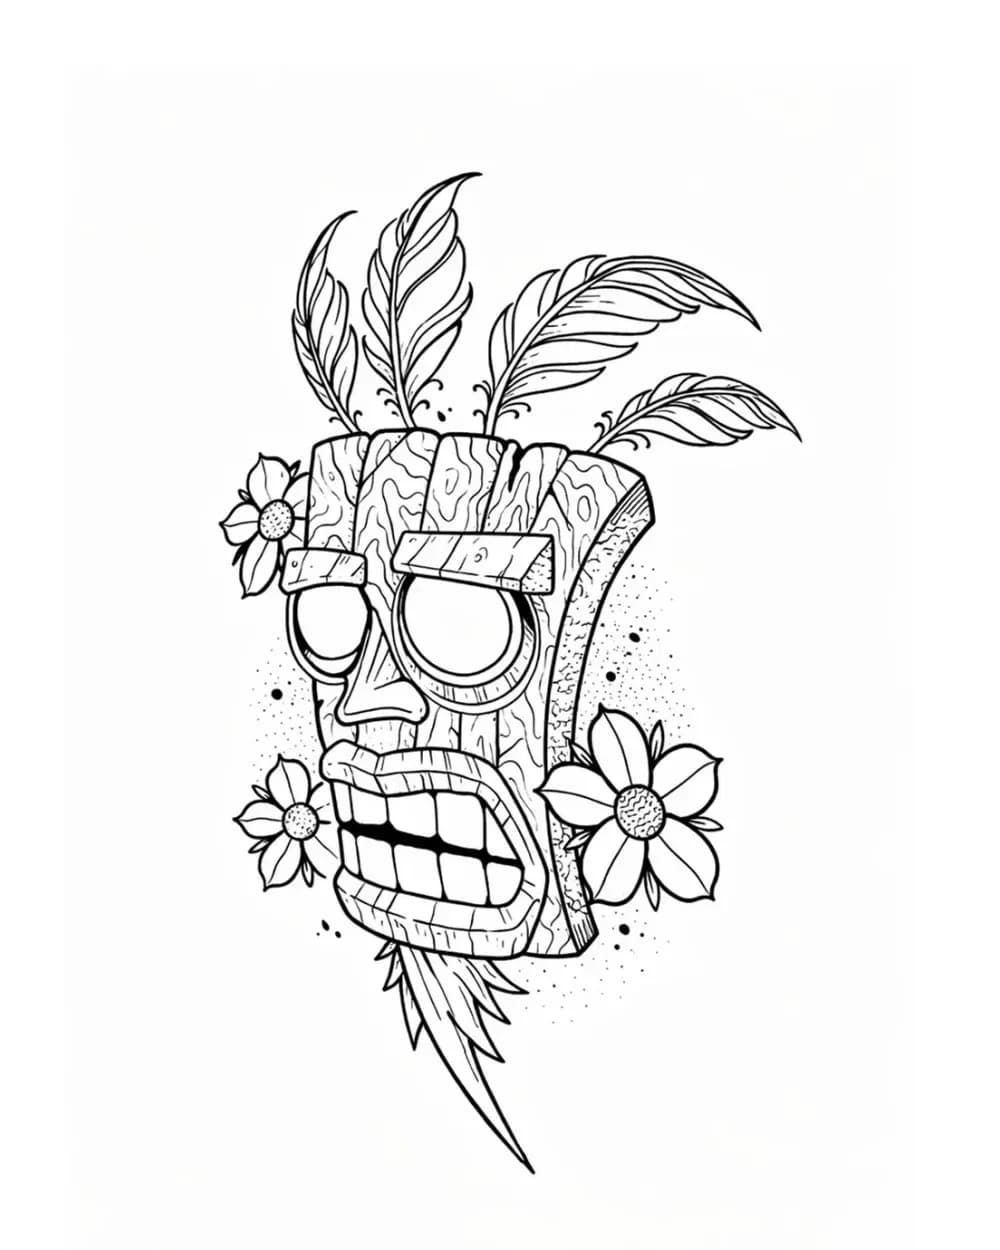
Tattoo Symbol Stencils
7 curated examplesCompare compact tattoo symbol stencils to see which silhouettes, internal gaps, repeated details, and orientation cues stay readable before adapting your own reference.…
Related Guides
Keep reading from here
Tattoo Stencil Printer: Choose the Right System for Your Workflow
Compare tattoo stencil printers by thermal vs inkjet workflow, print size, phone connectivity, portability, paper, repeatability, and real studio use.
tattoo stencil printer · thermal tattoo stencil printer
Read guide
Inkjet Tattoo Stencil Printing: Epson EcoTank Workflow
Set up an Epson or inkjet tattoo stencil workflow with the right printer, stencil ink, paper, print settings, file size, and troubleshooting steps.
epson tattoo stencil printer · inkjet tattoo stencil printer
Read guideHow to Use Tattoo Transfer Paper Without a Thermal Copier
Make a tattoo stencil by hand with impact, write-on, or hectograph transfer paper, then verify linework, size, orientation, and transfer readiness.
tattoo transfer paper without thermal copier · hand traced tattoo stencil
Read guideAuthor
Andrea Mezzadra
Founder and product builder at StencilStudio
Andrea builds StencilStudio and tests how the tools fit into real stencil prep, using real references and outputs to document what works, what changes, and where artist judgment still matters.
In the App
Is the paper actually the problem?
Check the final stencil at its intended physical size before changing paper, then compare the file, printer output, paper, and skin transfer separately.