

Printing & Transfer
How to Apply a Tattoo Stencil to Skin
Apply a tattoo stencil to skin with a clear professional workflow for placement, transfer solution, clean contact, curved areas, setting, and final checks.
how to apply tattoo stencil · tattoo stencil application · tattoo stencil transfer · tattoo stencil solution
- August 14, 2026
- September 15, 2026
- 10 min
A clean tattoo stencil application starts with a paper stencil that is already correct. Before it touches skin, confirm the design version, physical size, mirror state, placement, and paper output. Then follow the studio hygiene process and the instructions for the exact transfer product you use, place the stencil without sliding it, remove the paper as directed, inspect the transfer, and let it set for the time your product specifies.
If the paper stencil itself is wrong, fix that first. If the paper is clean but the transfer on skin is faint, patchy, doubled, smeared, distorted, or misplaced, use the Tattoo Stencil Transfer Troubleshooter rather than simply adding more product or pressure.
How to apply a tattoo stencil to skin
Use this sequence as the working checklist:
- Check the paper stencil. Make sure the correct design, size, orientation, and important lines are present before application.
- Set placement before contact. Confirm body position, landmarks, centerline, rotation, and any wrap or curvature decision.
- Prepare the area according to studio, local, and product requirements. This guide does not replace your hygiene protocol or local rules.
- Apply the transfer product as directed. Follow the amount and application method for the exact product in use.
- Place the stencil once. Bring the paper into position without sliding it after first contact.
- Keep contact even and controlled. Do not lift one section and reposition it while another section remains attached.
- Remove the paper according to the system instructions. Avoid turning removal into a second placement attempt.
- Check the transferred stencil. Compare position, orientation, important contours, lettering, landmarks, and negative spaces with the approved paper stencil.
- Let it set as directed. Contact time and post-transfer drying or setting time are not the same thing, and they vary by product.
Spirit's current stencil instructions explicitly call for a thin layer of its transfer cream and warn not to move the stencil after it contacts the skin because movement can blur or bleed the transfer. Electrum likewise specifies a thin, even layer for its primer. Those are useful product examples, not a universal amount or timing rule for every transfer medium.
Start with a paper stencil that is already right
Skin application is too late to discover that the stencil was printed at the wrong size, mirrored twice, missing important lines, or produced from the wrong design version.
Before applying it, check:
- correct design version;
- intended physical width and height;
- correct orientation and mirror state;
- clean, readable paper output;
- no important missing, doubled, or filled-in marks;
- intended placement and body position.
If the artwork still needs conversion, use Generate. If the physical dimensions are unresolved, use the Tattoo Stencil Size & Print Calculator. If the paper output itself is poor, stay with the Tattoo Thermal Stencil Printer guide or the relevant print diagnostic before transferring to skin.
A transfer product cannot repair a bad paper stencil.
Set placement before the transfer solution goes on
A stencil can transfer perfectly and still be unusable because it is in the wrong place.
Before first contact, decide:
- the body position in which placement should be judged;
- the main viewing angle;
- useful landmarks or centerline;
- top, bottom, or other critical reference points;
- rotation;
- how movement of a joint or limb changes the placement;
- whether body curvature or taper needs to be accounted for.
There is no single posture that works for every arm, shoulder, rib, knee, calf, or torso placement. What matters is choosing the body state that is relevant to that tattoo and keeping it stable while the stencil is applied.
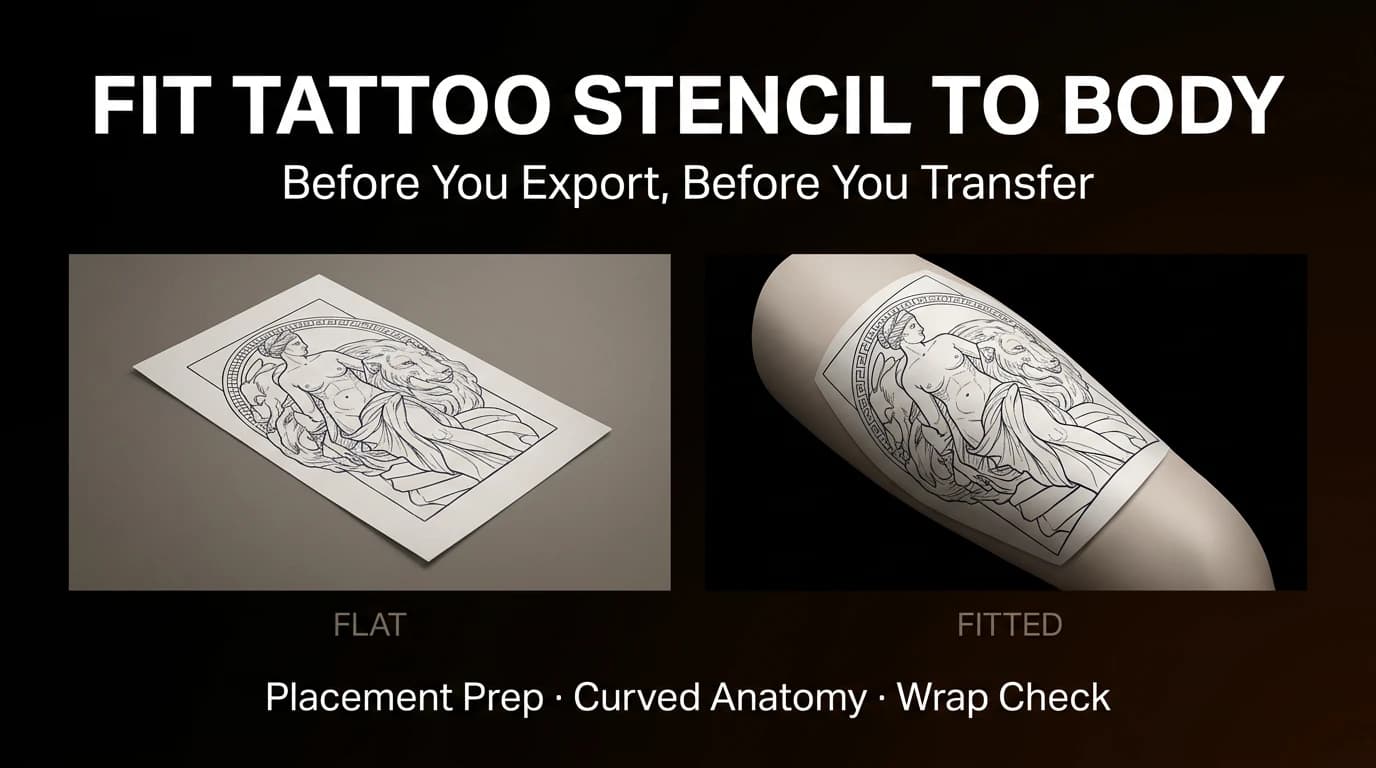
If a flat design needs wrap or taper adjustment before it will sit correctly, use Fit Tattoo Stencil to Body before physical transfer. Do not try to solve an unresolved body-fit problem by stretching or dragging partially contacted stencil paper across the skin.
Follow the exact transfer solution or stencil primer instructions
Searches for tattoo stencil solution or tattoo transfer gel often imply there should be one universal amount or wait time. There is not.
For the product you actually use, check:
- whether it is intended for your stencil paper or transfer method;
- how the manufacturer says to apply it;
- how much or how thinly it should be spread;
- whether the product specifies a particular surface state before stencil contact;
- how the stencil should be pressed and removed;
- how long the resulting transfer should set or dry before it is disturbed.
Spirit currently tells artists to apply a thin layer of the matching transfer cream, place the stencil, hold it briefly, avoid movement after contact, remove the paper carefully, and let the transfer set. Electrum's Gold Standard primer also specifies a thin, even layer and gives separate guidance for thermal stencils versus freehand marker use.
That is exactly why this guide does not publish one universal amount, tackiness test, pressure, contact time, or drying time for every product.
More transfer solution is not automatically better. If a transfer is weak, first check whether the paper stencil was already weak and whether placement, contact, movement, curvature, or product use changed the result.
Prepare skin within your professional protocol
Skin preparation belongs inside the studio's hygiene process, the rules for the jurisdiction where you work, and the directions for the products being used.
This page therefore does not prescribe one universal cleanser, shaving procedure, antiseptic, or improvised preparation formula. Tattoo regulations can vary by state and local authority, and product systems can give different directions.
The practical rule is simple: the area should be ready for stencil application under the professional protocol that applies to your studio before transfer product and paper contact begin.
If you work in the United States and need to check the relevant artist, facility, guest, or local regulatory route, use the Tattoo Artist License Requirements by State as a starting point and then confirm the current government source for your location.
Place the stencil without sliding it
Once the stencil touches the prepared area, placement should already be decided.
For a clean transfer:
- align the paper before first contact;
- bring the rest of the stencil into contact while keeping that alignment;
- maintain even contact across the design;
- avoid lateral sliding;
- avoid lifting and re-seating part of the stencil while another part remains in contact;
- remove the paper according to the instructions for the product and paper system.
Spirit specifically warns that moving the stencil after it contacts skin can cause blurring and bleeding.
Curved areas make this more demanding. If one part of the paper must buckle, drag, or stretch to make the design fit, revisit the placement or body-fit plan rather than forcing the sheet after contact.
Check the transfer as soon as the paper comes off
Compare the skin result with the paper stencil you approved, not with memory.
Look at:
- overall position and rotation;
- orientation and mirror state;
- the main outer contours;
- important internal landmarks;
- lettering and dates;
- negative-space openings;
- any doubled or ghosted edges;
- missing areas that would make the intended line ambiguous.
A small missing decorative mark is not the same as a missing facial landmark, lettering baseline, centerline, or key contour. The question is whether the transfer is still a clear working guide for this particular design.
If it is not, stop before tattooing. Use the removal and reapplication guide to reset the transfer after you identify what needs to change.
If the stencil looks wrong, fix the right problem
Use the visible result to decide where to look next:
| What you see | Check first | | --- | --- | | A line is already weak, missing, doubled, or filled on the paper | File, printer, or paper output before another skin transfer | | Transfer is crisp but placement, rotation, wrap, size, or orientation is wrong | Placement, body fit, exact size, or mirror workflow | | Paper is clean but the skin result is faint or patchy | Transfer product use, contact, local curvature, movement, and the product instructions | | Paper is clean but the skin result is doubled or smeared | Movement, re-contact, paper stability, and application technique | | Transfer looks good when paper lifts but later fades or wipes away | Product-specific setting and handling after application | | Transfer is crisp but an important design feature itself is wrong | Correct the design or paper stencil rather than the transfer technique |
Several problems can look similar, so avoid changing three variables at once. The Tattoo Stencil Transfer Troubleshooter is built for the full symptom-by-symptom diagnosis.
Let the stencil set for the product you use
Do not copy a drying time from a different stencil primer or transfer cream.
The time the paper stays in contact with the skin and the time the transferred stencil is allowed to set afterward are different stages. Follow the current instructions for the exact product and paper system in use.
If the stencil was crisp when the paper came off but later smears, fades, or wipes away, investigate what happened after application rather than changing a paper stencil that was already good.
For specific failure modes, see:
- Tattoo Stencil Smudging on Skin
- Tattoo Stencil Wipes Off Too Easily
- Tattoo Stencil Fades Before Tattooing
When to remove and reapply the stencil
Reset the stencil when the transferred guide is no longer trustworthy enough to follow confidently.
Typical reasons include:
- clearly wrong placement;
- wrong physical size or orientation;
- doubled structural contours;
- an important missing area;
- distorted lettering, a face, logo, focal symbol, or other critical feature;
- body-fit or wrap problems that change the intended placement.
Do not keep a bad transfer just because most of the lines came across cleanly. A technically crisp stencil in the wrong place is still wrong.
Use How to Remove and Reapply a Tattoo Stencil for the reset workflow. Removal products and reapplication timing remain specific to the professional products and studio protocol in use.
FAQ
How do you apply a tattoo stencil to skin?
Start with a correct paper stencil and approved placement. Prepare the area according to your studio, local, and product requirements, apply the transfer medium as directed, place the stencil without sliding it, maintain controlled contact, remove the paper according to the system instructions, inspect the transfer, and let it set for the time specified by the product.
How do you transfer a tattoo stencil without smudging it?
Set placement before the paper touches skin and avoid sliding, lifting, or partially repositioning the stencil after first contact. Keep contact controlled and follow the removal and setting instructions for the exact stencil paper and transfer product you use.
How much tattoo stencil solution should I use?
Follow the current directions for the exact product. Spirit and Electrum both currently describe thin application for their own transfer products, but that does not establish one universal quantity for every gel, cream, lotion, or primer.
Is more stencil transfer solution better if the transfer is faint?
Not necessarily. First compare the paper stencil with the skin result. If the paper is already weak, fix the print or paper output. If the paper is clean, check product use, contact, movement, curvature, and the product instructions before simply adding more transfer medium.
How long should I hold a tattoo stencil on skin?
Use the instructions for the exact stencil paper and transfer product. Spirit says to hold its stencil for a few seconds, while other products and workflows publish different guidance. There is no responsible single time that applies to every transfer system.
How long should a tattoo stencil dry or set before tattooing?
Follow the setting or drying instructions for the exact product you use. Do not confuse paper contact time with the later setting period, and do not copy a timing rule from a different primer or transfer solution.
How do you apply a tattoo stencil on a curved body area?
Choose the body position and placement before first contact, keep that position controlled during application, and address wrap or taper before transfer when necessary. If the design has to be dragged or distorted after the paper touches skin, revisit the body-fit plan first.
What should I do if the tattoo stencil is faint, patchy, doubled, smeared, distorted, or misplaced?
Use the Tattoo Stencil Transfer Troubleshooter. It helps separate paper-output problems from placement, transfer-product, contact, movement, curvature, and post-application setting issues.
Sources and product guidance
- Spirit Tattoo: Create a Stencil - current manufacturer guidance on transfer cream, thin application, avoiding movement after contact, careful removal, setting, and local health codes.
- Spirit Tattoo: Transfer Cream - manufacturer information on matching Spirit transfer creams to Spirit paper families.
- Electrum: Gold Standard Tattoo Stencil Primer - current manufacturer directions describing a thin, even layer and separate thermal/freehand use.
- FDA: Tattoos, Temporary Tattoos & Permanent Makeup - public-health and regulatory context, including the role of state and local regulation in tattoo practice.
Related Collections
Jump from the guide to reviewed stencil examples
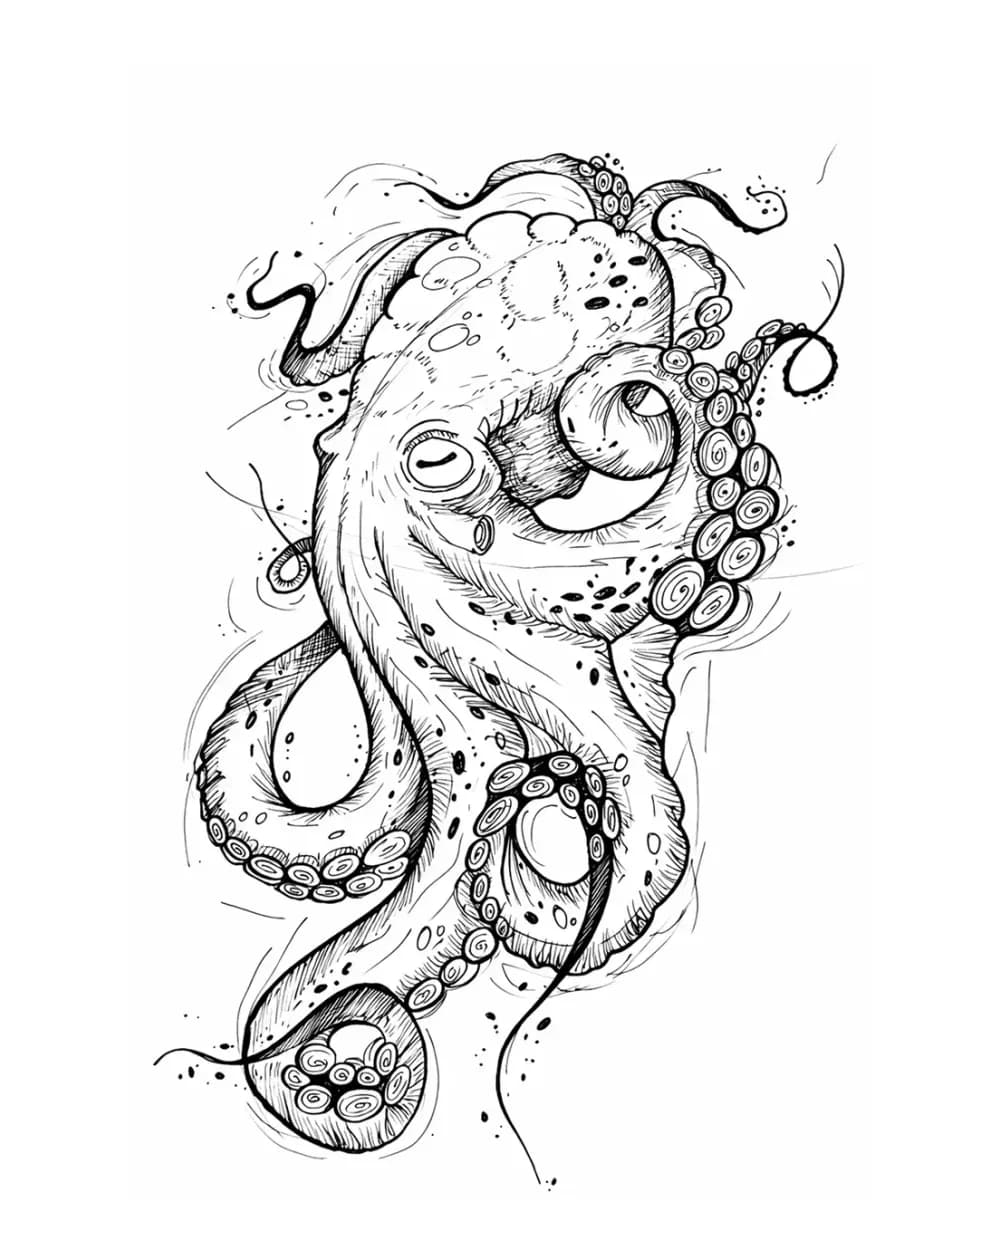
Animal Tattoo Stencil Gallery
12 curated examplesCompare 12 curated animal tattoo stencil examples across wildlife, pets, birds, and sea life. Start with the animal silhouette and recognition landmarks, then compare ho…

Portrait & Figure Tattoo Stencil Examples
9 curated examplesCompare first-party portrait, face, and figure tattoo stencil examples to see which recognition anchors, expression cues, body shapes, and detail clusters need to surviv…
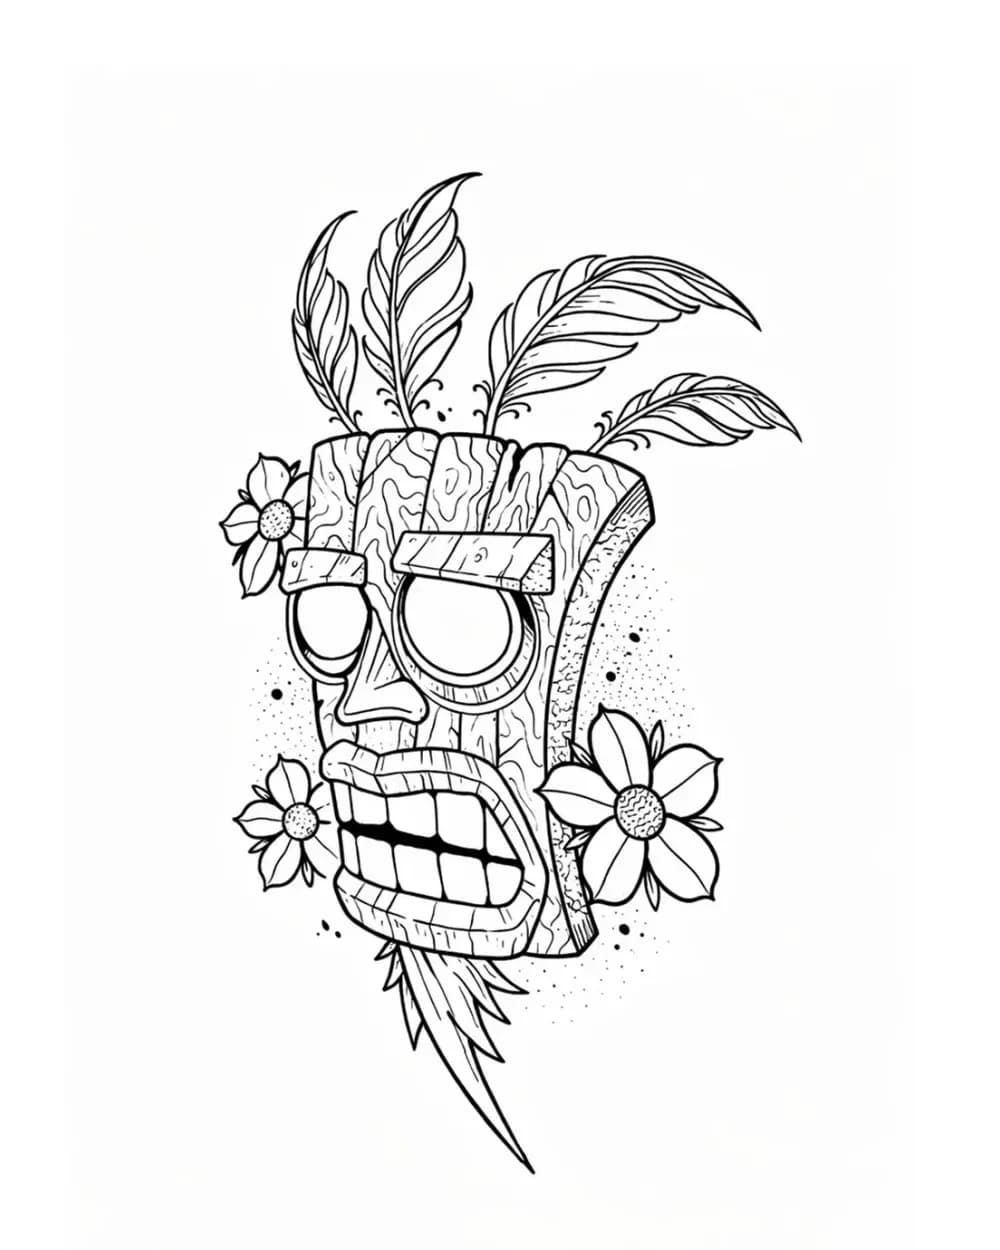
Tattoo Symbol Stencils
7 curated examplesCompare compact tattoo symbol stencils to see which silhouettes, internal gaps, repeated details, and orientation cues stay readable before adapting your own reference.…
Related Guides
Keep reading from here
How to Fit a Tattoo Stencil to Curved Body Placement
Review focal point, wrap, compression, negative space, and body line before exporting a tattoo stencil for a curved placement.
fit tattoo stencil to body · tattoo placement prep
Read guide
Tattoo Stencil Paper: Choose the Right Media for Your Workflow
Choose the right tattoo stencil or transfer paper for thermal printers, freehand tracing, portable printers, and inkjet stencil systems.
tattoo stencil paper · tattoo transfer paper
Read guide
How to Use a Tattoo Thermal Stencil Printer Without Losing the Stencil
Use a tattoo thermal stencil printer with a repeatable file-to-paper workflow: control size and mirror, load transfer paper correctly, test output, and diagnose blank, faint, blurry, merged, skewed, or missing lines.
tattoo thermal stencil printer · tattoo stencil printer workflow
Read guideAuthor
Andrea Mezzadra
Founder and product builder at StencilStudio
Andrea builds StencilStudio and tests how the tools fit into real stencil prep, using real references and outputs to document what works, what changes, and where artist judgment still matters.
In the App
Transfer already looks wrong?
Diagnose the visible transfer failure before you repeat the same setup on attempt two.