

Buying Guides
Tattoo Thermal Stencil Printer: How to Choose for Your Workflow
Choose a thermal tattoo stencil printer by repeatability, paper feed, line clarity, print width, device path, portability, and true-size output.
thermal tattoo stencil printer · tattoo thermal printer · best tattoo thermal printer · portable tattoo stencil printer · guest spot tattoo printer
- April 1, 2026
- September 9, 2026
- 7 min
Use this guide after you have already decided that a direct-thermal stencil printer fits your workflow.
If you are still choosing between thermal, a dedicated inkjet-stencil system, or another printer path, start with the broader Tattoo Stencil Printer guide. This page goes deeper on thermal selection after that choice is made.
StencilStudio does not rank printer models that we have not tested side by side. It provides a repeatable way to evaluate a tattoo thermal stencil printer with the paper, stencil files, sizes, and devices used in your own preparation process.
A strong first print is encouraging. Consistent prints are more important.
Define what the printer must handle
List the requirements before comparing features:
- the stencil sizes you print regularly;
- the paper format you use;
- the device used to send files;
- the connection method required in the studio;
- whether the printer needs to travel;
- how frequently it will be used;
- the amount of detail typical in your stencils.
Features that do not support those requirements should not drive the decision.
For the actual phone-to-printer path, use How to Print a Tattoo Stencil From iPhone to check AirPrint, printer-app, paper-size, and physical calibration steps.
Build one repeatable test sheet
Use the same file for every printer being compared.
Include:
- clean geometric edges;
- a long straight or curved contour;
- several fine landmarks;
- medium-density detail;
- small enclosed negative spaces;
- an area with broader dark structure.
The file should expose edge softness, missing lines, uneven density, and scaling problems.
Print the same file more than once
Run the identical test at least three times with unchanged settings.
Compare:
- line position;
- missing or broken marks;
- density changes;
- feed alignment;
- scaling;
- whether the paper enters and exits consistently.
A printer that produces one strong page and two inconsistent pages is not dependable enough for repeated preparation.
Check paper feed and alignment
Feed reliability affects the complete stencil, not only the edges.
Look for:
- skew;
- horizontal drift;
- unexpected cropping;
- movement between repeated prints;
- creasing;
- difficulty loading the sheet correctly.
Use the paper type recommended for the printer and confirm compatibility before attributing every feed issue to the hardware.
The related tattoo stencil paper guide provides a separate test for the paper itself.
Use different stencil structures
Clean and dense designs expose different printer behavior.
The animals collection contains texture and layered organic forms.

The symbols collection makes geometric edge problems easier to see.

A printer should be tested on the kinds of stencils used most often in the studio.
Test the sizes you actually print
Do not evaluate only one convenient page size.
Check:
- a smaller stencil where fine lines may crowd;
- a normal day-to-day size;
- the largest size expected from the printer;
- whether scaling remains accurate;
- whether margins or cropping change.
Open the exported file before printing and confirm that the print dimensions match the expected result.
Use the free Tattoo Stencil Size & Print Calculator to set the physical dimensions, preview the A4 or Letter layout, and generate a 1:1 PDF before testing printer scaling.
Separate source, stencil, paper, and printer problems
A printer cannot repair:
- a weak source image;
- an overloaded stencil;
- lines already merged at final size;
- incorrect placement;
- unsuitable paper.
Review source and stencil quality with How to Make Tattoo Stencils From Photos and How to Make a Tattoo Stencil.
If the digital file is clear but repeated prints lose the same structure, the printer or paper setup deserves closer inspection.
Check day-to-day usability
After output quality, review practical use:
- setup time;
- connection stability;
- clarity of controls;
- loading process;
- portability where needed;
- cleaning or maintenance requirements described by the manufacturer;
- availability of compatible paper;
- support and warranty information.
A printer that is difficult to use consistently may not fit a busy preparation process even when its best output is good.
If the printer travels, evaluate the entire mobile path
A portable tattoo stencil printer is not useful merely because the chassis fits in a suitcase. At a guest spot or convention, the complete print path has to survive a change of studio.
Evaluate the printer together with:
- the phone, tablet, or computer that will send the file;
- the connection method the exact printer supports;
- any manufacturer app or driver required by that device path;
- battery, charger, cable, adapter, or external power requirements;
- the transfer-paper format and loading method;
- the largest stencil you expect to print while away;
- a known-good diagnostic file saved locally on the device.
Do not assume Bluetooth, Wi-Fi, USB, AirPrint, or offline printing because another portable printer supports it. Confirm the actual model and the exact sending device against current manufacturer documentation.
Test the travel setup before leaving the studio
Rehearse the same path you intend to use away from home:
- open the prepared PDF or raster on the travel device;
- connect using the primary method you expect to use;
- print the Tattoo Stencil Printer Test Sheet;
- measure the 50 mm scale line;
- inspect fine strokes, gaps, counters, dark areas, and feed alignment;
- disconnect everything and repeat the setup from a cold start;
- test one fallback connection only if that fallback is actually supported by the printer and device.
The cold-start repeat matters because a travel setup that only works while it still remembers a studio pairing is not yet a dependable guest-spot setup.
Treat unfamiliar transfer paper as a changed variable
A host studio, convention supply desk, or destination country may leave you using a different transfer paper from your normal baseline. Even when the sheet physically fits, do not assume the same output behavior.
If the paper changes:
- keep the stencil file unchanged for the first comparison;
- run the same diagnostic sheet before a client-critical stencil;
- verify loading and layer preparation for that paper and printer combination;
- compare fine gaps and dark-mass behavior with your known-good result;
- change only one manufacturer-supported setting at a time if the output is materially different.
This keeps a paper change from being confused with a file problem.
Carry a reproducible baseline, not just spare hardware
For a guest spot or convention, the most valuable backup is evidence of what a correct setup looks like.
Keep locally available:
- the known-good test sheet or PDF;
- the client print masters at their intended physical size;
- the printer's current loading/setup instructions or an offline manufacturer reference when available;
- the exact mirror convention used in your workflow;
- the paper size and known-good settings from the last verified run.
If the travel path is iPhone-based, the iPhone exact-size print guide covers the document-to-printer checks that prevent an otherwise correct stencil from being silently resized.
Portability should therefore be judged as repeatable output after transport, not as weight alone.
Buying checklist
Before choosing, confirm that:
- the printer supports your normal paper and sizes;
- connection works with the devices you use;
- the same file prints consistently;
- fine landmarks remain separate;
- dense areas remain readable;
- scaling is accurate;
- paper feed stays aligned;
- the printer is practical to maintain and transport where relevant;
- a travel setup can be reproduced from a cold start when portability matters;
- a known test sheet can re-establish the baseline when paper or studio conditions change;
- manufacturer support and warranty meet your needs.
Use the Samples page to inspect source-to-stencil quality before evaluating the print stage.
FAQ
What should be tested first on a tattoo thermal printer?
Start with a repeatable file containing clean edges, fine landmarks, medium-density detail, and enclosed negative space. Print it several times without changing settings.
What matters most in a portable tattoo stencil printer for guest spots?
Evaluate the complete travel path, not only size or weight: supported device connection, required app or driver, power, paper loading, exact-size output, and whether the same known diagnostic sheet can reproduce your baseline after a cold start. If the paper changes at the destination, test that variable before printing a client-critical stencil.
Can a better printer fix a crowded stencil?
No. It can reproduce a clear stencil more consistently, but it cannot separate lines that are already too dense at final size.
Related Collections
Jump from the guide to reviewed stencil examples
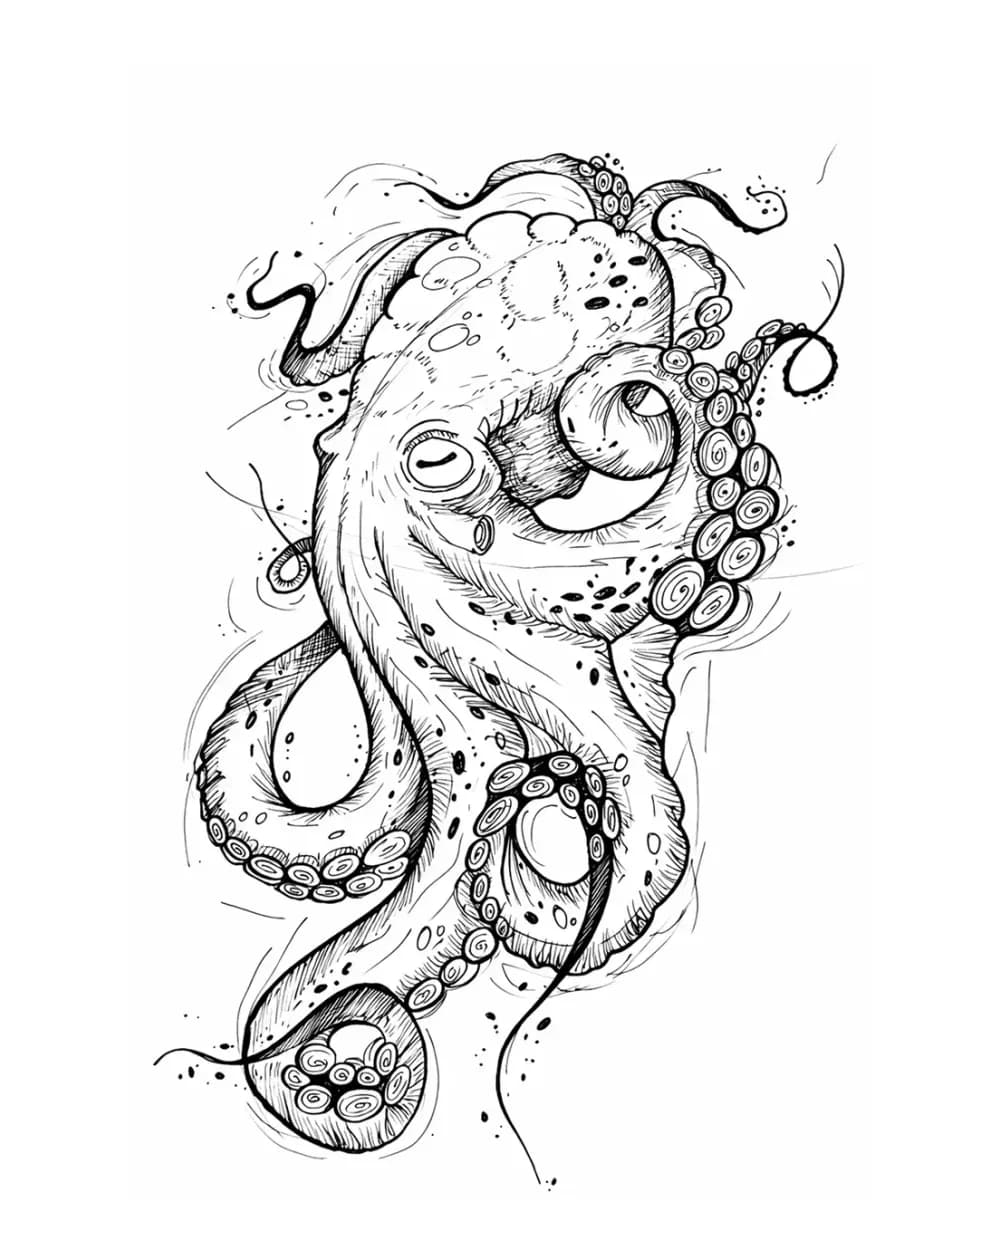
Animal Tattoo Stencil Gallery
12 curated examplesCompare 12 curated animal tattoo stencil examples across wildlife, pets, birds, and sea life. Start with the animal silhouette and recognition landmarks, then compare ho…

Portrait & Figure Tattoo Stencil Examples
9 curated examplesCompare first-party portrait, face, and figure tattoo stencil examples to see which recognition anchors, expression cues, body shapes, and detail clusters need to surviv…
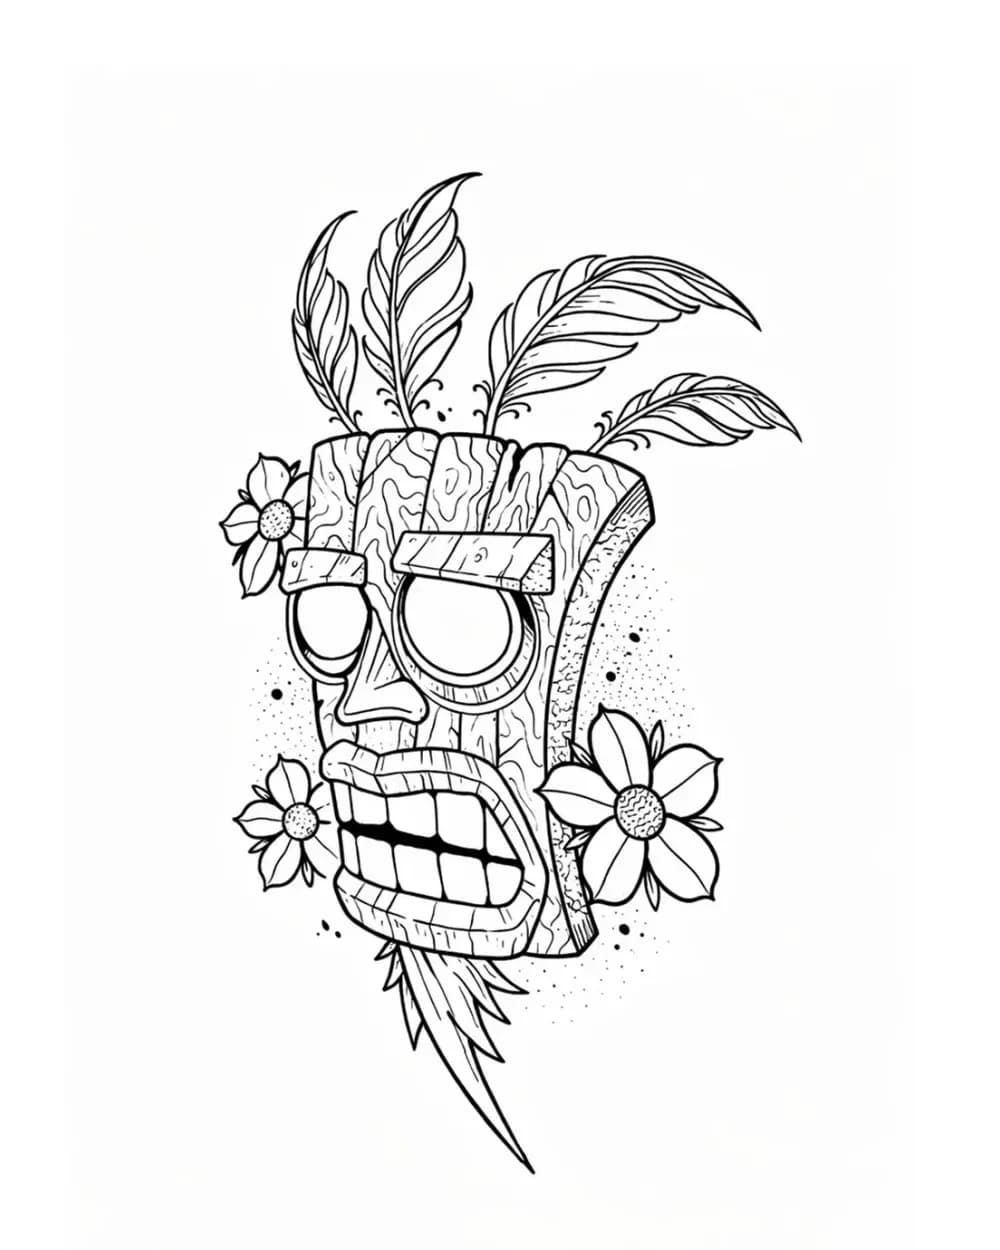
Tattoo Symbol Stencils
7 curated examplesCompare compact tattoo symbol stencils to see which silhouettes, internal gaps, repeated details, and orientation cues stay readable before adapting your own reference.…
Related Guides
Keep reading from here
Tattoo Stencil Printer: Choose the Right System for Your Workflow
Compare tattoo stencil printers by thermal vs inkjet workflow, print size, phone connectivity, portability, paper, repeatability, and real studio use.
tattoo stencil printer · thermal tattoo stencil printer
Read guideHow to Use a Tattoo Thermal Stencil Printer Without Losing the Stencil
Use a tattoo thermal stencil printer with a repeatable file-to-paper workflow: control size and mirror, load transfer paper correctly, test output, and diagnose blank, faint, blurry, merged, skewed, or missing lines.
tattoo thermal stencil printer · tattoo stencil printer workflow
Read guide
How to Print a Tattoo Stencil From iPhone
Print a tattoo stencil from iPhone without silent resizing: prepare a 1:1 PDF, use AirPrint or your printer app, and verify the 50 mm scale check.
print tattoo stencil from iPhone · AirPrint tattoo stencil
Read guideAuthor
Andrea Mezzadra
Founder and product builder at StencilStudio
Andrea builds StencilStudio and tests how the tools fit into real stencil prep, using real references and outputs to document what works, what changes, and where artist judgment still matters.
In the App
Get the stencil clean before printer quality becomes the limiting factor
StencilStudio helps artists simplify and structure the draft first, so thermal printer choice is judged on a cleaner starting point.