

Printing & Transfer
How to Use Tattoo Transfer Paper: Manual & Printer Workflows
Use tattoo transfer paper from approved design to finished paper stencil, with separate manual, thermal, and inkjet-compatible workflows plus size, orientation, and output checks.
using tattoo transfer paper · how to use tattoo transfer paper · tattoo stencil paper · tattoo tracing paper · tattoo transfer workflow
- September 15, 2026
- 8 min
Choose your transfer method
How are you making the paper stencil?
Start with the method that matches the paper and equipment in front of you. The exact layer setup, feed direction, and printable side remain product-specific.
Tattoo transfer paper is the physical medium used to reproduce an approved stencil design before skin application. The exact workflow depends on whether you trace manually, use a compatible thermal printer or copier, or use a supported inkjet stencil system.
Keep the stages separate:
Digital design -> transfer paper -> prepared paper stencil -> skin application
This guide covers the middle stage: getting an already-approved design onto the correct transfer medium and checking the physical stencil before it reaches skin.
If you are still choosing the paper, use Tattoo Stencil Paper & Transfer Paper Guide. If the paper stencil is already complete, move to How to Apply a Tattoo Stencil to Skin.
The transfer-paper workflow in one sequence
Use this sequence regardless of whether the stencil is made manually or by a compatible printer:
- Start with an approved stencil-ready design. Do not use the transfer-paper step to decide anatomy, composition, line selection, or detail level.
- Confirm the final physical size. Decide the intended width or height before tracing or printing.
- Verify orientation. Check lettering, dates, profiles, hands, or another asymmetric feature before committing the sheet.
- Choose the production method. Manual tracing, thermal printing, and inkjet stencil systems use different paper and setup rules.
- Prepare the exact transfer medium as directed. Layer handling, printable side, loading direction, and protective sheets can vary.
- Reproduce the design onto the receiving stencil layer. Trace it manually or let the supported printer workflow reproduce it.
- Inspect the finished paper stencil against the approved source. Look for missing, doubled, merged, shifted, or reversed information.
- Correct the first failed stage. Retrace, reprint, or fix the upstream file instead of hoping skin application will hide a paper problem.
- Only then move to skin application.
The useful checkpoint is simple: the paper stencil should already be the right design, size, orientation, and readable line map before skin contact begins.
How tattoo transfer paper works
Tattoo transfer systems put pigment or stencil material onto a receiving sheet so the approved design can later be transferred to skin.
The exact construction is product-specific. Depending on the system, you may encounter concepts such as:
- a top or reference sheet;
- a pigment or carbon transfer layer;
- a protective or interleaving sheet;
- a receiving stencil sheet.
Do not memorize one universal layer count or stacking order. Thermal products, freehand carbon systems, and inkjet media can be built differently.
Spirit, for example, publishes separate thermal and impact/write-on workflows. Phomemo publishes model-specific preparation and loading instructions for its M08F transfer paper. Those examples are useful because they show why the paper and device instructions are the authority for exact layer handling, not a generic four-layer diagram.
Manual tracing workflow
Use manual transfer paper when the media is designed for impact, write-on, freehand, carbon, or similar hand-created stencil work.
A controlled manual workflow is:
- prepare the approved source at the intended physical size;
- arrange the manual transfer-paper system according to its instructions;
- secure the source and receiving layers so they cannot drift;
- trace the important structure without changing the approved geometry;
- use controlled, repeatable pressure rather than treating maximum force as the goal;
- compare the finished paper stencil with the source;
- check orientation and physical size again.
For the deeper hand-tracing process, registration checks, tracing order, pressure failures, and manual troubleshooting, use How to Use Tattoo Transfer Paper Without a Thermal Copier.
Manual tracing is a reproduction method. It should not become an accidental second design session.
Thermal printer or copier workflow
A thermal workflow takes a prepared digital or printed master and reproduces it through compatible thermal equipment and transfer paper.
The transfer-paper part of the job is to make sure:
- the paper is compatible with the printer or copier;
- the sheet is prepared according to the paper/device instructions;
- the correct side and feed direction are used;
- the file already has the intended physical dimensions;
- mirroring is handled exactly once across the complete workflow;
- the physical output is checked before skin application.
The printer's app, darkness controls, feed path, supported paper sizes, and layer-preparation instructions are device-specific. Use How to Use a Tattoo Thermal Stencil Printer for the complete machine workflow.
If the physical print is faint, broken, filled, streaked, skewed, or otherwise wrong, use the Tattoo Stencil Printer Troubleshooter instead of treating transfer paper as the automatic cause.
Inkjet-compatible stencil workflow
Inkjet tattoo stencil systems are not ordinary office-printing workflows with purple paper added.
A supported inkjet system may combine:
- a compatible printer;
- specialist stencil ink or another documented ink approach;
- specific stencil paper or transfer film;
- a defined printable side and feed path;
- vendor-specific driver or print settings.
Other systems use a different printer/ink/media combination. Do not mix instructions from two systems because both happen to use inkjet technology.
For Epson/EcoTank compatibility, stencil ink, media, setup, and settings, use the Inkjet Tattoo Stencil Printer guide.
If the manufacturer does not document the printer, ink, and media combination, do not assume normal office-printing compatibility proves tattoo-stencil compatibility.
Set the final size before making the paper stencil
Transfer paper reproduces the size you give it. It does not decide the right tattoo dimensions.
Before tracing or printing, confirm the physical output size. The Tattoo Stencil Size & Print Calculator can set an entered width or height, create a true-size PDF, and add a physical scale check.
Then verify the real paper output with a ruler.
This matters especially for:
- lettering and dates;
- portrait landmarks;
- repeated geometric spacing;
- designs tied to measured placement landmarks;
- long or tiled stencils.
A clean paper stencil at the wrong scale is still a failed production result.
Mirror and orientation: verify the complete path
There is no safe universal rule that says every tattoo transfer-paper workflow should always be mirrored at the same stage.
The final orientation can depend on:
- the source artwork;
- the stencil or layout app;
- PDF or print settings;
- printer software;
- the printer itself;
- how the paper system reproduces and transfers the image.
Use one asymmetric feature as a checkpoint. Readable text, a date, a profile, a hand, or a directional object makes an accidental reversal obvious.
If you are uncertain, make a small non-client test using the exact paper, device, app, and transfer path.
For the full orientation chain, use How to Mirror a Tattoo Stencil for Printing.
Inspect the paper stencil before skin application
Compare the finished paper stencil with the approved source, not with memory.
The design is complete
Important contours, landmarks, lettering, numerals, and overlaps should still be present.
Fine details survived
Check the smallest information that actually matters at the intended tattoo size. If it disappeared during printing or tracing, identify that failure before application.
Dense areas stayed separated
Neighboring lines and negative spaces should not have merged into an unintended dark block.
Orientation is correct
Check readable text, dates, profiles, and asymmetric elements.
Physical size is correct
Measure the output when size matters. Do not rely only on a screen or printer preview.
There are no important duplicate or shifted lines
Manual registration drift and printer/feed problems can both create a stencil that looks plausible at first glance but no longer matches the approved geometry.
If the paper result fails any of these checks, fix the file, tracing, paper setup, or printer workflow first.
Where each adjacent job begins and ends
| Job | Use this owner | | --- | --- | | Choose compatible paper/media | Tattoo Stencil Paper Guide | | Create clean stencil-ready linework | Generate | | Set exact physical size | Tattoo Stencil Size & Print Calculator | | Trace by hand without a copier | Manual Transfer Paper Guide | | Operate a thermal stencil printer | Thermal Printer Workflow | | Run an Epson/inkjet stencil system | Inkjet Stencil Workflow | | Diagnose bad printer output | Printer Troubleshooter | | Put a passing paper stencil onto skin | Stencil Application Guide | | Diagnose a bad paper-to-skin result | Transfer Troubleshooter | | Remove/reset an untrustworthy skin stencil | Stencil Removal & Correction |
This separation matters because a downstream step cannot reliably repair an upstream problem.
If you still need the stencil design
Transfer paper only reproduces an existing design.
If the reference still needs to become clean stencil-ready linework, use Generate before choosing the physical transfer method. If you are starting from a photo, Photo to Tattoo Stencil covers the upstream source-to-stencil workflow.
Do the design decisions digitally or deliberately before the paper reproduction stage. That gives the printer or tracing process a stable source to reproduce.
FAQ
How do you use tattoo transfer paper?
Start with an approved stencil-ready design, confirm its physical size and orientation, then use transfer paper that matches your production method. Trace manually or use a compatible thermal or inkjet stencil workflow, inspect the finished paper stencil against the approved source, and only then move to skin application.
How does tattoo transfer paper work?
The system transfers pigment or stencil material onto a receiving sheet so an approved design becomes a physical paper stencil. Layer construction and exact preparation vary by product, so follow the instructions for the paper and device you actually use.
Can tattoo transfer paper be used without a thermal printer?
Yes, when the paper is designed for manual, impact, write-on, freehand, carbon, or similar hand-created stencil use. Use the dedicated manual transfer guide for that workflow.
Do I always mirror a tattoo stencil before using transfer paper?
No universal mirror step applies to every setup. Verify the complete workflow, check the device/software behavior, and use an asymmetric feature such as lettering or a profile to confirm final orientation.
Is tattoo tracing paper the same as thermal transfer paper?
Not necessarily. Search and retail terminology overlaps, but manual tracing media and thermal transfer media can have different construction and intended use. Choose the media by the production method and exact compatibility instructions.
What should I do if tattoo transfer paper is not transferring correctly?
Find the first stage where the result changed. If the physical paper stencil is wrong, stay with the file, paper, tracing, or printer workflow. If the paper stencil is correct but the skin transfer is wrong, move to the Transfer Troubleshooter.
Manufacturer references
- Spirit Tattoo: Create a Stencil - current manufacturer guidance separating thermal and impact/write-on stencil creation and showing product-specific sheet preparation.
- Phomemo M08F Tattoo Transfer Paper - current example of model-specific transfer-paper preparation and loading guidance.
Related Collections
Jump from the guide to reviewed stencil examples
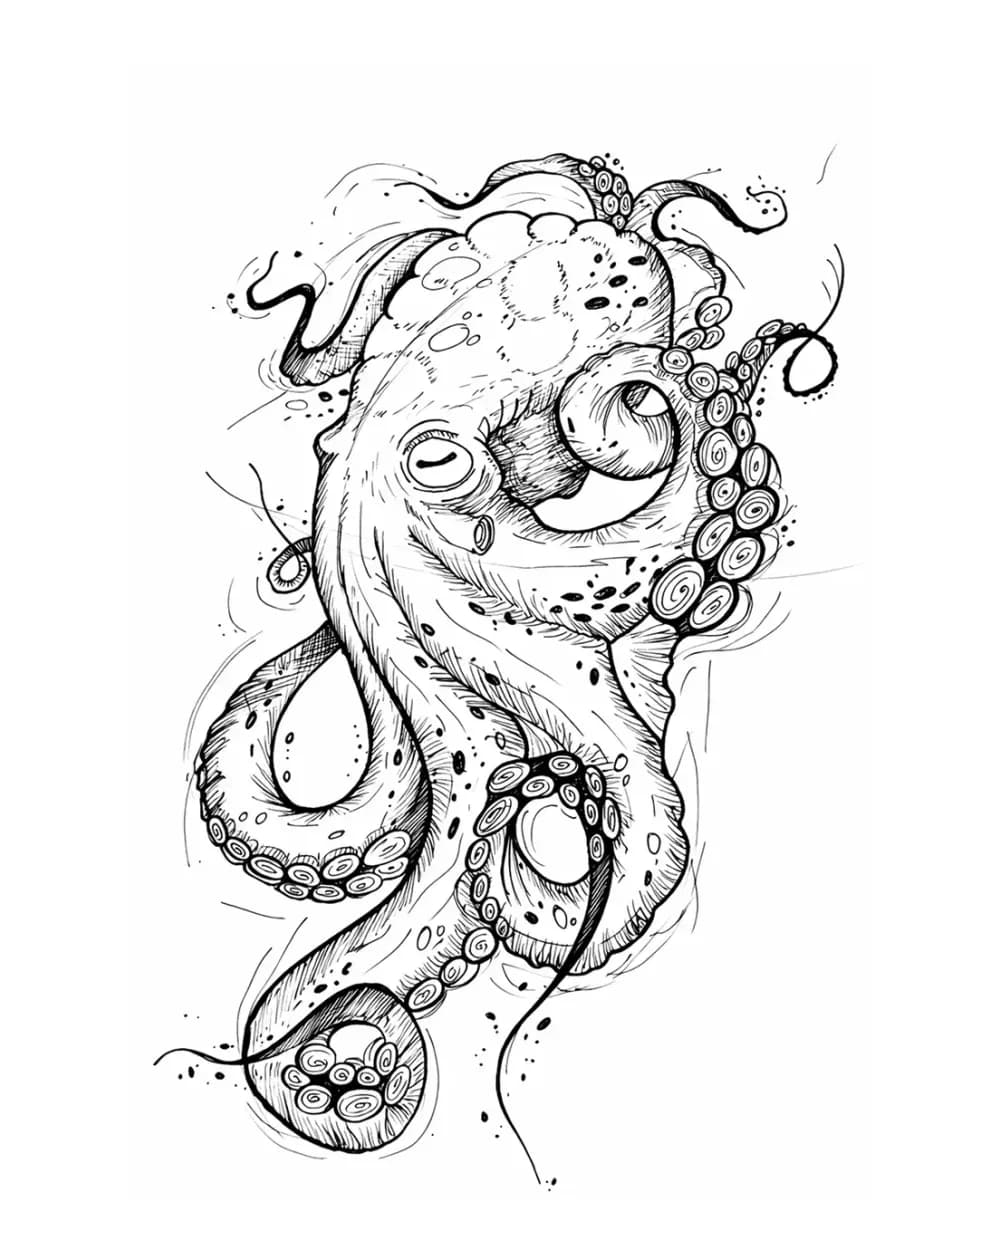
Animal Tattoo Stencil Gallery
12 curated examplesCompare 12 curated animal tattoo stencil examples across wildlife, pets, birds, and sea life. Start with the animal silhouette and recognition landmarks, then compare ho…
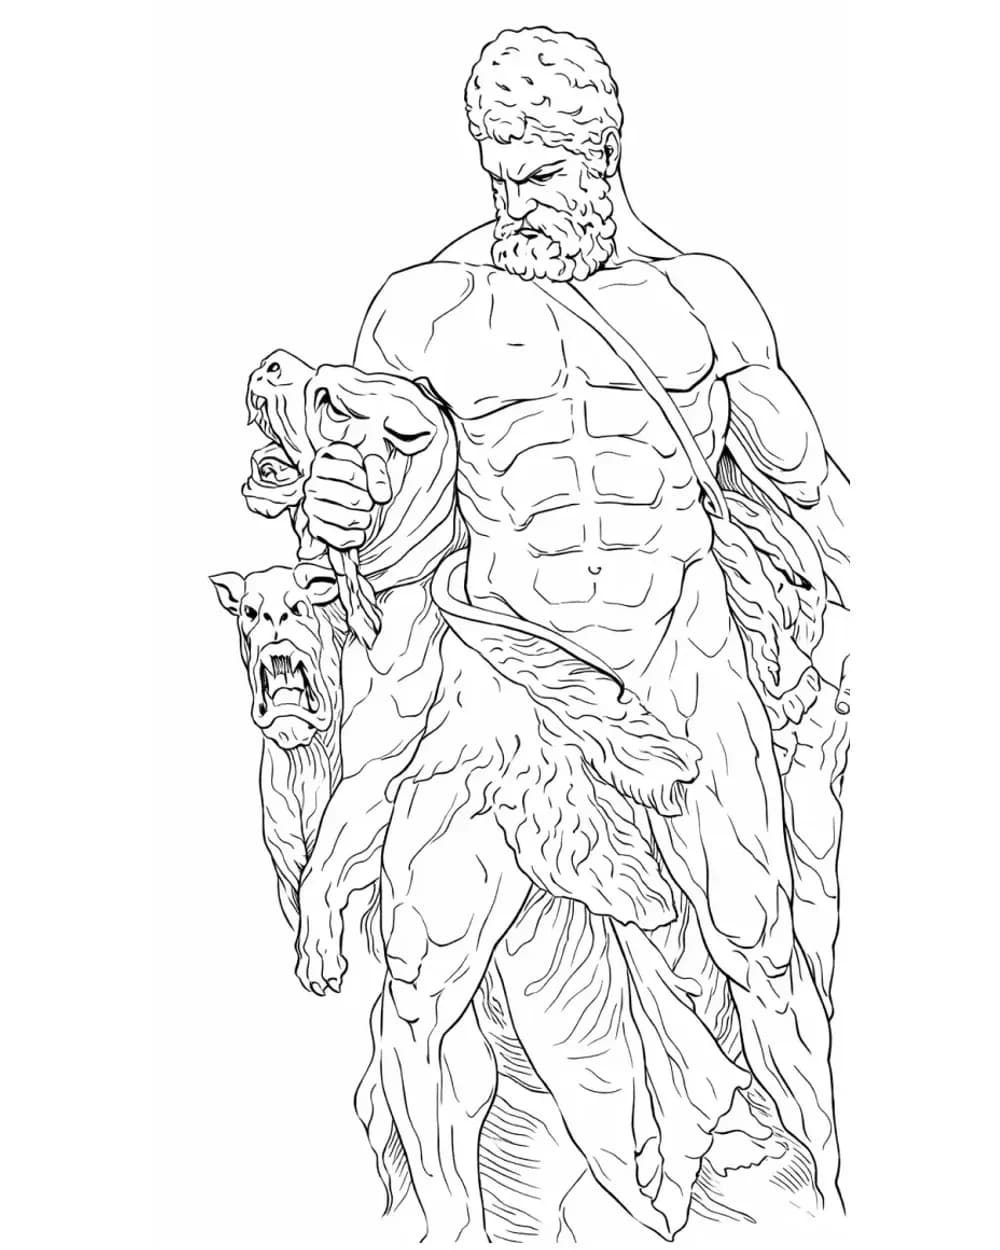
People Tattoo Stencil Group
16 curated examplesPeople-focused tattoo stencils are less forgiving than most categories because expression, likeness, and anatomy fail fast when the line budget gets crowded. This group…

Symbol Tattoo Stencil Group
12 curated examplesSymbol-led stencils live or die on shape language. The subject usually has to land before texture or narrative does, which makes spacing, contour discipline, and focal h…
Related Guides
Keep reading from here
How to Use Tattoo Transfer Paper Without a Thermal Copier
Make a tattoo stencil by hand with impact, write-on, or hectograph transfer paper, then verify linework, size, orientation, and transfer readiness.
tattoo transfer paper without thermal copier · hand traced tattoo stencil
Read guide
How to Use a Tattoo Thermal Stencil Printer Without Losing the Stencil
Use a tattoo thermal stencil printer with a repeatable file-to-paper workflow: control size and mirror, load transfer paper correctly, test output, and diagnose blank, faint, blurry, merged, skewed, or missing lines.
tattoo thermal stencil printer · tattoo stencil printer workflow
Read guide
Inkjet Tattoo Stencil Printing: Epson EcoTank Workflow
Set up an Epson or inkjet tattoo stencil workflow with the right printer, stencil ink, paper, print settings, file size, and troubleshooting steps.
epson tattoo stencil printer · inkjet tattoo stencil printer
Read guideAuthor
Andrea Mezzadra
Founder and product builder at StencilStudio
Andrea builds StencilStudio and tests how the tools fit into real stencil prep, using real references and outputs to document what works, what changes, and where artist judgment still matters.
In the App
Need clean stencil-ready linework before printing or tracing?
Turn a reference into a clean stencil file first, then use the transfer-paper workflow that matches your equipment and media.