

Printing & Transfer
Inkjet Tattoo Stencil Printing: Epson EcoTank Workflow
Set up an Epson or inkjet tattoo stencil workflow with the right printer, stencil ink, paper, print settings, file size, and troubleshooting steps.
epson tattoo stencil printer · inkjet tattoo stencil printer · epson ecotank tattoo stencil · inkjet stencil paper · tattoo stencil ink

- September 9, 2026
- October 15, 2026
- 20 min
Yes, an Epson EcoTank can be used for tattoo stencils when the stencil-ink system explicitly supports it. But an EcoTank by itself is not a tattoo stencil setup. The printer, stencil ink, paper or film, driver settings, physical size, and skin-transfer method all have to belong to the same workflow.
That matters because current inkjet stencil products work in different ways. Some put specialist stencil ink into a new EcoTank. Some sell a purpose-built tattoo stencil printer based on Epson technology. Others print onto a special transfer film using normal OEM printer ink. Instructions from one of those systems should not be copied blindly onto another.
If you are still deciding between inkjet and thermal printing, start with the broader Tattoo Stencil Printer guide. This page is for artists who specifically want to understand an inkjet or Epson tattoo stencil workflow.
Can you use an Epson EcoTank for tattoo stencils?
Yes, if the stencil system you choose supports the printer.
Current examples make the distinction clear:
- InkJet Stencils says Epson EcoTank printers work with its stencil ink and currently recommends the monochrome ET-M1170.
- Electrum Eco-Stencil sells stencil ink formulated for Epson EcoTank printers and pairs it with its own stencil paper.
- PurpleStencil PS-M1000 is a purpose-built tattoo stencil printer that combines Epson EcoTank technology with PurpleStencil/TROY ink and support.
- STANDSTILL uses a different approach: printable transfer film with a standard front-loading inkjet and original ink cartridges.
Those are claims and instructions for the vendors' own products. They do not mean Epson itself endorses third-party tattoo stencil ink, and they do not make every Epson, ink, and paper combination interchangeable.
A better buying sequence is:
- choose the stencil system you intend to use;
- check that system's current printer compatibility;
- buy the printer, ink, and media that the system specifies;
- follow its setup and print instructions;
- test the output before using it for client work.
Three common inkjet tattoo stencil setups
1. EcoTank filled with specialist stencil ink
A supported Epson tank printer is filled with stencil ink instead of normal Epson ink. The stencil-ink manufacturer specifies compatible printer models or families, media, setup, and print settings.
This is the workflow used by products such as InkJet Stencils and Electrum Eco-Stencil.
Choose this when you print stencils often enough to justify a dedicated desktop printer, you are comfortable with nozzle checks and regular maintenance, and your ink vendor explicitly lists your EcoTank model as supported. InkJet Stencils currently recommends the monochrome ET-M1170 as the simplest path because a single tank means simpler filling, and notes that cassette-fed models handle thin stencil media more reliably than rear-feed value models.
Trade-offs: you own compatibility, filling, and upkeep. The printer becomes a dedicated stencil unit with ongoing ink and paper cost, plus idle-clog risk if it sits unused. Confirm ink bottle yield and paper cost before committing.
2. Purpose-built inkjet stencil printer
The printer, ink, and support are sold together for tattoo stencil printing. PurpleStencil's PS-M1000 is a current example built around Epson EcoTank technology.
This reduces some of the DIY compatibility decisions, but you still need to follow the printer's own media, quality, maintenance, and transfer instructions. PurpleStencil pairs the PS-M1000 with its TROY ink, inkjet stencil paper, and a single-sheet feed routine.
Choose this when you want one vendor for printer, ink, paper, and support, and you prefer guided setup over assembling your own EcoTank combination.
Trade-offs: less flexibility to swap ink or paper brands, and you still accept a fixed desktop printer with cleaning and feed care. Confirm that the bundled ink, paper, and transfer method fit your normal stencil volume.
3. Printable transfer film with normal printer ink
The printable film is the special part of the workflow rather than stencil ink inside the printer.
STANDSTILL, for example, currently specifies a standard front-loading inkjet and original cartridges for its transfer film. That is a fundamentally different setup from filling an EcoTank with specialist stencil ink.
Choose this when you print stencils only occasionally, you want to keep a normal office printer usable for other work, and you accept film-specific loading and transfer steps for each stencil.
Trade-offs: no dedicated stencil-ink printer to maintain, but every print depends on the correct film, printable side, and original-ink setup. It does not convert into a stencil-ink EcoTank workflow by changing paper alone.
Do not mix instructions between these three workflows just because all of them involve an inkjet printer.
Which setup fits dedicated versus occasional use? Use this as a starting point, then confirm details with your chosen vendor:
| Shop situation | Most direct fit | Why | | --- | --- | --- | | Daily stencil volume on a fixed station, comfortable with maintenance | EcoTank with specialist stencil ink, or purpose-built stencil printer | Dedicated ink path and repeatable desktop output repay setup effort | | Want one support contact and less parts matching | Purpose-built inkjet stencil printer | Printer, ink, paper, and guidance come from one system | | Occasional stencils, printer must stay usable for normal documents | Printable transfer film with normal ink | No stencil-ink conversion, but follow film loading and transfer steps exactly |
Before buying an Epson tattoo stencil printer
Do not order the printer until you can answer yes to each line below for one specific stencil system. Check the stencil-system documentation before filling a tank or ordering paper.
Buy only when:
- [ ] you have chosen one stencil system (stencil-ink EcoTank, purpose-built printer, or transfer film) and will follow its instructions only;
- [ ] the vendor lists your exact printer model or supported printer family as compatible right now;
- [ ] you know whether the printer must be brand new or previously unused, and you accept a used-printer contamination risk if you depart from that guidance;
- [ ] you know whether the system uses specialist stencil ink or normal OEM ink, and you accept that a stencil-ink tank normally becomes a dedicated unit;
- [ ] you have the exact paper, tracing sheet, or transfer film, including which side is printable and which sizes are supported;
- [ ] you know the required paper feed path and whether the vendor recommends single-sheet feeding;
- [ ] your Mac, Windows, iPad, or phone path is supported by driver or app, not assumed from another printer;
- [ ] you have the recommended media type and print quality written down before the first print;
- [ ] you accept the maintenance routine (nozzle checks, regular printing, cleaning when directed) and the transfer-to-skin method for that system;
- [ ] you have read the warranty terms for your exact model and region and accept what third-party ink may mean for support.
A forum post saying that two printers “look the same” is not enough to establish compatibility. If any checkbox is still unknown, resolve it with the vendor first. That pause costs less than a filled tank, a stack of wrong media, or a printer that cannot be returned to normal use.
Does the Epson EcoTank need to be new?
For some stencil-ink conversion systems, yes.
InkJet Stencils currently tells users to start with a new Epson EcoTank rather than trying to clean normal ink out of a used printer. Electrum also instructs artists to use a new EcoTank that has not previously contained conventional printer ink for its Eco-Stencil workflow.
That is not a universal rule for every inkjet tattoo stencil method. A transfer-film workflow that uses original printer ink is different.
If your stencil-ink vendor tells you to start with an unused printer, treat that printer as dedicated to the stencil workflow unless the vendor publishes a supported conversion-back procedure.
Can you switch a stencil-ink EcoTank back to normal ink?
Do not assume you can switch back and forth cleanly.
Residual normal ink, stencil ink, and cleaning fluid can all affect a tank-and-printhead path. If the stencil-ink manufacturer does not publish a supported changeover procedure, plan the printer as a dedicated unit rather than alternating between normal color printing and stencil printing.
This is one reason to decide on the stencil system before you fill the printer. In shop terms, dedication means bench space for a second printer, stencil ink and cleaning supplies kept with that station, and a weekly print routine so idle nozzles do not clog. Do not convert the only office printer when the shop still needs normal documents.
What ink goes in an Epson tattoo stencil printer?
Use the ink specified for the stencil system you chose.
In a specialist EcoTank workflow, tattoo stencil printer ink is not normal Epson document ink and it is not tattoo pigment intended for implantation. It is a product designed for the stencil-printing and transfer process published by that vendor.
Do not substitute:
- ordinary printer ink because the color looks purple;
- tattoo pigment;
- thermal-paper consumables;
- a different stencil-ink brand without compatibility guidance;
- homemade mixtures.
The phrase tattoo printer ink is ambiguous in search results. Always verify whether a product means stencil-printer ink, ordinary printer ink, tattoo pigment, or something else entirely.
What about the Epson warranty?
Epson's current EcoTank documentation warns that non-Epson ink may cause damage that is not covered by the printer's warranty and may cause erratic behavior. That is more precise than saying that third-party ink automatically cancels every part of a warranty.
Before converting an off-the-shelf EcoTank, read the warranty terms for the exact model and region and understand what support you may give up if third-party ink causes a problem. Electrum also states that using third-party inks may void printer warranty and that its ink sales are final. Treat a converted EcoTank as a shop consumable decision: lower per-stencil cost only helps if you accept reduced manufacturer support and keep the printer maintained under the stencil vendor's guidance instead.
What paper works with an inkjet tattoo stencil printer?
Use the paper or film specified by the inkjet stencil system. Match media to the setup you actually bought:
| Your setup | Buy this media | Loading notes | | --- | --- | --- | | EcoTank with specialist stencil ink | Vendor-specified inkjet stencil or tracing media (for example InkJet Stencils paper or Electrum Eco-Stencil paper) | Check printable side and feed direction, feed one sheet at a time when directed, prefer the cassette or front path when the vendor recommends it over rear feed | | Purpose-built stencil printer | Paper designed for that printer and ink | PurpleStencil advises loading one sheet at a time for the PS-M1000 and using inkjet stencil paper, since other sheets can grab multiples or transfer weakly | | Transfer film with normal ink | Printable transfer film for that system, not stencil-ink paper | Use the specified front-loading path and original cartridges, verify printable side, and follow the film transfer step exactly |
Do not assume thermal transfer paper will work simply because it is sold as “stencil paper.”
Before printing, check:
- printable side;
- feed direction;
- sheet size;
- whether the printer should feed one sheet at a time;
- front, rear, or bottom feed requirements;
- the media type selected in the driver;
- any separate activation or transfer step after printing.
For the broader difference between thermal, hectograph, and other stencil-paper categories, use How to Choose Tattoo Stencil Paper.
Prepare the stencil file before changing printer settings
A printer cannot restore a line that is already missing from the final file.
Before opening the print dialog:
- Finish the stencil. If you still have a photo, sketch, or artwork, prepare the stencil first with Generate or your normal editing workflow.
- Set the physical size. Use Tattoo Stencil Size & Print when you need exact width or height and a true-size PDF. Export at the intended size rather than scaling a small file up at print time, since enlargement turns thin lines into soft or broken output.
- Check mirror orientation. Verify one asymmetrical landmark so the design is flipped exactly once across the complete print-and-transfer path. Use the mirror guide if needed.
- Inspect line weight and gaps at size. Open the final PNG or PDF at true size and confirm main contours read as continuous, fine detail is still present, and small openings have not closed. If tight script or dotwork already merges on screen, simplify or enlarge before spending ink. The line-weight guide helps set minimum masses that survive printing and transfer.
- Inspect the final output file. The Tattoo Stencil Print Checker can flag file-side issues such as physical-size sampling, crop, and page fit before you change hardware.
- Print only after the file is correct.
If a small gap has already closed or a contour has disappeared in the PNG or PDF, increasing ink density will not recover the intended geometry reliably.
Epson tattoo stencil printer settings
There is no single Epson settings recipe that works for every stencil ink and paper combination.
Use the current settings published for your system.
Media type
Select the media profile specified by the stencil-system vendor. InkJet Stencils currently tells users of its system to select Presentation Paper Matte. That setting should not be copied automatically to another brand or transfer-film workflow.
What it controls: how much ink the driver lays down and how it expects the coating to absorb it. Correct profile gives saturated but crisp lines. Wrong profile shows up as pooling and feathering when too heavy, or pale and grainy output when too light.
Print quality
Follow the product instructions. InkJet Stencils currently recommends Best for its setup, while PurpleStencil tells PS-M1000 users on Mac to use Fine.
What it controls: droplet density and pass count. Correct quality gives solid fills without banding. Draft or economy modes often leave white banding or faint fills, while repeated high-density passes on the wrong media can oversaturate and smear.
Color mode
InkJet Stencils currently instructs users of color EcoTank models to fill all four tanks with its stencil ink and print in the mode specified by its setup instructions. Do not generalize those steps to an unrelated printer or film system.
What it controls: which tanks feed the print. Correct mode keeps all stencil-ink channels contributing as the vendor tested. Wrong mode starves the print when one tank clogs or runs low, which can look like sudden faint output even though the file and paper are correct.
Paper feed
Use the feed path that the printer and stencil-media instructions call for. Thick or unusual stencil media may behave differently from normal office paper.
What it controls: straight tracking and pickup. Correct path gives a square, fully printed sheet. Wrong path or a stacked tray of thin media shows up as skew, partial pickup, multi-sheet grabs, jams, or buckling.
Scale
Set the intended physical size before printing and watch for Fit, Fill, borderless enlargement, or other driver settings that can change the dimensions.
A true-size PDF establishes the intended document size, but the printer or print app can still rescale it. Measure a known calibration mark when exact physical size matters. When the tattoo measures wrong on skin but the file was correct, scale settings are the first suspect, not ink density.
Mirror
Mirror once in the complete workflow. Some design apps and printer drivers both offer mirror controls, which makes accidental double-flipping easy.
What it controls: whether text and asymmetry read correctly after transfer. Correct parity gives one flip across file, print, and skin. Wrong parity shows up as readable paper that transfers backward, or paper that already looks backward before transfer. Check one asymmetrical landmark on paper before touching skin.
Run a test print when the setup changes
Use the same known stencil whenever you change an important part of the setup: printer, ink, paper, driver, or major print setting.
Check the printed sheet for:
- continuous main lines;
- fine details that should still be present;
- open negative spaces;
- correct physical size;
- no unexpected crop;
- no smearing or ink pooling;
- straight paper feed;
- a similar result on a second print.
The Tattoo Stencil Printer Test Sheet gives you fixed geometry for this job.
Changing one thing at a time is much more useful than changing ink density, paper, quality mode, and artwork simultaneously and then guessing which change helped.
Find your inkjet stencil symptom fast
Use this table before changing several settings at once. Each symptom points to the layer below that explains the fix.
| What you see | Check first | Likely cause group | | --- | --- | --- | | Whole stencil prints faint | Final file, then nozzle pattern, then ink and media match | File missing detail, clogged nozzles, wrong ink or paper, wrong media or quality setting | | Lines break, dot, or drop fine detail | Nozzle pattern on plain paper, then stencil media with same file | Printhead clog or low tank, thin detail below printable size, wrong feed or quality setting | | Horizontal banding or striping | Quality setting, then nozzle check | Draft mode or clogged nozzles, not artwork darkness | | Ink smears, pools, or feathers | Printable side, then media profile and paper match | Wrong media profile, incompatible ink and paper pairing, over-saturated quality mode | | Paper jams, buckles, grabs multiples, or feeds skewed | Feed path, orientation, and single-sheet loading | Wrong tray or rear feed for thin media, stacked sheets, unsupported size | | Text or asymmetry transfers backward | Count flips across app, driver, and transfer | Mirrored twice or not mirrored at all | | Paper looks clean but skin transfer is weak or patchy | Transfer stage, not printer density | Skin prep, transfer product, press time, or film activation step |
Work through one row at a time. Confirm the file first, then the paper output, then the skin stage.
If an inkjet tattoo stencil prints faint or broken
Start by separating a file problem from a printer problem.
The line is already missing in the PNG or PDF
Fix the stencil file first. A nozzle clean cannot restore information that is absent before printing.
The file is correct but the paper output has missing or broken lines
Print a known test and run the printer manufacturer's nozzle-check or maintenance procedure when its documentation calls for it.
- If the nozzle pattern is also broken, stay with printer maintenance.
- If the nozzle pattern is clean but stencil media still loses the same detail, recheck the stencil ink, paper, feed path, media profile, and quality setting for your system.
The whole stencil prints faint
Confirm:
- correct stencil ink;
- correct printer;
- correct paper or film;
- correct media profile and quality setting;
- normal nozzle-check result;
- vendor setup completed correctly.
Do not compensate by darkening the artwork, changing paper, increasing density, and cleaning the printhead all at once.
If the ink smears, pools, or spreads on the sheet
Stop increasing ink density.
Recheck:
- the exact ink and media pairing;
- which side of the media is printable;
- media profile;
- print quality setting;
- whether the sheet is designed for that ink system.
Paper that works with one brand of stencil ink does not automatically work with another.
If lines show banding, striping, or uneven fill
Switch quality mode before touching artwork darkness. Move from draft or economy to the vendor-specified Best or Fine setting, then run a nozzle check on plain paper.
- Banding that also appears on the nozzle pattern points to clogged nozzles or low tanks, so follow the vendor maintenance routine and print regularly to keep nozzles wet.
- Banding that appears only on stencil media points to the media profile or paper pairing, so recheck media type, paper identity, and single-sheet feeding.
- Do not fix banding by darkening the design file. That hides the mechanical cause and wastes ink.
If the stencil prints sharp but backward
Count flips across the whole path. List where mirroring can happen in your workflow (design app, print driver, transfer orientation), then make sure the total is exactly one.
Print one test with an asymmetrical landmark such as text or a directional detail. If the paper already reads backward, remove one flip. If the paper reads correctly but the skin reads backward, add or remove the transfer-stage flip. For the full flip ledger and double-flip diagnosis, use the mirror guide.
If the paper jams, buckles, or feeds badly
Check:
- the feed path recommended for the printer and media;
- sheet orientation;
- supported media size;
- whether the vendor recommends single-sheet feeding;
- whether the media is within the printer's published handling limits.
Do not invent a universal thickness setting when the printer or stencil-system documentation gives a specific method.
If the paper print is good but the skin transfer is weak
Leave the print setup alone and check the transfer stage.
Follow the skin-transfer process published for the ink, paper, or film system you are using. A weak skin transfer does not automatically mean the printer should put down more ink when the paper output is already clean.
Use the Tattoo Stencil Transfer Troubleshooter if the paper looks correct but the result on skin does not.
Inkjet vs thermal tattoo stencil printers
Neither technology is universally better.
Inkjet may fit your studio when
- you want a desktop digital print workflow;
- your chosen stencil system explicitly supports the printer you want to use;
- you are comfortable managing liquid ink, media, drivers, nozzle checks, and maintenance;
- a dedicated printer is acceptable where the stencil-ink system requires one.
Thermal may fit better when
- you want a more purpose-specific stencil reproduction workflow;
- portability matters;
- you want fewer ink and driver variables;
- your existing workflow is already stable around thermal paper and a thermal printer.
Use the Tattoo Stencil Printer: Thermal vs Inkjet guide if you have not yet chosen the printer category.
60-second Epson / inkjet stencil check
Before using a sheet for transfer:
- correct client and design version;
- final PNG or PDF opened and visually checked;
- intended physical size confirmed;
- mirror orientation checked with an asymmetrical detail;
- printer, ink, and media confirmed as a supported combination;
- documented media and quality settings selected;
- nozzle check or test print run when the physical setup changed;
- printed sheet inspected before it touches skin.
That short routine catches many failures before they become a skin-transfer problem.
FAQ
Can you use an Epson printer for tattoo stencils?
Yes, when the stencil system explicitly supports the Epson printer or printer family. InkJet Stencils and Electrum currently support Epson EcoTank-based stencil-ink workflows, while PurpleStencil sells a tattoo-specific system built around Epson EcoTank technology. Do not assume every Epson, stencil ink, and paper combination is compatible.
Which Epson EcoTank is best for tattoo stencils?
There is no universal best model across every stencil system. InkJet Stencils currently recommends the Epson EcoTank ET-M1170 for its own system and says other EcoTank models can also work. Check the current compatibility guidance for the ink and media system you actually plan to use before buying a printer.
Can an Epson EcoTank print tattoo stencils with normal Epson ink?
It depends on the stencil method. Specialist stencil-ink systems replace normal printer ink with their own stencil ink and may require a new dedicated EcoTank. Other products, such as printable transfer films, can be designed around original printer ink. Follow the exact product workflow rather than combining the two approaches.
Do I need a brand-new Epson EcoTank for tattoo stencil ink?
Some stencil-ink systems currently require or recommend a new, unused EcoTank so normal printer ink does not remain in the tanks or print path. InkJet Stencils and Electrum both publish that type of setup guidance for their systems. It is not a universal rule for transfer-film workflows that use normal OEM ink.
What ink do I use in an Epson tattoo stencil printer?
Use the stencil ink specified by the system you chose. Do not substitute tattoo pigment, ordinary purple printer ink, or another stencil-ink brand unless the vendor documents that combination as compatible.
What paper works in an inkjet tattoo stencil printer?
Use the paper, tracing media, or transfer film specified by the inkjet stencil system. Thermal transfer sheets are not automatically compatible with specialist stencil ink or purpose-built inkjet stencil printers.
What are the best Epson settings for tattoo stencils?
Use the media type, quality setting, color mode, feed path, and scale instructions published for your exact stencil ink and paper system. There is no single universal Epson preset for all tattoo stencil products.
Why is my inkjet tattoo stencil printing faint or with broken lines?
First confirm that the final digital file contains the missing lines. If it does, print a known test and run the printer's nozzle check. A bad nozzle pattern points toward printer maintenance; a clean nozzle pattern with bad stencil-media output points back toward ink, media, feed, or print settings.
Is inkjet better than a thermal tattoo stencil printer?
Not universally. Inkjet offers a familiar desktop print workflow but adds ink, media, driver, and maintenance variables. Thermal printers use a different reproduction method and can be simpler or more portable. Choose based on the workflow you want to maintain, not only on advertised resolution.
Current system references
Related Collections
Jump from the guide to reviewed stencil examples
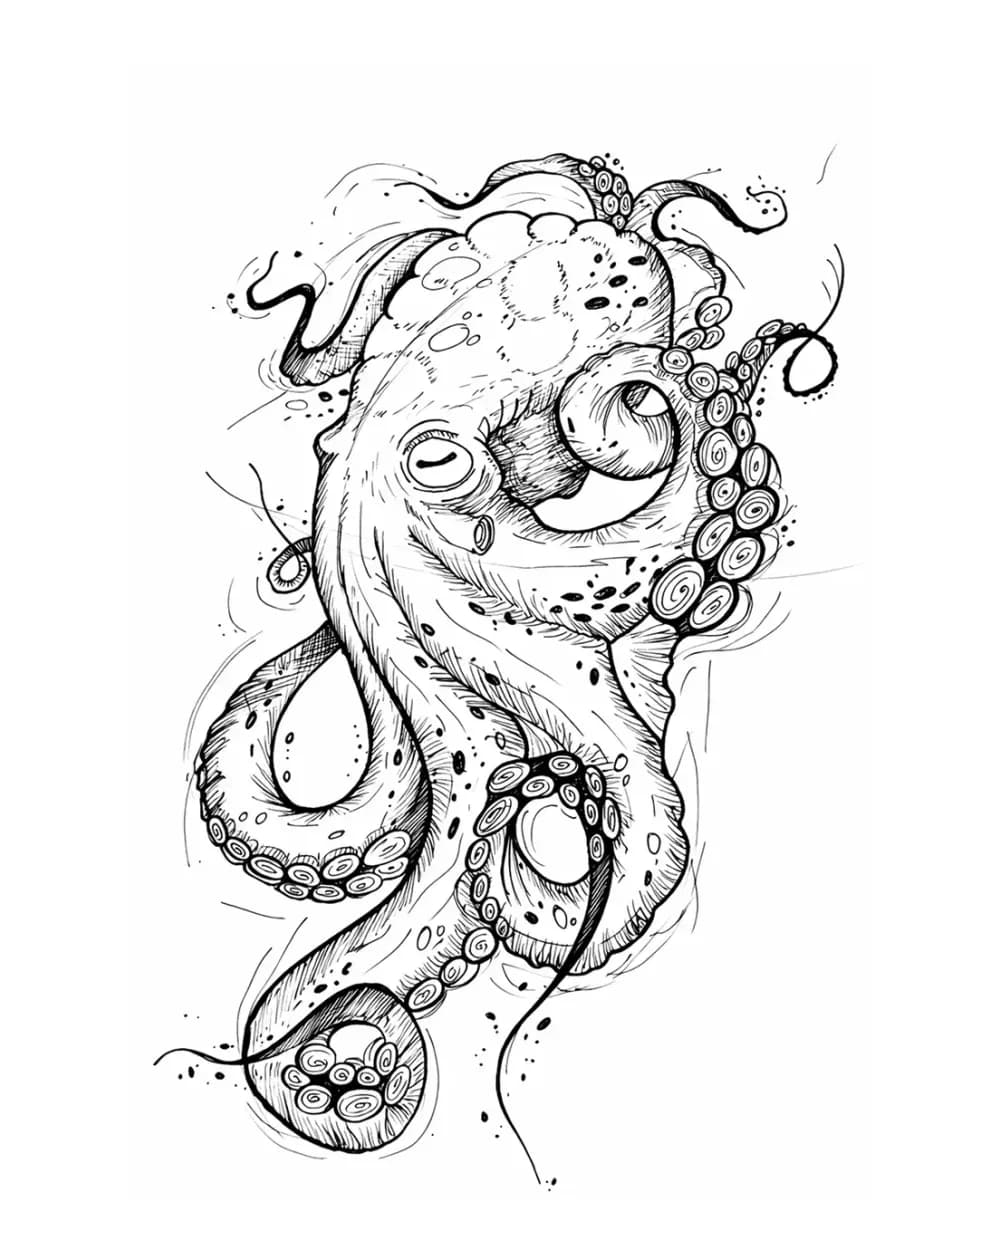
Animal Tattoo Stencil Gallery
12 curated examplesBrowse and compare 12 animal tattoo stencil examples in one gallery across big cats, wolves, pet portraits, birds, and sea life, plus ornamental and multi-animal edge ca…
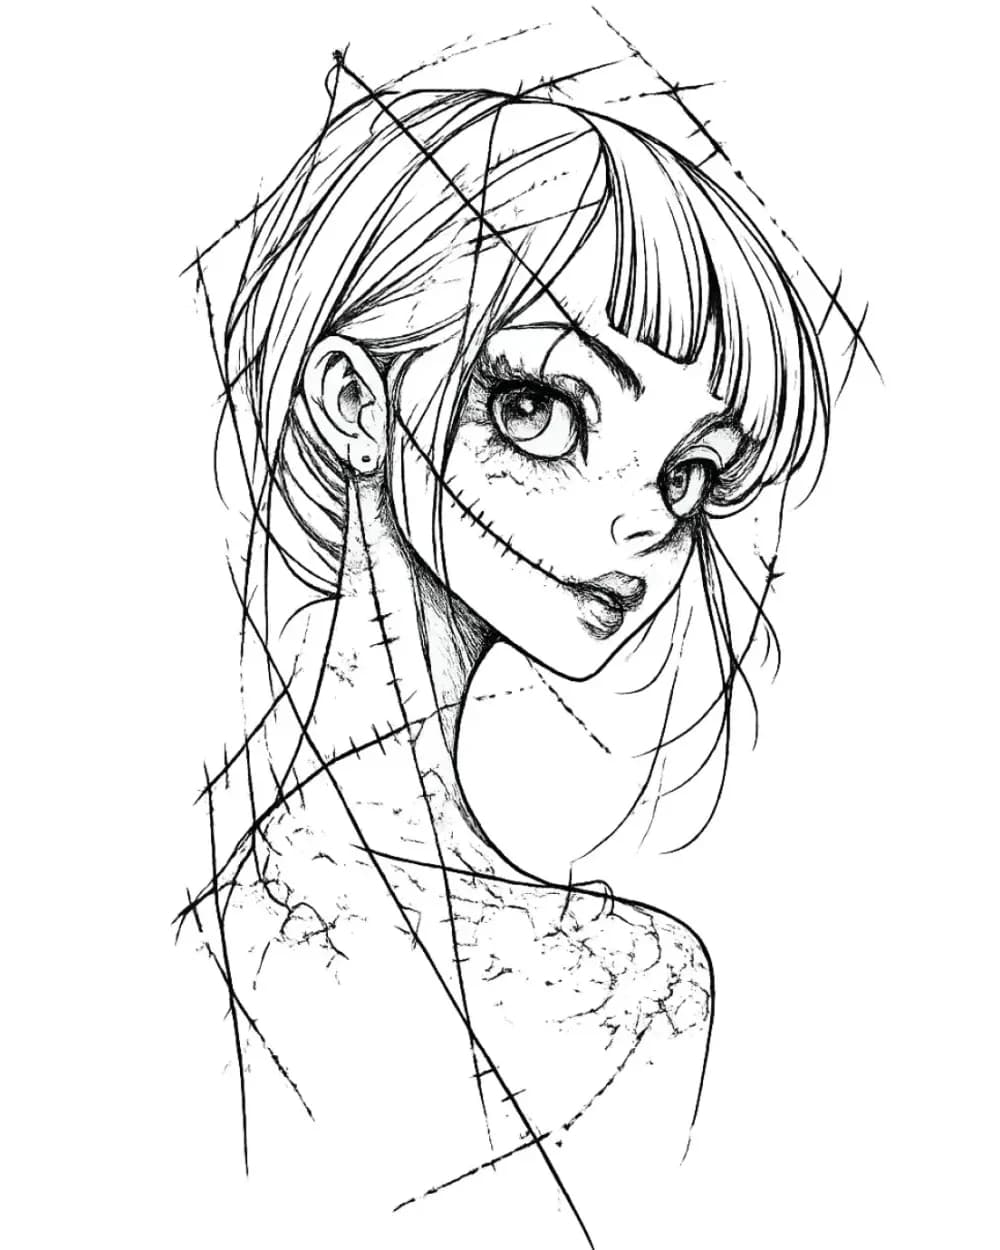
Portrait & Figure Tattoo Stencil Examples
9 curated examplesCompare first-party portrait, face, and figure tattoo stencil examples to see which recognition anchors, expression cues, body shapes, and detail clusters need to surviv…
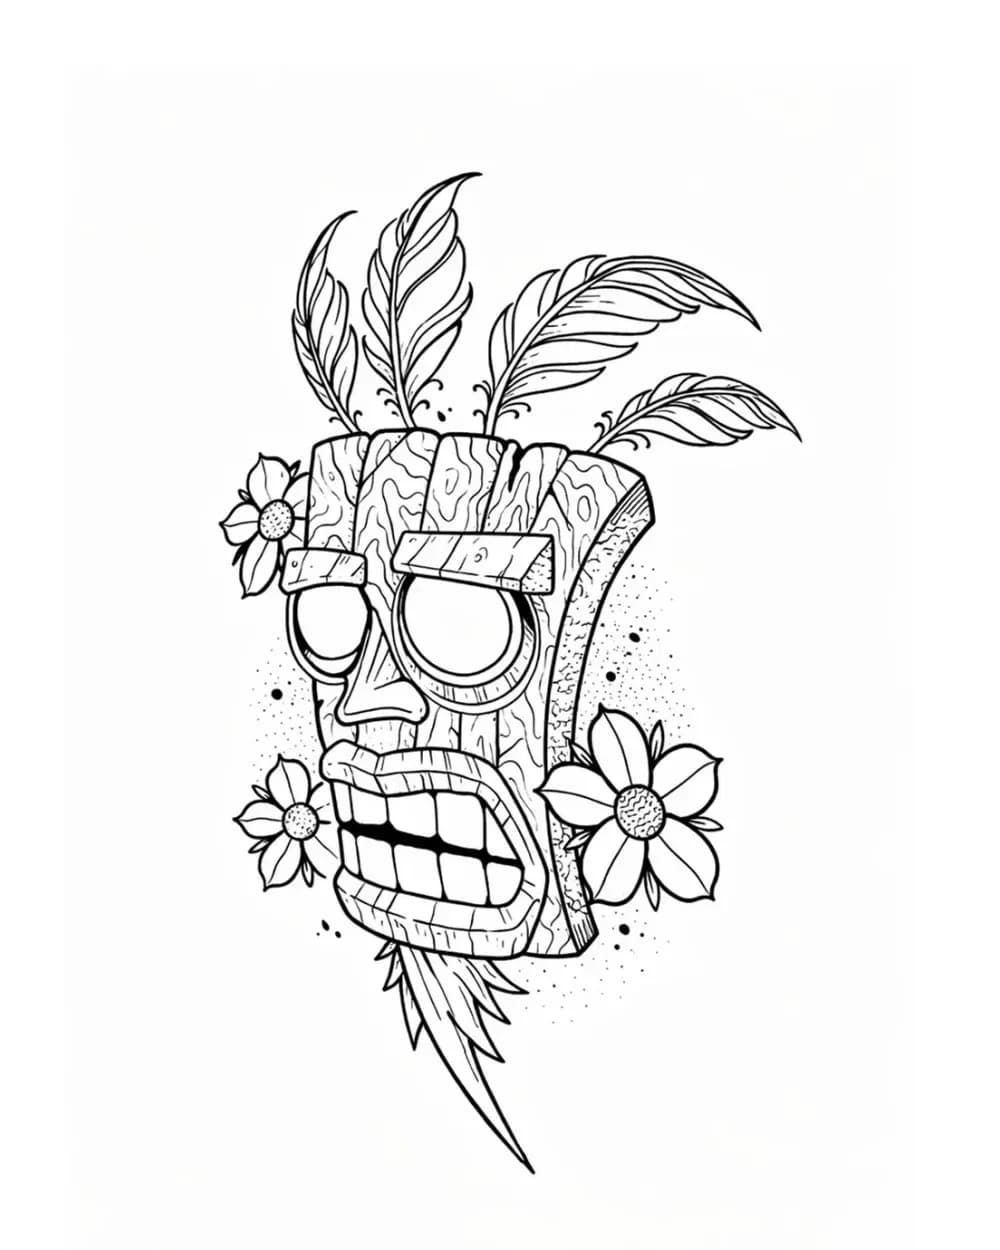
Tattoo Symbol Stencils
7 curated examplesCompare compact tattoo symbol stencils to see which silhouettes, internal gaps, repeated details, and orientation cues stay readable before adapting your own reference.…
Related Guides
Keep reading from here
Tattoo Stencil Printer: Choose the Right System for Your Workflow
Compare tattoo stencil printers by thermal vs inkjet workflow, print size, phone connectivity, portability, paper, repeatability, and real studio use.
tattoo stencil printer · thermal tattoo stencil printer
Read guideHow to Use a Tattoo Thermal Stencil Printer Without Losing the Stencil
Use a tattoo thermal stencil printer with a repeatable file-to-paper workflow: control size and mirror, load transfer paper correctly, test output, and diagnose blank, faint, blurry, merged, skewed, or missing lines.
tattoo thermal stencil printer · tattoo stencil printer workflow
Read guide
Tattoo Stencil Paper: Choose the Right Media for Your Workflow
Choose the right tattoo stencil or transfer paper for thermal printers, freehand tracing, portable printers, and inkjet stencil systems.
tattoo stencil paper · tattoo transfer paper
Read guideAuthor
Andrea Mezzadra
Founder and product builder at StencilStudio
Andrea builds StencilStudio and tests how the tools fit into real stencil prep, using real references and outputs to document what works, what changes, and where artist judgment still matters.
In the App
Check the file before you blame the printer
Run the finished stencil through the browser-local print checker at its intended physical size before changing ink, paper, or printer settings.