

Printing & Transfer
How to Remove and Reapply a Tattoo Stencil
Remove a failed tattoo stencil before tattooing, correct the placement or transfer problem, then reapply without repeating the same mistake.
remove tattoo stencil · tattoo stencil remover · tattoo stencil correction · reapply tattoo stencil · tattoo stencil placement
- September 9, 2026
- September 15, 2026
- 9 min
If a tattoo stencil is crooked, misplaced, the wrong size, reversed, doubled, smeared, or otherwise unreliable before tattooing starts, stop and reset it rather than trying to work around a bad guide.
Remove the failed stencil using the directions for the professional remover or skin-prep system your studio uses, clear the old transfer enough that it cannot compete with the replacement, fix the reason the first attempt failed, then reapply and check the new placement before the needle starts.
This guide is specifically about removing a tattoo stencil from intact skin before tattooing. It is not a guide for cleaning residual stencil marks from freshly tattooed skin after the skin barrier has been broken.
Quick answer: how to remove a tattoo stencil before tattooing
- Stop before tattooing. Do not follow a transfer you do not trust.
- Use the removal method specified for the professional product in use. Do not substitute a universal household-solvent recipe.
- Clear the old lines enough that they cannot be mistaken for the new stencil.
- Fix the actual problem before trying again. Placement, size, orientation, body fit, paper output, and transfer quality require different corrections.
- Reapply using the current instructions for your transfer system. There is no universal amount, contact time, set time, or retry interval across products.
- Check the new transfer before tattooing. Confirm position, orientation, major contours, important gaps, lettering, and other critical structure.
Removing the stencil gives you a clean chance to try again. It does not fix the reason the first transfer failed.
When should you remove a tattoo stencil and start again?
Reset the stencil when the transferred lines leave real uncertainty about the tattoo you are about to follow.
That includes situations such as:
- the design is clearly too high, low, rotated, or off-center;
- the physical size is wrong;
- text or directional artwork is mirrored incorrectly;
- a face, lettering baseline, border, focal symbol, or other important structure is distorted;
- doubled or ghosted lines make the intended contour ambiguous;
- missing transfer marks make an important section unclear;
- the stencil sits badly around a curved body area;
- the client and artist change the approved placement before tattooing begins.
A stencil can transfer cleanly and still be wrong. Good line transfer does not rescue bad placement, scale, orientation, or body fit.
Not every tiny decorative mark requires a full reset. The practical question is whether the remaining stencil is still a clear, trustworthy guide. If old and new lines would compete with each other, clear enough of the failed transfer that the replacement cannot be confused with it.
How to remove tattoo stencil marks from skin before tattooing
There is no single responsible recipe that applies to every stencil primer, remover, skin-prep product, and studio protocol.
Professional products are sold specifically for pre-tattoo stencil removal or repositioning. Current examples include:
- Electrum Premium Skin Prep & Stencil Repositioner, which Electrum describes as both a skin-prep product and a remover for misplaced stencils;
- Prep Stuff, sold for pre-tattoo skin preparation and stencil removal when placement needs to be redone;
- Proton Stencil Remover & Skin Cleanser, which Proton provides with its own product-specific removal and preparation directions.
These products show that stencil removal and repositioning are established professional workflows. They do not prove that one formula, ingredient, amount, or timing rule should be copied across products.
Use the product according to its current manufacturer directions and your studio hygiene protocol. Do not treat an ingredient found in one formulated product as permission to improvise with that ingredient by itself, household cleaners, adhesive removers, oils, or another off-label substitute.
How much of the old stencil should be removed?
There is no useful percentage to aim for.
Clear the previous transfer far enough that it cannot create a second believable set of lines underneath or beside the replacement stencil. For a full reposition, do not knowingly place a complete new stencil over old contours that could still be followed by mistake.
Inspect the area under normal working light. If the old transfer can still compete visually with the new intended position, the reset is not finished.
The exact number of passes, amount of product, and timing remain specific to the product and studio process you use.
Before reapplying, identify why the first stencil failed
Do not automatically repeat the same setup.
| What you see | What to check before attempt two | |---|---| | Clean stencil, wrong position or angle | Recheck body position, landmarks, centerline and rotation before contact | | Clean stencil, wrong physical size | Correct the printed dimensions with Tattoo Stencil Size & Print, then make a new paper stencil | | Stencil is reversed | Find where the horizontal flip entered the workflow using the mirror-orientation guide | | Design stretches or sits awkwardly on a curved area | Revisit Fit Tattoo Stencil to Body before another transfer | | Doubled, ghosted or smeared lines | Use the Transfer Troubleshooter and stencil smudging guide | | Faint, patchy or incomplete transfer | Compare the paper stencil with the skin result before changing pressure, product, or timing | | The paper stencil itself is wrong | Correct, resize, regenerate, or reprint it before touching the skin again |
Several failures can look similar. Compare the paper stencil, placement, and skin result before deciding what to change.
If placement was wrong
A crisp transfer in the wrong place is a placement problem, not a transfer-quality problem.
Before reapplying:
- put the client back in the body position you use to judge placement;
- re-establish the intended landmarks or centerline;
- correct rotation and position before paper contact;
- confirm the placement decision again before committing.
For centered or axis-sensitive work, the Tattoo Stencil Centerline Checker can help compare an artist-chosen body-photo axis with the stencil before physical transfer.
If body fit was wrong
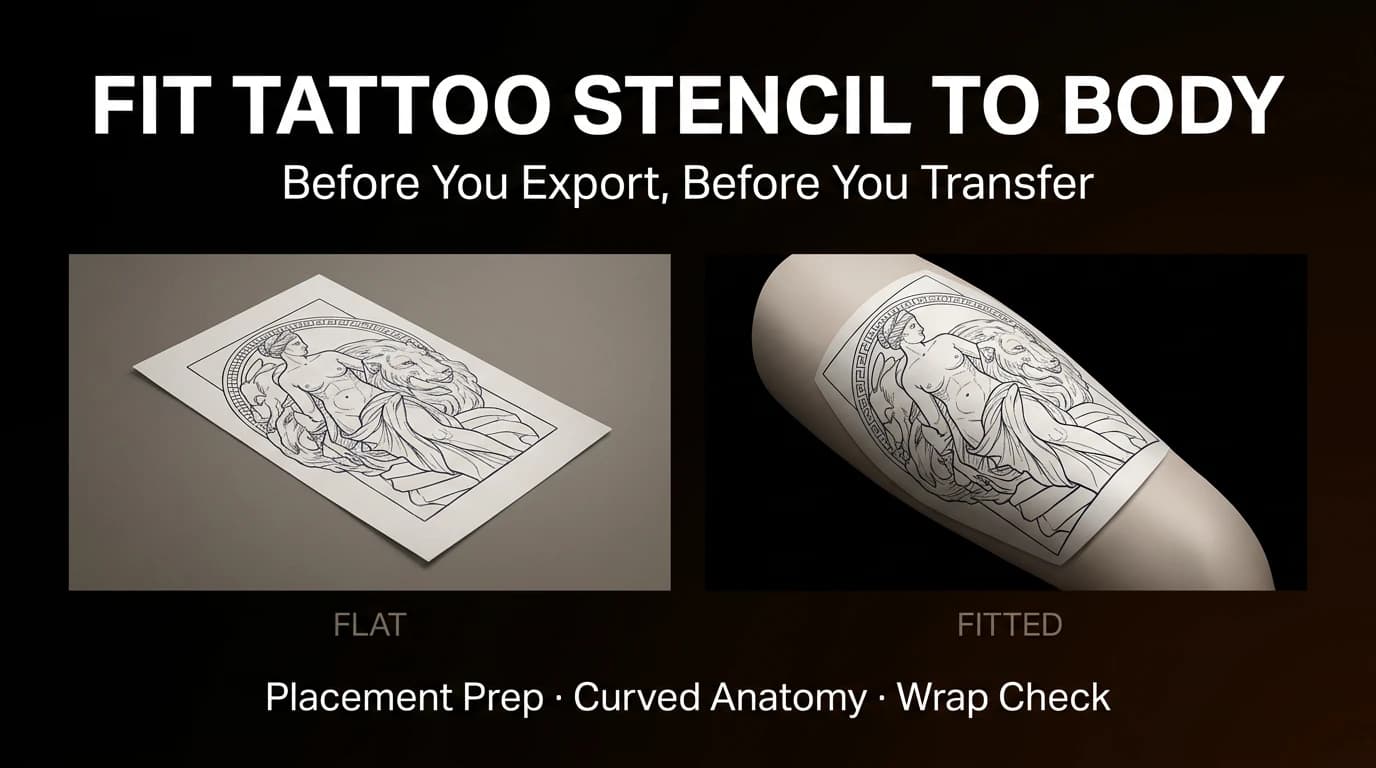
A flat stencil can look correct on screen but distort once it wraps around an arm, shoulder, rib area, knee, or another curved surface.
If the first placement reveals obvious stretching, compression, taper problems, or poor flow around the body, repeating the same flat setup is unlikely to solve it.
Use Fit Tattoo Stencil to Body when the design needs to be adjusted around body curvature before the next physical transfer.
If the stencil size was wrong
Correct the physical dimensions before reapplying.
The Tattoo Stencil Size & Print Calculator lets you set intended physical dimensions, check page fit, calibrate scale, and produce a true-size PDF workflow.
Do not try to compensate for an incorrectly printed size by stretching or compressing a partially contacted sheet on the skin.
If the stencil was mirrored incorrectly
Text, dates, asymmetrical artwork, and directional designs make mirror mistakes especially obvious.
Find where the flip happened before printing again. The tattoo stencil mirror guide follows orientation through design, export, print, paper, and skin-facing result so you do not accidentally flip the design twice.
If the transfer itself was faint, patchy, doubled, or smeared
Do not assume removing the stencil is the solution.
Use the Tattoo Stencil Transfer Troubleshooter to compare the paper output, placement, contact, movement, surface preparation, and product-specific handling. For smearing specifically, use the Tattoo Stencil Smudging guide.
If the defect already exists on the paper stencil, stay upstream and fix the file, print, or paper output before another skin transfer.
Reapply as a new attempt, not a repeat
Before the replacement stencil touches skin, check that something meaningful has actually changed.
A practical reapplication check:
- Old lines: the previous transfer cannot compete with the new stencil.
- Placement: body position, landmarks, centerline and rotation are resolved.
- Body fit: wrap or taper issues have been addressed where needed.
- Size: the paper stencil has the intended physical dimensions.
- Orientation: mirror state is correct for the final skin-facing result.
- Paper: the sheet itself is clean, complete and single-lined.
- Products: removal, preparation, transfer and set steps follow the current directions for the products in use.
Then use the How to Apply a Tattoo Stencil guide for the paper-to-skin application sequence.
Do not borrow a waiting time, amount, or retry interval from a different remover, primer, or transfer medium.
When not to keep retrying
Do not respond to a failed second attempt by automatically adding more transfer product, more pressure, or another layer of lines.
Stop and reassess when:
- old and new lines are still competing;
- the same placement, size, orientation, paper, or transfer problem keeps returning;
- the paper stencil still contains the defect;
- body-fit geometry is still unresolved;
- the working area no longer matches the normal pre-procedure condition expected by the product or studio process;
- continuing would require inventing a wait time, chemical substitute, or off-label step.
This guide does not diagnose irritation, allergy, infection, injury, or other skin conditions. If a skin concern appears, follow appropriate professional and medical guidance rather than using a stencil-removal article to decide whether tattooing should continue.
Removing stencil before tattooing is different from post-tattoo cleanup
The query remove tattoo stencil from skin can also come from someone trying to clean residual marks after a tattoo session. That is a different situation.
This page is limited to correction before tattooing begins, while the skin is intact. Once tattooing has started, do not apply this pre-tattoo reset process to the area. Follow the artist's aftercare instructions and appropriate health guidance instead.
FAQ
How do you remove a tattoo stencil before tattooing?
Use the removal directions for the professional stencil-removal or skin-prep product used in your studio. Clear the old transfer enough that it cannot compete with the replacement, then correct the reason the first stencil failed before reapplying. There is no universal household-solvent recipe recommended here.
What is a tattoo stencil remover?
A tattoo stencil remover is a professional product intended to clear transferred stencil marks before tattooing when placement needs to be corrected or the area needs to be prepared again. Some products combine skin preparation and stencil-removal functions. Follow the directions for the exact product rather than assuming all removers use the same chemistry or timing.
Can you remove and reapply a tattoo stencil?
Professional tattoo suppliers sell products specifically for pre-tattoo stencil removal and repositioning. Reapplication should happen only after the failed transfer has been cleared enough to avoid competing lines and the original placement, size, orientation, body-fit, paper, or transfer problem has been corrected.
How much of the old tattoo stencil should be removed before reapplying?
Enough that the previous transfer cannot be mistaken for the replacement stencil. For a full reposition, old contours should not remain as a second plausible line map underneath or beside the new transfer.
What should I do if the tattoo stencil is crooked but the lines are clean?
Treat it as a placement problem. Correct body position, landmarks, centerline, rotation, size, or body-fit decisions before another application. A clean transfer is not usable if it is in the wrong place.
What if the tattoo stencil smudges or transfers twice?
Use the Tattoo Stencil Transfer Troubleshooter and the stencil smudging guide. Those pages focus on why the paper-to-skin transfer failed; removal is only the reset step before another attempt.
Can I use this method to remove stencil marks after the tattoo is finished?
No. This guide is for pre-tattoo correction on intact skin. Once tattooing has started, follow the artist's aftercare instructions and appropriate health guidance rather than applying a pre-tattoo remover workflow to freshly tattooed skin.
Sources
- Electrum Premium Tattoo Skin Prep and Stencil Repositioner - manufacturer information for a professional product intended for skin preparation and removal of misplaced stencils.
- Tattoo Stuff: Prep Stuff - manufacturer/supplier information describing pre-tattoo skin preparation and stencil removal when placement needs to be redone.
- Proton Stencil Remover & Skin Cleanser - manufacturer directions for its specific remover and pre-cleaner product.
- FDA: Tattoos & Permanent Makeup Fact Sheet - public-health context for infection risk and hygiene around tattooing.
- FDA: Think Before You Ink: Tattoo Safety - public-health context for tattooing that pierces the skin and contamination risk.
Related Collections
Jump from the guide to reviewed stencil examples
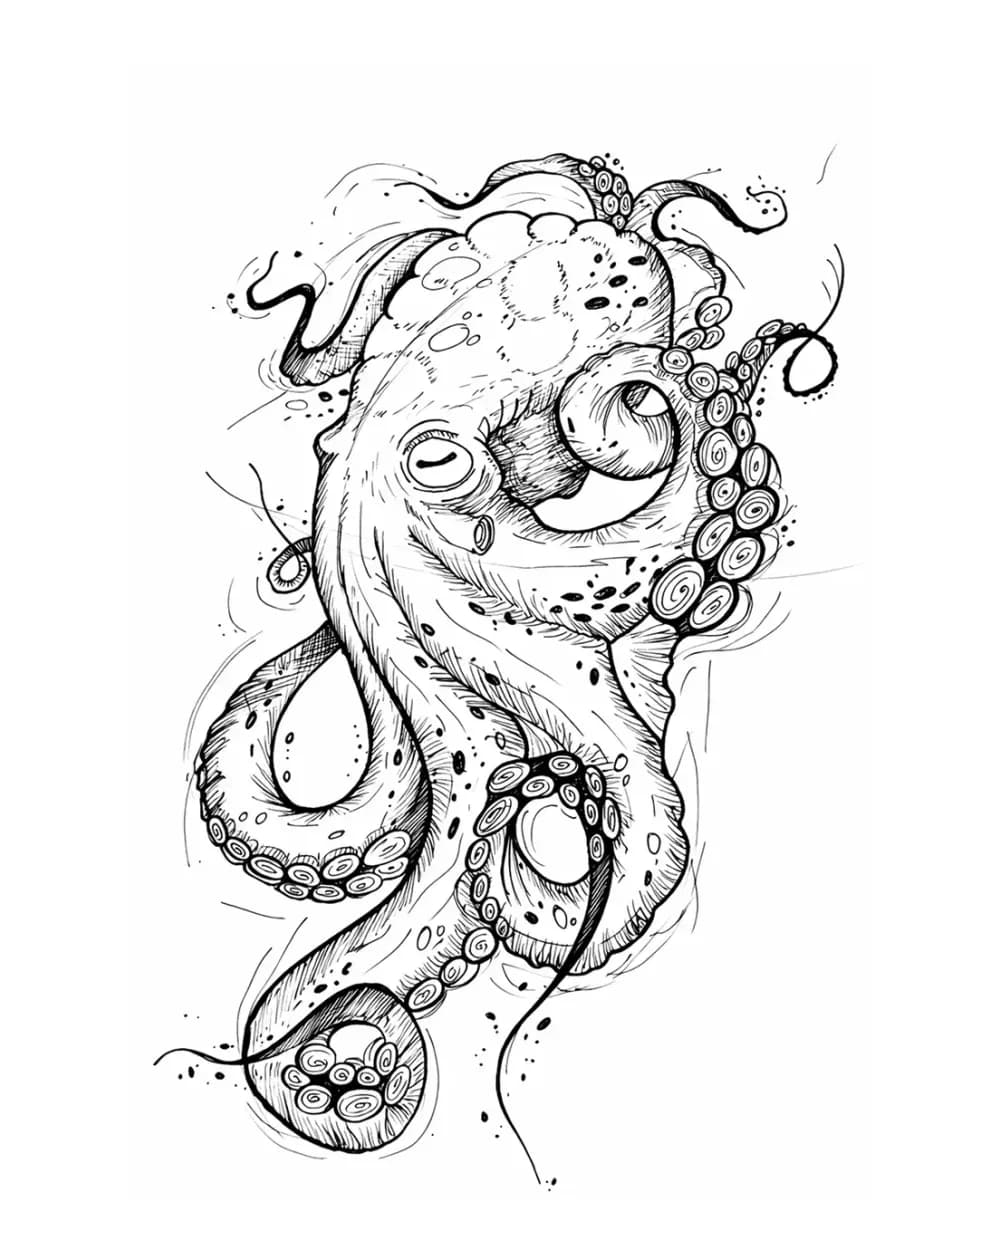
Animal Tattoo Stencil Gallery
12 curated examplesBrowse and compare 12 animal tattoo stencil examples in one gallery across big cats, wolves, pet portraits, birds, and sea life, plus ornamental and multi-animal edge ca…

Portrait & Figure Tattoo Stencil Examples
9 curated examplesCompare first-party portrait, face, and figure tattoo stencil examples to see which recognition anchors, expression cues, body shapes, and detail clusters need to surviv…
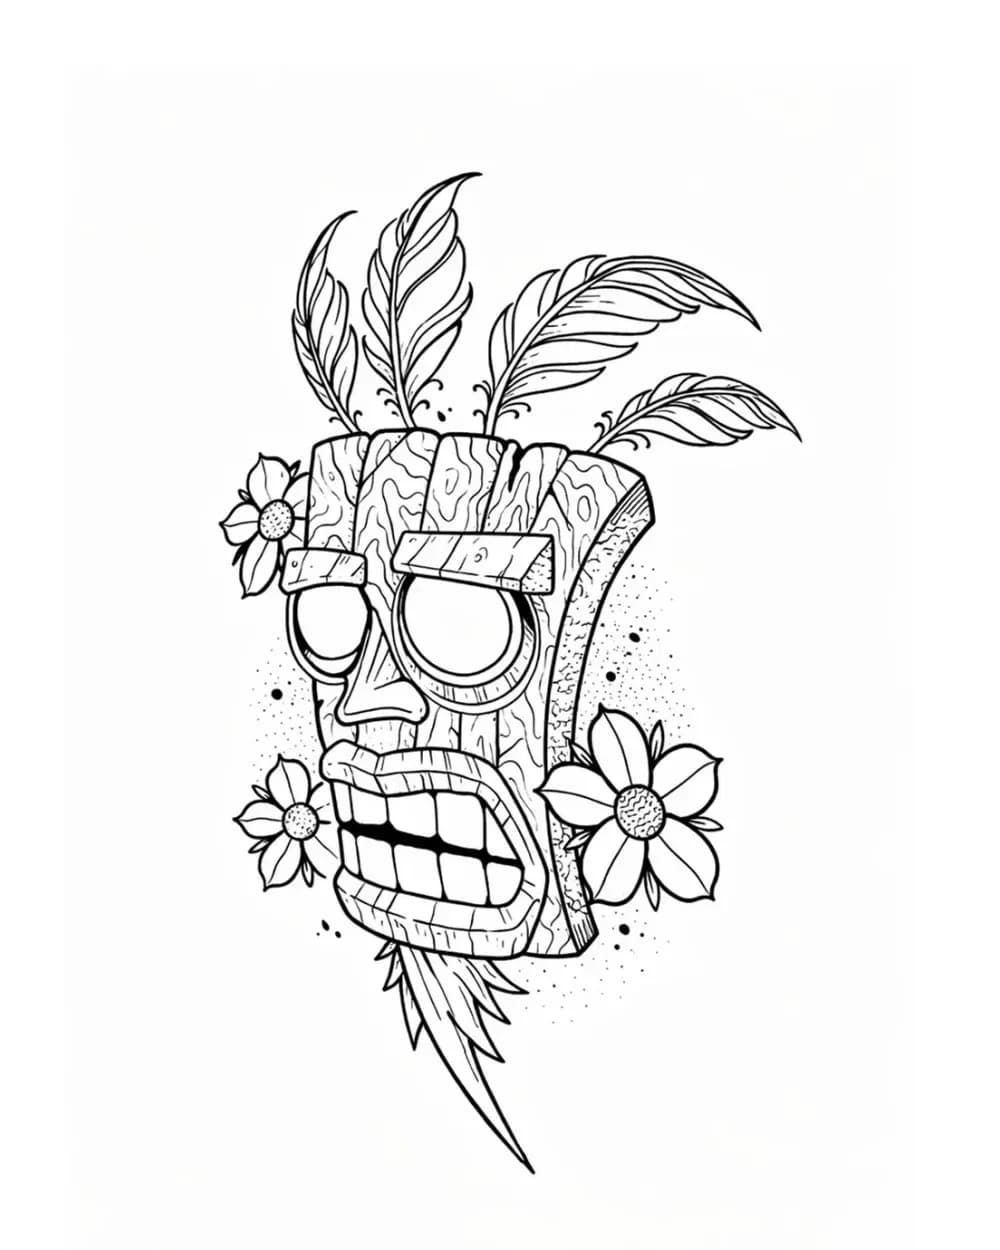
Tattoo Symbol Stencils
7 curated examplesCompare compact tattoo symbol stencils to see which silhouettes, internal gaps, repeated details, and orientation cues stay readable before adapting your own reference.…
Related Guides
Keep reading from here
How to Apply a Tattoo Stencil to Skin
Apply a tattoo stencil to skin with a clear professional workflow for placement, transfer solution, clean contact, curved areas, setting, and final checks.
how to apply tattoo stencil · tattoo stencil application
Read guide
Why Is My Tattoo Stencil Smudging on Skin?
Classify lost stencil sharpness after transfer: uniform spread, directional smear, double impressions, dense-area merging, global softness, or later disturbance.
tattoo stencil smudging · blurry tattoo stencil
Read guideHow to Fit a Tattoo Stencil to Curved Body Placement
Review focal point, wrap, compression, negative space, and body line before exporting a tattoo stencil for a curved placement.
fit tattoo stencil to body · tattoo placement prep
Read guideAuthor
Andrea Mezzadra
Founder and product builder at StencilStudio
Andrea builds StencilStudio and tests how the tools fit into real stencil prep, using real references and outputs to document what works, what changes, and where artist judgment still matters.
In the App
Why did the first transfer fail?
Diagnose the visible transfer failure before you repeat the same setup on attempt two.