

Printing & Transfer
How to Use Tattoo Transfer Paper Without a Thermal Copier
Make a tattoo stencil by hand with impact, write-on, or hectograph transfer paper, then verify linework, size, orientation, and transfer readiness.
tattoo transfer paper without thermal copier · hand traced tattoo stencil · hectograph tattoo transfer paper
- August 14, 2026
- 8 min
You do not need a thermal copier to make every tattoo stencil. A finished design can also be transferred to purpose-made impact, write-on, freehand, or hectograph-style stencil paper by tracing it manually.
The important boundary is that manual transfer paper reproduces a design you already approved. It does not decide which lines belong in the stencil, fix anatomy, choose the tattoo size, or solve body placement for you.
This guide focuses on the manual design-to-paper-stencil step. For choosing between paper systems, use How to Choose Tattoo Stencil Paper. Once the paper stencil is ready, continue with How to Apply a Tattoo Stencil to Skin for the separate paper-to-skin step.
1. Use paper intended for manual or write-on stencil creation
Do not assume every sheet sold as tattoo transfer paper is meant to be used the same way.
Spirit, for example, separates its products into thermal paper and impact/write-on paper. Other suppliers may use terms such as hectograph, freehand, carbon, or hand-transfer paper.
The exact sheet construction, protective layers, and preparation sequence can vary by product. Read the instructions for the paper in front of you before removing layers or tracing.
A useful rule is:
- thermal paper belongs to a compatible machine workflow;
- impact/write-on or freehand paper is designed to accept pressure from manual tracing or drawing;
- product instructions decide the exact setup.
Do not force a paper into a workflow its manufacturer does not support just because the sheets look similar.
2. Finish the stencil design before tracing
Manual tracing is easiest to control when the source already contains only useful stencil information.
Before you touch the transfer paper, confirm:
- the silhouette and major contours are correct;
- facial, anatomical, lettering, or subject landmarks are deliberate;
- unnecessary background texture is gone;
- tiny decorative marks have a real job at final size;
- important negative spaces are still open;
- the design has the orientation you intend to transfer.
If the source still needs simplification, use the tattoo stencil preparation workflow first. If you are working from a photo or screenshot, the photo-to-stencil guide covers crop, source quality, and structural cleanup.
Manual tracing should not become a second editing pass where the design changes accidentally line by line.
3. Set the physical size before you trace
The tracing should reproduce the size you intend to use, not an arbitrary printer or screen size.
If the source is digital, prepare a true-size paper reference before tracing. The Tattoo Stencil Size & Print Calculator can set a real width or height and make a 1:1 PDF with a physical scale check.
Then verify the printed source with a ruler.
This is especially important when the design contains:
- lettering;
- portrait landmarks;
- repeated geometric spacing;
- a known distance between two placement points;
- a long design that must fit a specific body area.
A perfectly traced stencil at the wrong size is still the wrong stencil.
4. Verify orientation with one asymmetric feature
Manual workflows can introduce an accidental flip when the source, tracing sheet, transfer surface, or later skin application changes sides.
Do not rely on memory.
Before tracing the complete design, identify one feature that makes orientation obvious:
- readable lettering or a date;
- a face in profile;
- a hand;
- a directional object;
- an intentionally asymmetric ornament.
Follow the paper manufacturer's setup instructions, then confirm that the final paper stencil will produce the intended orientation on skin.
The practical rule is the same as in a digital workflow: mirror only where the complete transfer path requires it, and verify once with something asymmetric.
5. Secure the source so the geometry cannot drift
A manual stencil can lose accuracy even when every individual line looks clean.
The common cause is cumulative movement between the source artwork and the transfer paper.
Set up the source and paper so they cannot slide relative to each other while you trace. Work on a stable surface and use a method appropriate to the paper that keeps registration fixed without damaging the stencil surface.
During the trace, periodically compare obvious landmarks:
- top and bottom extent;
- centerline;
- eye or facial spacing;
- endpoints of long contours;
- repeated geometric elements;
- lettering baseline.
If those landmarks drift, stop and correct the setup instead of finishing a distorted tracing neatly.
6. Trace structure before secondary detail
Start with the information that makes the stencil recognizable and placeable.
A useful order is:
- outer silhouette;
- major internal separations and overlaps;
- recognition-critical landmarks;
- lettering or geometric anchors;
- selected secondary guidance;
- only then, any small marks that still earn their place.
This order makes omissions easier to spot and reduces the temptation to fill every empty area with texture.
For portraits, realism, or shaded work, a stencil does not need to convert every value edge into a hard tattoo line. Use only the guidance the artist actually needs. The stencil shading guide explains how value boundaries can remain guidance instead of becoming a field of outlines.
7. Use consistent pressure, but judge the result instead of chasing force
Manual transfer depends on pressure, but there is no useful universal instruction such as "press as hard as possible."
Too little pressure can leave missing or weak marks. Excessive or uncontrolled pressure can make tracing less precise, damage paper, or create unwanted marks depending on the product and tool.
Use the paper manufacturer's instructions and inspect the stencil as you work.
What matters is whether the paper stencil contains:
- continuous required contours;
- clean endpoints;
- distinct neighboring lines;
- open counters and negative spaces;
- no accidental pressure marks outside the design.
If one region consistently fails to reproduce, isolate whether the cause is paper setup, pressure, source movement, or an overly delicate source mark before retracing the entire design.
8. Check the finished paper stencil against the source
Do not judge the tracing only by whether it looks clean in isolation.
Put the approved source beside it and compare:
- overall proportions;
- silhouette;
- placement landmarks;
- facial or anatomical features;
- lettering and numerals;
- important overlaps;
- repeated elements;
- missing or duplicated lines.
Then view the stencil at its real physical size.
A hand-traced line can be technically accurate but still create too much information once the complete design is seen at tattoo size. If the tracing feels crowded, solve the design decision upstream instead of using the skin-transfer step to discover the problem.
9. Diagnose the common manual-transfer failures
Parts of the design are missing
Check whether:
- the source and paper remained registered;
- the correct paper layers were prepared according to the manufacturer;
- pressure was sufficient and consistent in that region;
- the source line was visible enough to trace confidently;
- you skipped a secondary section while changing direction.
Compare against the source systematically rather than filling gaps from memory.
The tracing looks doubled or wobbly
Check registration first. If the source moved under the transfer paper, continuing to trace will compound the error.
Also inspect whether you retraced the same contour several times instead of making one deliberate pass.
The stencil is clean but the proportions feel wrong
Use landmark distances. A few small tracing deviations can accumulate into a noticeable change across a face, hand, circle, or long geometric design.
Restart the affected section or stencil when the geometry is no longer trustworthy. Cosmetic cleanup should not hide structural drift.
The paper stencil is correct but the skin transfer is faint or smudged
That is now a different layer. Move to How to Apply a Tattoo Stencil to Skin instead of changing the tracing automatically.
10. When manual tracing is a strong workflow choice
Manual stencil creation is useful when:
- the artist is already drawing or correcting the design by hand;
- the stencil is simple enough that tracing is faster than setting up a machine workflow;
- a printer is unavailable;
- a small custom edit is easier to redraw deliberately;
- the artist wants direct control over exactly which lines become stencil guidance.
Thermal printing is useful when a prepared digital stencil needs fast, repeatable reproduction.
Neither method deserves to win by default. Choose the method that preserves the approved stencil with the least uncertainty for the job in front of you.
From digital source to skin without a thermal copier
A controlled no-copier workflow looks like this:
- prepare the design or reference;
- simplify it into a usable stencil;
- set and verify the final physical size;
- print or draw the source used for tracing;
- prepare manual/write-on transfer paper according to its manufacturer instructions;
- trace the approved stencil without changing its geometry;
- compare the finished paper stencil to the source;
- verify orientation;
- move to the separate skin-transfer workflow.
The missing thermal copier changes the paper reproduction method. It does not remove the need for source fidelity, final-size checks, placement review, or transfer QC.
FAQ
Can tattoo transfer paper work without a thermal copier?
Yes, when you use transfer paper designed for manual, impact, write-on, freehand, or hectograph-style stencil creation. Follow the instructions for the exact product instead of treating thermal and manual papers as interchangeable.
Can I trace a digital tattoo design by hand?
Yes. First print or otherwise prepare the approved design at the intended physical size, then trace it onto compatible manual transfer paper while keeping the source and paper registered. Compare the final stencil with the source before applying it to skin.
Do I need to mirror the design before hand tracing?
It depends on the complete paper and transfer path. Do not apply a universal mirror rule. Follow the paper setup instructions and verify the final orientation with an asymmetric feature such as lettering, a profile, or a directional object.
Is hand tracing only for simple tattoos?
No, but complexity increases the opportunity for registration drift, missed details, and unnecessary linework. The more complex the design, the more important it is to simplify first and compare the finished stencil systematically with the approved source.
Manufacturer reference
- Spirit Tattoo: Create a Stencil - official guidance distinguishing thermal paper from impact/write-on paper, plus product-specific preparation and transfer instructions.
Related Collections
Jump from the guide to reviewed stencil examples
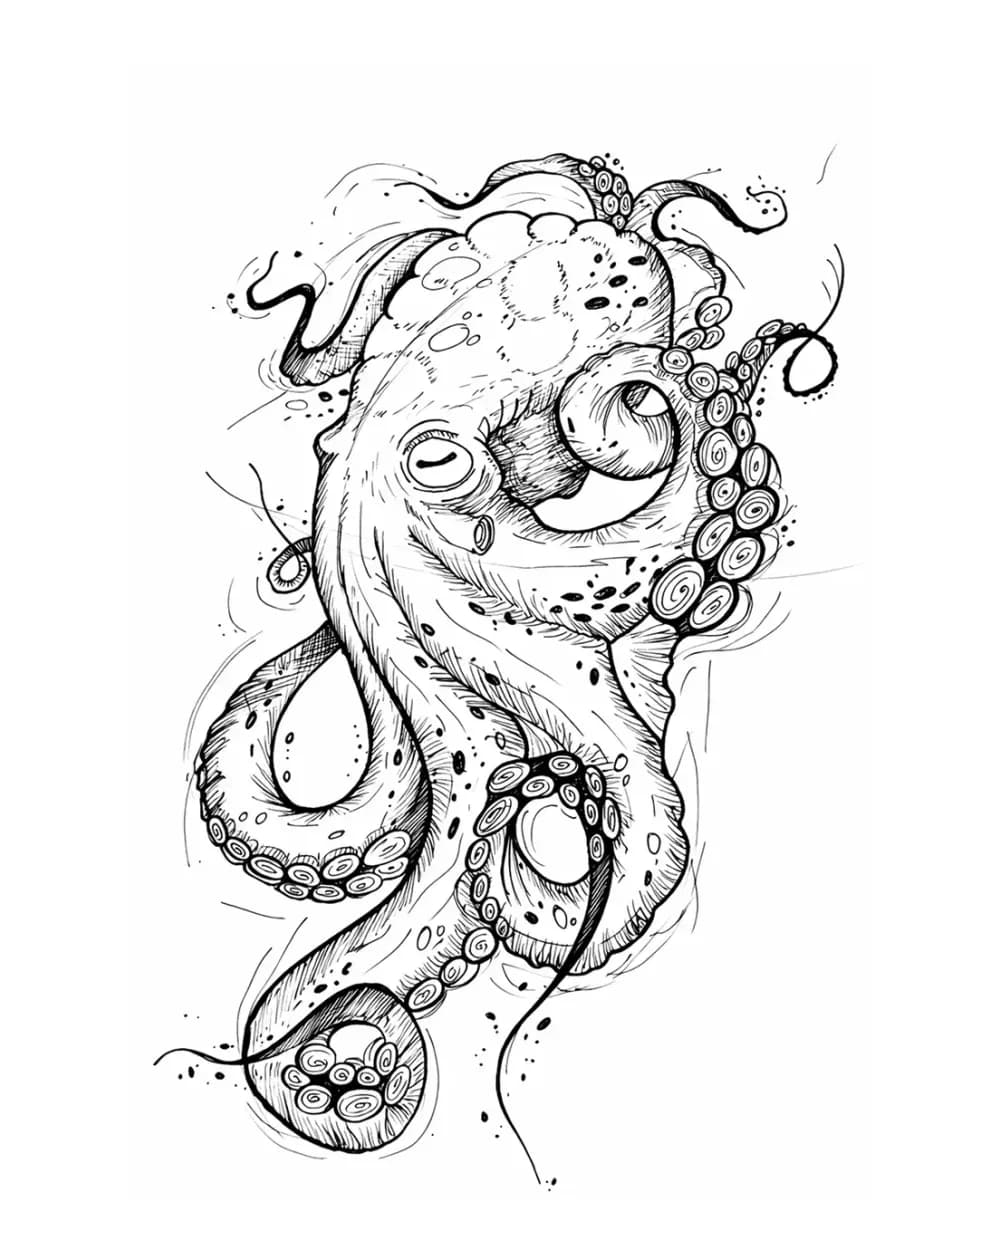
Animal Tattoo Stencil Gallery
12 curated examplesCompare 12 curated animal tattoo stencil examples across wildlife, pets, birds, and sea life. Start with the animal silhouette and recognition landmarks, then compare ho…
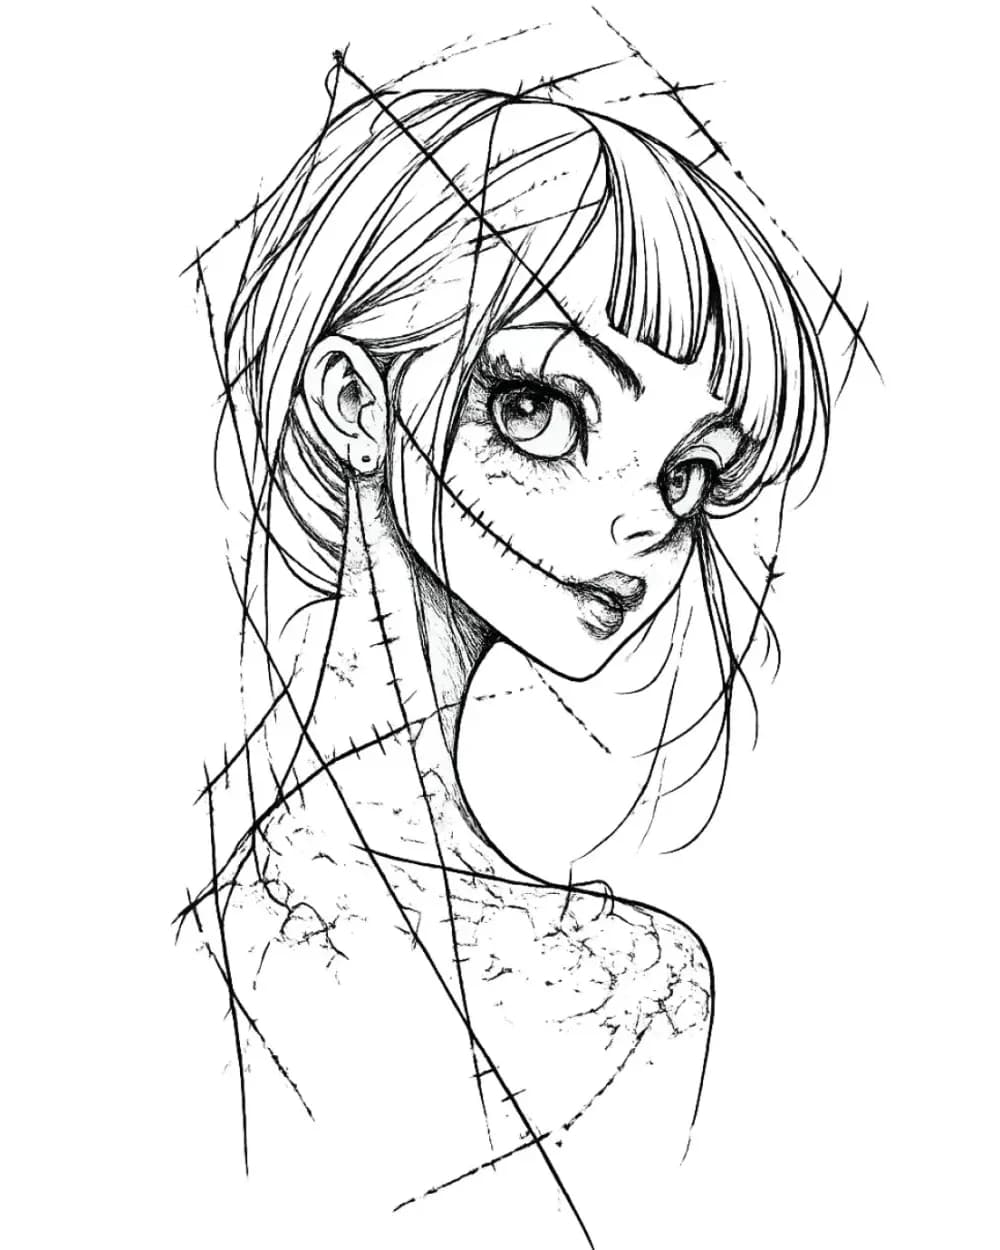
Portrait & Figure Tattoo Stencil Examples
9 curated examplesCompare first-party portrait, face, and figure tattoo stencil examples to see which recognition anchors, expression cues, body shapes, and detail clusters need to surviv…
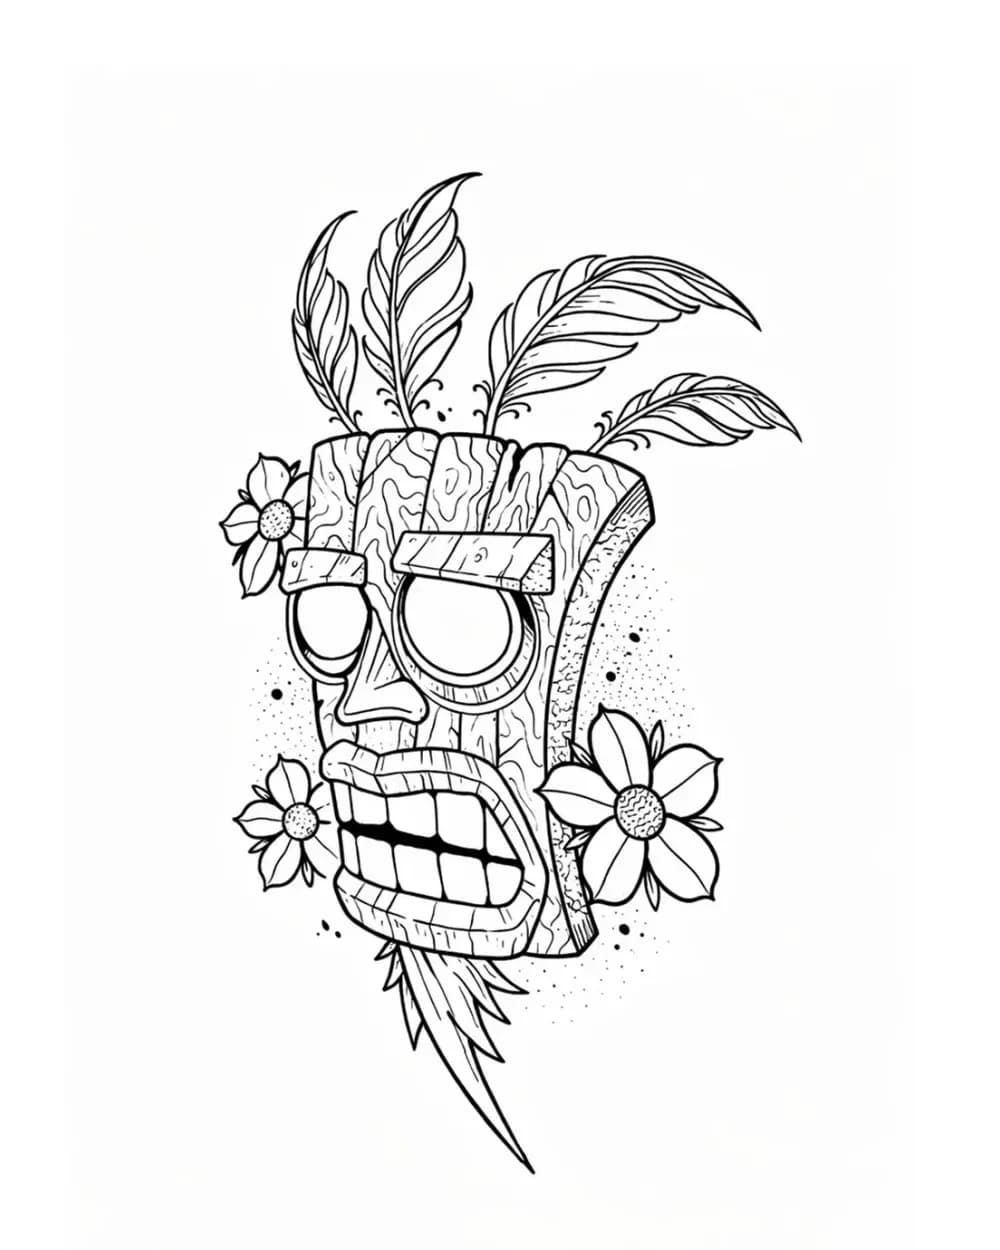
Tattoo Symbol Stencils
7 curated examplesCompare compact tattoo symbol stencils to see which silhouettes, internal gaps, repeated details, and orientation cues stay readable before adapting your own reference.…
Related Guides
Keep reading from here
Tattoo Stencil Paper: Choose the Right Media for Your Workflow
Choose the right tattoo stencil or transfer paper for thermal printers, freehand tracing, portable printers, and inkjet stencil systems.
tattoo stencil paper · tattoo transfer paper
Read guide
How to Make a Tattoo Stencil: Reference to Transfer-Ready
Turn a drawing, photo, or reference into a clean tattoo stencil by simplifying the source, choosing line hierarchy and value guidance, checking size and orientation, and preparing transfer-ready output.
how to make a tattoo stencil · tattoo stencil workflow
Read guide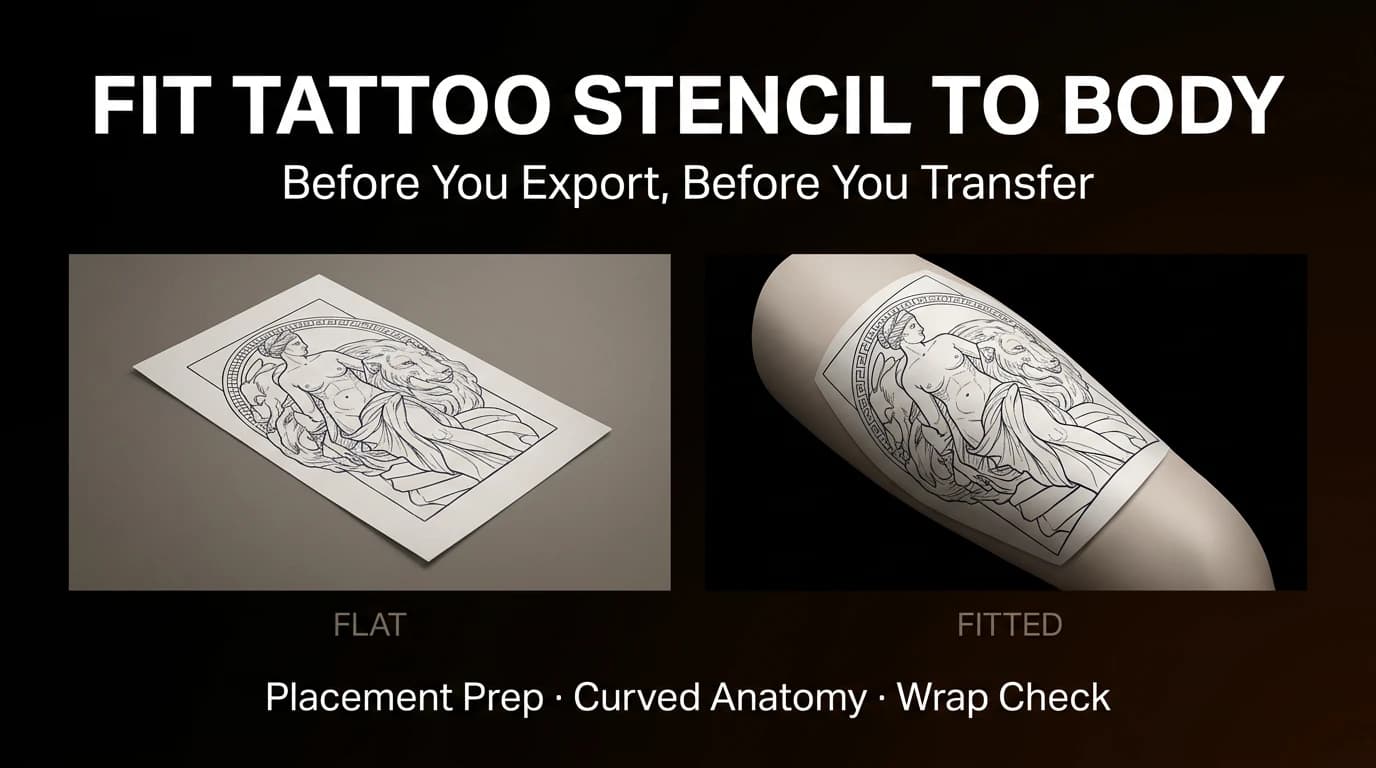
How to Apply a Tattoo Stencil to Skin
Apply a tattoo stencil to skin with a clear professional workflow for placement, transfer solution, clean contact, curved areas, setting, and final checks.
how to apply tattoo stencil · tattoo stencil application
Read guideAuthor
Andrea Mezzadra
Founder and product builder at StencilStudio
Andrea builds StencilStudio and tests how the tools fit into real stencil prep, using real references and outputs to document what works, what changes, and where artist judgment still matters.
In the App
Prepare the stencil design before you trace it onto transfer paper
Create a clean source, set the real tattoo size, then use the manual transfer step to reproduce that approved line map.