
Stencil Workflow
How to Make a Tattoo Stencil Without Turning the Draft Into Cleanup
Follow a practical tattoo stencil workflow from reference to readable draft, placement check, and export without avoidable redraw.

Making a tattoo stencil is not a single trick. It is a sequence of decisions that turns reference material into a draft the artist can still trust once it reaches transfer, placement, and the session itself. When the sequence is wrong, artists usually waste time cleaning a draft that was overloaded from the start.
What the stencil actually needs to do
The stencil is not the final tattoo. Its job is more practical than that:
- protect the main silhouette
- preserve the landmarks the artist still needs later
- stay readable at the intended size
- survive placement and transfer without turning muddy
That is why the best tattoo stencil workflow starts with reduction, not with polishing. If the first pass is already full of weak detail, later cleanup becomes slower and less reliable.
Start with the reference, not with the linework
Before you think about line density, ask whether the source image is even worth converting into a stencil. Clear subject separation, visible contour, and usable contrast matter more than fine texture.
If you are starting from a photograph, How to Make Tattoo Stencils From Photos is the more specific photo-first version of this workflow. The same principle still applies here: bad input creates cleanup work that no later step can fully rescue.
Two quick internal references help:
- the people collection shows how recognition depends on grouped landmarks more than on every tiny crease
- the symbols collection shows how much a strong stencil can gain by refusing unnecessary information
Use a broad workflow before you fine-tune anything
In practice, a clean tattoo stencil workflow usually looks like this:
- choose the clearest source reference
- reduce it into dominant shape and mass
- keep only the internal structure that still helps execution
- choose the right detail level
- check placement if the body area is curved
- export the version that is actually ready for the next step
This sequence is what keeps the draft useful. It is also the fastest way to avoid fake speed, where the app is quick but the artist spends the saved time undoing a bad stencil.
Decide detail level before placement, not after
Artists often leave detail decisions too late. That creates a problem: once the stencil hits a curved body area, crowded lines become harder to judge and easier to excuse.
The better move is to choose the broad information density first. Tattoo Stencil Detail Levels Explained covers that choice in depth, but the short version is simple:
- choose cleaner when silhouette and transfer clarity matter most
- choose balanced for the day-to-day default
- choose richer only when the design truly needs more internal anchors
If the draft still needs a placement check after that, Fit Tattoo Stencil to Body is where the next useful step happens.
Manual versus assisted stencil workflow
A manual-only workflow can work well, but it is expensive in repetitive time. An assisted workflow is valuable when it removes low-value cleanup without pretending the artist is no longer needed.
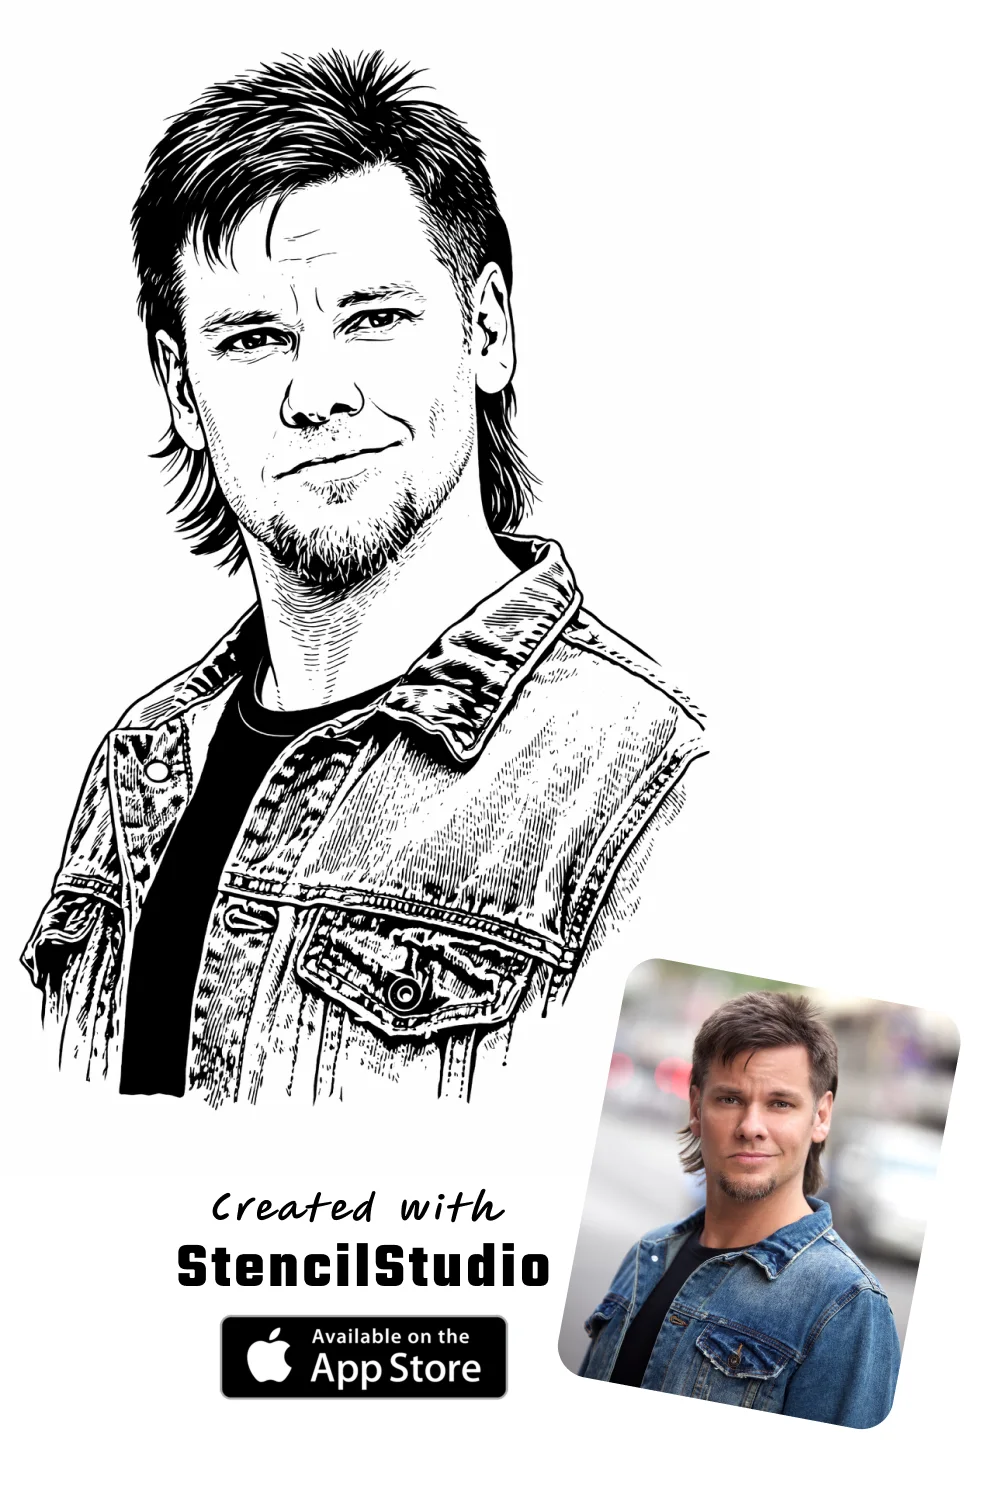
StencilStudio's tattoo stencil maker workflow is useful in exactly that gap. It can start from a source image, produce a source-faithful stencil draft, let the artist choose detail level, then move into fit-to-body and export without forcing the artist to redraw everything by hand from zero.
If you want proof before trying your own references, open the Samples page. It is the fastest way to see what actually changes between source input and stencil-ready output.
The best final question to ask
Before you export, ask one question:
If this stencil were smaller, curved, and transferred today, would the important information still hold up?
That question is more useful than asking whether the stencil looks finished. Stencils do not need to look finished. They need to stay functional when the real constraints appear.
FAQ
What is the fastest reliable way to make a tattoo stencil?
The fastest reliable way is to reduce the reference first, choose the right detail level second, then check placement before export. Speed only helps if the draft stays readable.
Should you make the stencil manually or with an app?
Both can work. The deciding question is whether the tool removes repetitive cleanup while still leaving the artist in control of readability, placement, and final tattoo decisions.
What usually ruins a tattoo stencil?
Keeping too much weak information. Tiny texture, background leftovers, and low-value internal lines usually survive on screen but fail once the stencil is sized, curved, or transferred.
Related Collections
Jump from the guide to live stencil examples

Stencil Gallery
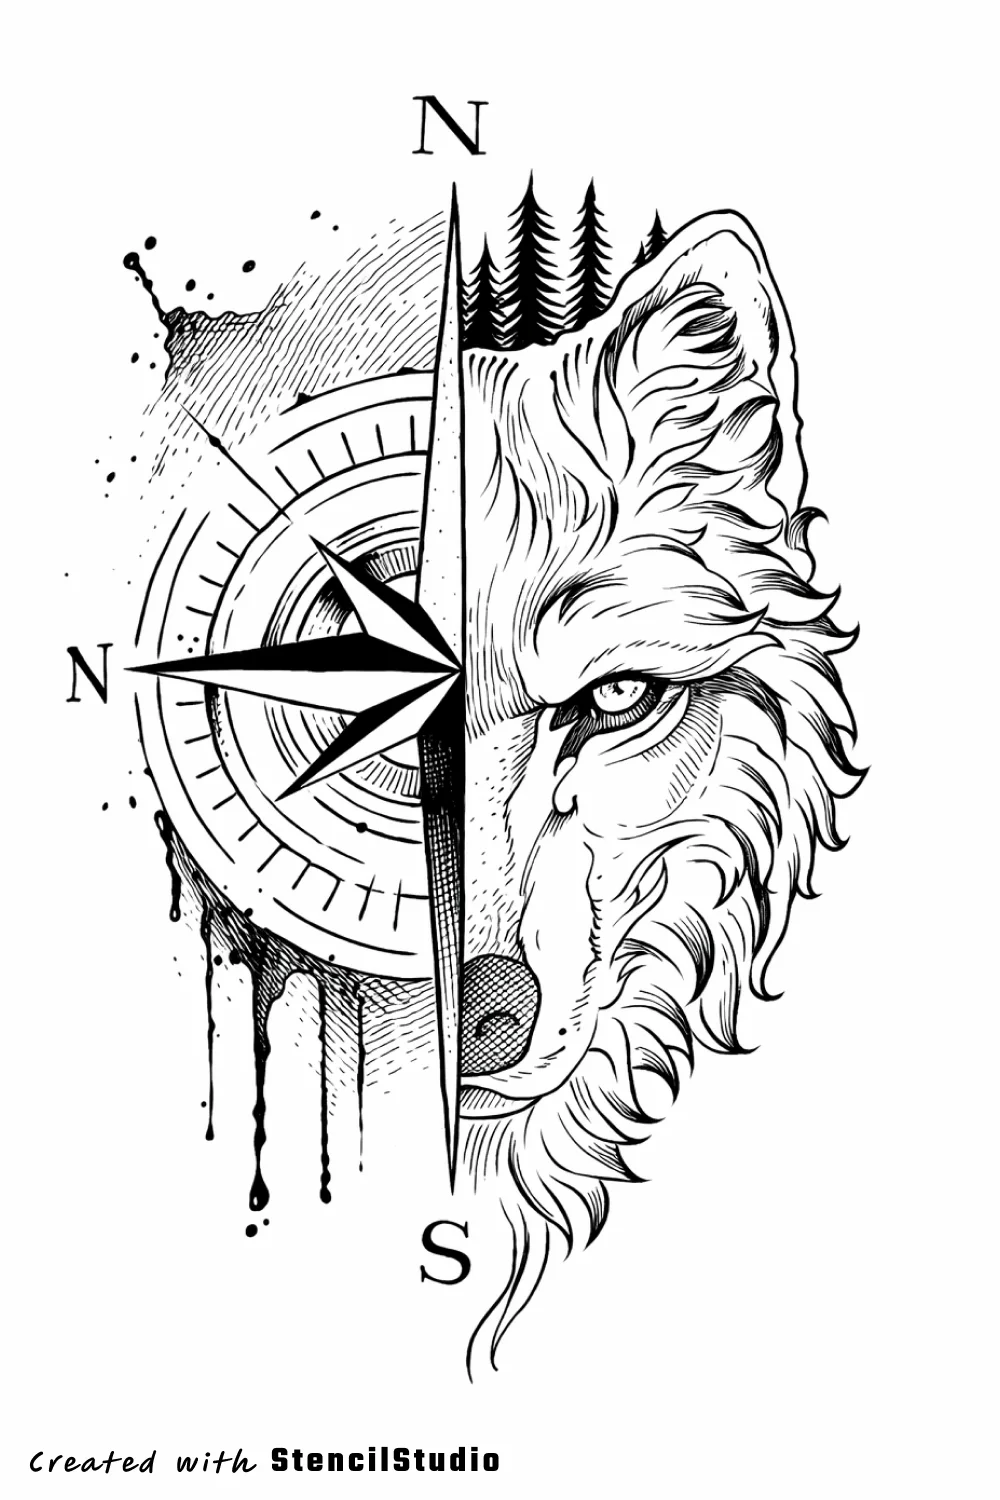
Animal Tattoo Stencil Group
This animal stencil group is broad on purpose: it now spans sea life, birds, big-cat portraits, wolf-led hybrids, raccoon and pet studies, cat-sheet flash, and a few pla…

Stencil Gallery
People Tattoo Stencil Group
People-focused tattoo stencils are less forgiving than most categories because expression, likeness, and anatomy fail fast when the line budget gets crowded. This group…

Stencil Gallery
Symbol Tattoo Stencil Group
Symbol-led stencils live or die on shape language. The subject usually has to land before texture or narrative does, which makes spacing, contour discipline, and focal h…
Related Guides
Keep reading from here
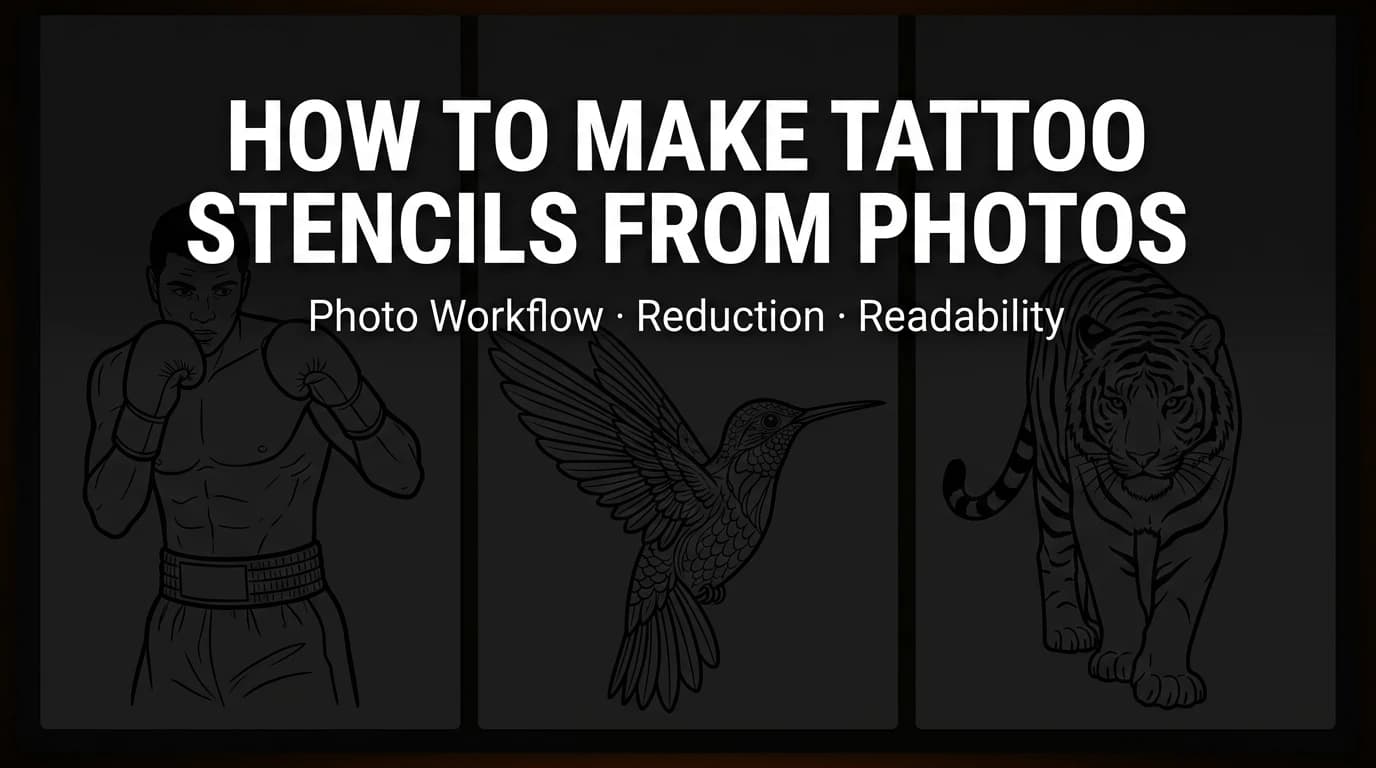
How to Make Tattoo Stencils From Photos Without Losing Readability
A practical workflow for turning photos into tattoo stencils that stay readable, editable, and placement-ready before the session starts.

Tattoo Stencil Detail Levels Explained: Clean vs Balanced vs Rich
Learn how to choose the right tattoo stencil detail level so the transfer stays readable without dropping the information that still matters.

How to Fit a Tattoo Stencil to Body Placement Before You Export
A practical placement-prep checklist for adjusting tattoo stencils to curved body areas before printing, transferring, or finalizing the draft.
In the App
Start with a cleaner stencil workflow, not a longer redraw loop
StencilStudio helps artists move from source image to stencil draft, detail choice, placement check, and export faster.
Author
StencilStudio Editorial Team
StencilStudio publishes workflow-first content around tattoo stencil generation, readability, placement prep, and the decisions that matter before ink touches skin