

Troubleshooting
Why Does My Tattoo Stencil Printer Work on Test Paper but Not Stencil Paper?
Test thermal paper prints correctly but tattoo transfer paper fails? Check the exact paper type, preparation, loading, size and printer compatibility before changing the artwork or buying a new printer.
tattoo stencil printer test paper · tattoo transfer paper not printing · tattoo stencil paper compatibility · thermal stencil printer paper
- August 24, 2026
- 10 min
If your tattoo stencil printer works on the included test paper or ordinary thermal paper but fails on tattoo transfer paper, do not start by redrawing the stencil or replacing the printer.
The first thing to check is what changed when you changed the paper:
- Is the tattoo paper actually made for thermal printing?
- Is it the exact product you think it is?
- Does it need a specific layer preparation?
- Is it loaded in the correct direction?
- Does the prepared sheet fit the printer correctly?
- Does the printer or paper manufacturer support that paper type?
- Is the failure blank, faint, too dark, broken, creased, jammed, or the wrong size?
A successful test print tells you that the printer can produce output in at least one paper setup. It does not prove that every tattoo transfer paper will behave the same way.
Phomemo's current M08F troubleshooting uses this exact comparison for interrupted tattoo-paper printing: after checking the tattoo-paper setup, it tells users to try thermal paper and see whether the printer works normally. That makes the paper change a useful diagnostic step, not a reason to assume the tattoo paper or printer is automatically defective. See Phomemo's M08F troubleshooting.
First identify the exact tattoo paper
"Stencil paper" is not specific enough.
Before changing settings, check the package or manufacturer page and write down:
- brand;
- exact product name or variant;
- whether it is thermal transfer paper or freehand / hand-drawn paper;
- sheet dimensions;
- which layers should remain during printing;
- loading direction;
- any printer compatibility statement.
This matters even within one brand.
For example, Spirit currently sells Classic Thermal as thermal-printer transfer paper. Its Classic Freehand is designed for hand-drawn stencils and explicitly says no tools or printers are needed.
So "I'm using Spirit paper" still does not answer the important question. The exact variant does.
Thermal test paper, thermal tattoo paper, and freehand paper are different products
These names are easy to mix up:
Thermal test paper
This may be the sample supplied with the printer or another direct thermal sheet that the printer can mark directly. It is useful for checking whether the printer can feed and create output under that condition.
It is not automatically tattoo transfer paper.
Thermal tattoo transfer paper
This is made for a thermal stencil workflow. Its construction, layers, dimensions, loading, and compatibility can differ from ordinary direct thermal paper.
Freehand or hand-drawn transfer paper
This is intended for drawing or tracing a stencil manually. Do not assume that a product belongs in a thermal printer simply because the package says "tattoo stencil paper."
If your tattoo paper prints completely blank, confirming the paper type should come before increasing darkness or changing the artwork.
What a good test-paper print tells you
If test paper prints correctly, you know that under that setup:
- the printer powered on and accepted a job;
- the printer could feed that sheet;
- the printer created a recognizable physical image;
- the file or self-test reached the printer successfully.
It does not tell you that:
- every tattoo paper is compatible;
- every paper preparation is correct;
- every sheet size will feed correctly;
- every print element is perfect under every condition;
- the tattoo paper should use the same preparation or setting as the test paper.
If the test paper also fails, stop treating this as a tattoo-paper-only problem and move to the broader Tattoo Stencil Printer Troubleshooter.
Compare test paper and stencil paper with the same file
Use the same simple artwork on both papers so you are not comparing two different designs at the same time.
The Tattoo Stencil Printer Test Sheet is useful because it contains known long lines, fine lines, gaps, counters, dense areas, and scale marks.
Keep as much as practical unchanged:
- printer;
- digital file;
- physical print size;
- mirror state;
- app or driver;
- supported print setting;
- battery or power condition.
Then change the paper and prepare each paper exactly as its own instructions require.
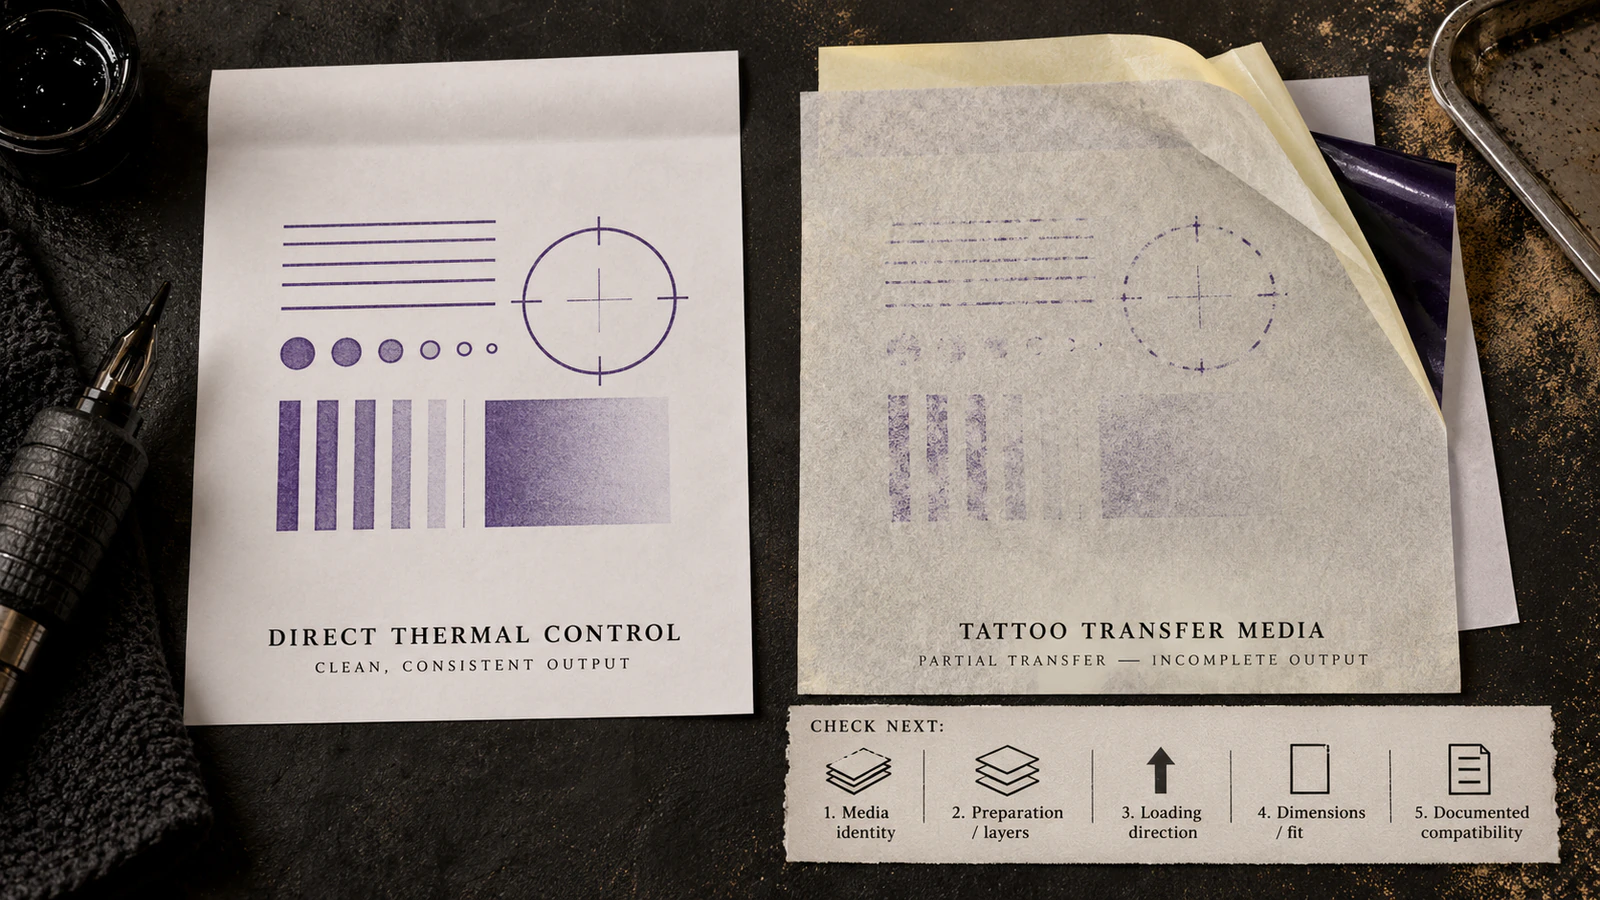
Compare the same features on both outputs:
- one long line;
- one fine line;
- one known gap;
- one enclosed counter;
- one dense area;
- one size mark.
Also watch what happens to the sheet itself:
- Does it enter normally?
- Does it travel straight?
- Does it exit completely?
- Does it stay flat?
- Does it crease, buckle, catch, or jam?
This tells you what kind of problem you actually have.
Classify the failure before changing settings
"Stencil paper doesn't work" can mean several different things.
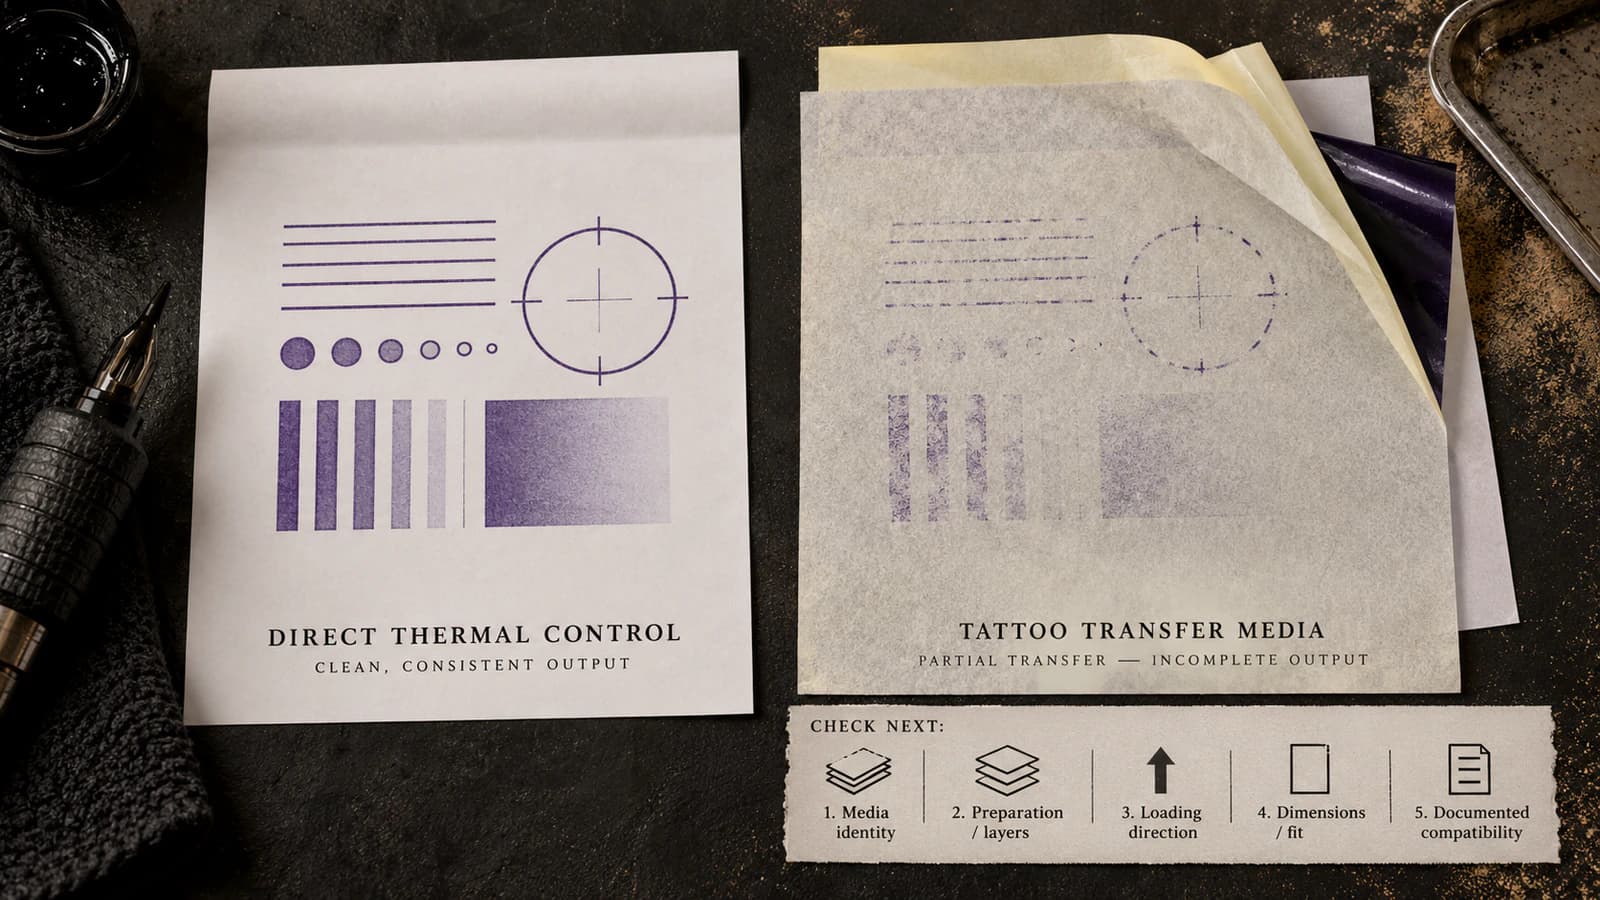
| Tattoo-paper result | Check next | |---|---| | Blank or almost blank | Paper type, exact product, preparation, loading direction, dimensions, compatibility | | Faint but recognizable | Confirm setup first, then use the faint-lines diagnostic | | Too dark everywhere | Confirm paper/setup, then use Tattoo Stencil Too Dark | | Lines get wider or gaps close | Use Printer Fills In Gaps | | Continuous lines become broken | Use Printer Broken Lines | | Specific details disappear | Use Print Missing Detail | | Paper creases or buckles | Use Printer Creasing Paper | | New black marks appear | Route the print artifact through the Printer Troubleshooter | | Paper stops or jams | Stop repeated runs and follow the exact printer's safe jam/feed instructions | | Print size or position changes | Use Printed the Wrong Size? |
A passing thermal test page plus a failing tattoo sheet tells you to investigate the changed paper setup first. The exact failure tells you where to go after that.
If the tattoo paper is blank, check these before darkness
Use this order:
1. Is it actually thermal tattoo paper?
Check the exact product name and manufacturer description.
Spirit's current product range is a clear example: Classic Thermal is sold for thermal printers, while Classic Freehand is made for hand drawing. A darkness setting cannot turn a freehand-only product into thermal printer paper.
2. Is the paper prepared correctly?
Multi-layer tattoo transfer papers may require particular layers to be removed or retained before printing.
Do not copy a layer-removal rule from another printer or paper. Follow the exact instructions for your combination.
3. Is it loaded in the correct direction?
A thermal printer needs the relevant printable surface presented correctly to its print path. Tattoo transfer paper may also have model-specific loading instructions.
Use the current manual or support page for your printer rather than assuming the orientation from another model.
4. Does the prepared paper fit the printer?
Check the actual sheet dimensions after preparation.
Do not assume that two products described casually as "A4" or "Letter" are interchangeable without checking the real dimensions and the printer's supported media range.
5. Is the paper type supported?
Prefer the printer or paper manufacturer's documentation over marketplace phrases such as "works with all stencil printers."
Physical fit and documented compatibility are separate questions. A sheet can enter the printer and still not be a supported paper construction.
6. Does the printer require a paper-specific mode or setting?
Use such a setting only when the exact printer documentation tells you to. Do not copy heat, speed, density, or media settings from another model as a universal fix.
A paper can fit physically and still print badly
Keep three questions separate:
Does it fit?
Can the prepared sheet enter, travel, and exit without catching or deforming?
Is it supported?
Does the printer manufacturer or paper manufacturer document this product or paper class for the workflow?
Does it print well?
Does the same known linework reproduce with usable line continuity, gaps, detail, and scale?
A sheet can pass the first question and fail the next two. A paper can also be supported but still expose another problem such as faint lines or closed gaps that needs its own diagnosis.
If test paper works but tattoo paper jams or creases
Do not keep increasing darkness or editing the stencil.
Check:
- whether the tattoo sheet was flat before loading;
- whether the correct layers remain together;
- whether the leading edge is aligned;
- whether the sheet dimensions are supported;
- whether one layer has shifted or curled;
- whether the same physical side catches repeatedly.
If the paper exits physically folded or wrinkled, use the Printer Creasing Paper guide.
If it stops inside the printer, follow the exact model's jam-clearing instructions. Do not pull against the mechanism or improvise internal repairs from a generic article.
If tattoo paper prints but looks faint or broken
At that point the paper type may be broadly correct, but the output still differs from the working test paper.
Keep the same file and inspect the exact same line on both sheets.
For faint but continuous lines, use Tattoo Stencil Printer Faint Lines.
For a line that becomes intermittent or broken, use Tattoo Stencil Printer Broken Lines.
For one small feature that disappears while the rest survives, use Tattoo Stencil Print Missing Detail.
Do not make the entire design heavier before you know whether only one family of fine marks is failing.
If gaps close only on tattoo paper
A clean digital gap that survives on test paper but closes on tattoo transfer paper is different from a blank-sheet problem.
Compare the same opening at the intended print size. If the paper output makes neighboring marks wider or closes a counter that is clearly open in the file, use Tattoo Stencil Printer Filling In Gaps.
Keep the artwork fixed at first so you can tell whether the changed reproduction follows the paper/output path rather than a new stencil revision.
Change one clear variable, then retry once
After the first comparison, pick the strongest concrete issue you found.
Examples:
- wrong paper variant -> use the correct thermal variant;
- incorrect layer preparation -> prepare it according to the current instructions;
- wrong loading direction -> correct the orientation;
- damaged or curled sheet -> use a fresh sheet of the same product;
- wrong size -> use a supported size;
- unsupported paper -> use a manufacturer-supported option when available.
Then repeat with the same file.
Do not simultaneously change paper brand, density, contrast, scale, app, artwork, and loading method. A successful print after six changes does not tell you which one fixed the problem.
When to stop testing
Stop feeding more tattoo paper and move to manufacturer support when:
- the paper repeatedly jams;
- sheets become severely creased or damaged;
- the printer makes abnormal feed noises;
- you notice unusual heat, smell, or smoke;
- current documentation says the paper is unsupported;
- correct paper preparation and one controlled retry reproduce the same failure without giving you new information.
Do not open the housing, bend guides, alter roller pressure, bypass sensors, shim the feed path, or modify internal components to force a paper through.
A successful test-paper print is also a reason not to replace the printer reflexively. It has already shown that the printer can create output under at least one known paper condition. Check the tattoo-paper setup first.
Keep printer output separate from skin transfer
This diagnostic ends when the tattoo transfer paper leaves the printer.
If the tattoo paper prints cleanly but the stencil later transfers poorly to skin, the printer-paper comparison has done its job. Move downstream instead of continuing to change print settings.
Use the Tattoo Stencil Transfer Troubleshooter for that stage.
FAQ
Why does thermal test paper print but tattoo stencil paper does not?
Because the papers are different products with different construction and setup requirements. Confirm the exact tattoo paper type, preparation, loading direction, dimensions, and compatibility first, then diagnose whether its actual failure is blank, faint, broken, creased, jammed, too heavy, or the wrong size.
Can I use any tattoo transfer paper in a thermal stencil printer?
Do not assume so. Check the exact paper product and the exact printer documentation. A sheet physically fitting into the printer does not prove that its construction is supported.
Is freehand stencil paper the same as thermal stencil paper?
No. For example, Spirit currently describes Classic Thermal as thermal-printer paper and Classic Freehand as a hand-drawing product that does not need a printer. Always check the exact variant, not just the brand.
Should I increase darkness if tattoo paper prints blank?
Not first. Check paper type, preparation, loading, size, and compatibility before changing darkness. If the paper is not intended for the thermal workflow, a stronger setting will not solve that mismatch.
Does a successful test page prove the printer is completely fine?
No. It shows that the printer produced output under the test-paper condition. It does not prove that every tattoo paper, feed condition, or output setting will behave correctly.
Do I always remove the yellow sheet before thermal printing?
There is no safe universal rule across every printer and tattoo-paper construction. Follow the instructions for the exact paper and printer you are using.
Related Guides
Keep reading from here
How to Use a Tattoo Thermal Stencil Printer Without Losing the Stencil
Use a tattoo thermal stencil printer with a repeatable file-to-paper workflow: control size and mirror, load transfer paper correctly, test output, and diagnose blank, faint, blurry, merged, skewed, or missing lines.
tattoo thermal stencil printer · tattoo stencil printer workflow
Read guide
Tattoo Stencil Paper: Choose the Right Media for Your Workflow
Choose the right tattoo stencil or transfer paper for thermal printers, freehand tracing, portable printers, and inkjet stencil systems.
tattoo stencil paper · tattoo transfer paper
Read guide
Why Is My Tattoo Stencil Printer Printing Faint Lines?
Diagnose faint tattoo stencil printer output when the stencil is visible on paper but weak. Compare file, final size, preview, paper, and a known test sheet.
tattoo stencil printer faint lines · tattoo stencil printer printing faint
Read guideAuthor
Andrea Mezzadra
Founder and product builder at StencilStudio
Andrea builds StencilStudio and tests how the tools fit into real stencil prep, using real references and outputs to document what works, what changes, and where artist judgment still matters.
In the App
Keep the next printer test controlled
Use the Printer Troubleshooter when you need to route the exact paper-output symptom without changing several variables at once.