

Printing & Transfer
How to Print a Large Tattoo Stencil for Sleeves and Back Pieces
Print a large tattoo stencil at true size across multiple pages or compatible roll media, then verify scale, alignment, overlap, and placement before transfer.
large tattoo stencil · sleeve tattoo stencil · back piece tattoo stencil · multi-page tattoo stencil · tiled tattoo stencil

- August 14, 2026
- 10 min
A sleeve, back piece, thigh piece, or other large tattoo creates a printing problem that a normal one-page stencil does not: the design may be correct, but the paper is smaller than the tattoo.
The wrong solution is to shrink the design until it fits one sheet and plan to enlarge it later by eye. That changes the physical size before placement has even started.
The useful workflow keeps tattoo size and paper size as separate decisions. Set the design to the dimensions it needs on the body, then decide how that fixed-size stencil will be carried by the available paper.
For most studios there are two practical routes:
- tile the stencil across several A4, US Letter, A3, or custom sheets;
- use compatible continuous or roll media with hardware that supports the required length.
Neither route removes the need to verify scale and placement. The goal is the same in both cases: a paper stencil that still represents the planned design at true physical size.
Start from body dimensions, not printer dimensions
Measure the placement before deciding how many pages the stencil needs.
For a large piece, record the dimensions that actually control the composition. Depending on the design, that may include:
- overall height;
- widest useful width;
- distance between two placement landmarks;
- where the focal point should sit;
- how much of the design wraps away from the main viewing plane.
Then review the artwork against the body before printing. A 55 cm design that is geometrically correct on a flat canvas can still be wrong for a tapered arm or a curved shoulder.
Use Fit Tattoo Stencil to Body when wrap, taper, rotation, or body-line alignment needs adjustment. The placement guide explains the reasoning behind that check.
Only after those decisions are stable should the print layout be locked.
Do not confuse image resolution with physical size
A raster file can be 4000 pixels tall and still have no reliable tattoo height until a physical dimension is assigned to it.
The same image can be printed at 20 cm, 40 cm, or 60 cm. As the physical size increases, its effective pixels per inch decrease, so fine edges deserve another inspection before a large print is committed.
The free Tattoo Stencil Size & Print Calculator lets you set a target width or height in centimetres or inches. You can also calibrate the full design from a known distance between two points inside the artwork.
That physical measurement becomes the source of truth. The page count comes afterwards.
Route 1: tile the stencil across multiple sheets
Tiling keeps the design at the intended size and divides the paper layout into printable sections.
This is useful when:
- the studio already uses A4 or US Letter transfer sheets;
- the printer cannot accept continuous media;
- a wide back or torso design exceeds one sheet in both directions;
- the artist wants a paper mock-up before committing transfer material.
In the Size & Print Calculator:
- upload the finished stencil;
- set the real target width or height;
- choose the exact paper size that will be loaded;
- set margins around the printable area;
- set overlap between neighboring pages;
- leave print and assembly marks enabled;
- download the 1:1 PDF.
If the design exceeds one sheet, the calculator divides it into overlapping pages and adds row/column labels and crop ticks.
The overlap is deliberate. It repeats a narrow part of the design on neighboring pages so the sections can be compared and aligned. It does not make the finished tattoo larger.
Print one calibration page before the full set
A correct PDF can still be resized by the print path.
Before printing six or ten transfer sheets, print one page and measure the 50 mm scale check.
Use:
- the same physical paper size selected in the PDF;
- 100% or Actual Size when the print interface exposes that control;
- no Fit to Page, Shrink to Fit, borderless enlargement, or crop-to-fill option when those settings are shown.
If the 50 mm line does not measure exactly 50 mm on paper, stop. Do not enlarge the source file to compensate for an unknown scaling error.
The detailed iPhone printing guide covers AirPrint and manufacturer-app paths where scaling controls may differ.
Keep every tiled page on the same print path
A multi-page stencil only works when all of its sections share the same scale.
After the calibration page is correct, keep the remaining pages on the same:
- printer;
- paper format;
- orientation;
- scaling behavior;
- border setting;
- print application or driver path.
Do not make one page "line up" by scaling it independently. That can hide a print-path problem while introducing a geometric error into the complete stencil.
If one page repeatedly comes out different, compare the PDF page first, then the printer settings, before editing the artwork.
Align the paper using repeated design information
The easiest multi-page assembly is not the one with the most tape. It is the one where the repeated geometry agrees before anything is fixed permanently.
Use the generated page labels to keep the sequence clear. Then use the crop ticks and overlapping artwork to compare adjacent pages.
Good alignment points are features that are easy to recognize on both sheets, such as:
- a long contour crossing the overlap;
- two distinct intersections;
- a recognizable corner or landmark;
- separated marks that make rotation obvious.
Check more than one point before fixing the pages together. Matching a single line can still allow the second sheet to rotate slightly.
When the complete stencil is assembled, measure one important cross-page distance again. That catches cumulative alignment error before the paper reaches the client.
Test the assembled size on ordinary paper first when useful
For an especially large or expensive transfer, an ordinary-paper mock-up can answer several questions before transfer material is consumed.
Use it to check:
- whether the overall dimensions match the placement;
- whether page joins sit in awkward parts of the composition;
- whether the focal point lands where planned;
- whether the design needs to be divided differently for handling;
- whether the client position changes the apparent proportions.
This mock-up is a placement and assembly check, not proof that the transfer paper and thermal path will behave identically.
Once the geometry is approved, print the transfer version with the same verified physical scale.
Sleeves need a different review from back pieces
Large format is not one body problem.
Full and half sleeves
A sleeve wraps around a tapered, moving surface. The difficult part is not only page count: it is deciding how the flat paper maps onto the arm.
Before printing, inspect:
- the main viewing plane;
- shoulder and wrist taper;
- where the design crosses the inner arm;
- whether narrow negative spaces compress around the curve;
- whether important faces, lettering, or anatomy drift toward the side of the limb.
A perfectly tiled rectangle can still be a poor sleeve stencil if the artwork was never prepared for the body.
For very long work, continuous media can remove sheet joins from the print stage, but it does not solve body curvature by itself.
Back pieces and broad torso work
A back piece may require several rows and columns rather than one long strip.
Here the critical checks are often:
- centerline alignment;
- horizontal level across the shoulders or lower back;
- agreement between left and right sections;
- cross-page landmarks near the focal point;
- whether the outer composition changes when the client moves from standing to the tattooing position.
For broad designs, a paper mock-up can be especially useful because the complete composition is difficult to judge from one printed section at a time.
Route 2: continuous or roll-fed stencil printing
Compatible roll media removes page breaks from the printing stage. This can be useful for long sleeves, legs, or other designs where the required height is much larger than a standard sheet.
But continuous printing is a hardware-and-media capability, not a PDF trick.
Before choosing that route, verify from the manufacturer documentation that the exact printer supports:
- the required roll or continuous media;
- the required width;
- the intended file or app workflow;
- the transfer paper being used.
Do not assume that a printer accepting a standard thermal sheet can also accept arbitrary roll media.
Continuous output avoids tiled page joins, but the artist still needs to verify:
- true physical scale;
- line reproduction;
- mirror state;
- body fit;
- the handling plan for a long paper stencil.
The thermal printer workflow guide covers printer-side QC and failure isolation.
Tiled and continuous printing solve different constraints
Do not treat one route as universally more professional.
Tiled sheets are flexible when the studio already owns a reliable printer and needs large output occasionally. They also make it easy to replace one failed section without reprinting the whole design.
Their tradeoff is assembly. More joins mean more opportunities for page order, rotation, or overlap errors.
Continuous media removes those joins and can simplify long outputs when the printer is designed for it.
Its tradeoff is compatibility and handling. A long uninterrupted stencil is still a large physical object, and the body may be easier to approach in planned sections depending on the design and placement.
Choose the print format around the job instead of changing the tattoo size around the printer.
Do not let the page boundary choose the design boundary
A generated tile boundary may cross a face, lettering, eye, or other recognition-critical feature.
That does not automatically make the PDF wrong. The overlap lets neighboring pages retain shared information.
But before transfer, decide whether the physical handling strategy should follow those same page boundaries.
For some pieces it is practical to assemble the paper into one complete stencil. For others, especially complex curved placements, the artist may deliberately plan sections around stable landmarks and body geometry.
The page layout is a print solution. The transfer plan is an artist decision.
Large-stencil failure checks
The assembled stencil is the wrong overall size
Check the 50 mm line first. If the calibration mark is wrong, the print path changed scale.
If the calibration mark is correct but the assembled design is wrong, verify the target dimensions entered in the calculator and the detected design bounds.
One seam will not align
Check page order, orientation, crop ticks, and repeated artwork. Confirm that neither page was printed with a different scaling or border mode.
Do not stretch one section to force the seam closed.
The outside pages look clipped
Confirm that the chosen margins fit the printer's printable area. Borderless or crop-to-fill behavior can also enlarge the page and remove edge content.
Regenerate the PDF with safer margins when the hardware cannot reproduce the selected layout.
Lines look fine on screen but weak at large size
Inspect the effective raster resolution and the smallest important marks. A file enlarged substantially may expose soft or under-sampled edges that were hard to notice on screen.
Use the Tattoo Stencil Print Checker when you want file-side evidence about fine geometry, dense regions, and threshold-sensitive marks at the intended physical size.
The paper aligns but the design looks wrong on the body
That is a placement problem, not a tiling problem.
Return to body fit, focal point, wrap, and taper. Do not distort the individual printed pages independently to compensate after printing.
Before transferring a large stencil to skin
When the printed stencil is ready, confirm:
- intended overall width and height;
- 50 mm scale check;
- one important cross-page dimension;
- page order and orientation;
- mirror state;
- seam or section alignment;
- body-fit decision;
- clean readable lines after printing.
Then move to the tattoo stencil skin-transfer guide for the paper-to-skin stage.
A large stencil is easier to troubleshoot when the workflow stays layered: body fit first, physical size second, print layout third, transfer last.
FAQ
How do I print a tattoo stencil bigger than A4?
Keep the tattoo at its intended physical size and tile it across several A4 sheets, or use compatible larger/continuous media with hardware that supports it. Do not shrink the tattoo merely to fit one sheet.
Can I print a full sleeve tattoo stencil on multiple pages?
Yes. A true-size PDF can divide a sleeve stencil into overlapping pages. Verify one page with a physical scale check, print every page with identical settings, then align the repeated artwork and assembly marks before transfer planning.
Is a roll printer required for a large tattoo stencil?
No. Multi-page tiling works with standard supported paper sizes. Roll-fed printing is another option when the printer and transfer media are specifically designed for continuous output.
Should I assemble the whole sleeve stencil before applying it?
Not always. The best handling strategy depends on the design, body curvature, and stable landmarks. Tiling solves the print-size problem; the artist should decide whether one assembled sheet or planned sections produces the better placement workflow.
Related Collections
Jump from the guide to reviewed stencil examples
Animal Tattoo Stencil Gallery
12 curated examplesCompare 12 curated animal tattoo stencil examples across wildlife, pets, birds, and sea life. Start with the animal silhouette and recognition landmarks, then compare ho…
Fantasy Tattoo Stencil Group
16 curated examplesFantasy subjects only stay useful as stencil references when the main idea lands before the ornament does. This set is stronger now because it can compare fox spirits, d…
Portrait & Figure Tattoo Stencil Examples
9 curated examplesCompare first-party portrait, face, and figure tattoo stencil examples to see which recognition anchors, expression cues, body shapes, and detail clusters need to surviv…
Related Guides
Keep reading from here
How to Print a Tattoo Stencil From iPhone
Print a tattoo stencil from iPhone without silent resizing: prepare a 1:1 PDF, use AirPrint or your printer app, and verify the 50 mm scale check.
print tattoo stencil from iPhone · AirPrint tattoo stencil
Read guide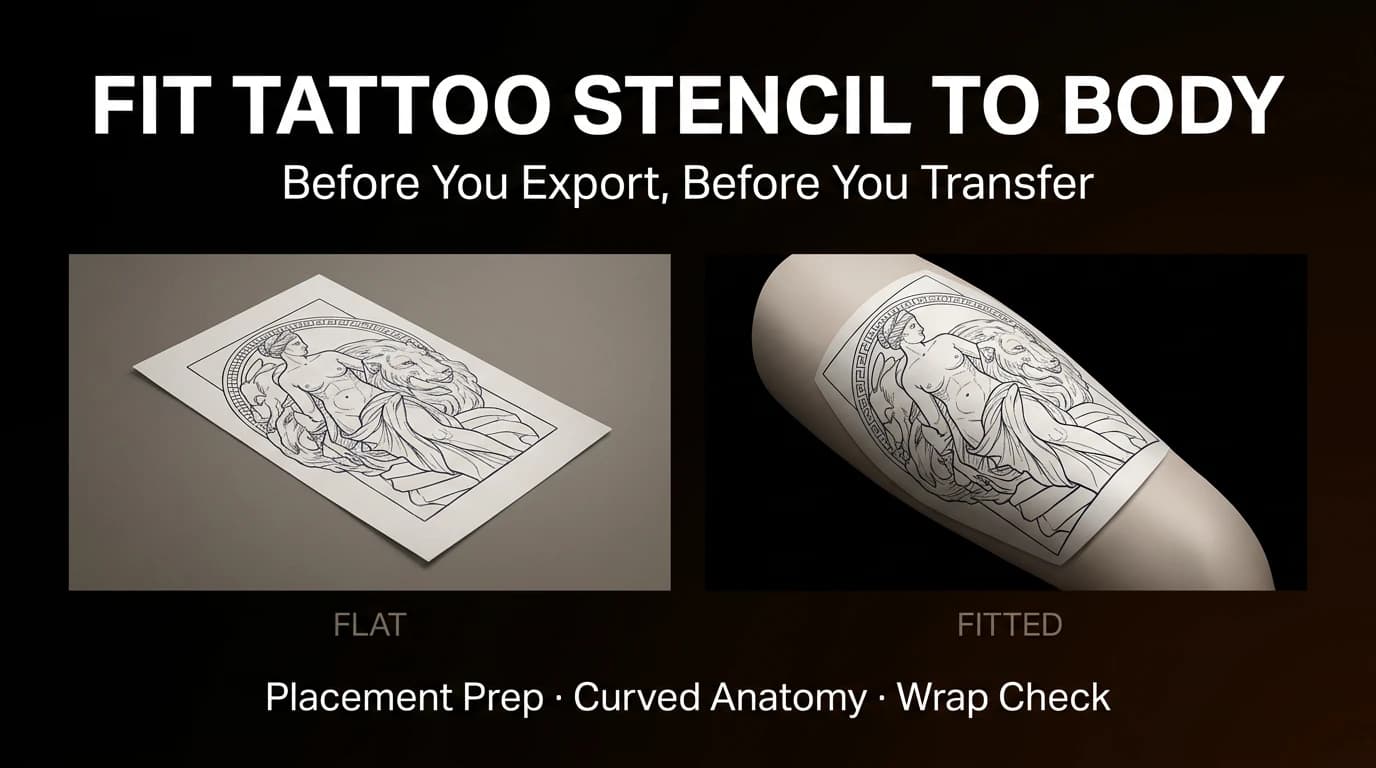
How to Fit a Tattoo Stencil to Curved Body Placement
Review focal point, wrap, compression, negative space, and body line before exporting a tattoo stencil for a curved placement.
fit tattoo stencil to body · tattoo placement prep
Read guide
How to Use a Tattoo Thermal Stencil Printer Without Losing the Stencil
Use a tattoo thermal stencil printer with a repeatable file-to-paper workflow: control size and mirror, load transfer paper correctly, test output, and diagnose blank, faint, blurry, merged, skewed, or missing lines.
tattoo thermal stencil printer · tattoo stencil printer workflow
Read guideAuthor
Andrea Mezzadra
Founder and product builder at StencilStudio
Andrea builds StencilStudio and tests how the tools fit into real stencil prep, using real references and outputs to document what works, what changes, and where artist judgment still matters.
In the App
Build the large stencil at its real physical size
Use the free Size & Print Calculator to set the finished dimensions, choose the paper, add overlap and assembly marks, and download a tiled 1:1 PDF.