

Space Tattoo Stencil Ideas
This collection compares six structural studies so you can choose a space composition that still reads after simplification, transfer, and healing at your size and place…
- 6
- Practical
- Artist-first
This collection compares six structural studies so you can choose a space composition that still reads after simplification, transfer, and healing at your size and placement. Use it to judge first-read silhouette across moons, paired bodies, star points, orbital rings, nebula flow, and figure-against-cosmos layouts before you generate a stencil from your own reference. The depicted pieces are honestly labeled catalog analogues (moon, emblem, compass, mandala, wave, and owl studies), each isolating one construction lesson that planet, rocket, astronaut, constellation, and galaxy references most often fail.
Choose a Space Composition That Survives as a Stencil
Space imagery fails when every cosmic cue is treated as equal. Decide which large structure should carry your design first, then let smaller detail support it.
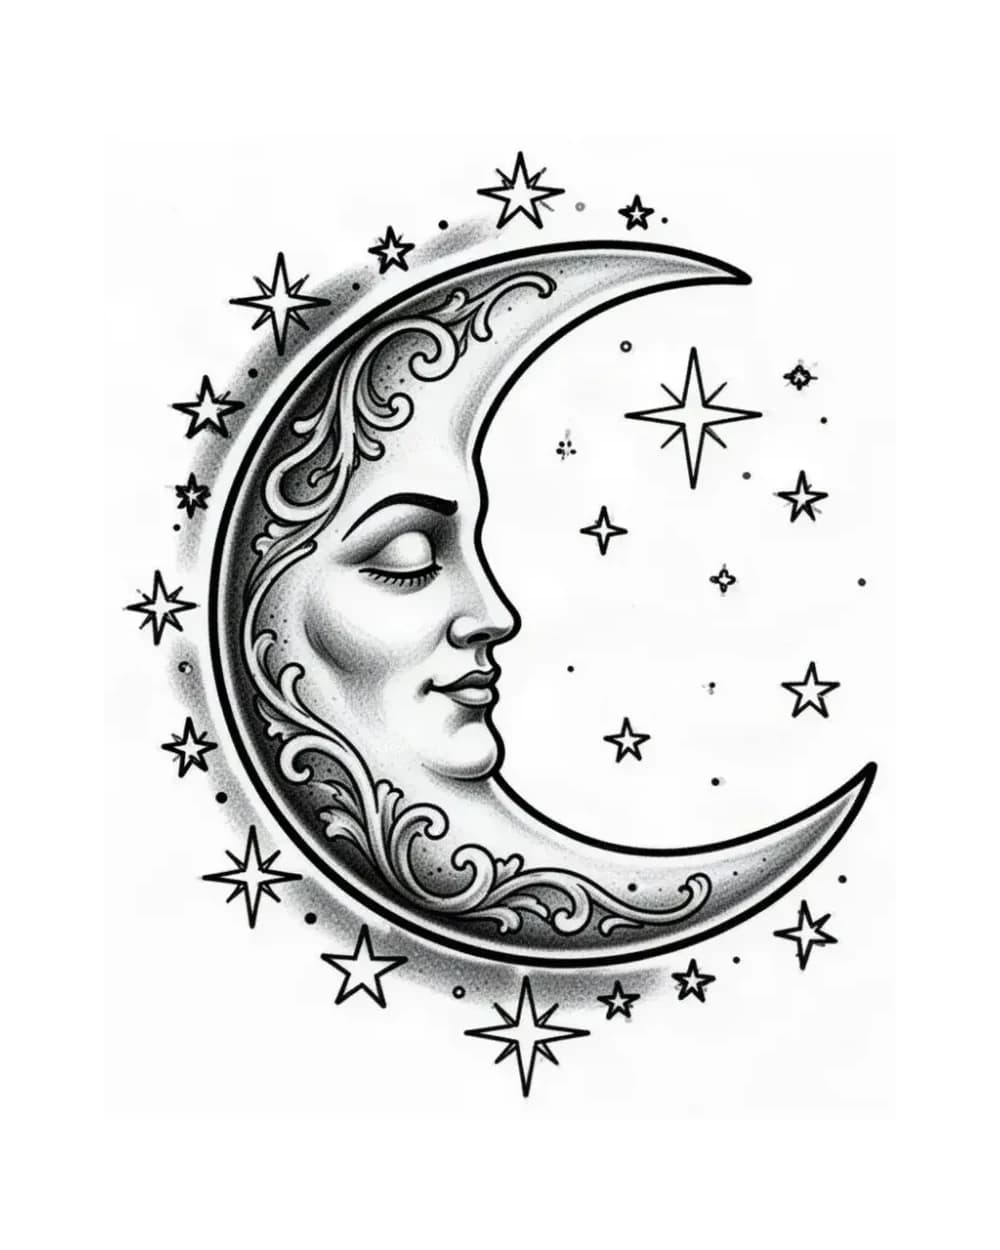
- Moon or planet-led: the crescent study reads through one continuous curve before face or star detail matters. Choose this direction for forearm, calf, shoulder, or back work where a single large orbital body can anchor the piece. A rocket follows the same rule: the hull silhouette and fin spread must read before windows, panel lines, or exhaust texture.
- Paired bodies: the sun-and-moon study reads as two bodies because each keeps its own contour with real negative space between them. Choose this direction for dual-planet, phase-sequence, or day-and-night compositions. If the shared gap closes to save space, the concept collapses into one dark mass.
- Constellation or star map: the compass-rose study shows how radial points stay countable around a stable ring. Choose this direction for real star patterns, but commit to fewer, larger stars with visible skin between them and connecting lines kept subordinate. A photographed starfield with dozens of equal dots is a reference for mood, not a stencil.
- Galaxy core with orbital rings: the concentric study reads through one center before ring texture matters. Choose this direction for galaxy and nebula cores, and keep the center open: once black-fill closes the core, no ring detail can rescue the read.
- Figure against cosmos: the owl-and-moon study shows a figure keeping priority while the moon supports beside it. Choose this direction for astronaut or character work, and protect the figure landmarks (helmet or face shape, torso direction, limb separation) ahead of the backdrop.
If you are comparing across subjects rather than within space, browse the broader symbol stencil collection to see how compact emblems handle silhouette and gap control, or the full subject index when the job might belong to a different motif. For broad visual browsing, start from the tattoo stencil gallery.
Keep Line Hierarchy Ahead of Dotwork and Black-Fill
Cosmic detail fails when dotwork and fill are promoted to equal weight with structure. In every study here, the stencil works only when the outer contour and primary masses are established before texture enters.
A practical order for stencil prep is:
- Keep the dominant body (moon curve, planet disc, rocket hull, helmet shape, constellation frame, galaxy core) continuous and dominant.
- Keep secondary landmarks separated with real negative space: crater groupings on moons, window and fin placement on rockets, visor-to-helmet gaps on astronauts, star-to-star intervals in constellations.
- Add dotwork last, as a gradient that fades from a dense edge into open skin, never as uniform fill across the whole field.
- Treat black-fill as one deliberate mass with one clean edge, balanced against an equal or larger open-skin mass. A galaxy that is black everywhere has no stencil structure left.
Tiny stars deserve a hard rule: every star needs visible skin around it at the exact final width. When stars touch, they heal into texture, then into mud. Remove star count before shrinking star spacing. The same applies to dotwork fields: dots must stay countable at arm's length on the true-size print. Use the line-weight guide when the question is which close lines are most likely to merge, and the detail diagnostic when the whole design feels dense at the intended width. For the reasoning behind skin gaps, use the negative-space diagnostic.
Run the Placement-Size Readability Check
Do not judge a space stencil zoomed in. Reduce the finished stencil to the intended physical width and inspect the tightest clusters first.
- Print or preview at 1:1 scale and check star intervals, dotwork gradients, constellation connecting lines, crater groupings, rocket panel lines, visor edges, and the shared gap in any paired-body layout.
- Simplify the first cluster that closes. That usually means removing stars, widening dot spacing, dropping connecting lines, or opening one black-fill edge before changing the dominant body.
- Keep at least one clear channel of skin between the main body and any supporting ring, cloud, or second planet. Negative space is what keeps a cosmic transfer from reading as texture.
- Re-check after every simplification pass. Space pieces often need two rounds: one for the starfield, then one for the next competing layer.
For exact width, page layout, and a true-size PDF, use the size and print calculator to inspect the finished stencil at real physical size before printing. For the reasoning behind wrap, taper, and body-line checks on sleeves and bands, use the placement guide as the owner for body fit.
Placement guidance by zone:
- Forearm and calf: favor a single moon or planet with a trailing star run along the limb, or a vertical rocket aligned to the limb axis. Keep the star count low and let one curve lead.
- Thigh and back: these zones accept galaxy cores with orbital rings or paired bodies, because the broad field gives black-fill room to breathe against open skin.
- Shoulder cap and chest: favor a frontal helmet or a single dominant disc that can anchor symmetry, with rings or clouds extending below rather than crowding the anchor.
- Wrist, ankle, hand, and behind ear: allow only the simplest direction, such as one small crescent or three to five spaced stars. If any star interval closes at the test size, the design needs a larger placement or fewer stars, not finer lines.
Bring a Prep-Checked Direction Into Generation
These are curated structural studies for space stencil vetting, not a separate space generator and not space photography. When your direction is settled, prepare your own reference with the photo-to-stencil workflow, then generate one stencil online when the source is ready.
A clean handoff includes:
- chosen composition (moon-led, paired bodies, constellation, galaxy core, nebula flow, or figure against cosmos) and why it fits the zone;
- intended physical width and placement, checked at 1:1 scale;
- which detail stays (dominant contour, figure landmarks, core edge) and which texture was already removed (excess stars, dense dots, extra rings);
- reference images with clear cosmic structure, not just mood or color;
- board, quality, grid, and session-sheet checks left to their own tools rather than mixed into the design decision.
When several references are still competing, organize them with the reference board maker before committing. When the source photo itself is doubtful, run it through the photo quality checker first. When redrawing constellation geometry by hand, use the grid overlay to hold proportions. When the stencil is final and the session approaches, package it with the session reference sheet maker.
FAQ
Which space motifs will still read after stencil simplification at my size?
The motif with the simplest large structure for your width usually wins. Single moons and planets survive smallest because one curve carries recognition. Paired bodies need room for the shared gap. Constellations survive only when stars are few, large, and separated with connecting lines kept thin and subordinate. Galaxy cores need a broad field so black-fill keeps an open center. Rockets and astronauts survive when hull, fin, helmet, and torso silhouettes stay ahead of panel, window, and suit detail.
How do I keep tiny stars and dotwork from falling out or muddying?
Give every star visible skin around it at the exact final width, and keep dotwork as a gradient fading from a dense edge into open skin rather than uniform fill. Print at 1:1, find the tightest star cluster or densest dot patch, and remove count or widen spacing there first. If dots are no longer individually countable at arm's length, they will heal as one flat tone.
How do I balance black-fill and negative space in galaxy work?
Treat black-fill as one deliberate mass with one clean edge, balanced against an equal or larger open-skin mass, and protect the open core above all else. Simplify ring texture and dot fields before touching the core edge or the dominant contour. If the whole field reads dark on the true-size print, remove a full ring or fill band rather than thinning lines to force the fit.
What size and placement simplifications prevent fine-detail loss?
Match the composition to the zone: single bodies and short star runs for forearms and calves, galaxy cores and paired bodies for thighs and backs, frontal anchors for shoulders and chests, and only minimal crescents or a few spaced stars for wrists, ankles, hands, and behind ears. Verify wrap and viewing angle with the placement guide, confirm exact width with the size calculator, and enlarge the piece or remove a detail family whenever the tightest cluster closes at the planned size.
Can I turn my own space reference into a stencil here?
This page is a vetting and comparison guide, not a separate space generator. Use the photo-to-stencil workflow or the online generator for your own reference, then use these studies to judge composition choice, dotwork and star density, black-fill balance, placement flow, and final-size readability.
Why are moon, emblem, compass, mandala, wave, and owl examples on a Space page?
They are labeled structural studies, not space photography. No planet, rocket, astronaut, or galaxy piece sits in the reviewed stencil inventory yet, so each example isolates one construction lesson space references most often need: crescent silhouette and star spacing, paired-body separation, constellation point countability, galaxy-core density restraint, nebula flow and band rhythm, and figure priority against a cosmic body. Captions and commentary disclose the depicted subject on each piece. When the actual job is a compact emblem rather than a space composition, the symbol collection remains the right owner.
Examples
Space stencil examples
Compare the linework, spacing and detail choices that make each stencil read differently.
A crescent moon with a face used here as a moon-silhouette study: one clean crescent profile carries the read while surrounding stars sit as secondary marks, the same hierarchy any planet-and-starfield composition needs.
Explore more tattoo symbol stencils stencils
- The crescent profile stays recognizable because one continuous curve leads and the face and stars stay subordinate, which is exactly the order a space stencil needs: large orbital body first, starfield last.
- Artists vetting a moon-led or planet-led space piece who need to see how a single curved silhouette stays dominant before star texture enters.
- This depicts a crescent moon with a face, not a planet or rocket; use it for silhouette and star-spacing logic only. The surrounding stars are the first marks to close when reduced, so thin star count before touching the crescent edge.
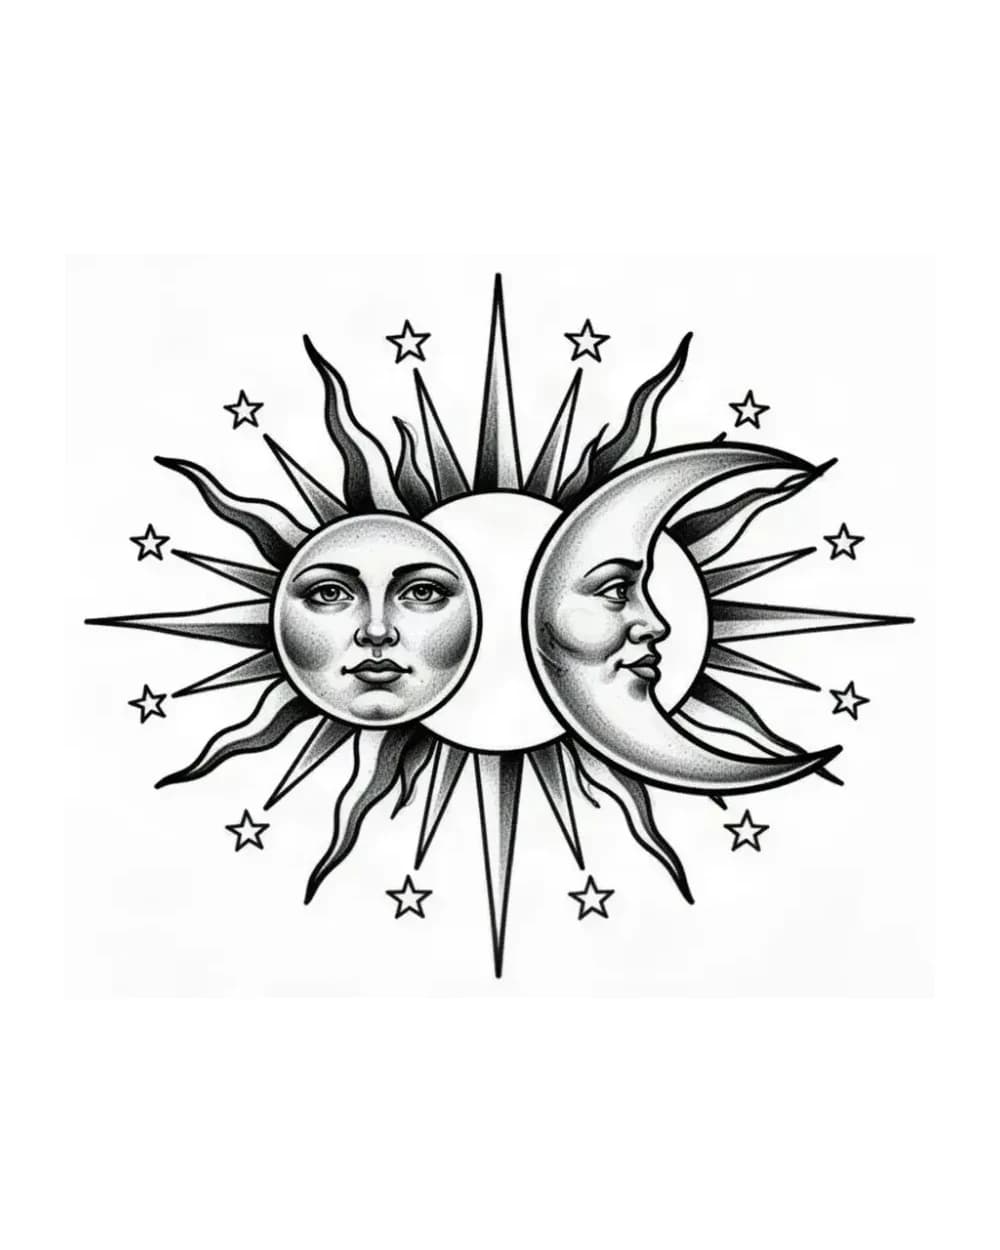
A sun and moon pair used here as a paired-body study: two round emblems with clean rays and open negative space show how dual-planet or phase compositions stay separable instead of merging into one mass.
Explore more tattoo symbol stencils stencils
- The pair reads as two bodies because each emblem keeps its own contour with real negative space between them, the same separation any dual-planet stencil must protect.
- Artists composing a dual-planet, sun-and-moon, or day-and-night piece who need to check that both bodies keep their own read at final size.
- This depicts a sun and moon pair, not two planets; use it for pairing, ray restraint, and gap logic only. Ray tips and the shared gap between the bodies crowd first, so protect the open channel between them before keeping every ray.
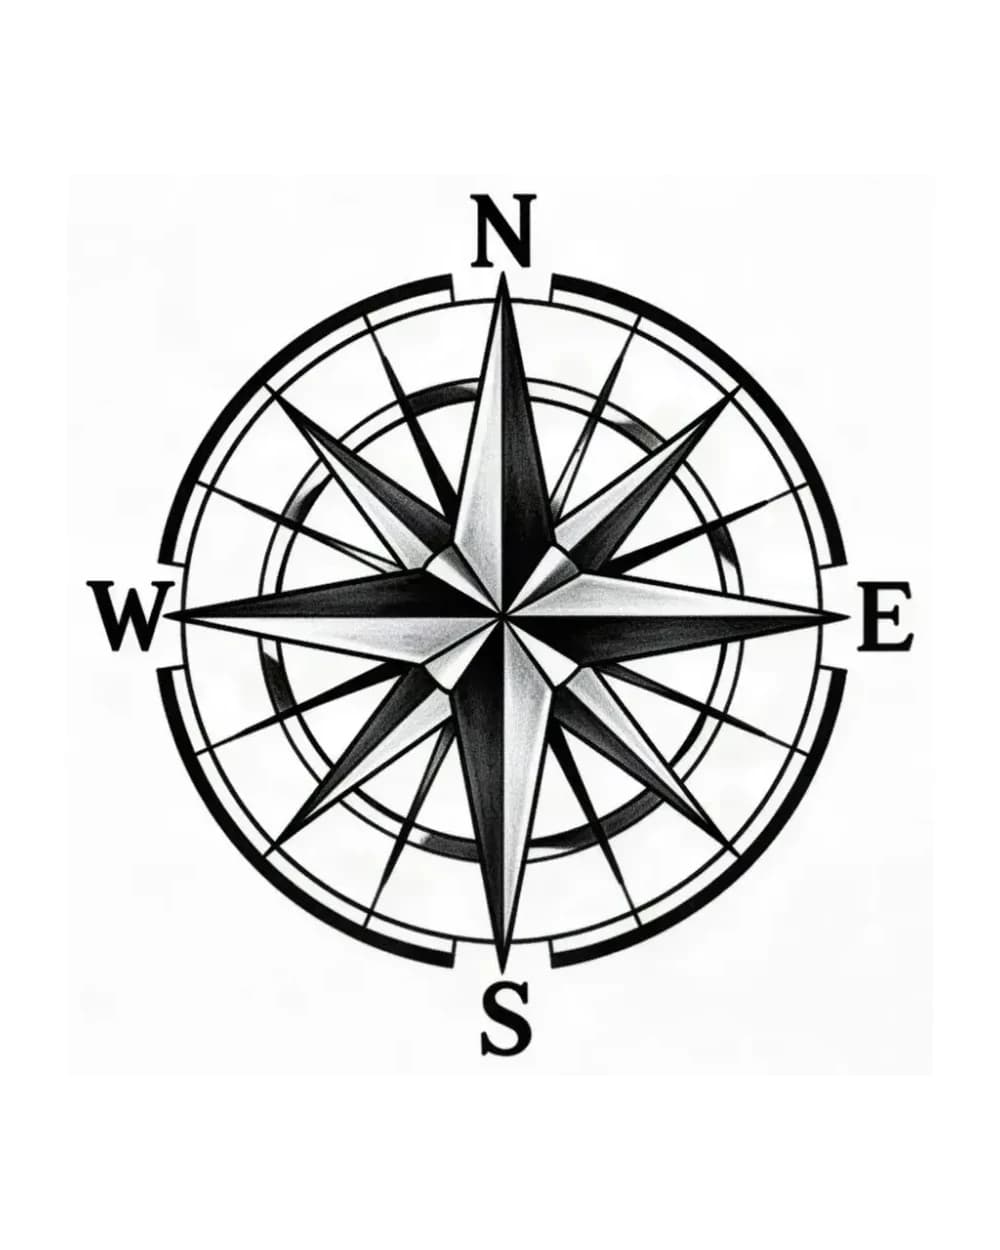
A compass rose used here as a constellation-point study: eight even points around a star center with a geometric ring show how radial star maps keep every point countable, the same repeat discipline a constellation stencil needs.
Explore more tattoo symbol stencils stencils
- Even point spacing around a stable ring makes every star countable at a glance, which is the check to run on any constellation reference before transfer.
- Artists planning a constellation or star-map piece who need a baseline for point spacing, line-of-sight lines, and ring separation before committing to a real star pattern.
- This depicts a compass rose, not a real constellation; use it for point-count and repeat logic only. Ring channels and point gaps close when crowded, so protect one clean repeat interval before adding connecting lines.
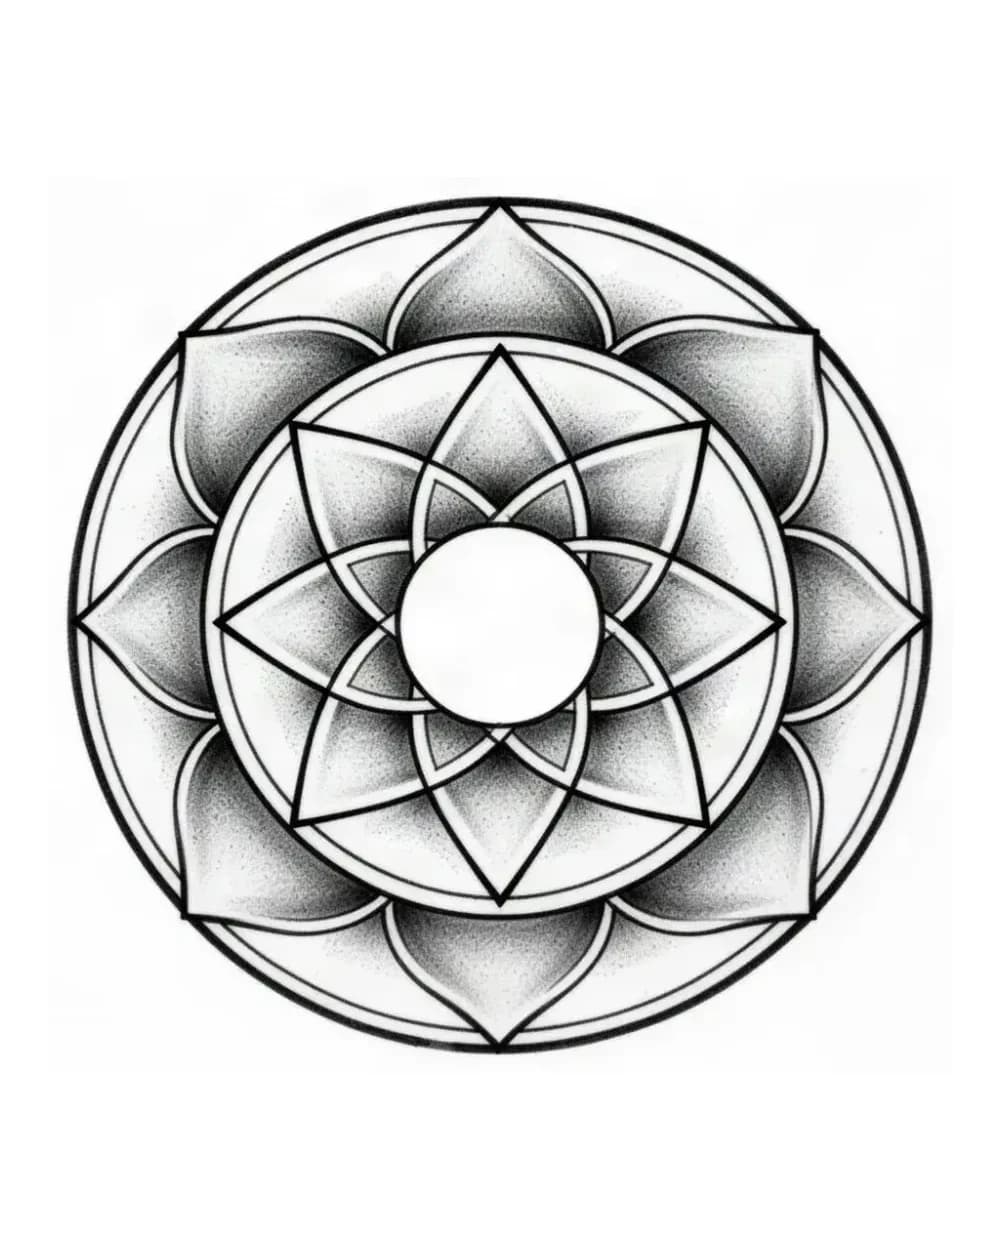
A concentric mandala used here as a galaxy-core study: rings and petal intersections around an open center show where orbital-ring detail must stay subordinate to the core read, the core restraint check in any galaxy or black-fill space piece.
Explore more tattoo symbol stencils stencils
- Concentric rings establish one center clearly, so density can be judged as secondary fill rather than competing structure, which is how galaxy black-fill must behave to heal legible.
- Artists vetting a galaxy, nebula-core, or orbital-ring composition where dense fill threatens to erase the central read at final size.
- This depicts sacred geometry, not a galaxy; use it for ring-hierarchy and density logic only. Petal intersections and small enclosed openings close first, so protect the open center and one clean ring before keeping inner texture.
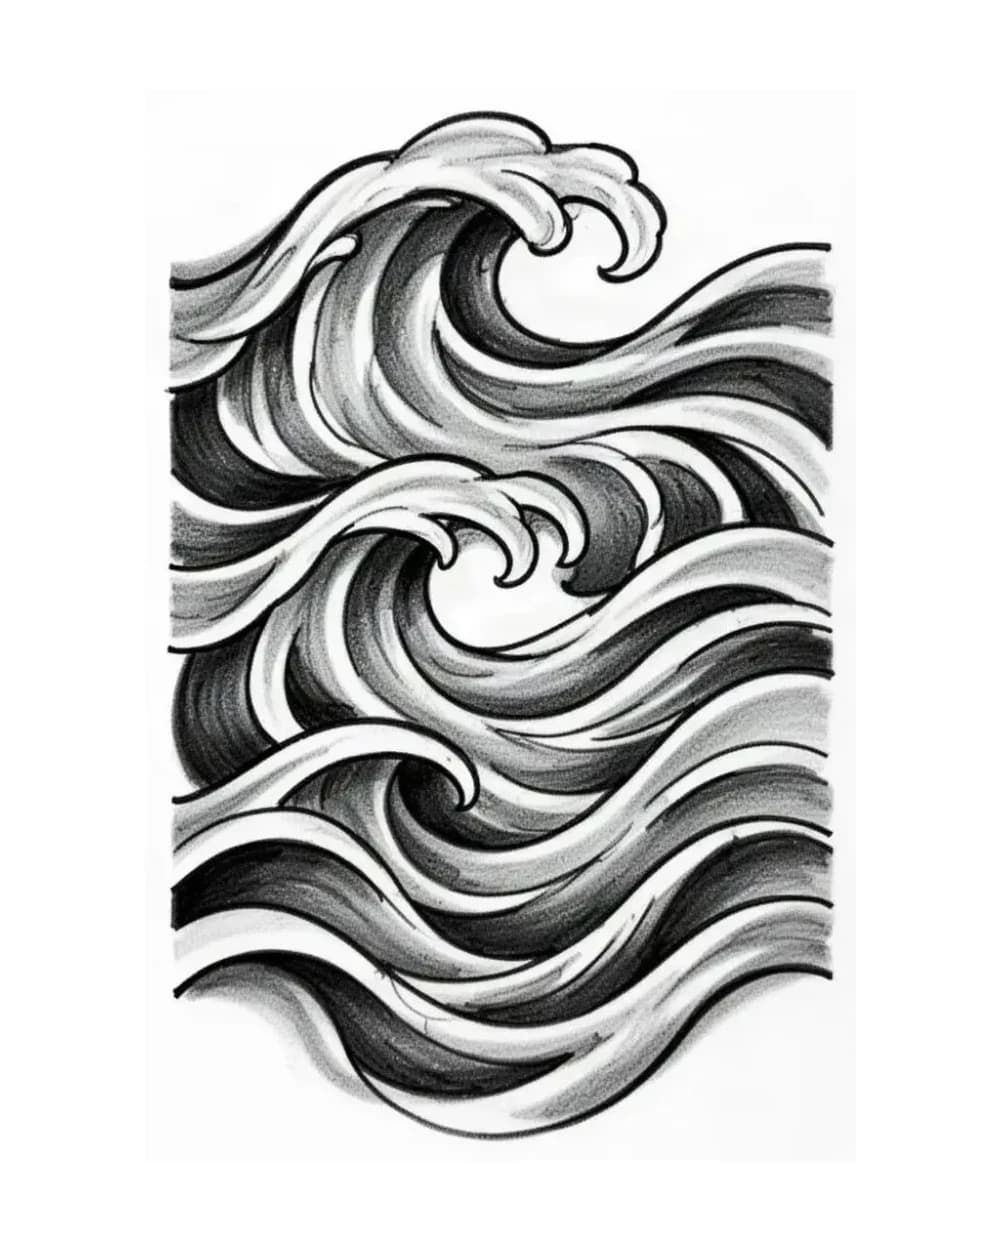
Flowing horizontal waves used here as a nebula-flow study: even line rhythm with negative-space gaps shows how cosmic clouds and sleeve bands keep separations open across taper and wrap, the same check a galaxy sleeve needs.
Explore more tattoo symbol stencils stencils
- The flowing lines keep a first read through rhythm and open gaps before secondary detail competes, which is the standard a wrap band or nebula field must meet at true circumference.
- Artists planning a nebula band, galaxy sleeve section, or cosmic background that must survive wrap and taper without merging into one gray mass.
- This depicts abstract waves, not a nebula; use it for flow rhythm and gap logic only. The tightest line cluster closes first around taper, so protect open channels before keeping every flow line.
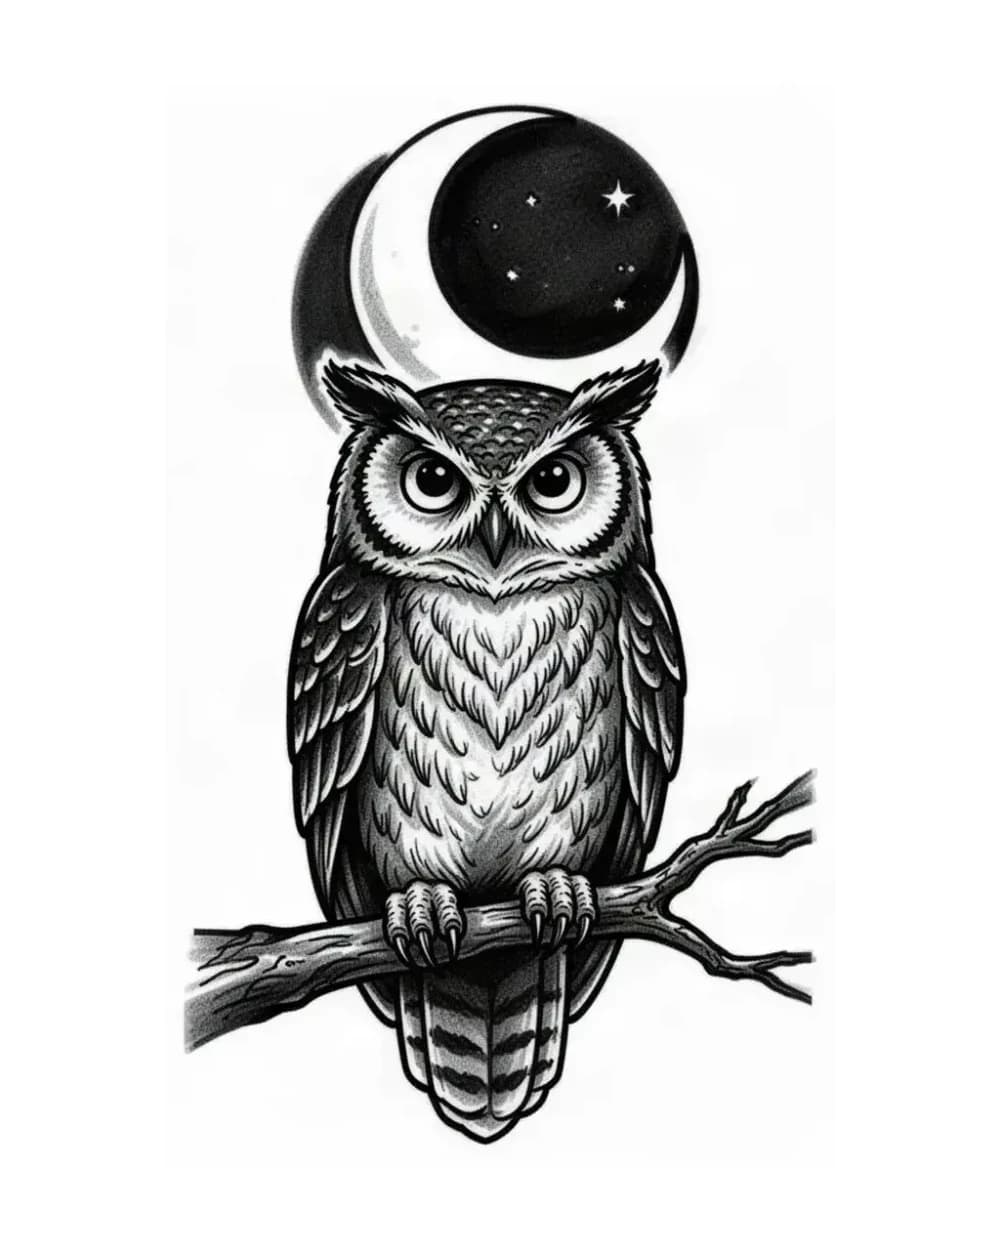
An owl under a crescent moon used here as a figure-against-cosmos study: a perched figure keeps its facial discs and body silhouette while the crescent holds a clean gap beside it, the same separation any astronaut or character-against-planet composition needs.
Explore more animal tattoo stencil gallery stencils
- The pairing reads first because the figure keeps its recognition landmarks while the moon holds a clean gap beside it, which models how an astronaut or character must stay ahead of the cosmic backdrop.
- Artists composing an astronaut, figure, or creature against a moon or planet who need to see how the figure keeps priority while the cosmic body supports instead of competing.
- This depicts an owl, not an astronaut; use it for figure-priority and body-gap logic only. Feathered chest stipple and small branch intersections fill before the moon gap does, so keep figure landmarks and the moon separation open first.
FAQ
Quick questions about space stencils.
The motif with the simplest large structure for your width usually wins. Single moons and planets survive smallest because one curve carries recognition. Paired bodies need room for the shared gap. Constellations survive only when stars are few, large, and separated with connecting lines kept thin and subordinate. Galaxy cores need a broad field so black-fill keeps an open center. Rockets and astronauts survive when hull, fin, helmet, and torso silhouettes stay ahead of panel, window, and suit detail.
Next step
Turn your own reference into a clean stencil draft.
Use what reads clearly here as direction, then start from your own reference.