
Placement Prep
How to Fit a Tattoo Stencil to Body Placement Before You Export
A practical placement-prep checklist for adjusting tattoo stencils to curved body areas before printing, transferring, or finalizing the draft.

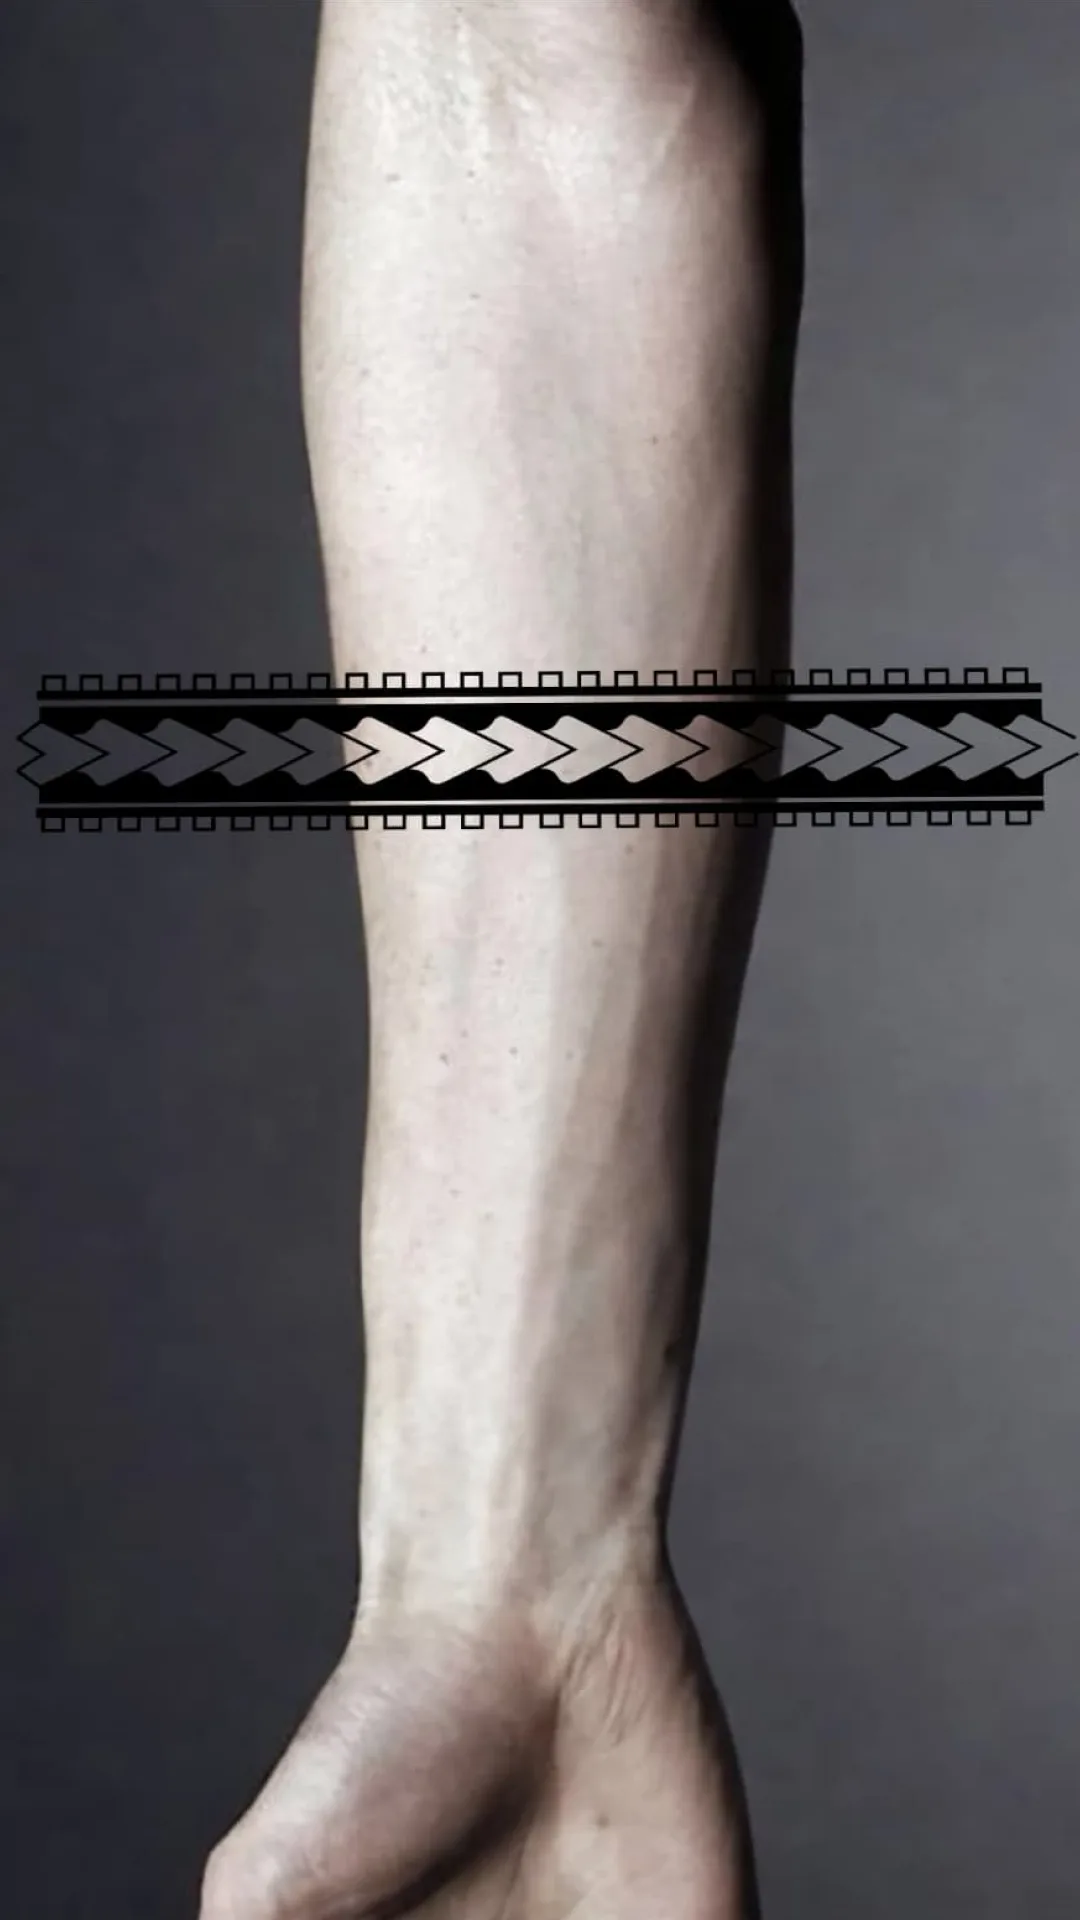
A stencil can be technically clean and still fail at placement. The problem shows up when flat artwork meets curved anatomy. Limbs wrap, muscles shift visual weight, and spacing that felt correct on a rectangle suddenly crowds or stretches once it touches the body.
Why flat stencils create placement surprises
Flat artwork hides the distortion that happens on arms, legs, ribs, and other curved placements. A motif that looks centered on screen can drift once it wraps. Small details can bunch up on the inner curve, and long lines can flatten out in the wrong place.
That is why placement prep should happen before export, not after transfer paper is already involved.
What to check before you curve the stencil
Before you adapt the draft to the body, make sure the stencil itself is already readable.
- simplify noise that would become worse on a curve
- confirm the silhouette is strong
- pick the right information density
- decide which edge needs to stay visually dominant
If the stencil is still overloaded, curving it will not fix the underlying problem. It will usually make the weak parts harder to spot.
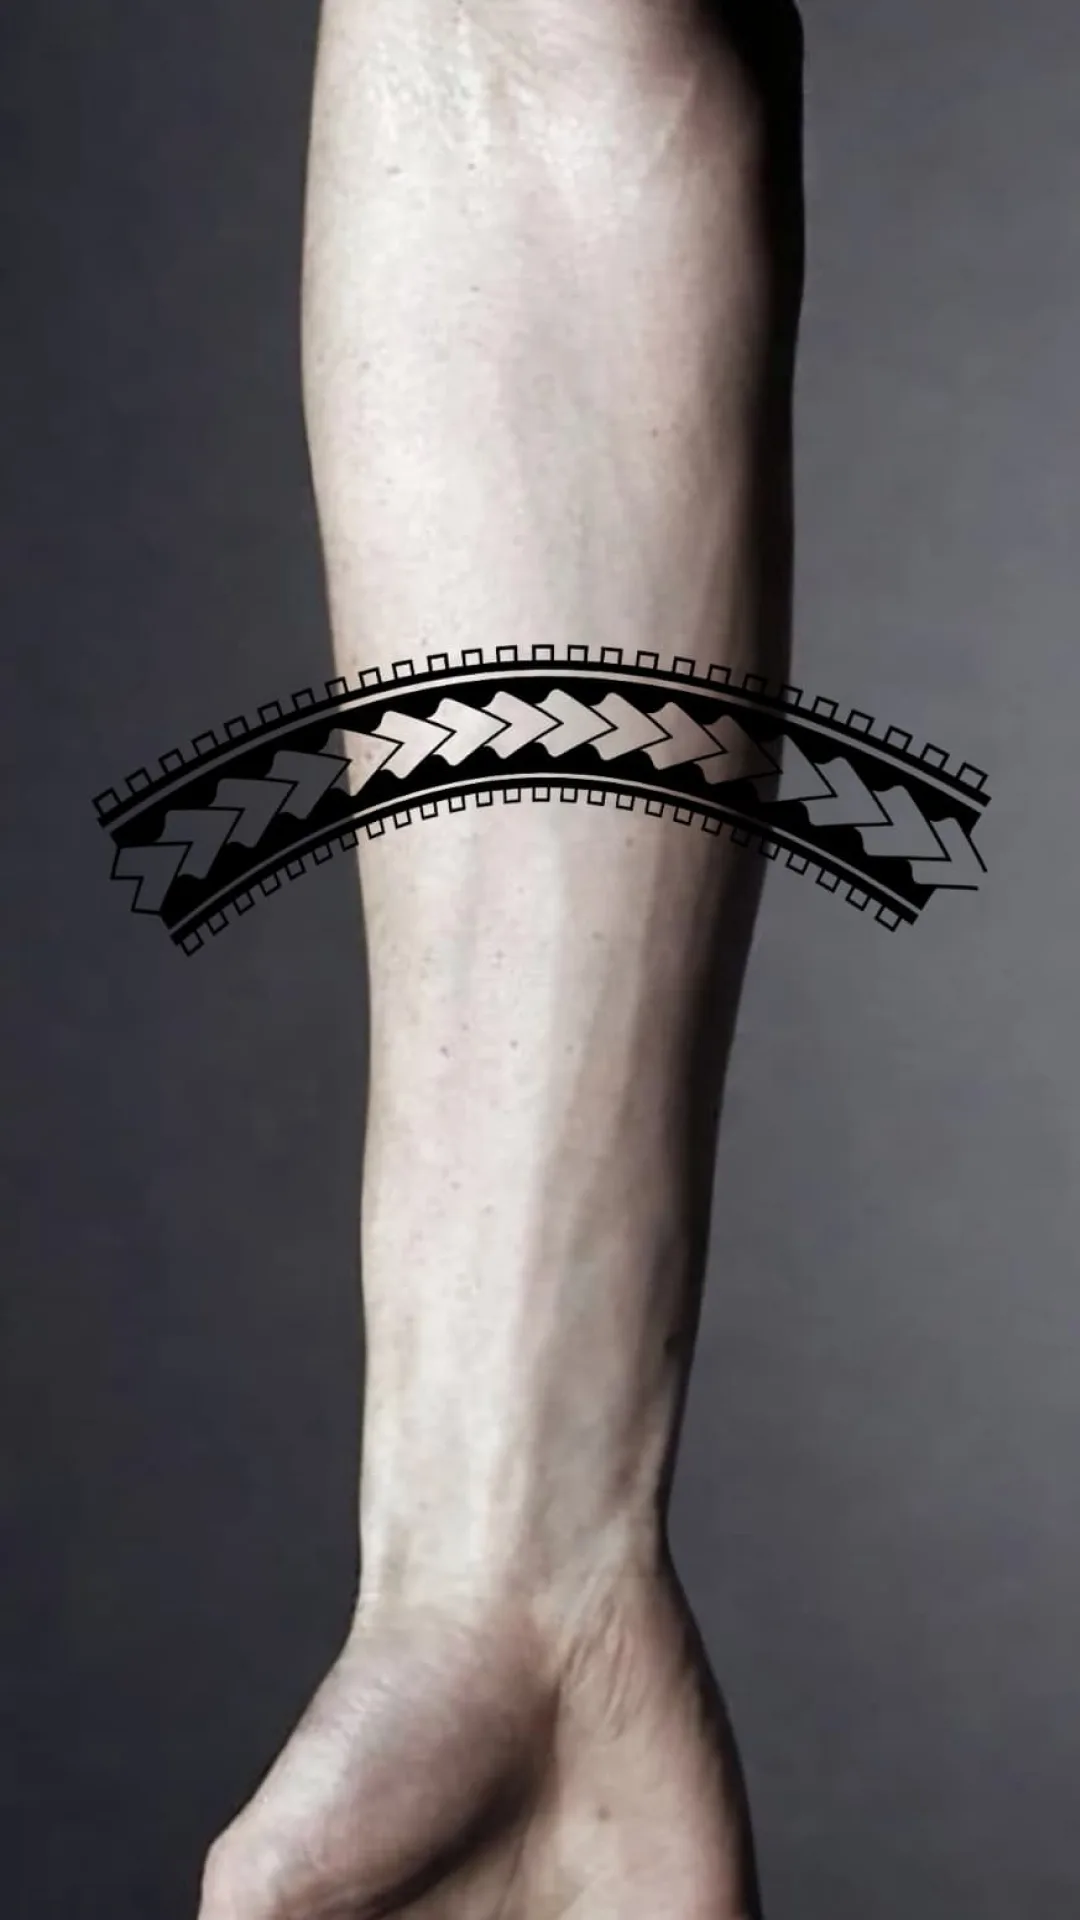
How to evaluate the wrap
When a stencil wraps around a limb, the main goal is not perfect geometric realism. It is keeping the design convincing from the angles that matter most.
Look for these pressure points:
- where the focal point lands on the body
- where important lines stretch or compress
- whether negative space still opens cleanly
- whether the design keeps a believable center of balance
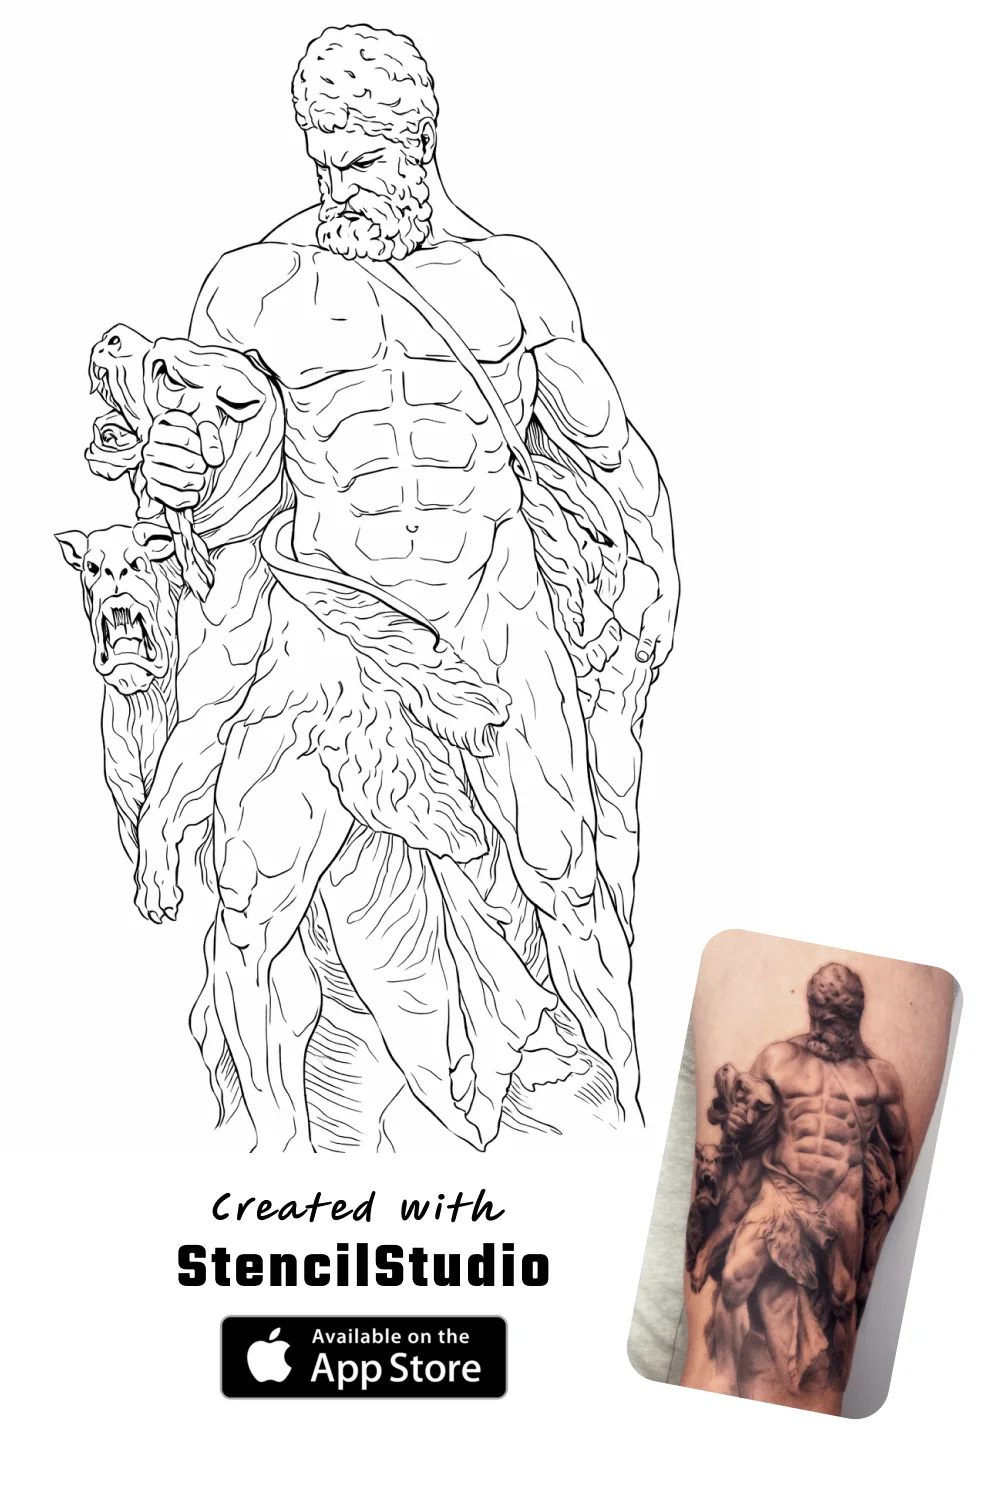
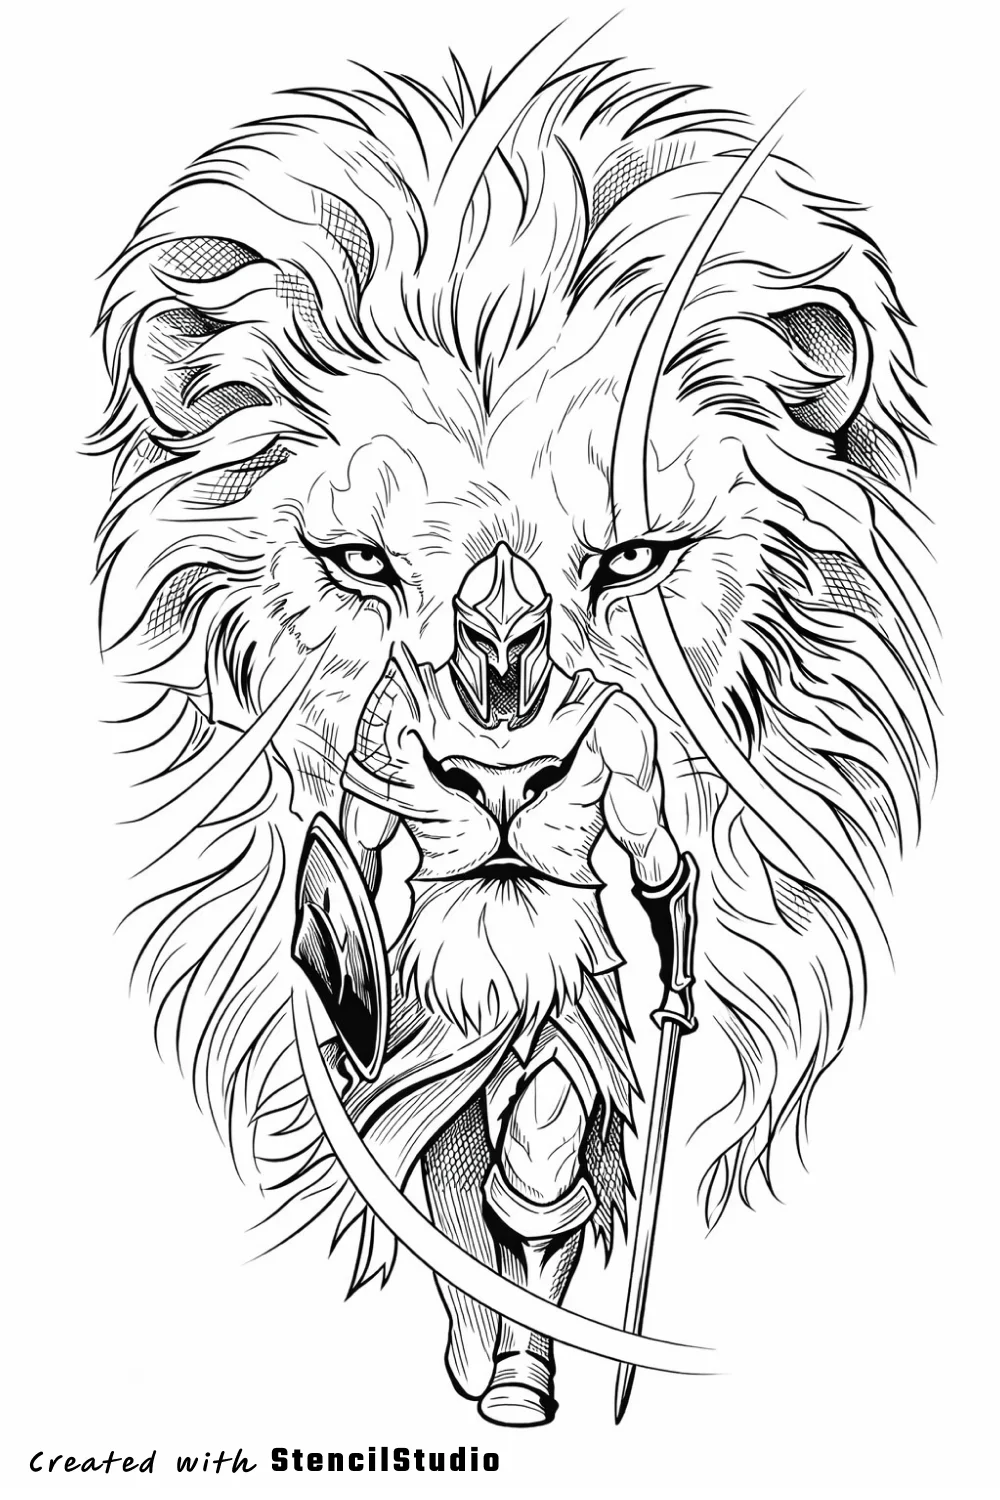
For portrait-heavy placement, the people gallery is useful because faces and hands expose distortion quickly. For more composition-heavy shapes, the fantasy gallery shows how layered forms need room once they wrap.
Build a quick placement checklist
A simple review pass catches most preventable rework:
- check the front-facing view first
- rotate to the side view where compression becomes obvious
- confirm that focal details are not sliding off the readable plane
- make sure negative space does not collapse at the inner curve
- verify that the stencil still feels balanced when the client stands naturally
The goal is not to over-polish. It is to catch the big placement mistakes while they are still easy to edit.
Where Fit to Body matters in the workflow
StencilStudio's Fit to Body workflow treats fit-to-body as part of prep, not as a last-minute workaround. Once the draft is already in a usable stencil state, you can shape it to curved placement areas and review the export with more confidence.
That creates a better handoff between educational content and conversion pages. Informational intent lands on the guide, then the Samples page, product page, and gallery prove the workflow with actual stencil examples.
FAQ
Why should you fit a tattoo stencil to the body before export?
Because body curvature changes how spacing, balance, and line direction read. Catching those issues before export saves time and reduces placement rework later.
Which body placements usually need the most stencil adjustment?
Arms, calves, thighs, ribs, and other clearly curved areas usually need the most adjustment because flat artwork compresses and stretches more visibly there.
Does fitting the stencil replace the artist's placement judgment?
No. It improves the draft and surfaces problems earlier, but the final placement decision still depends on the artist, the client's anatomy, and the tattoo itself.
Related Collections
Jump from the guide to live stencil examples

Stencil Gallery
Fantasy Tattoo Stencil Group
Fantasy subjects only stay useful as stencil references when the main idea lands before the ornament does. This set is stronger now because it can compare fox spirits, d…

Stencil Gallery
People Tattoo Stencil Group
People-focused tattoo stencils are less forgiving than most categories because expression, likeness, and anatomy fail fast when the line budget gets crowded. This group…
Related Guides
Keep reading from here
How to Make Tattoo Stencils From Photos Without Losing Readability
A practical workflow for turning photos into tattoo stencils that stay readable, editable, and placement-ready before the session starts.

How to Make a Tattoo Stencil Without Turning the Draft Into Cleanup
Follow a practical tattoo stencil workflow from reference to readable draft, placement check, and export without avoidable redraw.

Tattoo Stencil Detail Levels Explained: Clean vs Balanced vs Rich
Learn how to choose the right tattoo stencil detail level so the transfer stays readable without dropping the information that still matters.
In the App
Shape the stencil to the body before it becomes transfer rework
StencilStudio helps you preview and curve the stencil so placement issues show up earlier, while the draft is still cheap to fix.
Author
StencilStudio Editorial Team
StencilStudio publishes workflow-first content around tattoo stencil generation, readability, placement prep, and the decisions that matter before ink touches skin