High importanceHigh certainty
Preserve closely
The feature matters and the source supports its shape or position clearly.


Reference Troubleshooting
Diagnose a blurry tattoo reference before stencil prep. Separate recoverable softness from missing or uncertain structure, then decide whether to proceed, simplify, or request a better source.
blurry tattoo reference · tattoo reference photo blur · portrait tattoo reference · tattoo stencil source quality
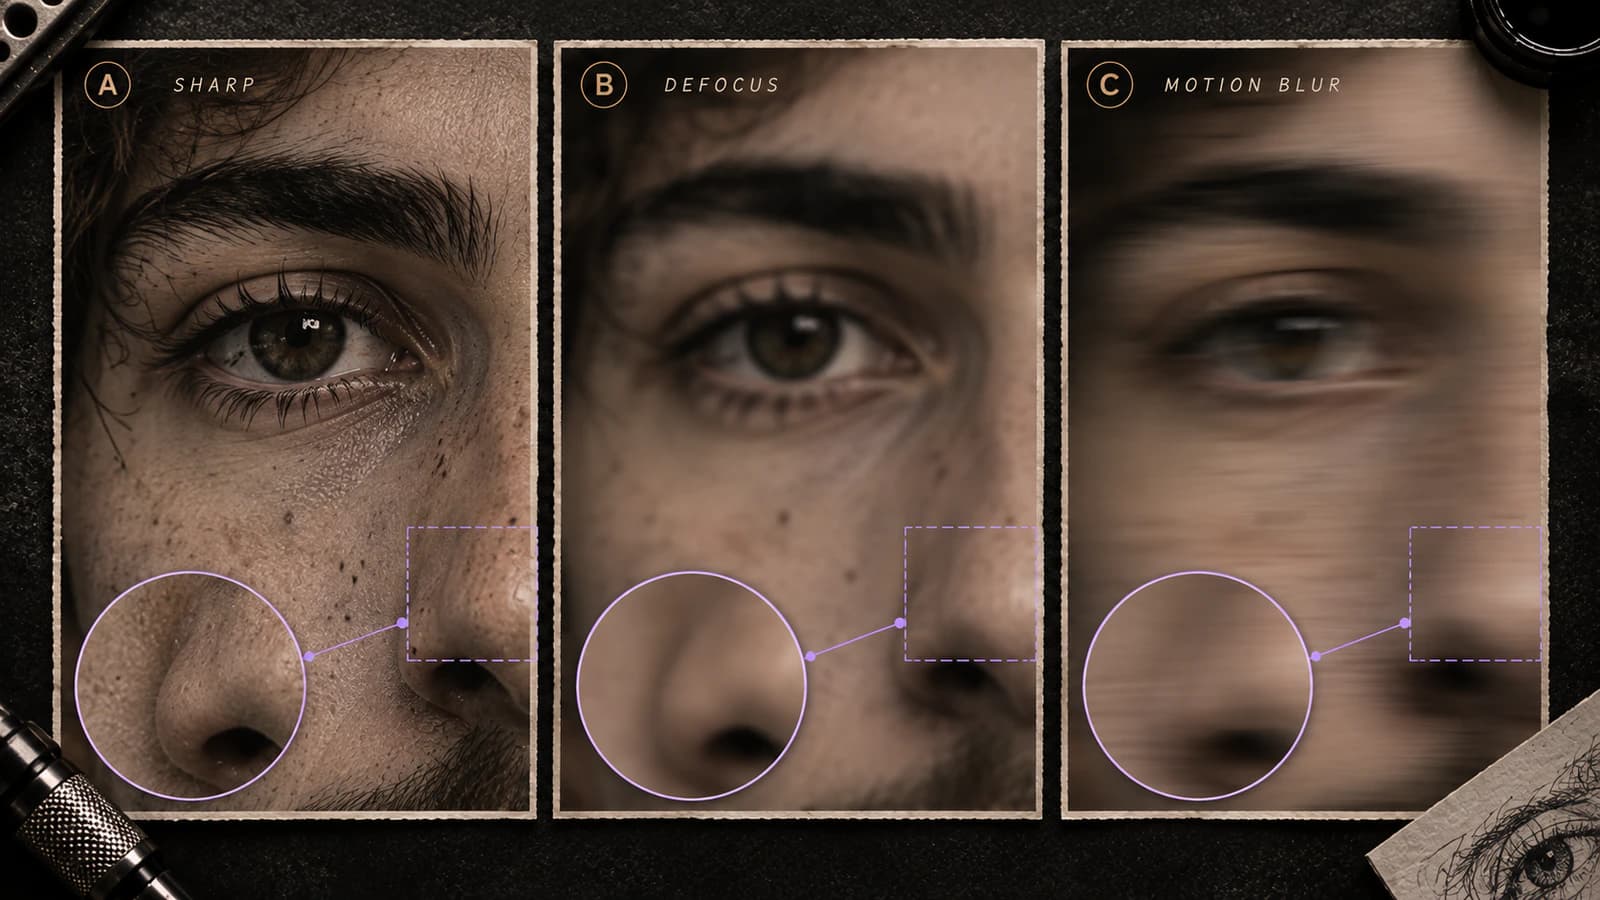
Blur-source triage
Diagnose the failure type first. Then judge each feature by importance and source certainty. A soft background and a motion-smeared eyelid should not receive the same verdict.
01
Blur
Defocus softens boundary position. Motion blur can smear or duplicate it along a direction.
02
Low resolution
That is a sampling problem, even when the full file has large nominal dimensions.
03
Darkness / low contrast
Do not sharpen a tonal-separation problem into a false edge. Diagnose the tones instead.
04
Compression
A screenshot or derivative can be soft and compressed at the same time. Trace the source chain first.
Same subject, different certainty
A processed image can look crisper without proving which position was present before defocus or movement spread the transition.
Importance x source certainty
Do not average the image into one quality score. Classify the exact feature the stencil would have to preserve.
The feature matters and the source supports its shape or position clearly.
The source is clear, but clarity alone does not make the feature necessary to the stencil.
Do not spend line density inventing uncertain texture or decoration the tattoo does not need.
Get another source or make the reconstruction decision explicit before a plausible guess becomes a confident line.
Stop rule: if a high-importance feature has low source certainty, seek more evidence before treating sharpening, upscaling, restoration, or generation as proof of the original geometry.
A blurry tattoo reference can still be usable. The question is whether the blur hit something the tattoo actually depends on.
A soft background usually does not matter. A soft eyelid, mouth corner, pet marking, handwritten letter, logo edge, or other defining feature can matter a lot.
So do not ask only, "Is this photo blurry?" Ask:
Can I still tell where the important shapes really are?
If yes, the reference may still work. If two different shapes would both fit the blur, sharpening the image will not tell you which one was actually there.
Before sharpening, upscaling, tracing, or generating a stencil, look at the exact part of the image you need.
You can usually place it in one of these situations:
The key difference is simple: some blur hides detail you can safely leave out; other blur hides geometry you would have to guess.
Several different image problems get described as "blurry." They need different responses.
Defocus softens an edge. You may still understand the overall form, but the exact boundary becomes harder to place as the softness increases.
A portrait can have soft ears or background and still be perfectly workable when the eyes, nose, mouth, and face shape are clear.
Camera shake or subject movement smears a feature in a direction.
This is more dangerous when position matters. A moving hand can produce several apparent finger edges. A turning face can smear an eyelid or mouth corner. Sharpening may make one edge look convincing without proving that it was the correct one.
Repeated screenshots, messaging apps, social downloads, and resaves can add blocks, halos, ringing, or smeared fine detail.
When possible, ask for the original camera file, uncropped image, original artwork, or highest-quality copy before editing the damaged version.
A tiny sharp photo and a large blurry photo are not the same problem.
Low resolution means the useful subject area contains too few pixels. Blur means the boundaries have been softened or smeared. A file can have both problems at once.
The Reference Photo Quality Checker can help you inspect sharpness and subject coverage in the part of the photo you actually plan to use.
A feature can be sharp but disappear into shadow because the tones around it are too similar.
That is not blur. If the problem is dark or collapsed shadow detail, use the dark tattoo reference diagnostic.
Do not give the whole image one verdict.
For a portrait, check the relationships that carry likeness:
For a pet portrait, check:
For handwriting or logos, check:
Blur in fur, pores, fabric, or background texture may be disposable. Blur in an eye corner, letterform, marking boundary, or logo opening may change the actual design.
For every questionable feature, ask:
That gives you four practical outcomes:
| Importance | Clarity | What to do | |---|---|---| | High | Clear | Protect it closely. | | Low | Clear | Keep it only if it helps the stencil. | | Low | Unclear | Usually simplify or leave it out. | | High | Unclear | Stop guessing. Find another source or make the interpretation explicit. |
One unclear eye or handwritten character can matter more than a hundred sharp hairs or background details.
A portrait can tolerate lost pores, hair strands, and skin texture far better than it can tolerate the wrong eye spacing or mouth angle.
If blur leaves two plausible positions for an eyelid, nose edge, mouth corner, or jaw contour, adding more stencil detail is not the solution. You first need a better reference or a conscious reconstruction decision.
Use the portrait stencil workflow after the reference is good enough to trust. If the photo is clear but the generated stencil later loses likeness, use the portrait likeness-loss diagnostic instead.
Soft fur is often manageable. Uncertain eyes, muzzle proportions, ears, or markings are more serious because those are often what make one animal look like that specific animal.
If the coat is blurry but the face, ear shape, nose, head silhouette, and distinctive markings are clear, the reference may still be strong enough for a simplified stencil.
If an enhancer creates a clean-looking marking that the original photo does not clearly show, do not assume the enhancement got it right. Check another photograph when possible.
Sometimes there is no modern high-quality replacement. In that case, work with the best material available instead of pretending restoration can remove every uncertainty.
A practical order is:
For memorial work, a second real photograph is usually more valuable than another aggressive sharpening pass.
Sharpening increases contrast around transitions. It can help you inspect an edge that was already present.
Too much sharpening can also create:
Keep the untouched original beside the sharpened version. If a feature only becomes obvious after aggressive processing, look back at the original before treating that new edge as trustworthy.
Upscaling is useful when a larger working image makes cropping, masking, or stencil generation easier.
AI enhancement can go further by proposing sharper hair, fur, teeth, eye detail, skin texture, lettering, or small contours. That can make a damaged photo easier to work with, but it can also make a guess look like a fact.
Be especially careful when enhancement changes:
If the detail matters and another real reference exists, use that reference to check it. If no second source exists, keep the interpretation modest and make sure the artist and client understand what has been reconstructed.
When a critical feature is unclear, another genuine image can answer questions that sharpening cannot.
Useful secondary references include:
Do not blindly combine different ages, expressions, poses, camera angles, or lighting into one supposedly documentary image. Use secondary references to clarify specific features, not to silently redesign the subject.
The full image dimensions can be misleading.
A 4000-pixel-wide photo may still contain a tiny face. A smaller file can be much more useful if the subject fills most of the frame and the important edges are clear.
Crop or select the actual tattoo region first, then inspect blur, compression, resolution, and tone there.
Cropping helps you judge the useful part of the photo. It does not recreate a missing eyelid, letter edge, pet marking, or contour.
Once the reference is usable, continue with How to Make Tattoo Stencils From Photos for crop, simplification, and stencil review, or go directly to Photo to Tattoo Stencil for the product workflow.
A small simplified tattoo may not need individual hairs or skin texture. A large detailed portrait may need much more reliable local structure from the same photo.
That does not mean small tattoos can use bad references. It means you should judge the reference against the actual design job.
If the important shapes are trustworthy but the stencil becomes crowded when reduced, that is a size/detail problem. Use the final-size detail diagnostic rather than trying to repair the reference again.
The coat is blurry, but the eyes, ears, muzzle, nose, head shape, and distinctive blaze are clear.
Likely decision: usable for a simplified pet portrait. Keep the landmarks and reduce the missing fur texture.
The clothing and background are soft, but the eyes, nose, mouth, jaw, and face width are readable.
Likely decision: the blur is probably not fatal. Judge the face crop, not the average sharpness of the whole image.
The subject moved and the eyes and mouth have visible directional smear.
Likely decision: find another photograph before locking the portrait geometry. A crisp restoration may still be choosing one plausible position from several.
The image has little subject detail, visible compression, and general softness.
Likely decision: ask for the original file before trying to rescue the screenshot.
The logo edges are unclear, but the original mark probably exists elsewhere.
Likely decision: request the original artwork or vector rather than redrawing exact geometry from a damaged screenshot.
Before spending time on stencil cleanup:
A blurry photo does not need to be perfect. It needs to be clear where the tattoo depends on it.
Proceed when the important shapes are still trustworthy and the blur mostly affects texture or low-priority areas.
Pause when a defining landmark has more than one plausible position or shape. At that point, a better original, another photograph, or an explicit interpretation is safer than turning the blur into a confident line.
Related Collections
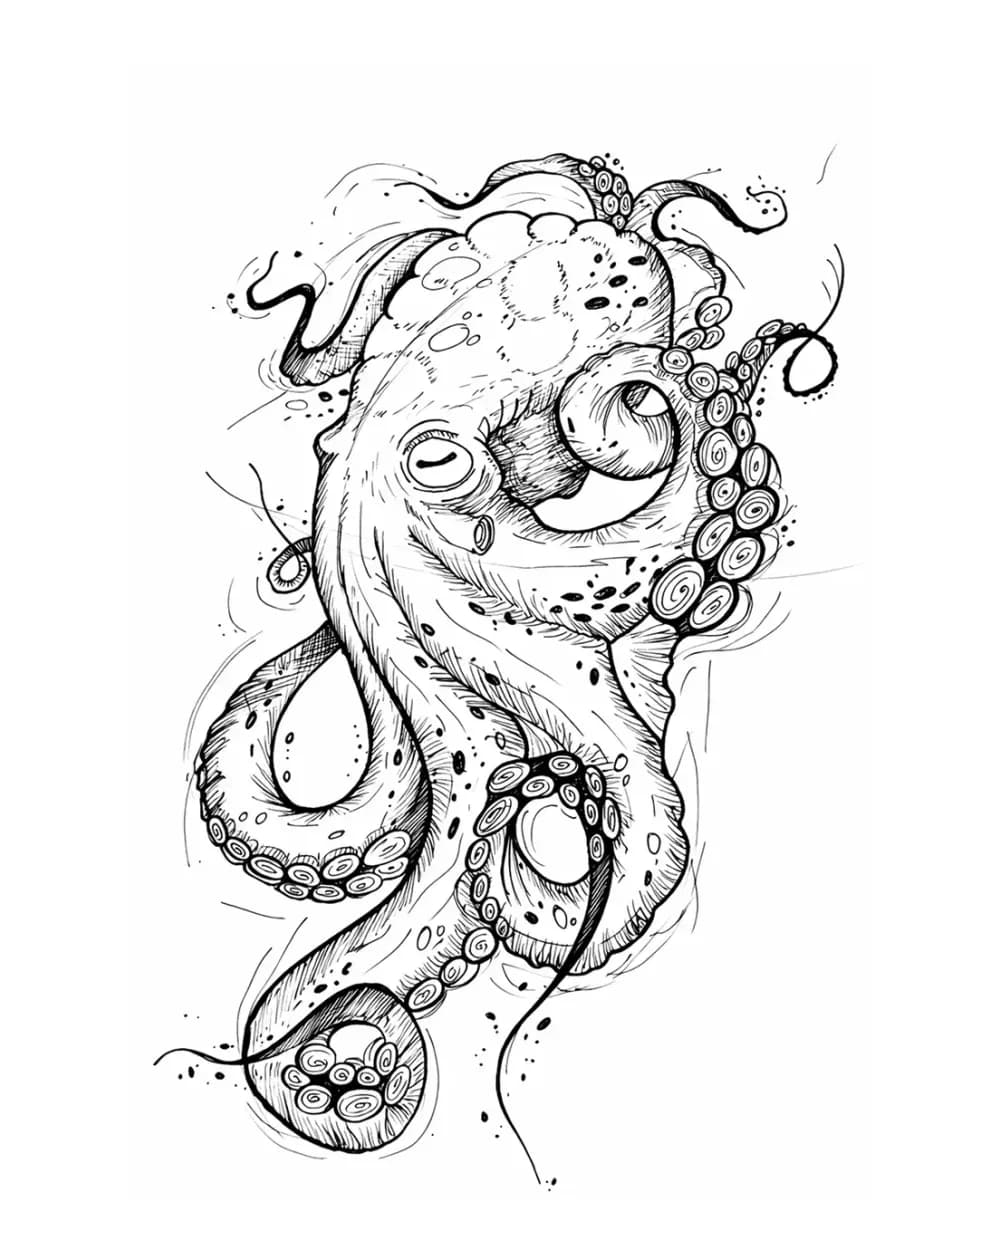
Compare 12 curated animal tattoo stencil examples across wildlife, pets, birds, and sea life. Start with the animal silhouette and recognition landmarks, then compare ho…
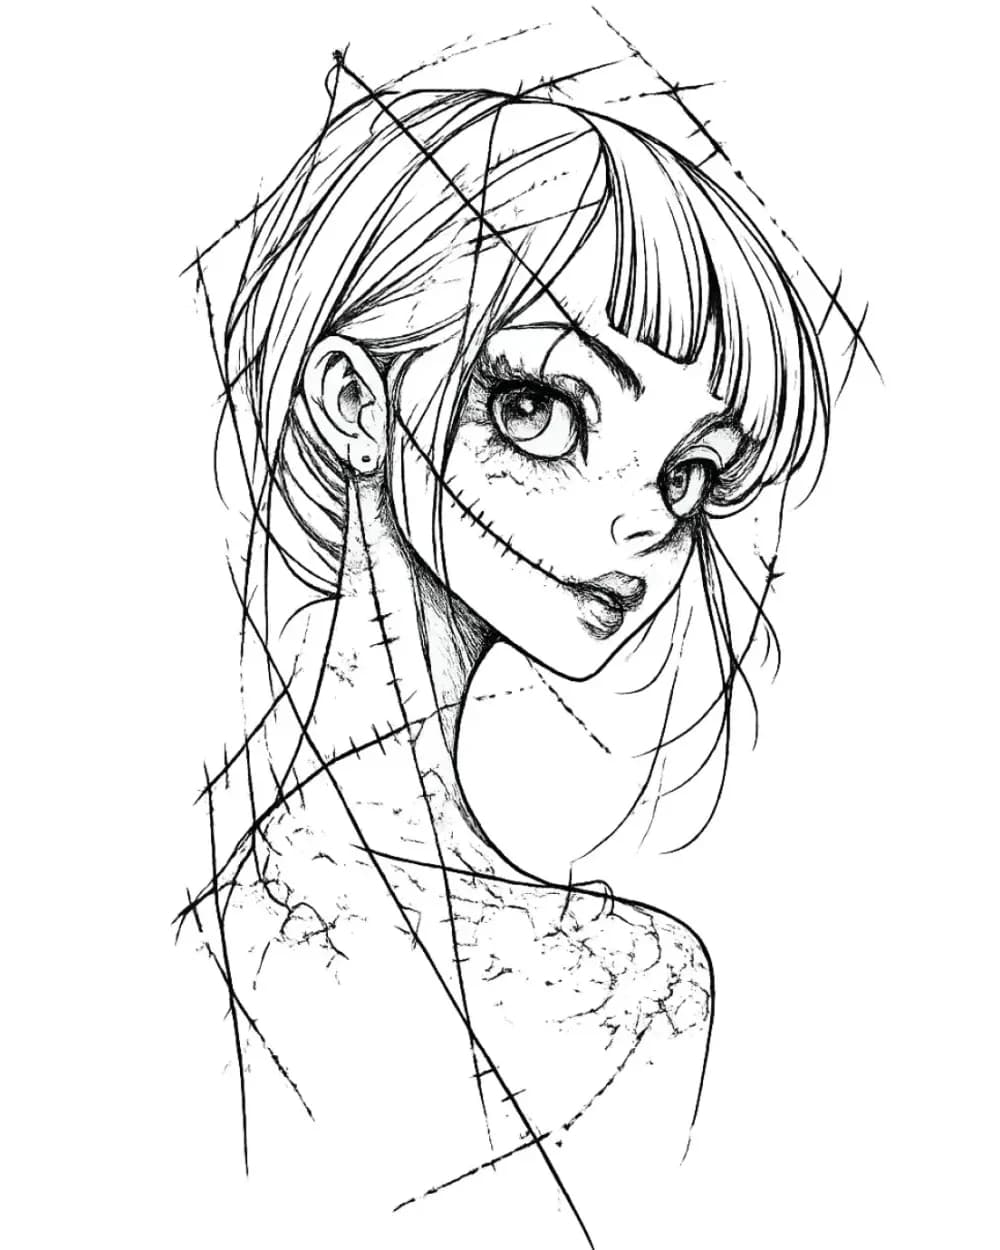
Compare first-party portrait, face, and figure tattoo stencil examples to see which recognition anchors, expression cues, body shapes, and detail clusters need to surviv…
Related Guides
Choose, crop, simplify, and review a photo so the resulting tattoo stencil stays readable at placement size, including blurry and low-resolution references.
tattoo stencil from photo · stencil workflow
Read guide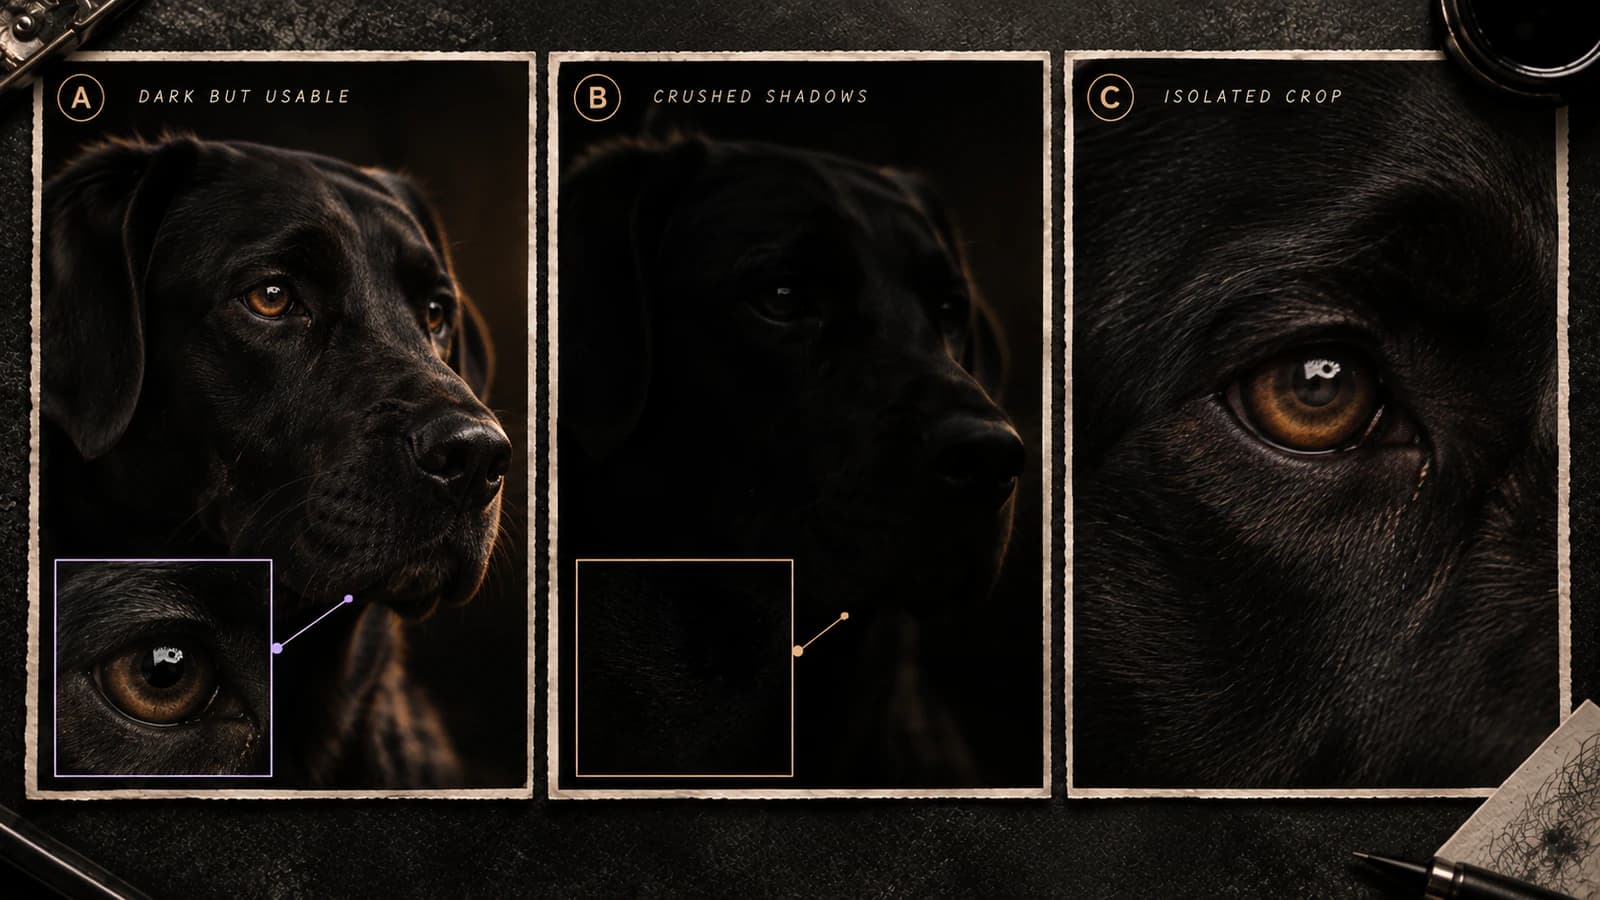
Diagnose a dark tattoo reference before stencil prep. Separate usable dark tones from crushed shadows, weak local separation, and genuinely missing source detail.
dark tattoo reference · tattoo reference photo too dark
Read guide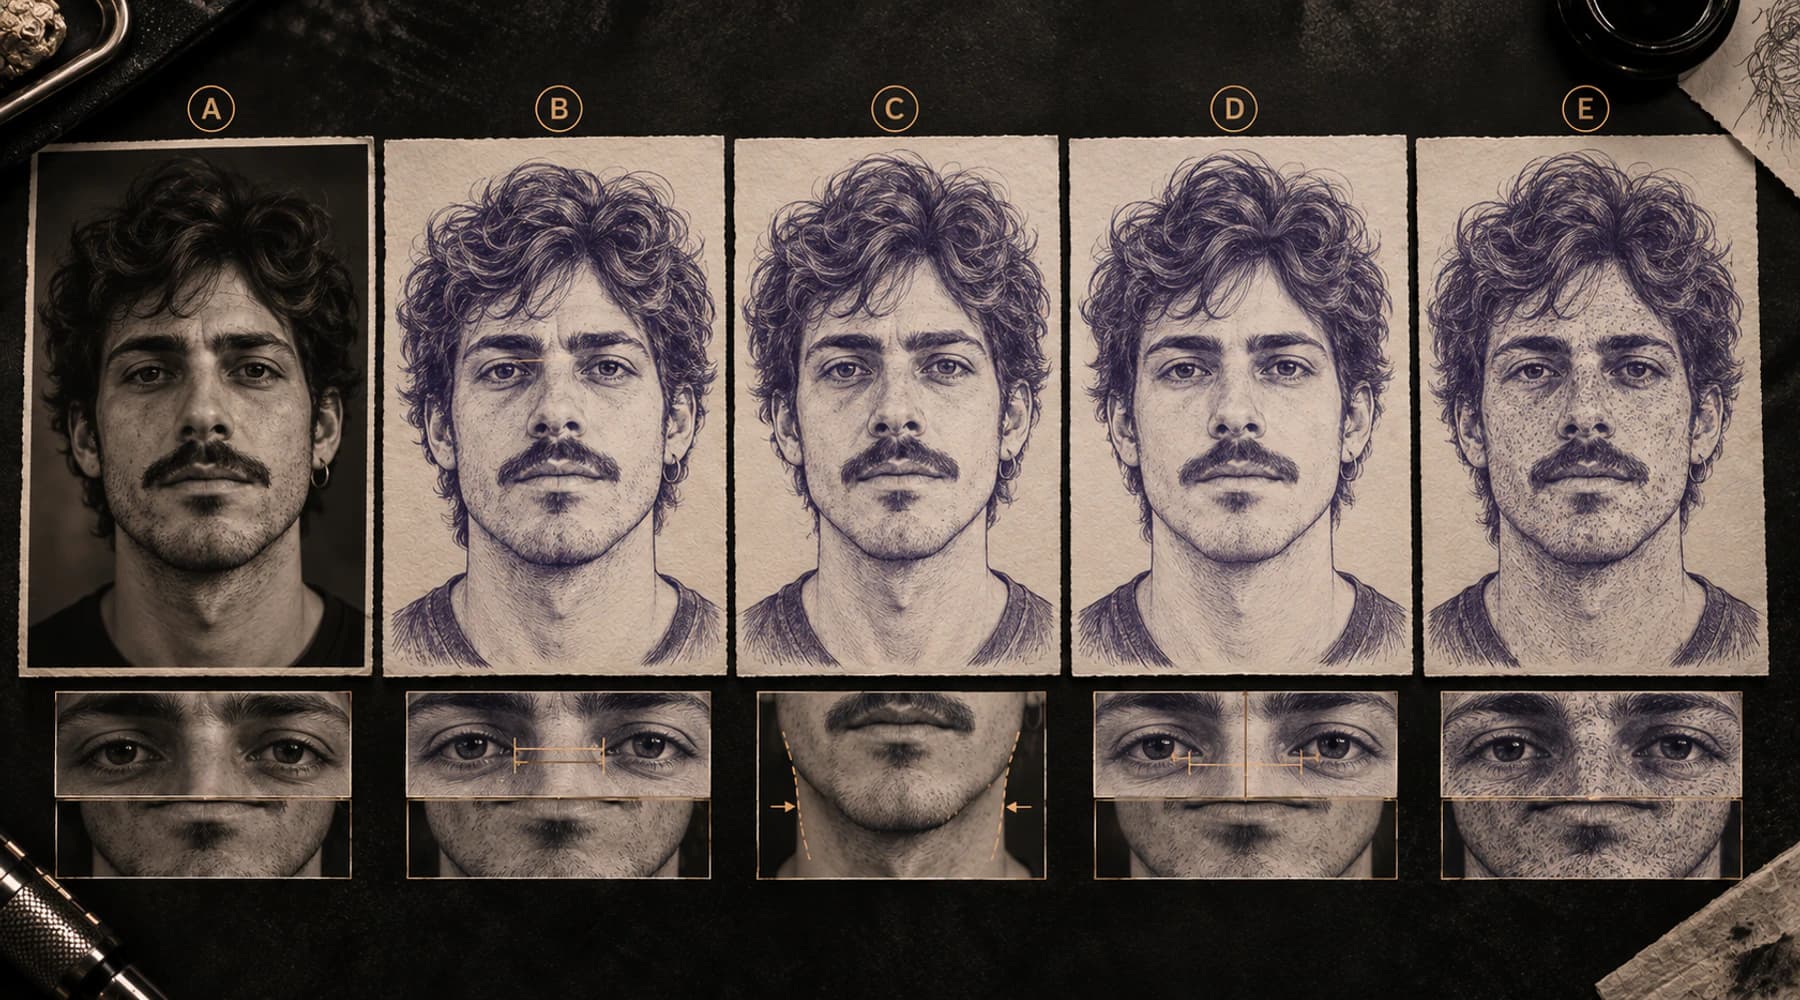
Diagnose why a portrait stencil no longer looks like the reference by checking silhouette, feature relationships, asymmetry, expression, and value boundaries before adding detail.
portrait tattoo stencil · portrait likeness
Read guideAuthor
Founder and product builder at StencilStudio
Andrea builds StencilStudio and tests how the tools fit into real stencil prep, using real references and outputs to document what works, what changes, and where artist judgment still matters.
In the App
Use the Reference Photo Quality Checker to inspect sharpness, crop coverage, intended-size sampling, tone, and other source signals in the part of the reference you plan to use.