Portrait tattoo stencil maker

Turn a portrait photo into a tattoo stencil without losing the face.

A portrait stencil should protect likeness before it protects texture. Start from the eye line, nose and mouth relationships, face contour, and useful value boundaries; then add only the information that still helps at the size you will actually tattoo.

One free web generation per account, no card required. The generated stencil is a starting point for artist review, not a substitute for checking likeness, placement, transfer, or execution.

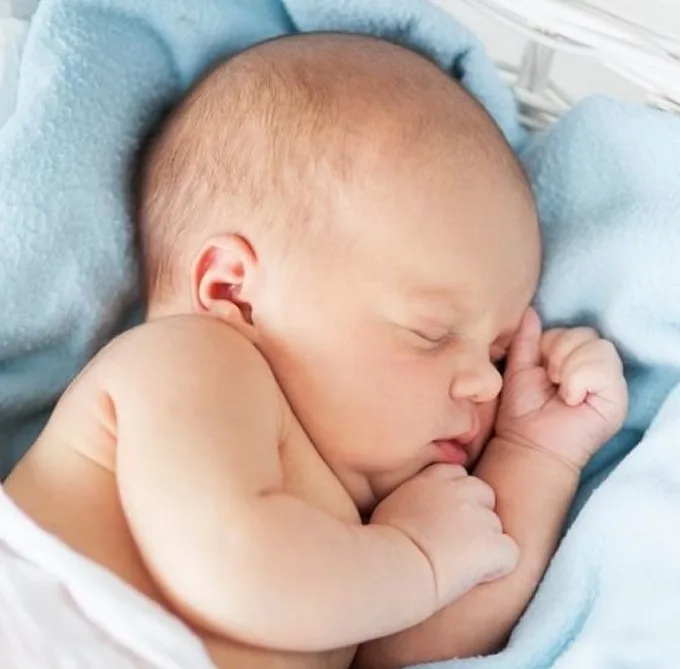
Portrait reference before tattoo stencil generation
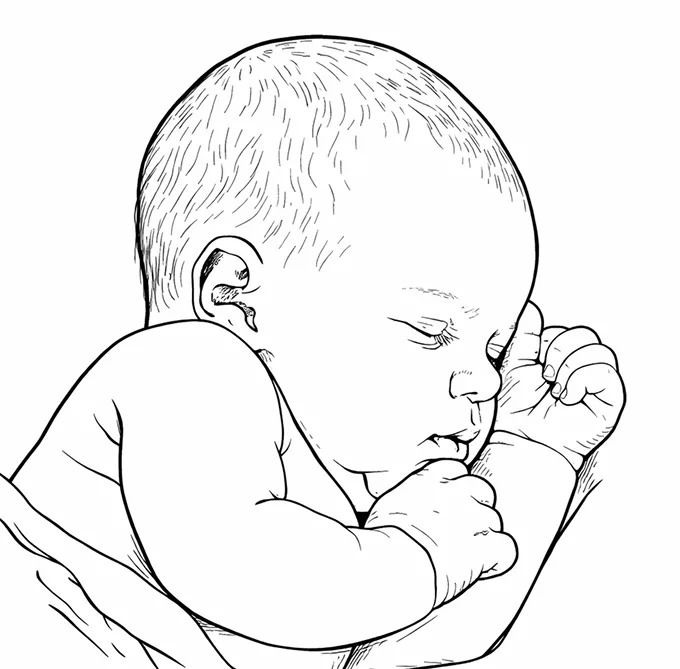
Portrait tattoo stencil preserving recognition-critical facial structure
ReferenceStencil

Matched StencilStudio source/result pair. Inspect the eye-to-nose-to-mouth relationships before the smaller texture marks.

Inspect proof
Likeness
3
1

Portrait logic

A portrait stencil is a navigation map, not the finished portrait.

The useful question is not ‘how much detail can I trace?’ It is ‘which marks let me rebuild this face accurately after the reference becomes a transfer?’

Start with the crop, not the cleanup

Get the face, expression, hair silhouette, and any identity-critical accessory into a deliberate crop before generation. Background detail that does not support the portrait should not be allowed to set the line budget
Protect global relationships first

Likeness is carried by spacing and proportion before micro-detail. If the eye-to-nose-to-mouth relationships drift, adding more pores, wrinkles, or hair strands will not rescue the portrait

Use tone as a map, not as decoration

Portrait and black-and-grey workflows often use selected shadow boundaries as navigation. Keep the value changes that help you reconstruct form and drop tonal noise that only makes the transfer harder to read

Judge the actual physical size

A stencil can look beautifully detailed while zoomed in and collapse after reduction. Review the smallest eye, lip, nostril, hair, and texture marks at the size the client will actually wear

Real stencil examples

Six portraits, six different failure points.

Use the examples as a reading exercise. The important part is not the subject matter; it is seeing where likeness, expression, texture, overlap, and final-size density start competing with one another.

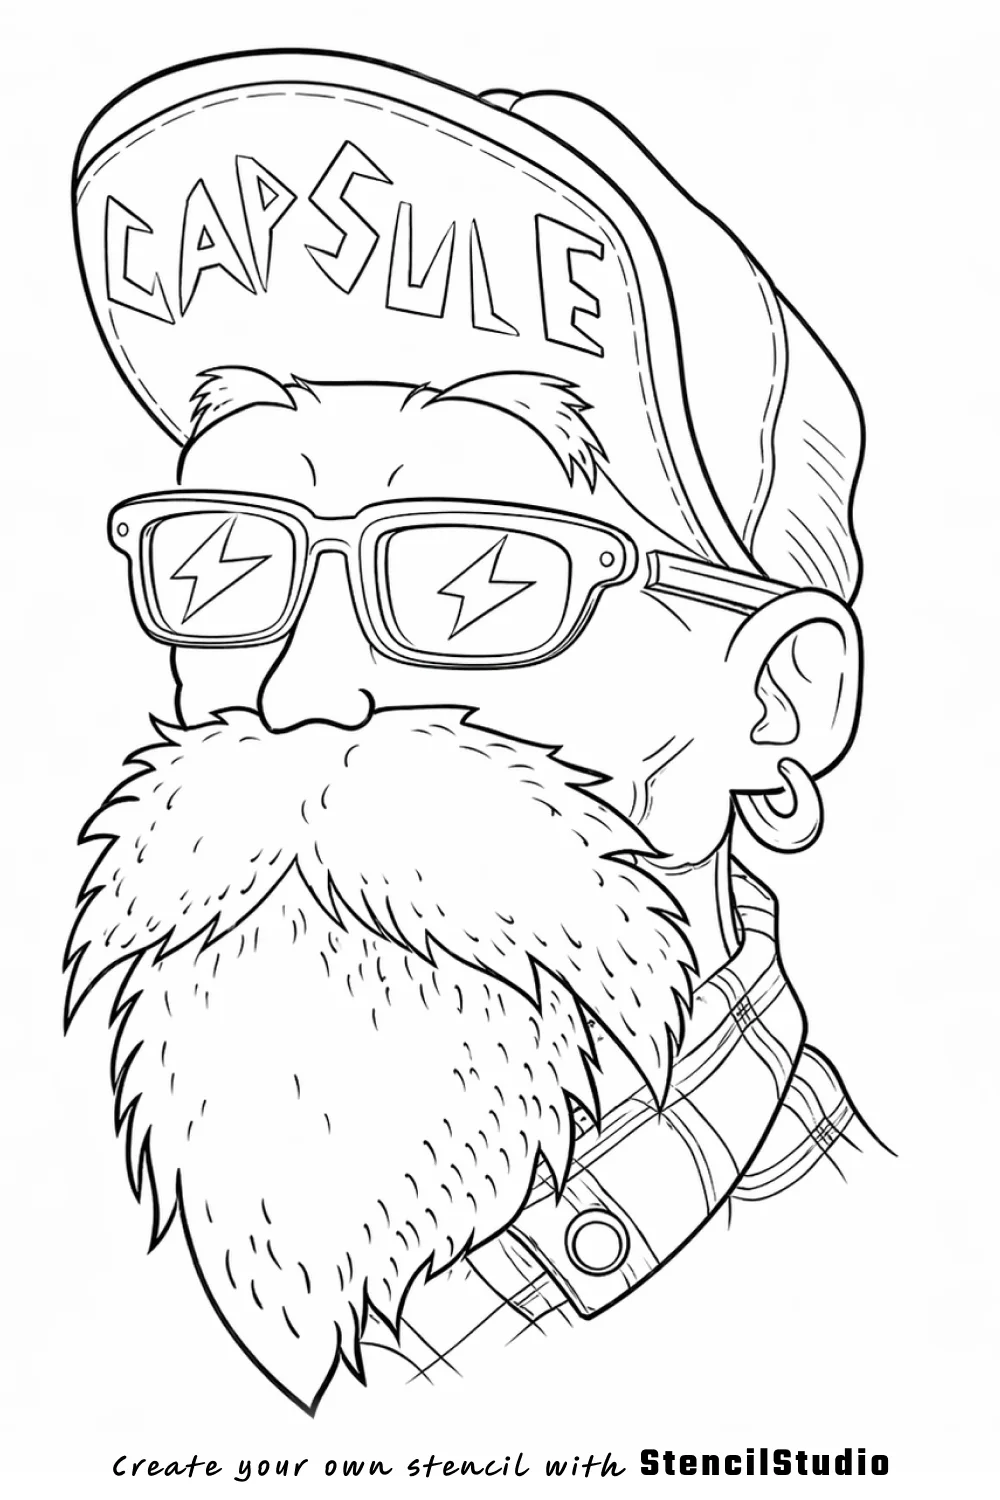
Bearded male portrait tattoo stencil with a face-first composition and controlled beard texture

A straightforward portrait where facial structure has to stay ahead of beard and hair texture.

The face remains the first read because the hair and beard are treated as supporting texture rather than equal-weight noise.
Portrait references where hair or beard detail can easily overwhelm the identity-critical landmarks.
Beard texture and loose hair strands need enough physical space or they begin to grey out together.
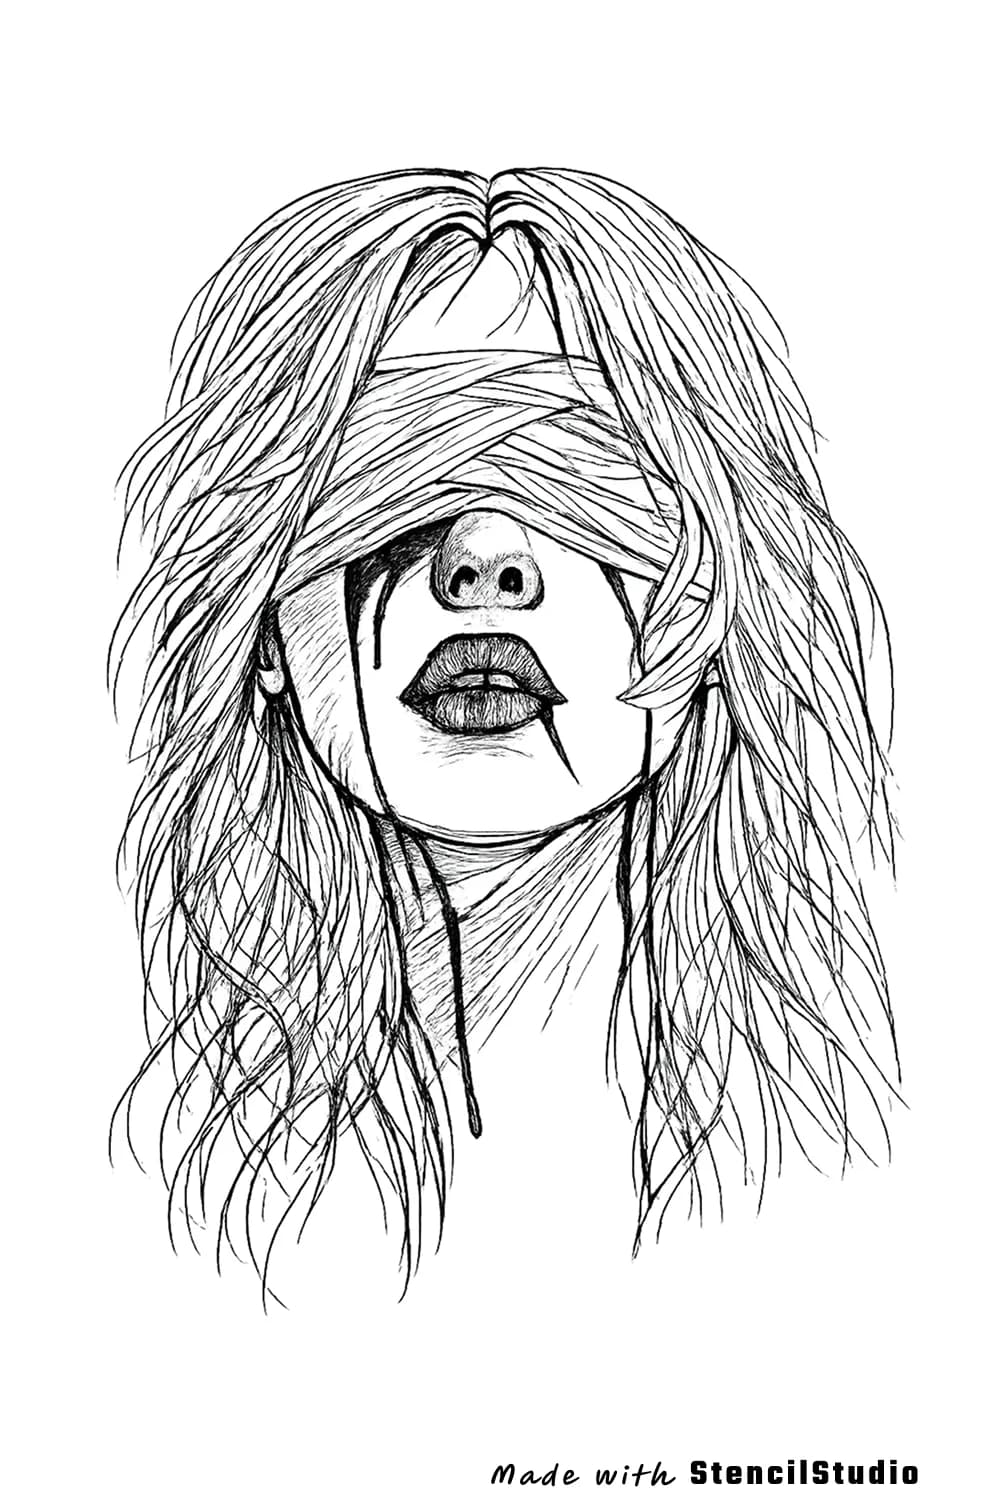
Blindfolded woman portrait tattoo stencil with controlled mouth, jaw, hair, and fabric landmarks

A portrait test for what happens when an accessory removes the eyes but the face still needs to read cleanly.

The blindfold adds mood without burying the mouth, nose, jaw, and hair landmarks that keep the portrait coherent.
Surreal or editorial portraits where fabric, eyewear, or another object covers part of the face.
Blindfold overlaps and loose hair can clutter fast if every edge is given the same emphasis.
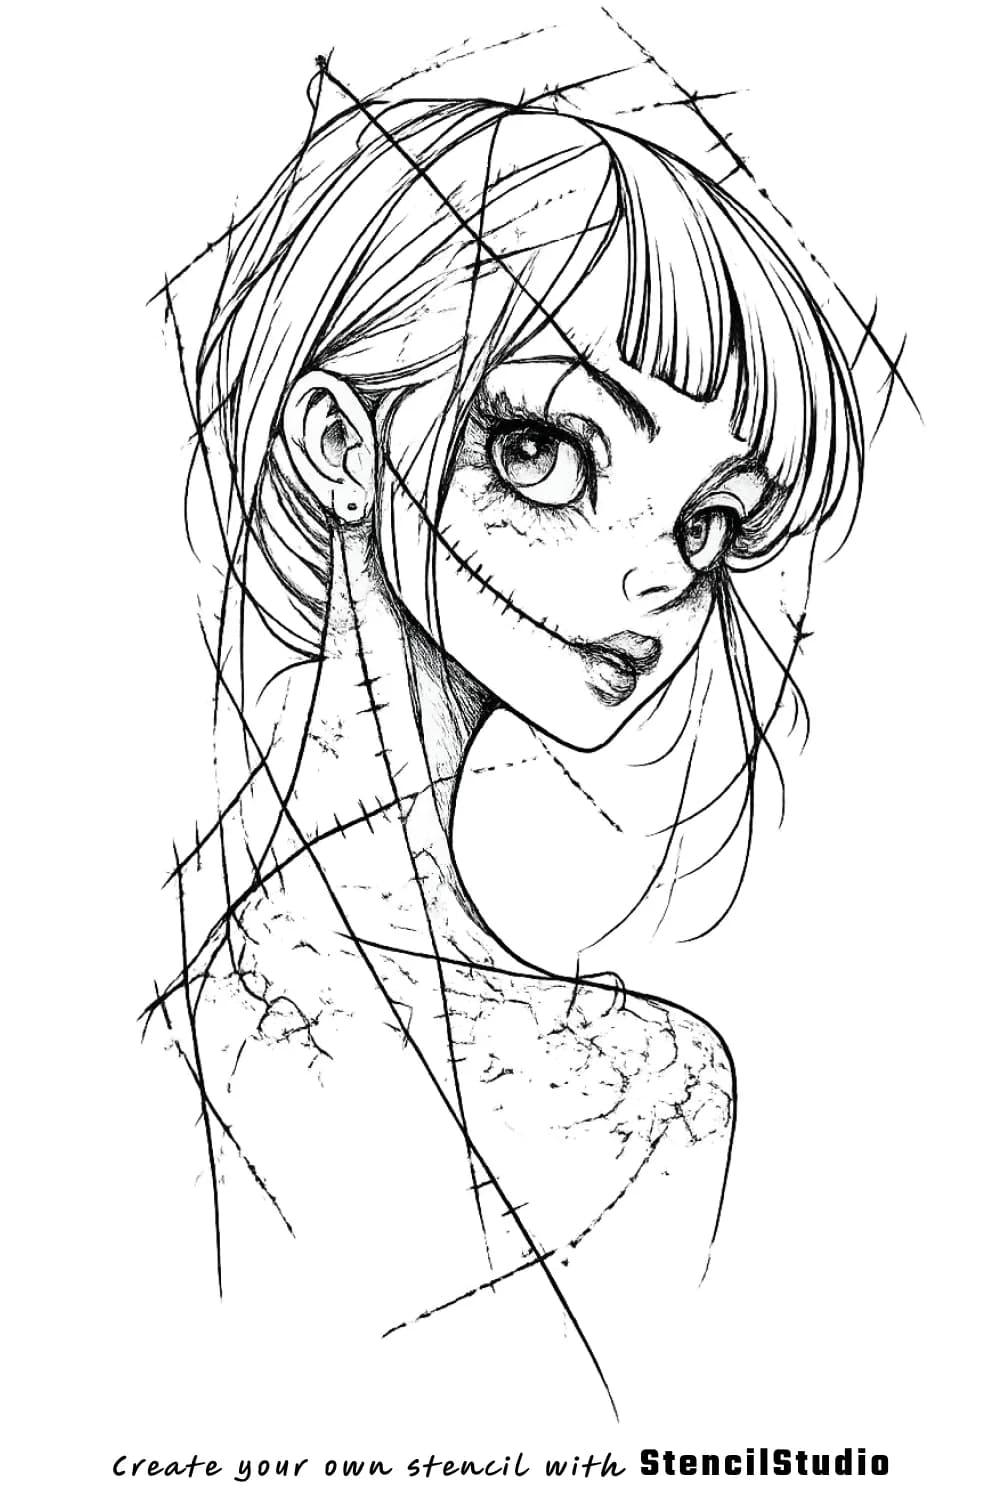
Stylized woman portrait tattoo stencil with oversized eyes and secondary scratch-line texture

A useful counterexample: likeness can be deliberately stylized while the face still needs a clear hierarchy.

The oversized eyes and mouth remain dominant, so the scratch-like overlay reads as treatment rather than facial structure.
Illustrative portraits where exaggeration is intentional but the central face must still read instantly.
Secondary scratches should stay visibly secondary to the eyes, mouth, jaw, and silhouette.
Three-face portrait tattoo stencil showing likeness, overlap control, and readable facial spacing

Three faces make scale and spacing problems visible much faster than a single isolated portrait.

The faces remain distinct because their expression anchors and outer contours are not overfilled.
Family, memorial, film, or multi-subject compositions that need several recognisable faces in one layout.
Multiple faces collapse quickly when the overall placement is reduced too aggressively.
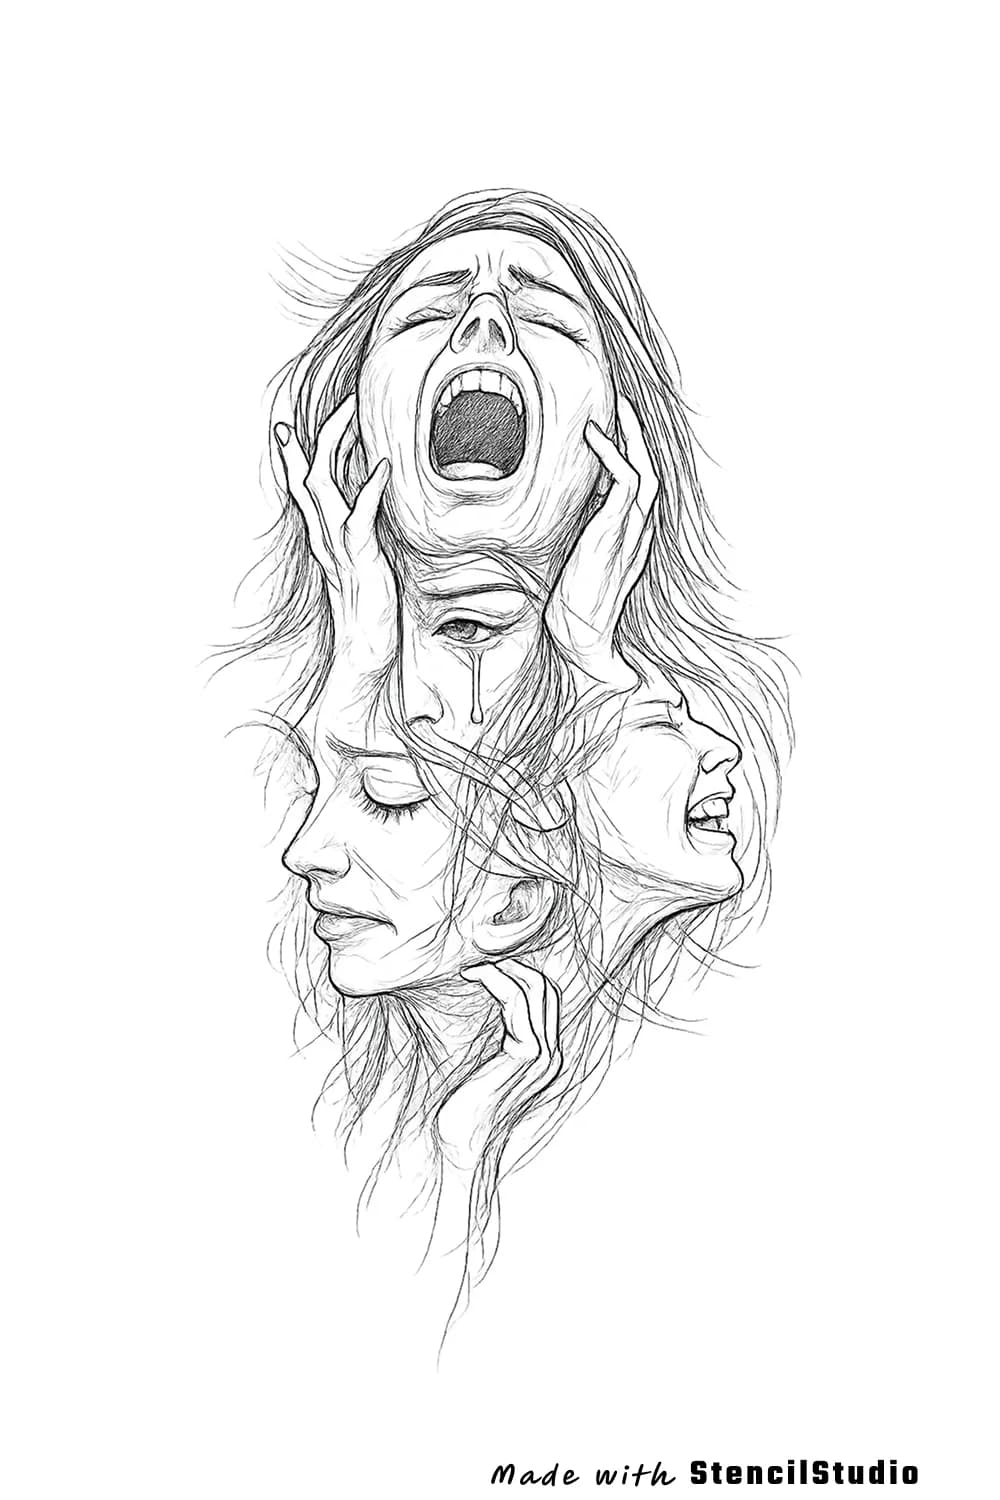
Stacked screaming face tattoo stencil with three expressions separated inside a vertical portrait composition

An intentionally dense portrait stack that shows why eyes, mouths, and face boundaries need breathing room.

The expressions remain separable because each face protects its own eyes, mouth, and cheek structure before texture.
Large vertical portrait placements with multiple emotional reads.
Hair texture can merge the faces if the composition is shrunk without reducing information.
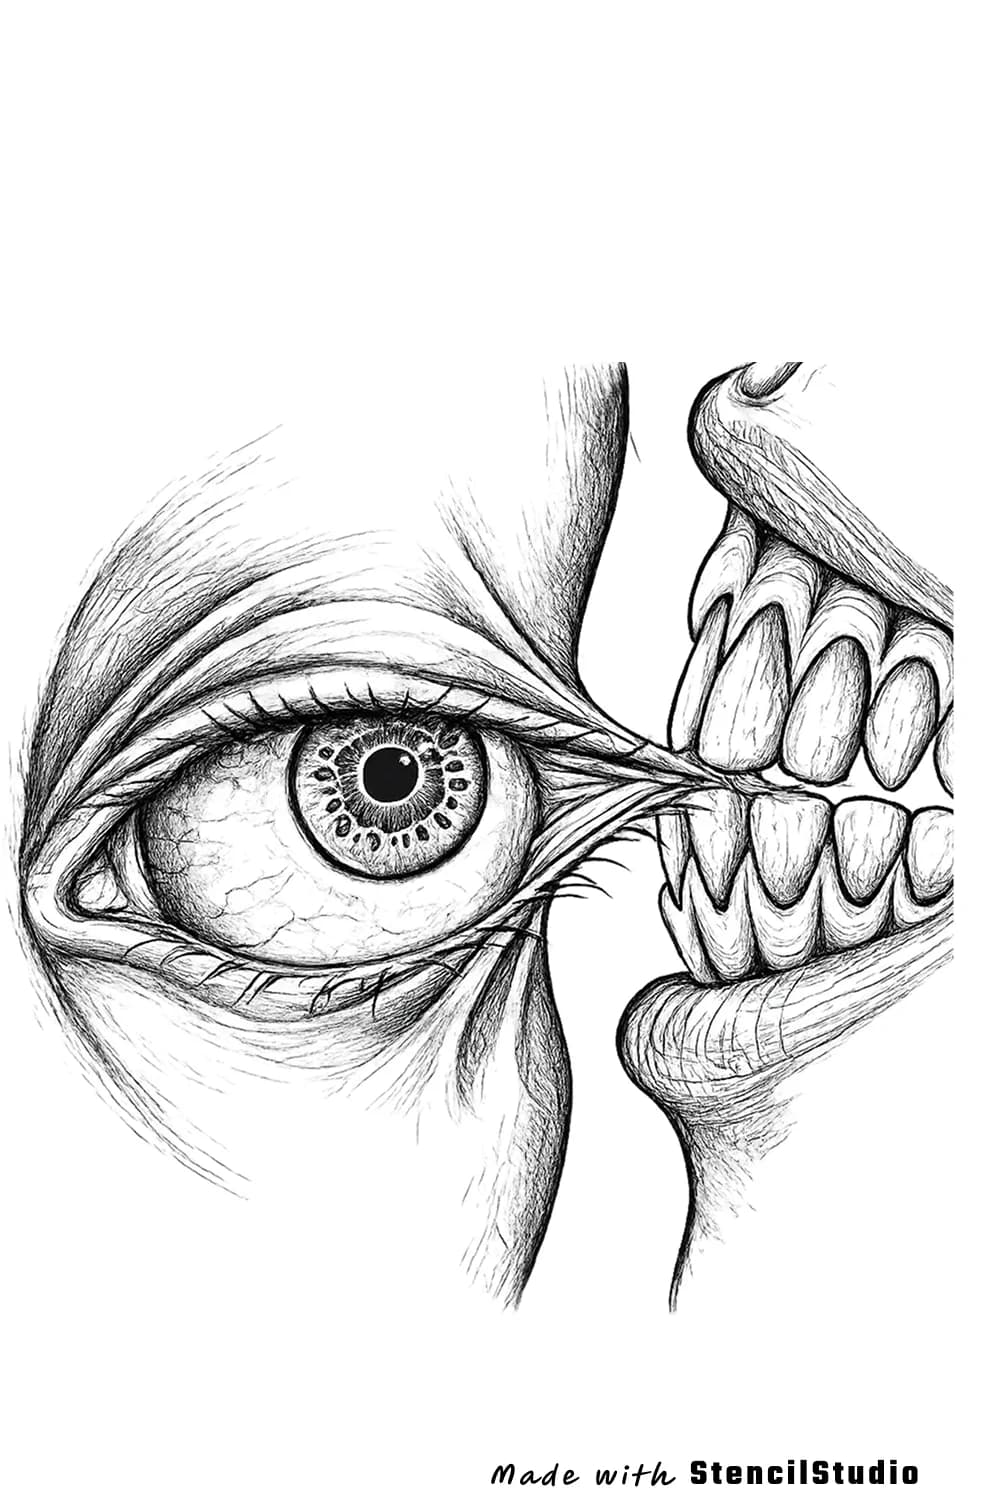
Surreal split portrait tattoo stencil centered on one eye and detailed mouth anatomy

A macro portrait crop where one eye has to stay dominant even beside dense teeth and mouth detail.

The eye creates an immediate first read, so the lower anatomy can carry detail without flattening the whole composition.
Surreal close crops where only a few facial landmarks carry the identity and concept.
Dense tooth and gum detail can overpower the eye if both zones are pushed to the same visual weight.

These are curated StencilStudio portrait / people outputs already published in the site gallery. They are shown here because each one exposes a different portrait-prep decision rather than to pad the page with more images.

Browse the full People collection

Face map

What to keep, what to reduce, what to verify.

This is the portrait-specific review pass that generic edge detection misses. Use it after generation and before you spend time polishing secondary marks.

Eyes & gaze

Eye spacing, eyelid angle, iris / pupil direction, brow relationship, and the few marks that control expression

Repeated lash ticks, skin texture, tiny reflections, and any mark that starts competing with the gaze

Both eyes still align and read as the same person when the image is viewed at the intended tattoo size

Nose

Nostril width, alar shape, tip landmarks, philtrum relationship, and useful shadow boundaries

A literal hard outline around every soft bridge or cheek transition when the source does not actually contain one

The nose still sits correctly between the eyes and mouth instead of becoming a separate outlined object

Mouth

Mouth corners, separation line, width, tilt, and the lip landmarks that materially affect expression

Uniform outlining around soft lip volume and small texture that does not survive reduction

Width and angle still match the reference before you spend time on secondary texture

Hair & beard

Hairline, major masses, silhouette, parting, beard boundary, and deliberate direction changes

Trying to transfer every individual hair strand from the photograph

Texture remains subordinate to the face instead of becoming the darkest or busiest read

Value map

Hard shadow edges, dark cores, contact shadows, light reserves, and selected transitions that help rebuild form

Smooth cheek and forehead gradients converted into dozens of nearly identical contour marks

The stencil tells you where form changes without pretending to be the finished rendering

Workflow

From portrait reference to a stencil you can actually review.

The generator removes repetitive first-pass work. The useful workflow still has explicit checkpoints where the artist decides what survives.

01

Upload the cleanest portrait source

Use the highest-quality version you have, crop out irrelevant background, and keep the full face structure you need to compare later

02

Generate more or less information deliberately

Compare Simple, Standard, and Detailed. The right portrait stencil is the one that preserves identity and useful value landmarks without turning texture into clutter

03

Audit likeness before polishing

Check the eye line, nose, mouth, jaw, hairline, and important shadow anchors against the source. Fix recognition-critical errors before secondary cleanup

04

Check size, placement, then export

Once the face map is stable, move into physical sizing and placement. The iPhone workflow adds Fit to Body, mirror, exact-size print prep, PDF export, and Max Quality

Evidence ledger

One matched portrait, three things to inspect.

The case study separates what the generated stencil preserved, what it simplified, and what still belongs to the artist review pass.

Eye spacing and central face relationships

The closed eye line, nose tip, and mouth stay in the same relative positions that carry recognition before texture is reduced.

Artist check: Confirm the eye-to-nose-to-mouth spacing still reads when the print is held at final tattoo size.

Cheek tone and soft surface detail

Smooth photographic tone on the cheek and forehead collapses into a cleaner contour instead of copying every tonal fluctuation.

Artist check: Decide whether any remaining cheek marks still help form, or whether they only add noise at the intended size.

Smallest eye, lip, and hair-break marks

The finest lash ticks, lip corners, and hair strands remain visible in the stencil and can merge or disappear when reduced.

Artist check: Print at final size and remove or strengthen only the marks that still help recognition at that scale.

Final-size check

Do not approve the portrait while it is still zoomed in.

The last portrait decision happens at physical size. If the smallest marks merge, the stencil needs less information, more space, or a different treatment before transfer.

Print or preview the design at the intended physical width and check both eyes before anything else.

Look at mouth corners, nostrils, eyelid folds, hair breaks, and beard texture from normal working distance, not only at 200% zoom.

If two adjacent marks become one dark patch, decide which one actually helps recognition and remove the other.

Keep the source reference available during the session. The stencil should navigate the portrait; it does not need to contain every final rendering decision.

FAQ

Portrait stencil questions that matter before transfer.

Short answers to the decisions that determine whether a portrait stencil stays useful once it leaves the screen.

A portrait stencil has to protect the relationships that carry likeness: eye spacing, gaze, nose and mouth placement, outer face shape, and selected value boundaries. A simple edge trace can keep lots of lines while still losing the face

StencilStudio is designed to stay source-faithful and preserve recognition-critical structure, but portrait likeness still needs artist review. Check the eyes, nose, mouth, face contour, and smallest landmark marks at the final tattoo size before transfer

Use the level that preserves the facial map without letting texture overpower it. Compare Simple, Standard, and Detailed, then judge the result at the intended tattoo size. More lines are useful only when they remain readable and help you navigate the portrait

Start with the clearest source you have: enough resolution to inspect the eyes and mouth, a readable crop, controlled blur, and lighting that separates important forms. Strong references reduce the amount of guessing and cleanup later

No. A portrait stencil is a navigation map, not a photocopy of every tone. Keep hard or useful value boundaries, dark cores, contact shadows, and other landmarks you will actually need. Smooth skin gradients usually need fewer marks than the original photo contains

Yes. The web generator includes one free generation per account with no card required. Upload and crop your reference, choose Simple, Standard, or Detailed, generate the stencil, and download the web result as PNG

After the face map is approved, review the intended physical size and placement. The iPhone app adds Fit to Body, mirror, exact-size print preparation, PNG or PDF export, and Max Quality for the broader studio workflow

Try your own reference

Start with the face you actually need to tattoo.

Upload your portrait, generate one source-faithful stencil free on the web, then decide what deserves to survive before you move into placement and print.