
Stencil Workflow
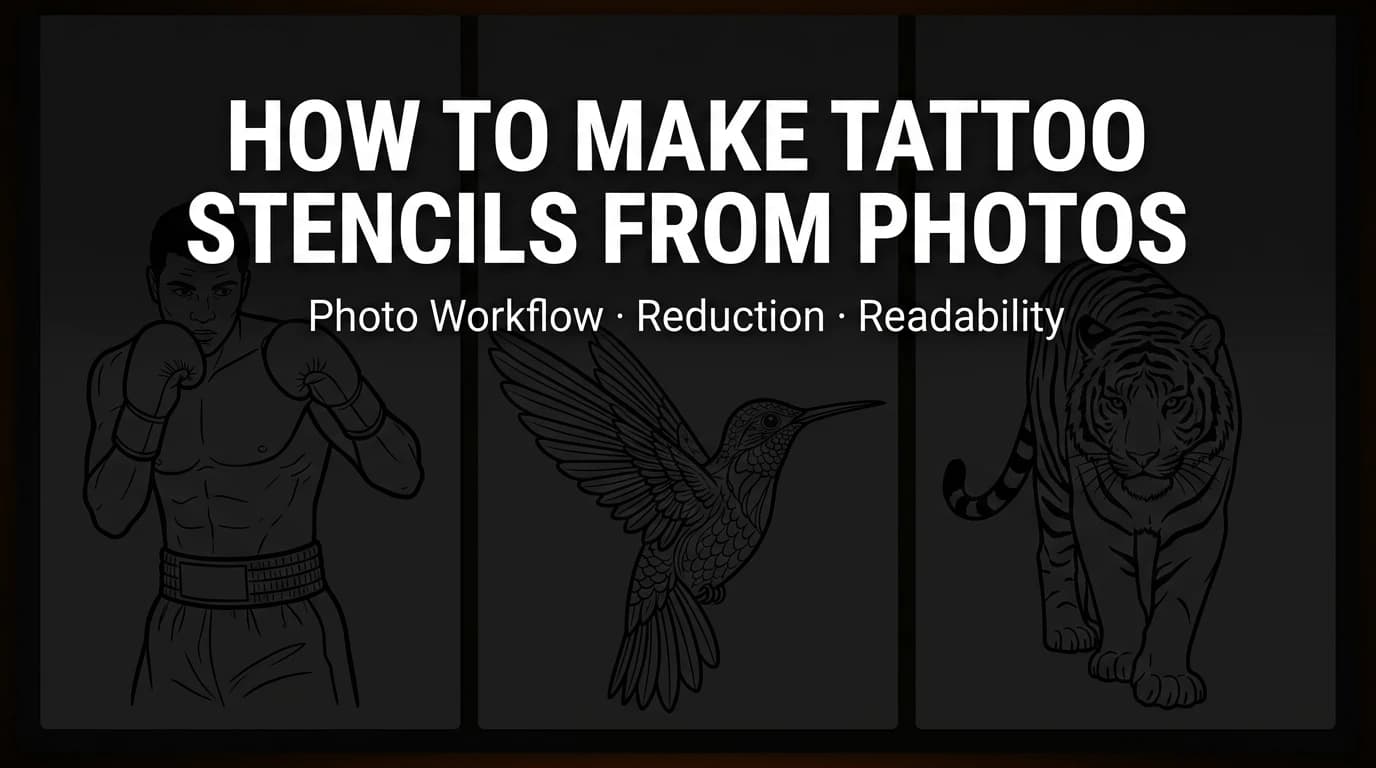
How to Make Tattoo Stencils From Photos Without Losing Readability
A practical workflow for turning photos into tattoo stencils that stay readable, editable, and placement-ready before the session starts.
Turning a photo into a tattoo stencil is not just about detecting edges. The real job is deciding what the stencil must keep, what it should drop, and what still needs the artist's hand before transfer. If that judgment step is missing, the result usually looks busy on screen and weak on skin.
Start with the right source image
The quality of the stencil is usually decided before any cleanup happens. A good source photo has a clear subject, enough contrast to separate major forms, and a silhouette that still reads when details disappear.
If the reference is cluttered, crop harder. If lighting is flat, increase contrast before you chase line detail. If the pose is confusing, pick a different frame instead of trying to rescue a bad foundation.
- Choose one dominant subject.
- Remove background information that will never survive the transfer.
- Prioritize readable outer shape before internal detail.
- Avoid tiny texture that only works at large scale.
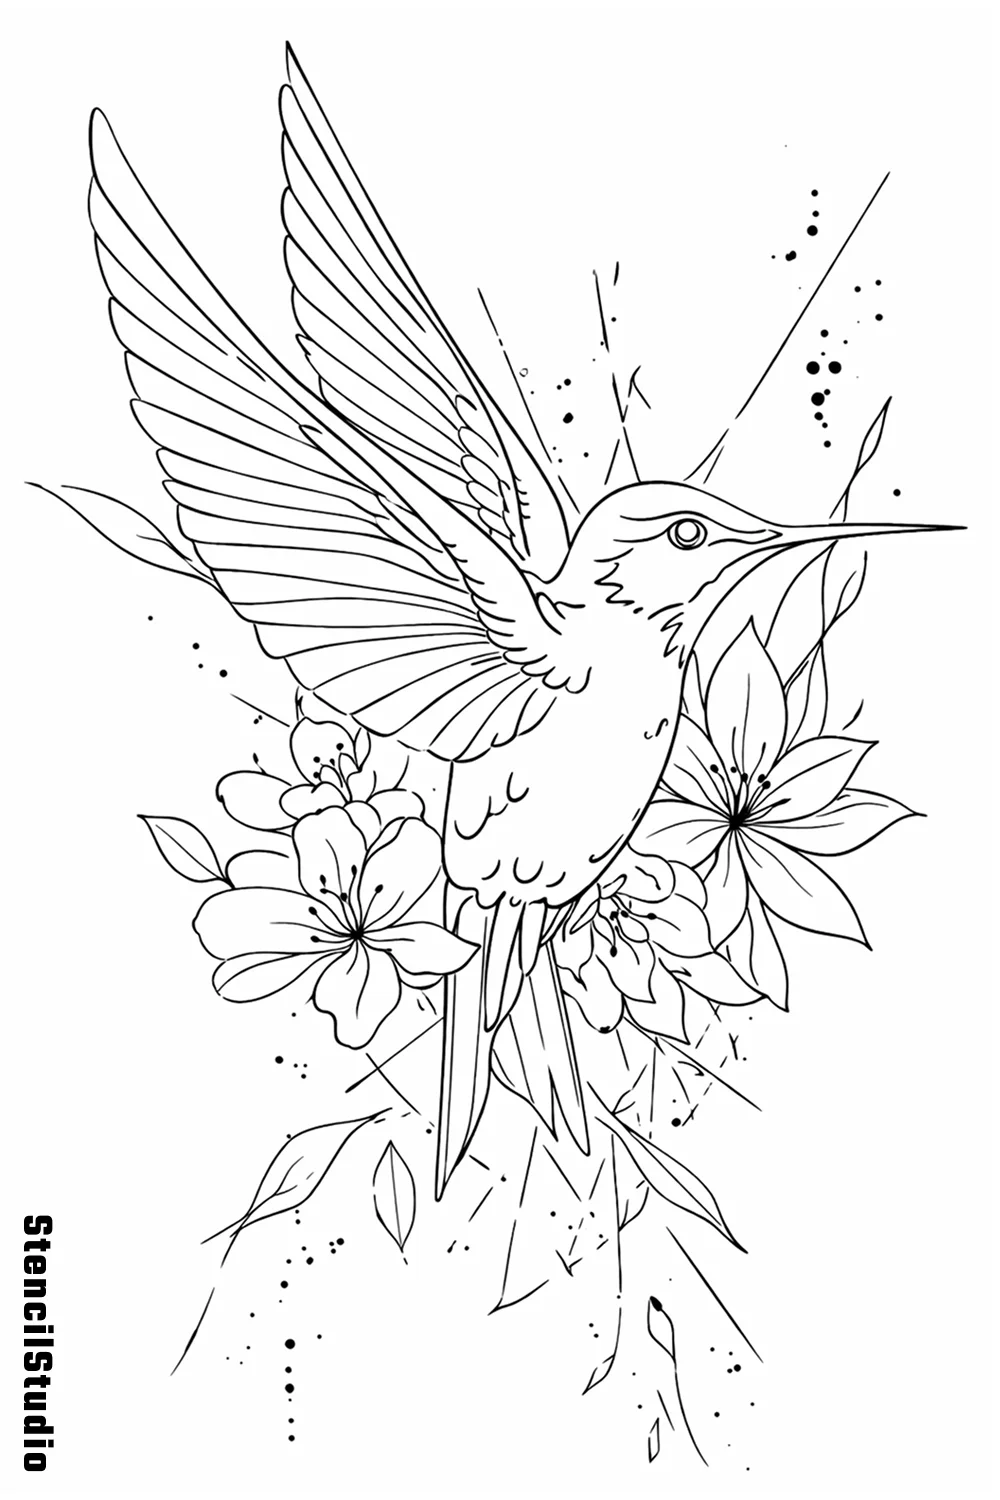
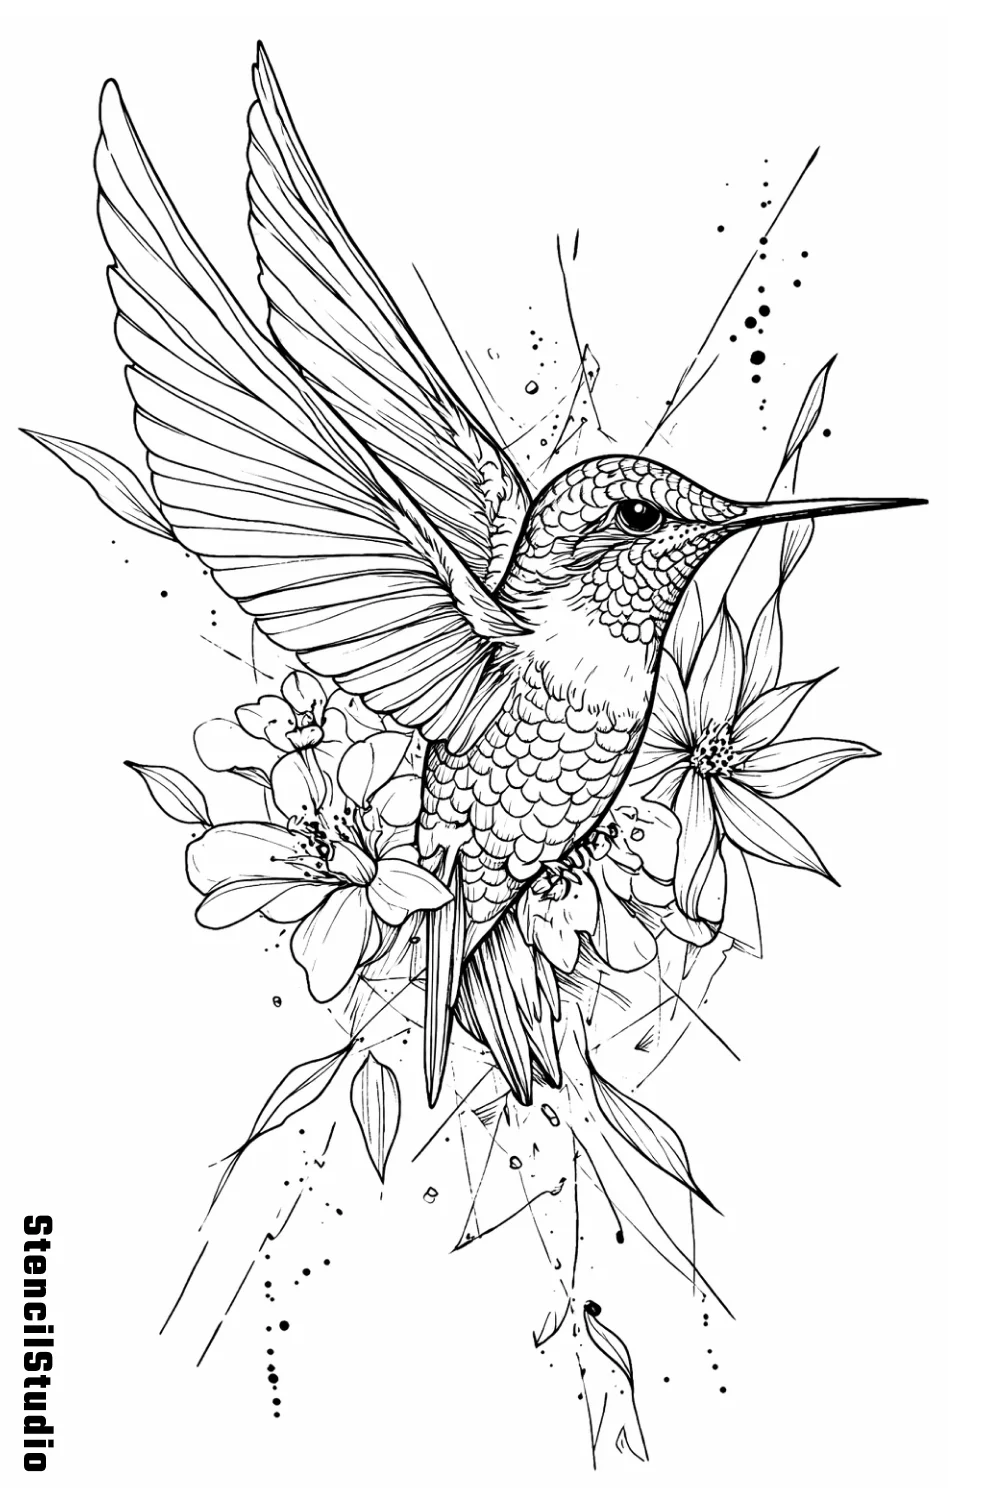
Reduce the image before you clean the lines
A common mistake is jumping straight into micro-corrections. That locks you into noise. The better sequence is broad simplification first, then selective refinement.
For most photo-based stencils, the order should look like this:
- Collapse the reference into major light and dark masses.
- Identify the contour that carries the design.
- Keep only the internal structure that helps placement or future line decisions.
- Remove texture that will turn into static at tattoo size.
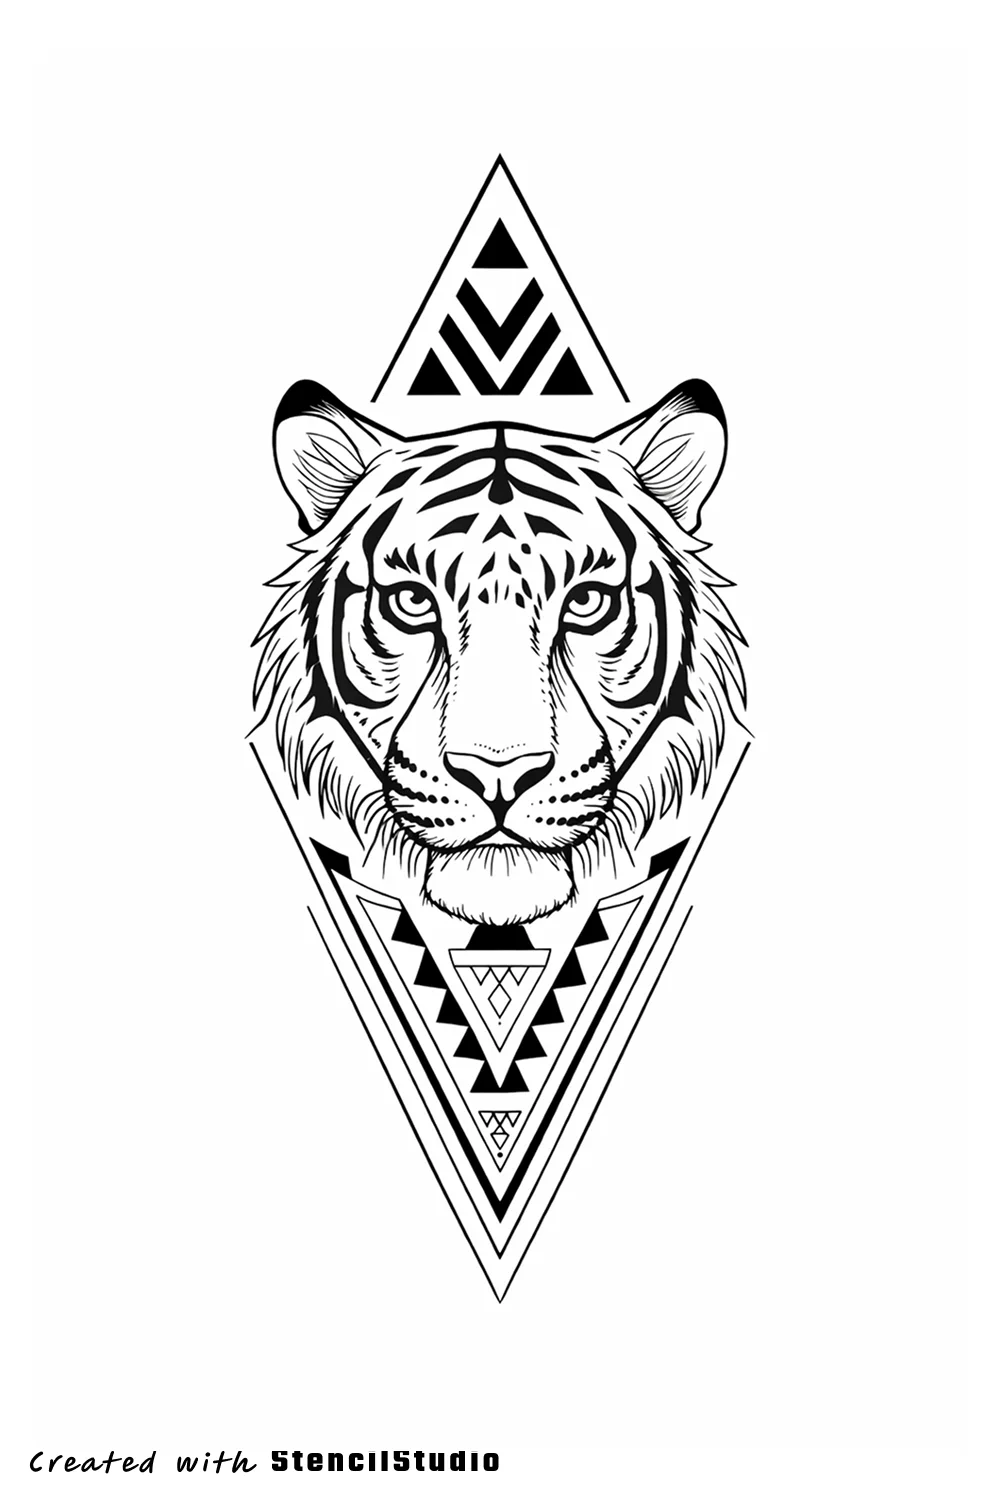
If you are working from portraits, the people collection is a useful reminder that recognizability depends more on grouped landmarks than on chasing every crease. For animals, the animals gallery shows the same pattern with fur, feathers, and scales.
Decide what the stencil actually needs to communicate
The stencil does not need to explain the final rendering. It needs to survive sizing, placement, and transfer while preserving the design's structure. That means you should judge every line by function, not by whether it was visible in the photo.
Ask three questions:
- Does this line protect the silhouette?
- Does it clarify a form change the artist will need later?
- Will it still read once the piece is sized for the body?
When the answer is no, cut it. This is also why detail control matters. If you want a clearer rule for choosing simplification depth, read Tattoo Stencil Detail Levels Explained.
Build an artist review pass into the workflow
No automatic generation step should be the final decision-maker. Even with strong source material, there is always a short review pass where the artist checks:
- readability at the intended placement size
- where black masses need breathing room
- whether the anatomy or pose still makes sense once simplified
- whether transfer lines are doing too much explanation
A fast stencil workflow is valuable only if the review pass stays deliberate.
That review pass is where speed becomes useful instead of risky. A tool can get you to a cleaner draft faster, but it cannot decide whether the draft is right for the client, the body, or the tattoo.
Where StencilStudio helps in this workflow
StencilStudio's tattoo stencil from photo workflow is built for the part of the process where artists need a better starting point, not a fully outsourced decision. You can begin from a photo or source artwork, generate a cleaner stencil draft, choose a detail level, and then move into the manual review pass with less repetitive cleanup.
If you want proof before trying your own references, open the Samples page. If you want to compare how different subjects hold up after simplification, the full Stencil Gallery is the best supporting internal page. It lets the blog answer informational intent while the gallery proves the output with real examples.
FAQ
Can you make a tattoo stencil from any photo?
You can start from almost any photo, but not every photo is worth converting. Photos with weak contrast, crowded backgrounds, awkward anatomy, or tiny surface texture usually create noisy stencils that require more cleanup than they save.
What ruins readability fastest in a photo-based stencil?
The biggest problem is keeping too much small information. Tiny texture, background leftovers, and weak internal lines usually survive on screen but fail once the stencil is sized and placed on the body.
Should a tattoo stencil keep shading information?
Only when that information helps structure. The stencil should preserve the forms that support the tattoo, not every tonal transition visible in the original photo.
Related Collections
Jump from the guide to live stencil examples

Stencil Gallery
Animal Tattoo Stencil Group
This animal stencil group is broad on purpose: it now spans sea life, birds, big-cat portraits, wolf-led hybrids, raccoon and pet studies, cat-sheet flash, and a few pla…

Stencil Gallery
People Tattoo Stencil Group
People-focused tattoo stencils are less forgiving than most categories because expression, likeness, and anatomy fail fast when the line budget gets crowded. This group…
Related Guides
Keep reading from here

How to Make a Tattoo Stencil Without Turning the Draft Into Cleanup
Follow a practical tattoo stencil workflow from reference to readable draft, placement check, and export without avoidable redraw.

Tattoo Stencil Detail Levels Explained: Clean vs Balanced vs Rich
Learn how to choose the right tattoo stencil detail level so the transfer stays readable without dropping the information that still matters.

How to Fit a Tattoo Stencil to Body Placement Before You Export
A practical placement-prep checklist for adjusting tattoo stencils to curved body areas before printing, transferring, or finalizing the draft.
In the App
Turn rough references into a cleaner first-pass stencil
StencilStudio helps you start from a photo or design, simplify faster, and move into artist review with less friction.
Author
StencilStudio Editorial Team
StencilStudio publishes workflow-first content around tattoo stencil generation, readability, placement prep, and the decisions that matter before ink touches skin