

Troubleshooting
Tattoo Stencil Printer Black Lines or Streaks: Trace the Added Mark
File and print preview are clean, but physical paper adds a black line, streak, or stripe? Move the artwork once to see whether the mark follows the job, the paper position, or neither.
tattoo stencil printer black lines · tattoo stencil printer black streaks · tattoo stencil printer extra lines · tattoo stencil printer random black lines
- August 31, 2026
- September 18, 2026
- 8 min
If the exported stencil and print preview are clean but the physical sheet comes out with a black line, streak, stripe, band, block, or other mark that is not in the artwork, do not edit the tattoo first.
The mark does not have to be random. A repeatable stripe in the same paper position, a line that follows the artwork, an intermittent streak, or a one-time unexplained mark can all belong here when physical paper is the first place new geometry appears.
Stay on this diagnostic only when the exact exported artifact and print document or preview are clean, then the printer/paper path adds visual information that should not exist.
Confirm that the mark is really new, then make one simple test:
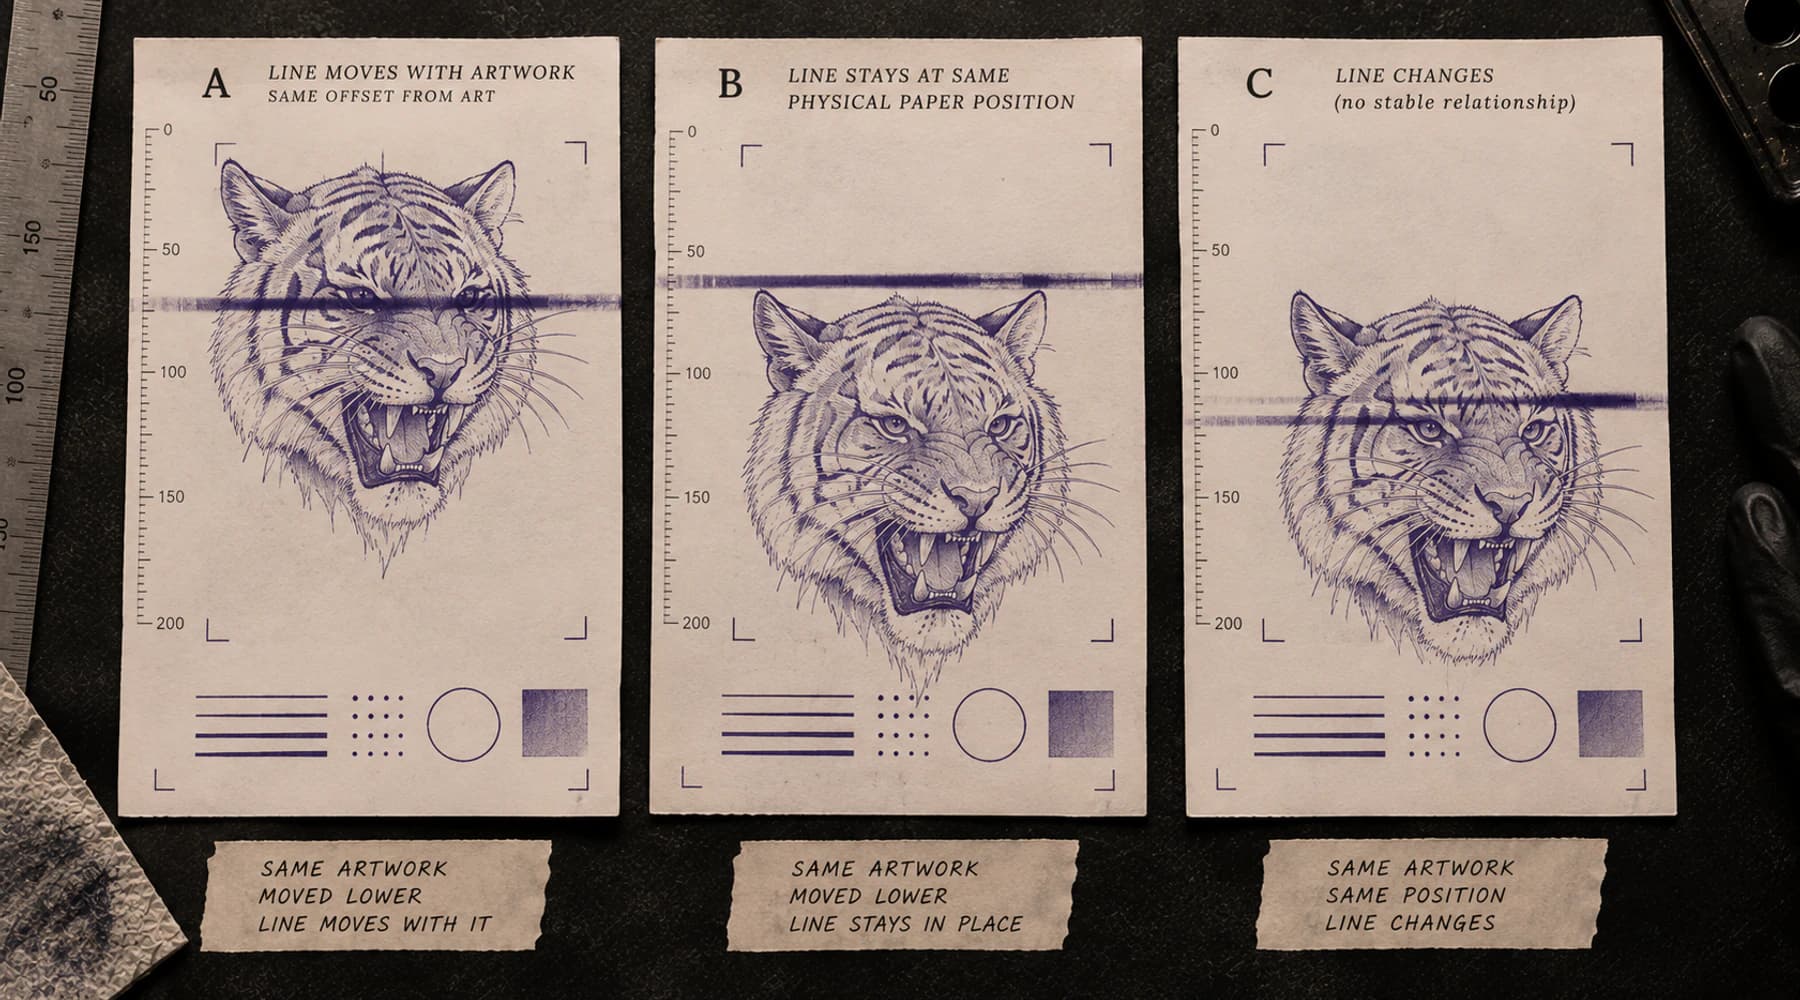
Move the same artwork on the page without resizing it. Does the unwanted mark move with the artwork, stay in the same physical place on the paper, or change unpredictably?
That answer is far more useful than the phrase "my printer makes random black lines."
First prove the line is not already in the file
Use the exact job that produced the bad sheet.
Check in order:
exported stencil -> intended physical size -> print document / preview -> paper
Line is already in the exported file
Fix the file. Do not clean or service the printer for a mark that already exists before printing.
Line appears after scaling or document preparation
Stay with the digital print path. Inspect the actual placed image, page layout, scaling, conversion, or other visible document step.
Line is visible in print preview
Paper is not the first place the mark appeared. Fix the print document or app path before printing again.
File and preview are clean, paper adds the line
Now the physical print step is where the first visible mismatch occurs.
Keep the file fixed and run the placement test below.
A line crossing a blank part of the page is especially easy to classify as an added mark because there is no intended stencil geometry underneath it. It still does not tell you which printer component, if any, caused it.
Run one placement test, not ten retries
Keep the following unchanged where practical:
- exact exported file;
- physical size;
- mirror state;
- print document or app;
- paper product and preparation;
- loading method;
- supported printer setting;
- power condition.
Print one small controlled sample and note where the unwanted line sits relative to the physical sheet.
Then move the same artwork higher, lower, left, or right on the page without changing its size or geometry and print once more.
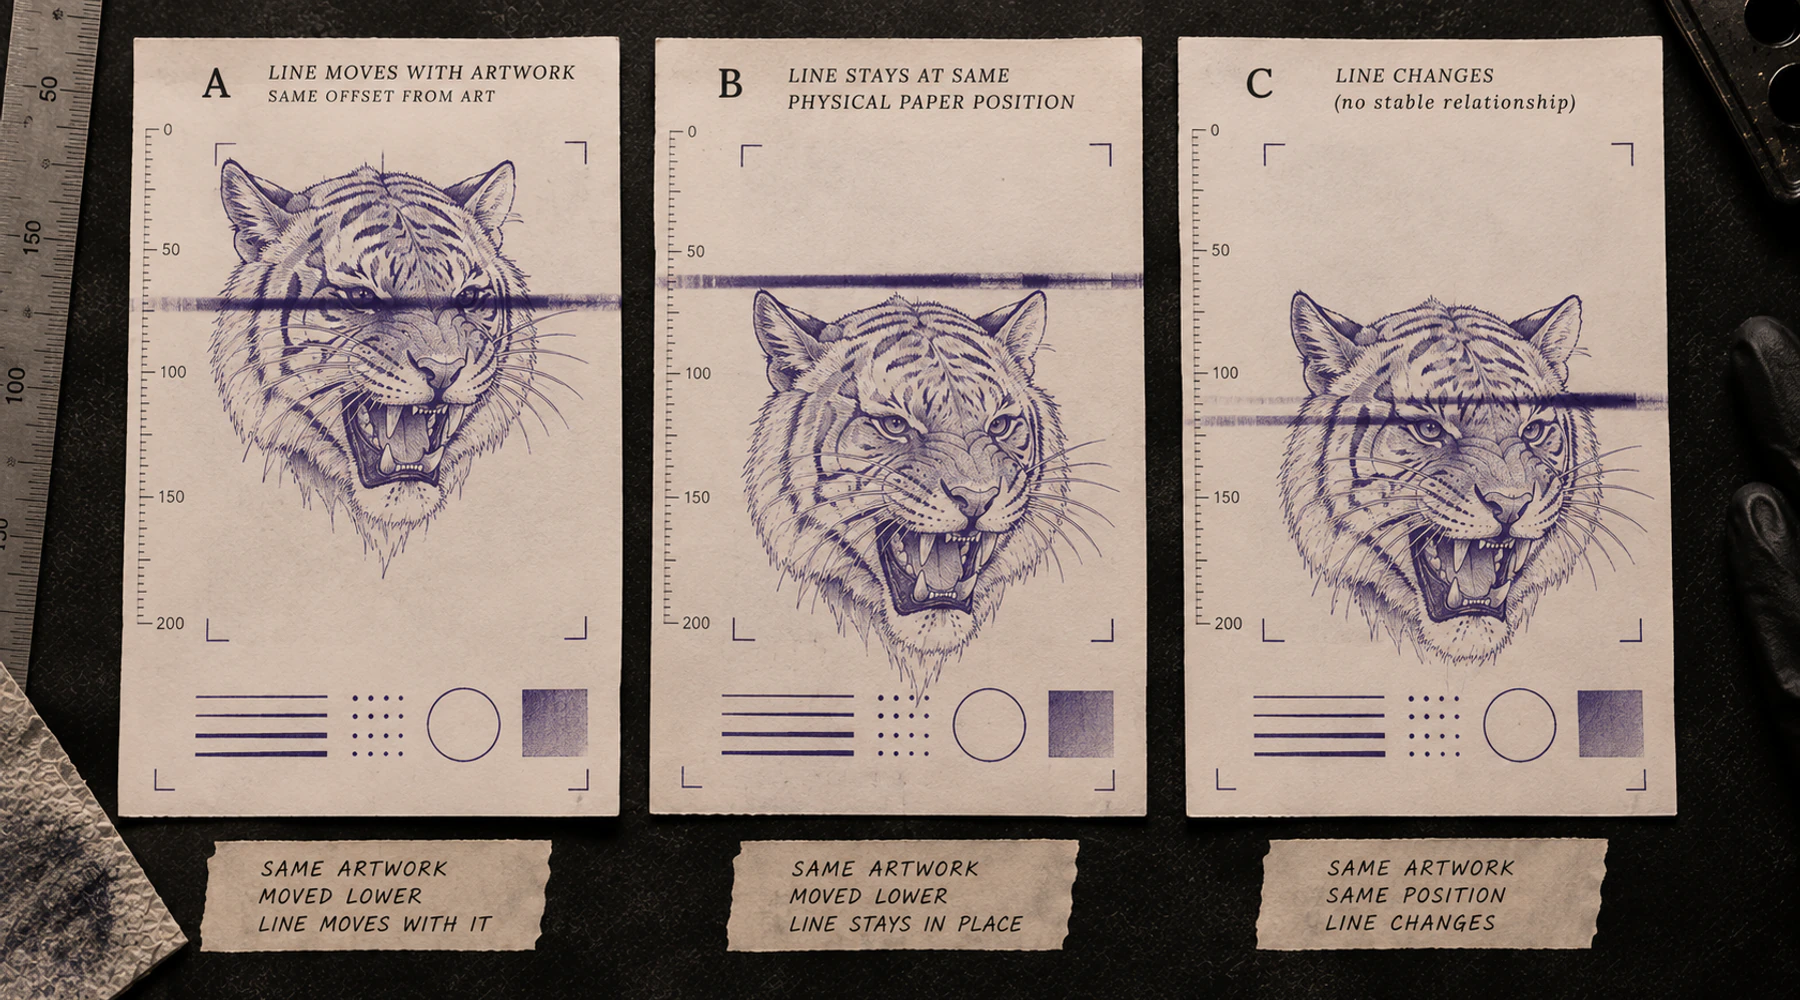
You now have three useful outcomes.
If the unwanted line moves with the artwork
Suppose the stripe crosses the cheek on the first print. You move the portrait lower, and the stripe moves lower by the same amount, still crossing the same part of the design.
That makes the client job or its document path more relevant than one fixed printer location.
Recheck:
- the exact exported file;
- the file at final physical size;
- the image imported into the print document;
- page scaling and placement;
- any app preview or processed preview;
- whether the same file behaves differently through another supported print path.
The Tattoo Stencil Print Checker can help confirm finished-file geometry and size before printing. It cannot diagnose a line that only appears on physical paper.
A line following the artwork does not prove the original source file contains it. It tells you that the mark is moving with the job rather than staying locked to one paper location.
If the unwanted line stays in the same paper position
Now imagine the artwork moves lower but the stripe stays the same distance from the top or side of the sheet. It crosses a different part of the tattoo on the second print.
That is a strong reason to stop compensating in the client artwork.
Use independent test geometry in that same paper region and move into printer, paper, feed, and model-specific troubleshooting.
Do not jump from "same horizontal band" to "bad printhead" or from "vertical stripe" to "roller." Different printer designs can produce similar-looking artifacts for different reasons.
A fixed paper position tells you where the pattern is anchored, not which internal part failed.
If the line changes or disappears between repeats
If the mark moves somewhere else, changes shape, appears only once, or has no stable relationship to either artwork or paper position, treat it as intermittent.
Do not chase it by repeatedly moving the client design.
Keep the file stable, use one known test sheet, and continue through the Printer Troubleshooter.
If the output begins clean and only develops black marks or much heavier printing after several consecutive sheets, also check the repeated-print drift diagnostic.
Compare with a known test sheet
The Tattoo Stencil Printer Test Sheet contains independent lines, gaps, counters, dark areas, blank regions, and a physical scale mark.
Use it after the placement test.
Client stencil shows the line, test sheet stays clean
The problem is more specific than "every file through this printer gets the same stripe."
Recheck the client document, rendering, placement, and print path before changing hardware variables.
This does not prove the client file is corrupt or the printer is universally healthy. It simply tells you the test sheet did not reproduce the same mark under that run.
Client stencil and test sheet show the line in the same paper region
Now independent geometry reproduces the same location pattern.
That is a good point to stop editing tattoo files and follow the exact printer's documented paper, loading, cleaning, self-test, firmware, or service procedure.
Test sheet also fails, but somewhere else
You still do not have a stable location pattern. Keep the result as intermittent and use broader printer troubleshooting.
The unwanted line crosses blank test-sheet space
That confirms the paper output contains a truly added mark rather than two intended stencil lines simply merging together.
It still does not identify the internal cause by itself.
Record the direction, but do not use it as a component diagnosis
It is useful to note whether the line is:
- parallel to paper travel;
- perpendicular to paper travel;
- diagonal;
- short and local;
- almost full width;
- one of several parallel marks;
- visible through blank areas as well as printed geometry.
These descriptions make support and repeat testing clearer.
They are not universal rules such as "horizontal means printhead" or "vertical means roller."
Portable thermal printers, classic copier-style stencil machines, and inkjet stencil systems use different mechanisms. Their maintenance instructions are not interchangeable.
For example, Phomemo's current M08F print-quality guidance includes battery level, supported print density, print-head cleanliness, source-image quality, app version, and support escalation. Its cleaning instruction is specific to that M08F procedure. See Phomemo's M08F print-quality guidance. Do not turn that model-specific procedure into a universal cleaning rule for every tattoo printer.
Dense artwork can be a clue without proving a cause
If the unwanted mark appears only on dense or dark jobs, note that relationship.
It can be useful to say:
The line appears only when printing this kind of dense page.
Do not jump from that observation to overheating, voltage, current, or another hidden mechanism unless documentation for the exact device supports it.
Also distinguish a new black line from existing stencil marks becoming wider and merging. If intended gaps close because neighboring marks gain mass, use Printer Filling In Gaps instead.
Make sure this is really an added black line
Use the symptom that best describes what changed:
| What happened | Better guide | |---|---| | Intended lines become wider and close a gap | Printer Filling In Gaps | | One intended line prints with empty intervals | Printer Broken Lines | | One small intended feature disappears | Print Missing Detail | | Existing lines remain continuous but pale | Printer Faint Lines | | Whole stencil prints at the wrong size | Printed the Wrong Size | | Sheet comes out physically creased or buckled | Printer Creasing Paper | | Thermal test paper works but tattoo paper alone fails | Test Paper vs Stencil Paper | | Whole output gets heavier over consecutive prints | Repeated-Print Drift |
If the black mark appears only after rubbing, handling, transfer, or another post-print step, troubleshoot that later stage instead of calling it a printer-added line.
If the sheet itself is creased exactly where the dark track appears, solve the physical paper problem first.
Do not hide the artifact by changing the client design
Until you know what the unwanted mark follows:
- do not redraw the tattoo around a stripe that stays fixed on the paper;
- do not increase darkness to overpower it;
- do not reduce darkness and call the line fixed if the intended stencil also becomes weak;
- do not change file, paper, app, size, and printer setting at the same time;
- do not open sealed hardware or improvise cleaning chemicals;
- do not replace hardware from one bad sheet.
The goal is to preserve the clean client file while you determine whether the artifact follows the job or the physical output location.
When to switch to model-specific printer support
Generic troubleshooting has done its job when several things line up:
- exported file is clean;
- print preview is clean;
- the black mark appears only on paper;
- moving the artwork shows a stable physical paper location, or known test geometry reproduces the same mark;
- the sheet condition and paper setup are known;
- the result is repeatable enough to describe clearly.
At that point record:
- printer make and model;
- exact paper product and preparation;
- app or driver path;
- whether file and preview were clean;
- whether the line moved with artwork or stayed on the paper;
- whether the test sheet reproduced it;
- whether the sheet was flat or physically damaged;
- whether the behavior was repeatable or intermittent.
Then follow the current maintenance and support procedure for that exact device.
A good support description is much more useful than "random black line":
File and preview are clean. I moved the same artwork lower without resizing it. The black stripe stayed in the same physical band of the paper, and a test sheet showed the same stripe there.
That is enough to hand the problem to the correct printer-specific troubleshooting step without baking the defect into the tattoo artwork.
Related Guides
Keep reading from here
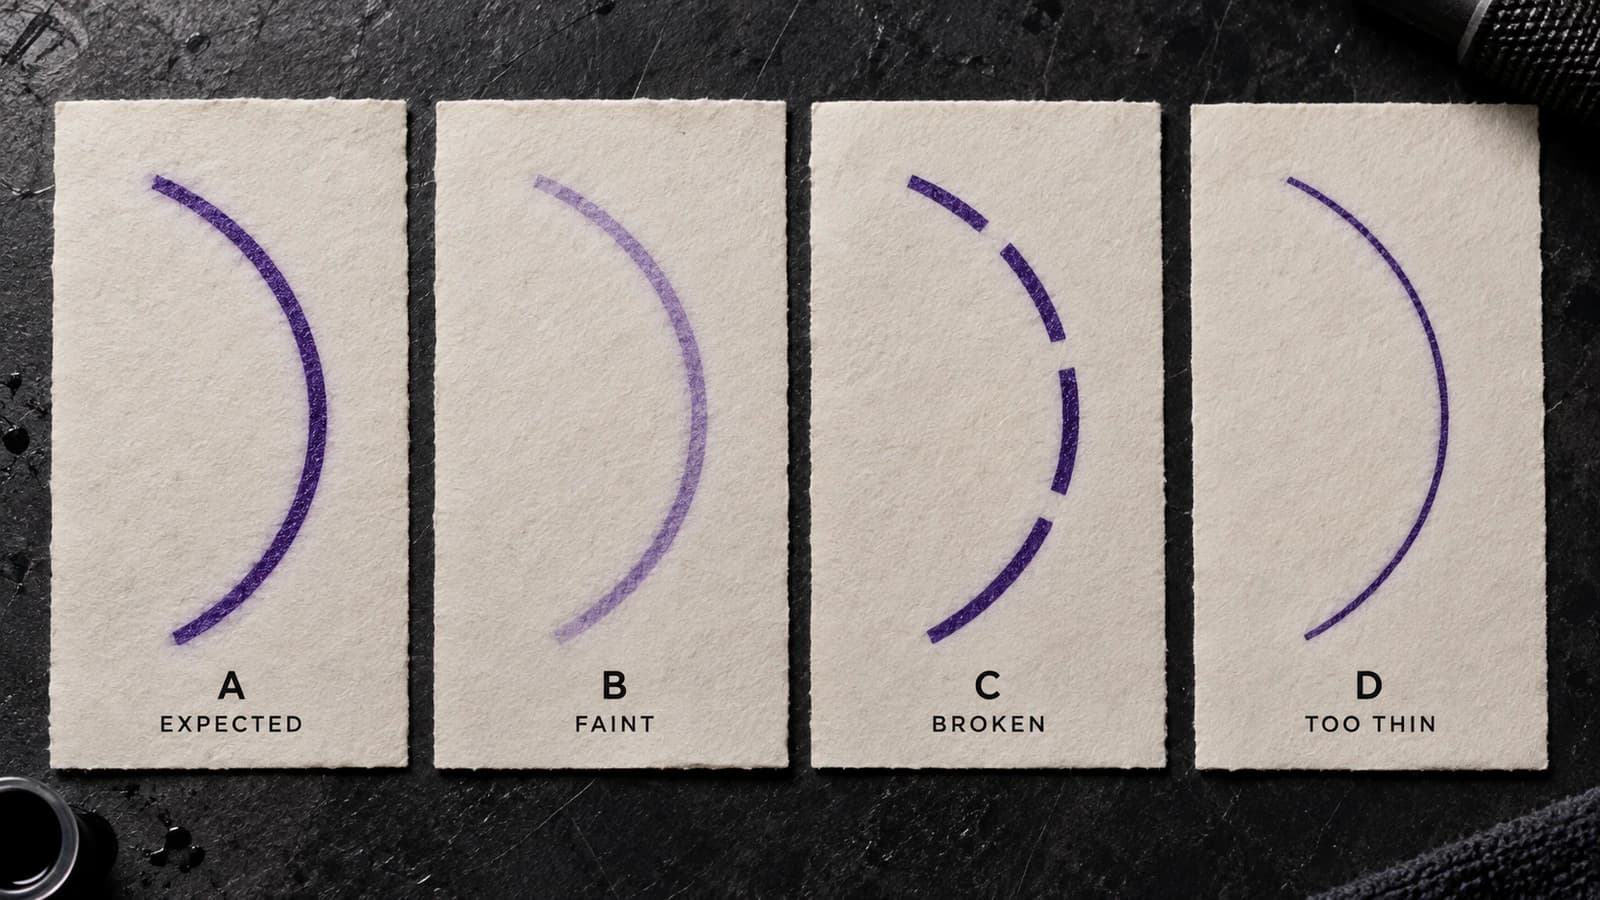
Tattoo Stencil Printer Broken Lines: Find What the Break Follows
Your tattoo stencil lines are dark enough but print with gaps, dots, or missing segments. Follow one line through file, final size, preview, control, and paper to find where continuity fails.
tattoo stencil printer broken lines · tattoo stencil printer dotted lines
Read guide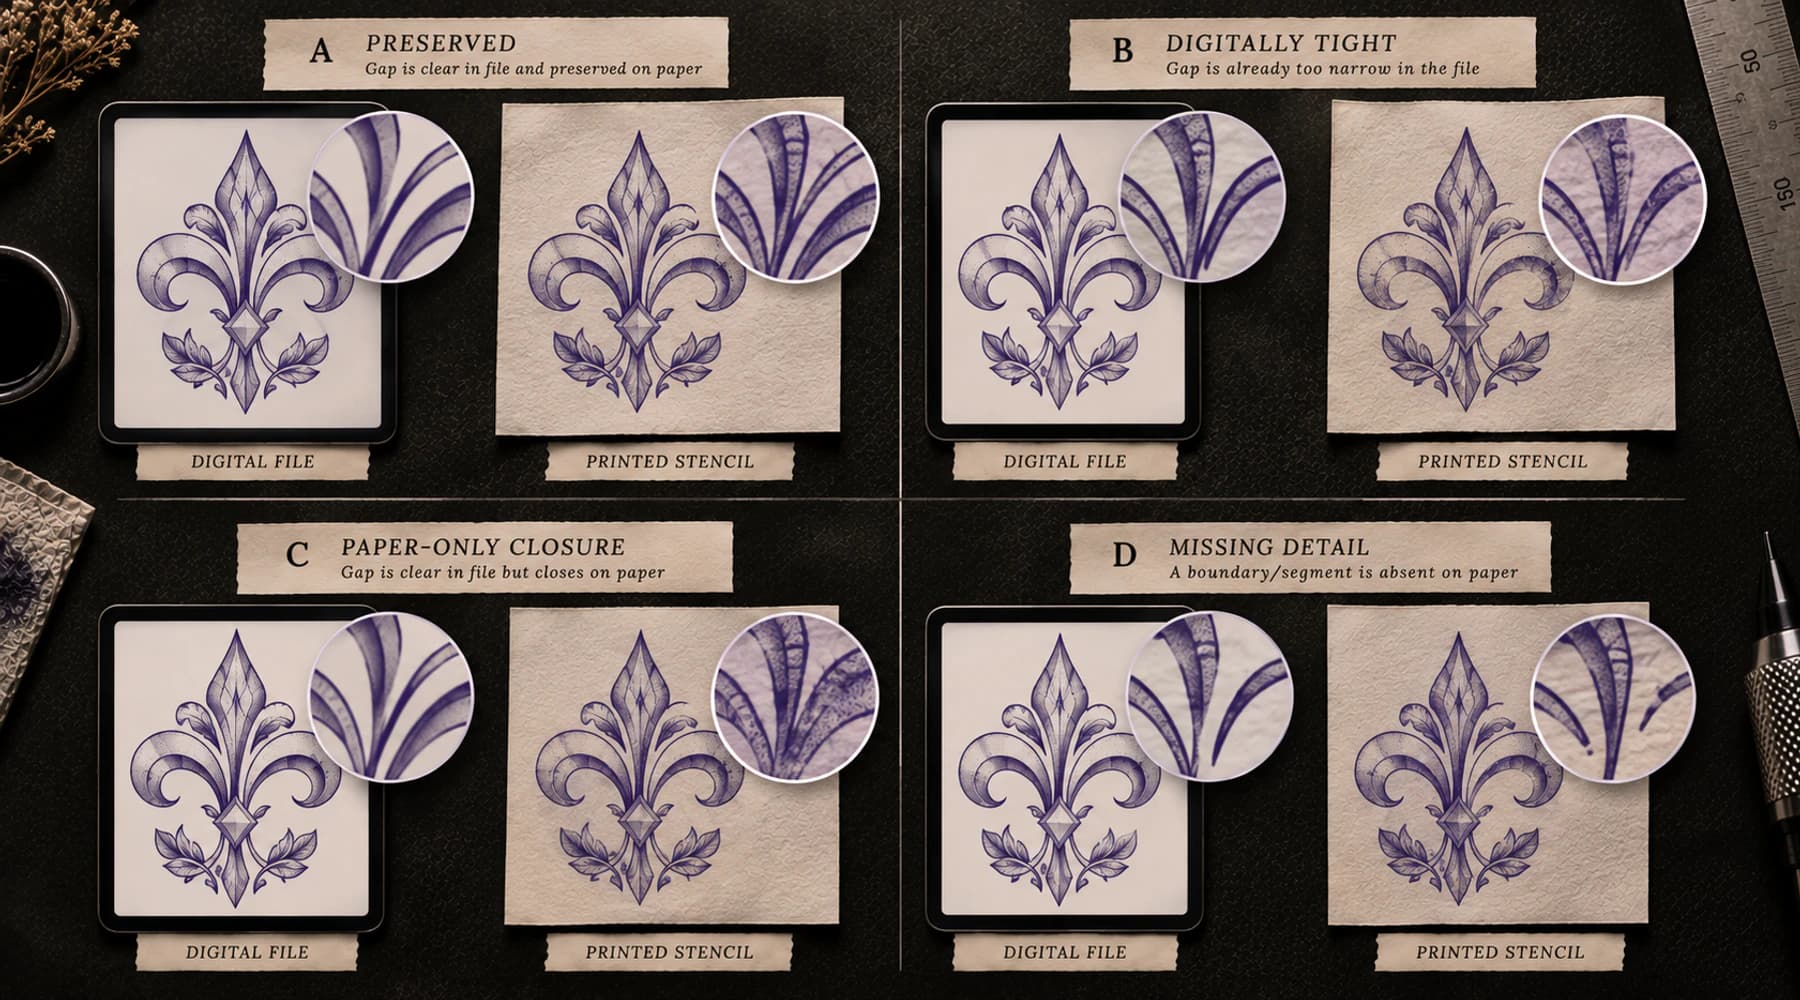
Tattoo Stencil Printer Filling In Gaps? Compare File vs Paper
If clean digital stencil gaps close on paper, compare the same final-size geometry through preview, scale, and a known control to find where extra mark mass appears.
tattoo stencil printer fills gaps · tattoo stencil printer lines too thick
Read guide
Tattoo Stencil Print Missing Details: Find Where They Disappeared
Compare the same tattoo stencil detail from final-size digital file through print preview and paper to find whether it disappeared before printing or in physical reproduction.
tattoo stencil print missing detail · tattoo stencil printer missing lines
Read guideAuthor
Andrea Mezzadra
Founder and product builder at StencilStudio
Andrea builds StencilStudio and tests how the tools fit into real stencil prep, using real references and outputs to document what works, what changes, and where artist judgment still matters.
In the App
Put known geometry through the same print path
Use the Printer Test Sheet to see whether an extra mark also appears across independent lines, blank regions, gaps, and scale controls.