

Stencil Workflow
Procreate to Tattoo Stencil: A Professional Export and Print Workflow
Turn Procreate artwork into a tattoo stencil without losing scale or line clarity: isolate the stencil layer, export the right raster file, review detail at final size, and prepare exact-size print output.
Procreate tattoo stencil · tattoo stencil from Procreate · Procreate stencil workflow · tattoo stencil export
- August 9, 2026
- 11 min
Procreate is excellent for drawing and composing tattoo artwork. The stencil problem starts when the finished canvas has to become a working map that survives export, physical scaling, printing, transfer, and final-size readability.
That is a different job from making the artwork look finished on the iPad.
A reliable Procreate-to-stencil workflow separates four decisions:
- artwork construction - what you draw and keep editable in Procreate;
- stencil structure - which lines and landmarks are actually needed for transfer;
- export - which flattened image leaves Procreate and at what pixel dimensions;
- physical output - how large that raster is printed on paper and skin.
This guide focuses on that handoff. It does not replace a full Procreate drawing tutorial, and it does not assume that every tattoo should be traced manually inside Procreate.
Keep your layered master. Build or export the stencil as a separate working asset.
1. Duplicate the artwork before building the stencil version
Do not destroy the only layered version of the client artwork just to prepare a transfer file.
Keep one editable master containing the layers you may still need for:
- composition changes;
- client revisions;
- color or value reference;
- placement alternatives;
- later touch-ups or reprints.
Then work from a duplicate or dedicated stencil layer/group.
The stencil version can be simplified aggressively without compromising the artwork master. That separation also makes it easier to compare what the transfer needs with what the finished reference contains.
2. Decide whether the Procreate file is already a stencil or still a reference
There are two common starting points.
The artwork already has clean stencil linework
If you have intentionally drawn a clean line layer that already contains the transfer map, you may not need another generation step.
Your task is to:
- isolate the relevant linework;
- hide color, rendering, notes, guides, and client-facing layers that should not transfer;
- inspect the remaining line hierarchy;
- export that result cleanly;
- set the final physical size separately.
The artwork is still a rendered design or mixed reference
If the Procreate canvas contains painting, soft shading, texture, multiple visual directions, or a reference image that still needs simplification, treat it as source material, not as a finished stencil.
Export a clean raster copy and use it as the reference in your stencil-preparation workflow. The free StencilStudio web generator can take an exported image through crop, Simple / Standard / Detailed information density, generation, and PNG download. The iPhone app adds the broader studio workflow.
The important distinction is not “manual versus AI.” It is whether the file already contains a deliberate transfer map.
3. Isolate only the layers that belong in the transfer map
Before export, turn off everything the stencil does not need.
Common layers to review include:
- color fills;
- soft grayscale rendering;
- photographic reference layers;
- background texture;
- placement mockups;
- client notes;
- temporary construction sketches;
- alternate versions;
- guides that are useful on screen but not on skin.
Procreate exports the visible artwork, so visibility is part of the export decision. If a construction layer is still visible, assume it can become part of the exported raster.
For a complex piece, compare the remaining linework against three questions:
- Does the primary silhouette read first?
- Do recognition-critical landmarks stay clear?
- Are secondary marks still useful at the intended tattoo size?
If the third answer is unclear, compare Simple, Standard, and Detailed stencil information before adding more marks.
4. Do not confuse Procreate DPI with the actual detail stored in the file
This is one of the easiest places to make a false assumption.
A raster image is fundamentally stored as pixels. Procreate also tracks physical dimensions and DPI for print workflows.
Changing only the DPI value does not automatically create new image detail. In Procreate's current Canvas controls, changing DPI without resampling changes the calculated physical size while the pixel dimensions remain unchanged.
For example, the practical questions are:
- How many pixels wide is the exported artwork?
- How many centimeters or inches wide will the stencil be printed?
- What is the resulting effective pixel density at that physical size?
The Tattoo Stencil Size & Print Calculator already reports effective pixels per inch while preparing the final layout. Use that value as a diagnostic, not as a universal tattoo-quality pass/fail rule.
Fine linework, dense texture, large smooth curves, and simple symbols do not all fail at the same pixel density.
5. Avoid unnecessary resampling before the stencil decisions are finished
Scaling a raster layer changes how pixels are reconstructed. Repeated enlarge → reduce → enlarge cycles can soften edges or create artifacts that make later stencil decisions harder to judge.
When you transform artwork in Procreate:
- preserve proportions unless distortion is intentional;
- avoid repeatedly resampling the same raster layer;
- keep the highest-quality original available;
- inspect the transformed result at 100% and at the intended physical output size;
- do not use digital sharpness as proof that the smallest transfer marks will survive.
If the source is already small or blurry, use the photo-to-stencil guide to diagnose missing information before trying to manufacture detail through enlargement.
6. Export PNG when you want a clean raster handoff
Procreate supports several export formats, including PNG, JPEG, TIFF, PDF, PSD, and the native Procreate format.
For a raster stencil handoff, PNG is usually the cleanest default because it preserves hard edges without JPEG compression artifacts and can retain transparency when the workflow needs it.
A practical sequence is:
- keep the layered
.procreatemaster; - isolate the intended stencil/reference view;
- use Actions → Share;
- export the working copy as PNG;
- choose the destination you use for the next step;
- verify that the exported file opens correctly before changing the original canvas.
If you need to continue editing layers in another application, use an appropriate layered format instead. The point is not that PNG is universally superior - it is that a flattened stencil handoff should be deliberate.
7. Use PDF for a document workflow only when the physical layout is actually controlled
“PDF” does not automatically mean “true-size tattoo stencil.”
A PDF can still contain the wrong physical dimensions, and the print dialog can still scale it.
Procreate can export PDF, but when the target is an exact tattoo size, the safer workflow is to separate:
art export → physical sizing → print verification.
For example:
- export the stencil artwork from Procreate;
- set the target width or height in the Size & Print Calculator;
- generate the 1:1 PDF;
- print at 100% / Actual Size when the print path exposes that control;
- measure the 50 mm calibration mark before using the stencil.
This keeps “how large is the tattoo?” out of a hidden printer scaling setting.
8. Decide where mirroring happens - exactly once
Procreate has horizontal and vertical flip controls in Transform. StencilStudio's iPhone workflow also includes mirror, and some printer software exposes additional orientation controls.
That creates a simple risk: the design gets mirrored twice.
Choose one owner for orientation.
If the transfer workflow requires a mirrored stencil:
- flip it in Procreate or later in the stencil/print workflow;
- do not leave mirror enabled at multiple stages;
- verify lettering, dates, hands, faces in profile, or another asymmetric element before transfer.
If you are unsure how a specific thermal printer or companion app treats orientation, make a non-client test using the printer manufacturer's instructions.
9. Review line weight after structure, not before
A thin-looking brush in Procreate does not automatically create a good fine-line stencil.
First decide which lines belong in the transfer. Then decide how much visual mass those surviving lines need.
The Fine vs Normal vs Bold line-weight guide treats line weight as an output decision applied to existing stencil structure.
That means:
- removing a useless line is a structure decision;
- changing Fine → Normal is a line-mass decision;
- changing Simple → Detailed is an information-density decision;
- building a Fine-line design language is a style construction decision.
Keeping those controls separate prevents a common failure: trying to rescue an overcrowded stencil by making every line thinner.
10. Check the smallest important gaps at final tattoo size
The iPad makes it easy to zoom until every mark appears clean.
The client does not receive the tattoo at 600% zoom.
Before printing, reduce the design to the intended physical size and inspect:
- eye and mouth landmarks in portraits;
- narrow petal separations;
- hair and fur breaks;
- negative spaces inside lettering;
- ornamental channels;
- small enclosed counters;
- repeated parallel lines;
- tiny isolated dots or ticks.
The first failure is often not that a line becomes invisible. It is that two nearby lines become one visual block.
That is why final-size readability is more useful than judging only the beauty of the Procreate canvas.
11. If the Procreate design is rendered, choose what the stencil should preserve
A rendered tattoo design may include information the artist wants as reference during the session but does not want transferred as literal marks.
Separate:
Transfer structure
- outside contours;
- major internal boundaries;
- focal landmarks;
- registration points;
- selected value boundaries;
- directional texture only where it helps execution.
Reference-only information
- soft gradients;
- color transitions;
- photographic pores;
- every strand of hair;
- decorative noise that the artist can reconstruct from the reference;
- lighting effects that do not need a transfer mark.
If you want a faster first pass from a rendered Procreate export, use StencilStudio as the conversion stage and keep the Procreate artwork beside it as the visual reference.
12. For large pieces, separate canvas design from print tiling
Do not shrink a sleeve, back piece, or long leg design just because it does not fit one sheet of paper.
The artwork can remain one composition while the print layout divides it across multiple sheets.
The Size & Print Calculator can tile an oversized stencil across A4, US Letter, A3, or custom paper with overlap and assembly marks.
The workflow becomes:
- build the complete composition in Procreate;
- export a clean raster stencil/reference;
- set the final physical dimensions;
- let the print tool calculate the page tiles;
- print at actual size;
- assemble and measure before transfer.
That preserves the intended tattoo scale instead of letting paper size dictate the design.
13. Use a three-file studio handoff
For client work, a simple file discipline prevents confusion later.
Keep:
1. Editable master
The layered Procreate file with all artwork and revision flexibility.
2. Stencil master
The clean flattened stencil image you approved for the current version.
3. Print master
The exact-size PDF or printer-ready file used for the actual physical output.
Include the client/design version in the file names rather than overwriting a generic final.png repeatedly.
That makes it much easier to answer three questions on appointment day:
- Is this the latest artwork?
- Is this the approved stencil structure?
- Is this the file printed at the agreed physical size?
Procreate-to-stencil preflight checklist
Before export:
- [ ] layered Procreate master is preserved;
- [ ] stencil/reference version is separate;
- [ ] non-transfer layers are hidden;
- [ ] main silhouette and landmarks read clearly;
- [ ] smallest important gaps survive the intended size;
- [ ] no unnecessary resampling has softened critical edges;
- [ ] mirror/orientation owner is decided.
Before print:
- [ ] exported PNG opens correctly;
- [ ] final physical width/height is defined;
- [ ] effective raster resolution is inspected at that size;
- [ ] exact-size PDF/layout is prepared when needed;
- [ ] printer scaling is controlled;
- [ ] calibration measurement is verified;
- [ ] final orientation is correct.
FAQ
Can I make a tattoo stencil directly in Procreate?
Yes. If you intentionally draw or isolate a clean transfer line layer, Procreate can be the stencil-authoring tool. Keep the layered artwork master separate and export only the information you want in the transfer map.
What file format should I export from Procreate for a tattoo stencil?
For a flattened raster handoff, PNG is a strong default because it avoids JPEG compression artifacts and can preserve transparency. Keep the original .procreate document as the editable master. Use other formats when a downstream workflow specifically requires them.
What DPI should a Procreate tattoo stencil be?
Do not judge the file from the DPI metadata alone. Pixel dimensions and intended physical print size determine effective raster density. Procreate itself notes that changing DPI without resampling changes calculated physical size rather than adding pixels. Inspect the file at the actual tattoo dimensions and use PPI as a diagnostic rather than a universal stencil-quality threshold.
Should I mirror the stencil in Procreate?
You can use Procreate's Flip Horizontal control when your transfer workflow requires a mirrored output, but mirror the design only once across the entire pipeline. If another app or printer performs the flip later, keep the Procreate export unmirrored and verify an asymmetric detail before transfer.
Can I send a rendered Procreate design to StencilStudio?
Use the exported image as the reference when the Procreate artwork still contains rendering, texture, or tonal information that needs to be converted into a cleaner stencil map. The free web generator supports upload, crop, Simple / Standard / Detailed, one free generation, and PNG download; the iPhone app continues the broader studio workflow.
How do I print a large Procreate tattoo design at exact size?
Export the stencil image without shrinking it to one sheet, set the real tattoo dimensions in the Size & Print Calculator, generate the tiled 1:1 PDF, print at Actual Size / 100% when available, assemble the pages, and verify the calibration measurement before transfer.
Related Collections
Jump from the guide to reviewed stencil examples
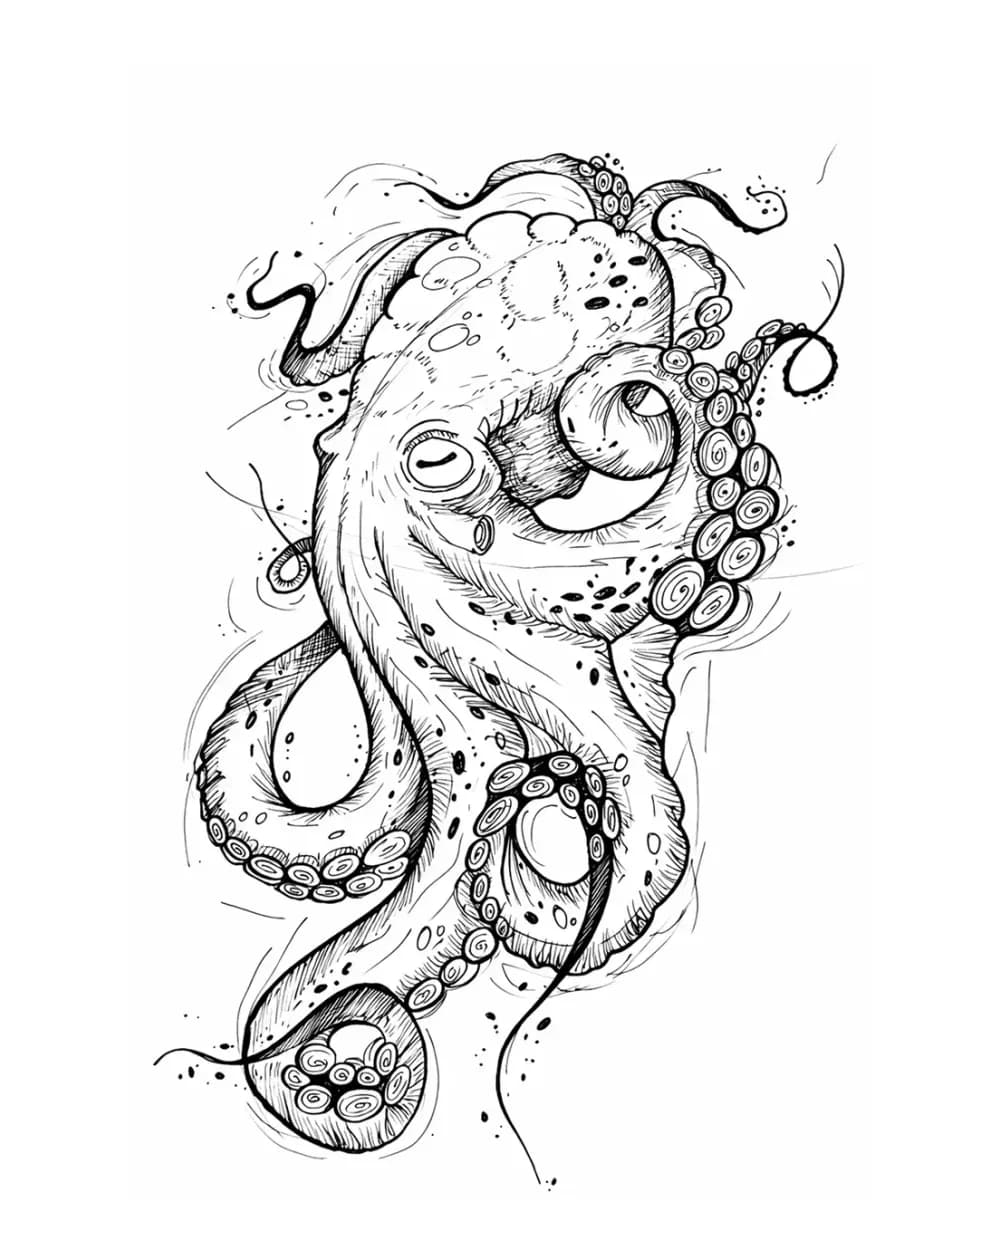
Animal Tattoo Stencil Gallery
12 curated examplesCompare 12 curated animal tattoo stencil examples across wildlife, pets, birds, and sea life. Start with the animal silhouette and recognition landmarks, then compare ho…
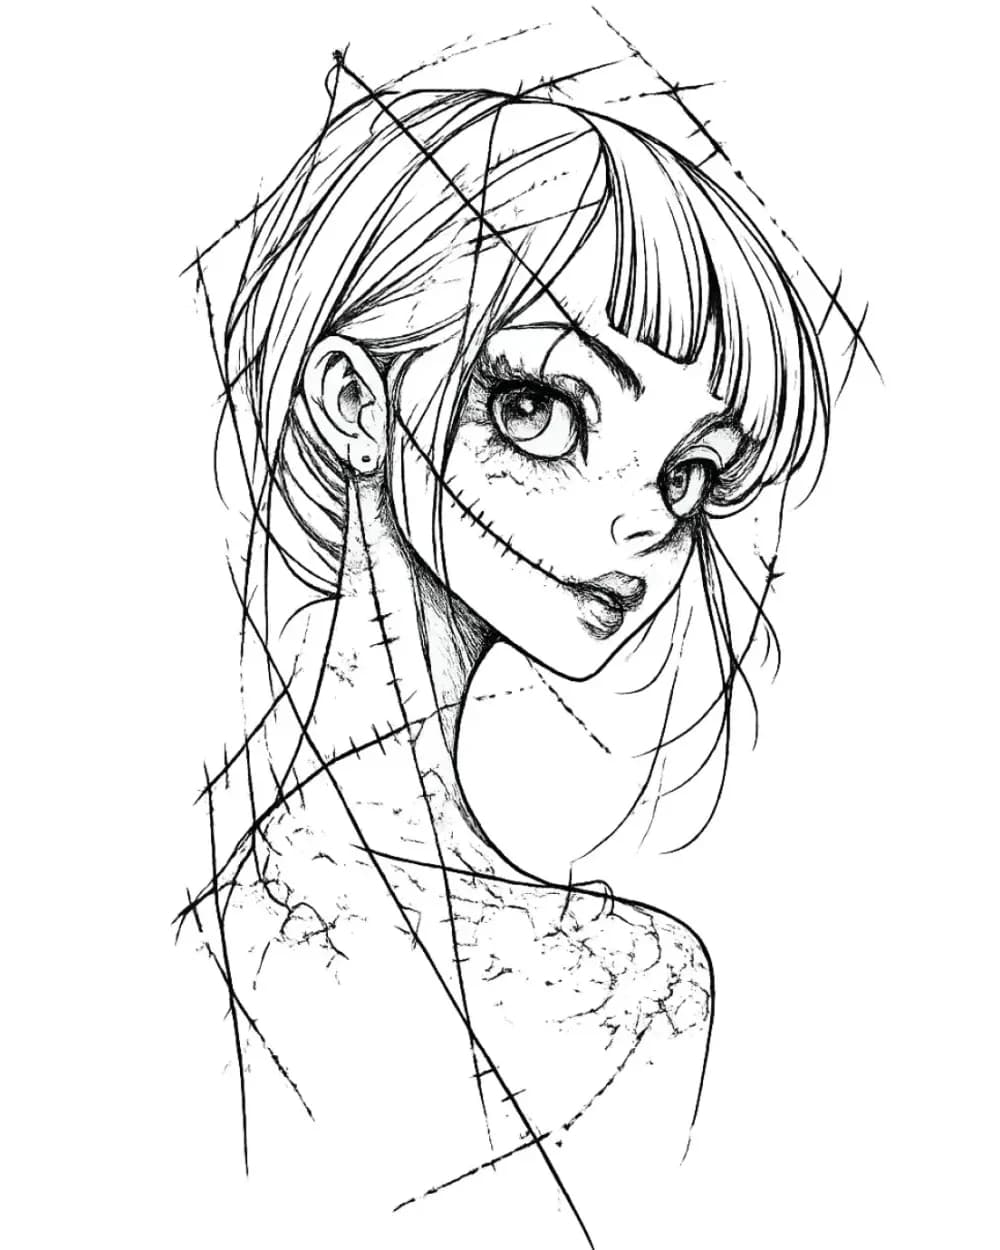
Portrait & Figure Tattoo Stencil Examples
9 curated examplesCompare first-party portrait, face, and figure tattoo stencil examples to see which recognition anchors, expression cues, body shapes, and detail clusters need to surviv…
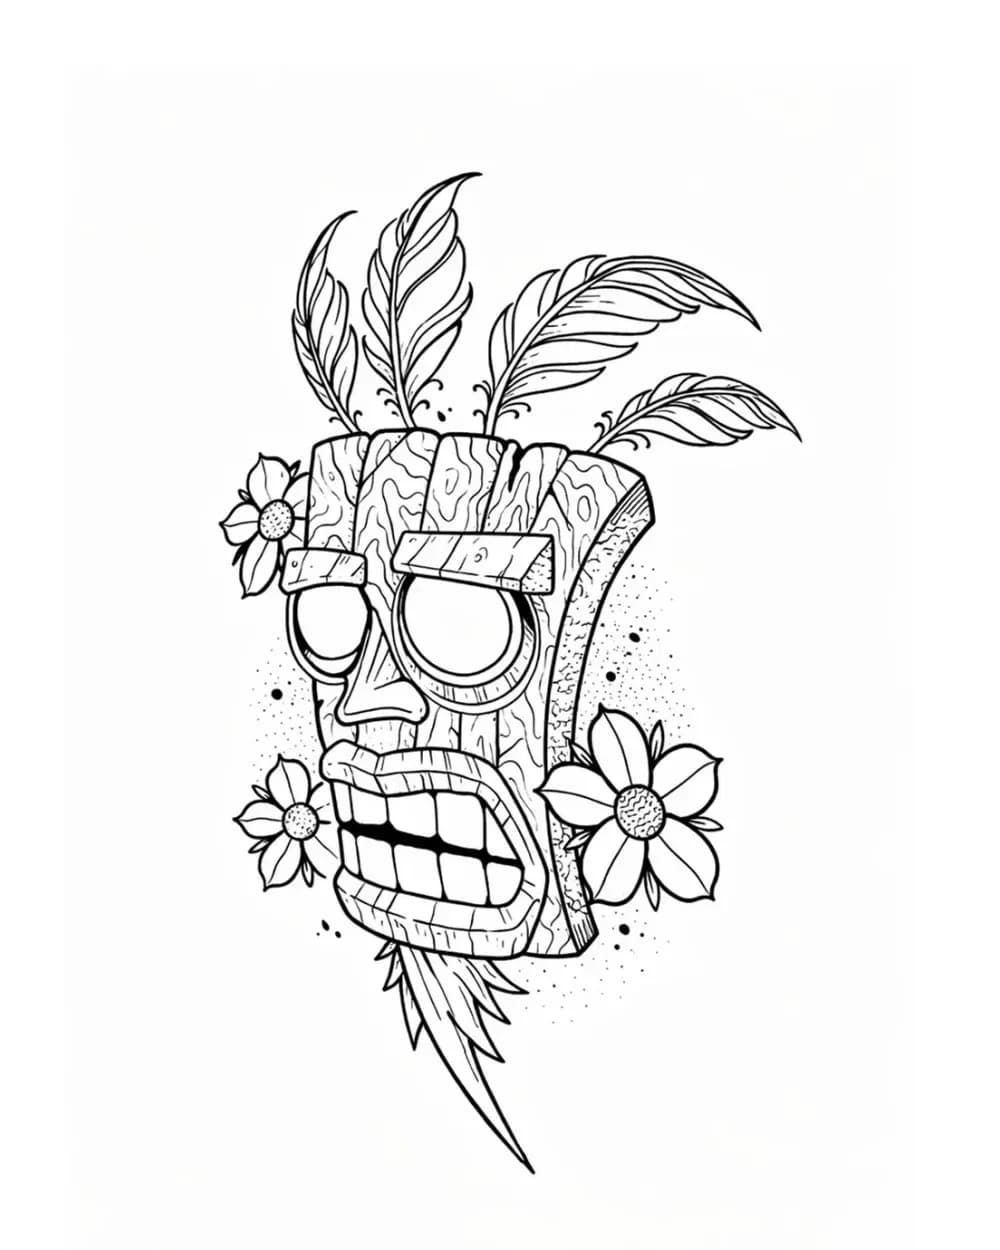
Tattoo Symbol Stencils
7 curated examplesCompare compact tattoo symbol stencils to see which silhouettes, internal gaps, repeated details, and orientation cues stay readable before adapting your own reference.…
Related Guides
Keep reading from here
How to Make a Tattoo Stencil: Reference to Transfer-Ready
Turn a drawing, photo, or reference into a clean tattoo stencil by simplifying the source, choosing line hierarchy and value guidance, checking size and orientation, and preparing transfer-ready output.
how to make a tattoo stencil · tattoo stencil workflow
Read guide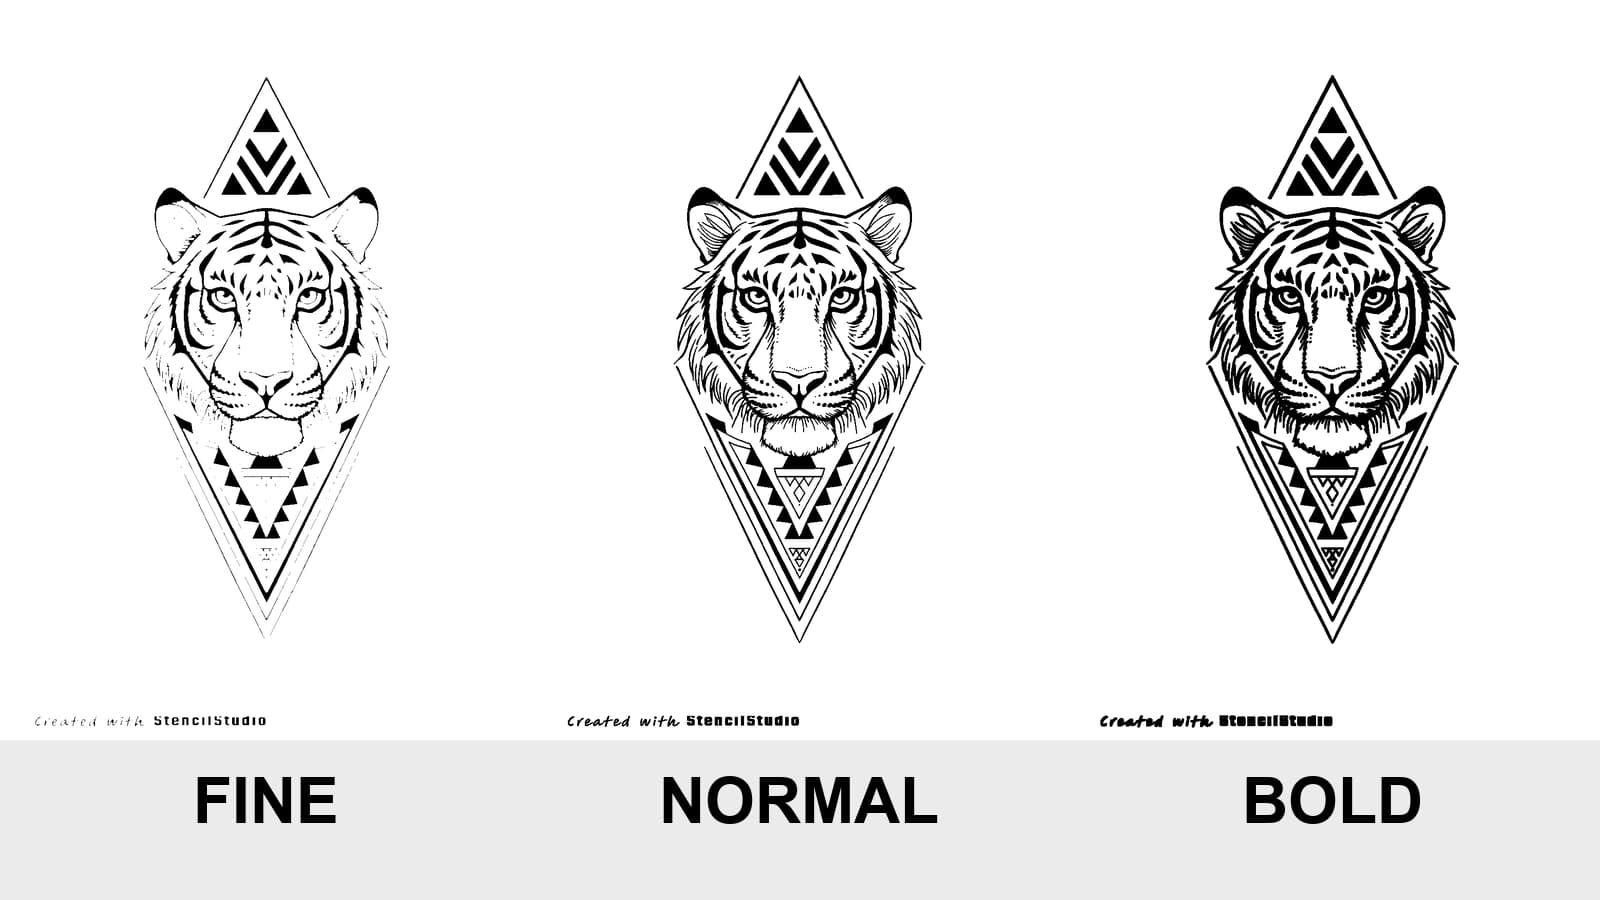
Tattoo Stencil Line Weight: Fine vs Normal vs Bold
Compare Fine, Normal, and Bold on the same tattoo stencil, see where lines disappear or merge, and test the result at the size you will actually print.
tattoo stencil line weight · fine normal bold stencil
Read guide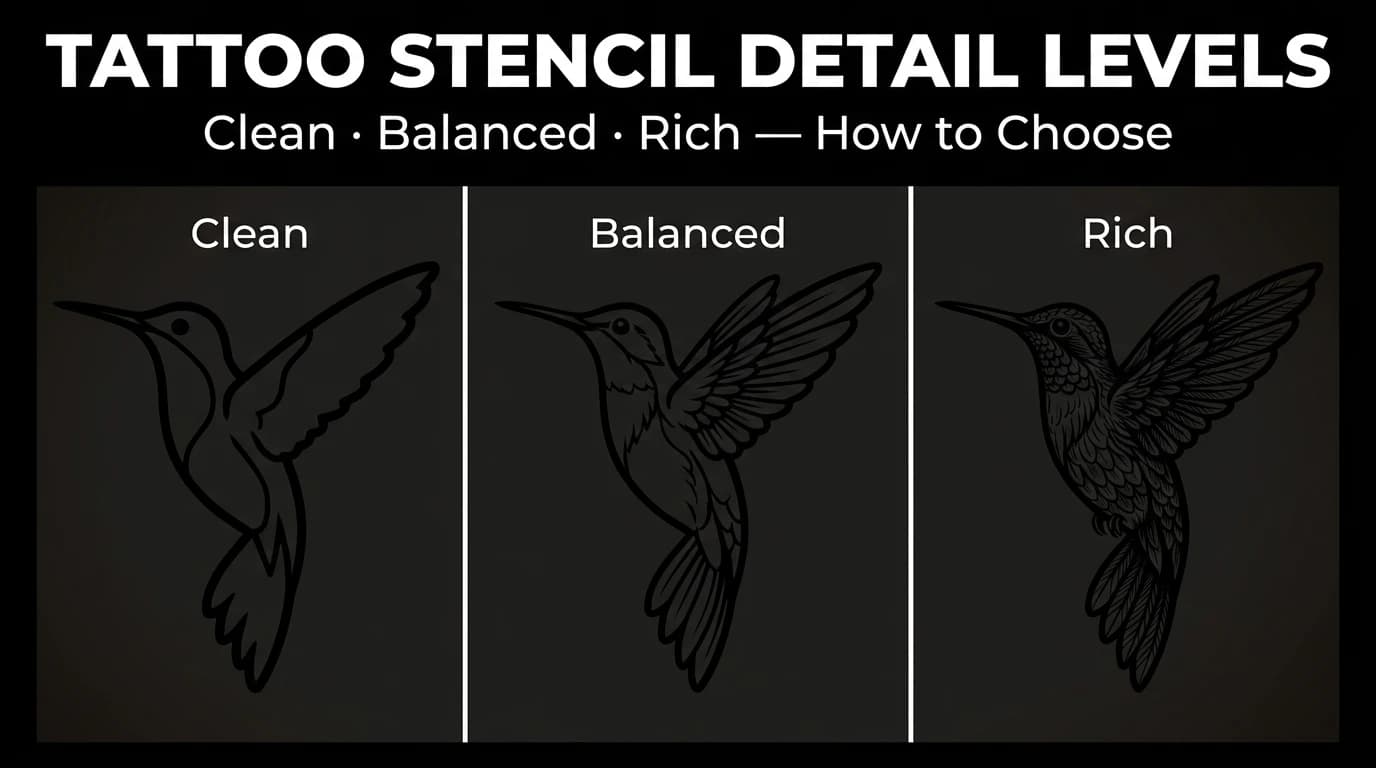
Tattoo Stencil Detail Levels: Simple, Standard, and Detailed
Compare Simple, Standard, and Detailed tattoo stencil modes and choose the amount of structural guidance that suits the size, subject, and placement.
tattoo stencil detail levels · tattoo stencil readability
Read guideAuthor
Andrea Mezzadra
Founder and product builder at StencilStudio
Andrea builds StencilStudio and tests how the tools fit into real stencil prep, using real references and outputs to document what works, what changes, and where artist judgment still matters.
In the App
Keep Procreate for drawing. Use the next step for stencil preparation.
Export the artwork cleanly, then use StencilStudio when you need a faster source-to-stencil pass, detail control, placement review, or print preparation.