Uniform spread
Lines got wider
The line gains width but stays roughly centered on its original position.


Troubleshooting
Classify lost stencil sharpness after transfer: uniform spread, directional smear, double impressions, dense-area merging, global softness, or later disturbance.
tattoo stencil smudging · blurry tattoo stencil · smeared tattoo stencil · stencil transfer

Classify the failure first
Name the shape before changing variables. These are visual patterns, not proof of one cause.
Uniform spread
The line gains width but stays roughly centered on its original position.
Directional smear
The edge shows a coherent tail or shift in one direction rather than equal widening.
Double impression
Two distinct offset versions of the same contour are identifiable.
Local merging
Tight gaps or clusters collapse while nearby open geometry remains readable.
Global softness
Most of the transfer loses edge definition instead of one isolated region.
Later disturbance
The initial transfer was crisp, so the first visible failure happened later.
Original pattern visual
Timing map
01
Already unclear before paper?
Inspect stencil geometry and final-size readability.
02
Clean file, soft paper?
Move upstream to print reproduction.
03
Paper sharp, transfer soft?
Classify spread, smear, double, local, or global.
04
Sharp at first, degraded later?
Separate initial transfer from later handling.
Diagnostic table
| What you see | Pattern | Check first |
|---|---|---|
| Line is wider but still centered | Uniform spread | Compare the exact paper edge with the transferred edge. |
| Edge trails in one direction | Directional smear | Verify paper first, then inspect transfer-stage movement/contact evidence. |
| Two separate offset copies | Double impression | Treat as double-impression triage rather than generic blur. |
| Only tight clusters become blobs | Density + final-size interaction | Inspect local geometry, scale, and the same gap on paper. |
| Most of the transfer looks soft | Global softness | Compare the whole paper baseline with the immediate skin result. |
| Sharp initially, messy later | Later disturbance | Separate the successful initial transfer from later handling. |
Darkness != sharpness
High mark mass; edges remain defined.
Not automatically smudging.
High mark mass plus lost edge definition.
Density and sharpness are separate questions.
Low visual strength; edges remain defined.
Route faintness separately.
Low strength plus lost edge definition.
Two symptoms can coexist.
"Smudged" is not one failure mode. Describe the geometry before you change the file, printer, transfer medium, or application workflow.
Ask two questions first:
A line that widens in place, a line dragged in one direction, two offset copies, a dense local blob, whole-transfer softness, and a transfer that starts crisp but degrades later are different observations. They deserve different comparisons.
Use the same small line, gap, or contour as a checkpoint through the workflow:
The timing does not prove a mechanism. It tells you which stage deserves the first controlled comparison.
If the paper stencil already looks fuzzy, over-thick, doubled, broken, or over-dense, use the Tattoo Stencil Print Checker for the finished file and the Printer Troubleshooter when the defect appears on paper. Do not try to solve a paper defect with skin-side changes.
Treat the workflow as three evidence checkpoints:
FILE -> PAPER -> SKIN
The useful question is not "where do I notice the problem?" It is "where does the same edge first stop matching the previous checkpoint?"
This prevents a common diagnostic mistake: changing the printer because the final skin transfer is blurred, even though the paper output was sharp.
A stencil can be:
This guide is about loss of edge definition. The too-dark diagnostic covers excessive mark mass, density, and negative-space collapse. The too-light diagnostic covers faint, broken, or missing information.
If a stencil is very dark but every contour is still crisp, "smudging" is the wrong diagnosis. If it is very pale but every edge is crisp, faintness is the relevant symptom instead.
Uniform spread means a line becomes wider while staying roughly centered on its original position.
Look for the shape, not a guessed cause:
Compare the exact paper line with the transferred line. If the paper line is already broad, the transfer is not the first stage that changed it. If the paper edge is clean and the skin edge is wider, use the Transfer Troubleshooter for the next diagnostic step.
Do not treat uniform spread as proof of one transfer medium, amount, contact method, or timing. Product instructions differ.
Directional smear has a direction.
The line can show a tail, dragged edge, or coherent shift that extends more strongly to one side. That geometry is different from a line that simply grows wider around its center.
Check first:
A coherent direction makes contact or movement worth inspecting, but it does not prove what moved or why. Use the Transfer Troubleshooter to continue through paper, placement, product/surface, contact, and set/handling evidence.
When a check depends on the exact transfer medium, paper, or consumable, follow the manufacturer's current instructions rather than borrowing a universal amount or timing.
If you can identify two distinct offset copies of the same contour, treat that as a double-impression pattern rather than generic blur.
The important distinction is visibility of two copies:
This page stops at classification. A double impression still belongs to transfer-stage troubleshooting at the next step. Continue with the Transfer Troubleshooter, which can compare a clean single-lined paper stencil with movement, lifting/re-contact, placement, and other transfer-stage evidence.
If the duplicate is already present on paper, move upstream instead.
Sometimes most lines remain sharp while only tight clusters turn into a mass.
That can be a transfer + geometry interaction, not a globally failed transfer.
Inspect the exact local region:
Use the Size & Print Calculator to verify the real physical dimensions, the line-weight guide to review line/gap relationships, and the too-dark diagnostic when excess density is the primary symptom.
Do not make the whole stencil lighter or thinner just because one dense cluster merged.
Global softness means most of the transferred stencil loses edge definition rather than one isolated area.
That makes a shared variable worth checking before you redraw one local region. Still, compare the paper baseline first.
Ask:
A global pattern is a routing clue, not proof of a universal cause. Use the Transfer Troubleshooter for the downstream evidence sequence.
A transfer that was clearly sharp immediately after paper removal but deteriorates later belongs in a different timing bucket from an immediately smeared transfer.
The first transfer succeeded at the edge-definition checkpoint. The investigation therefore moves later in the workflow.
Record what changed between the crisp observation and the degraded observation. Then review the exact transfer product's setting instructions and the studio workflow around later touching, wiping, or handling. The application guide covers that operational sequence; the Transfer Troubleshooter handles symptom-first routing.
Do not convert this into a universal "wait X minutes" rule. Product directions differ.
After you name the edge pattern, ask whether it is local or global.
Only one region, contour, or dense cluster changes.
Compare:
Curvature can be relevant because flat paper and a changing surface do not share the same geometry. That does not make this a body-fit or anatomy guide. If the placement itself needs wrap or taper planning, use Fit Tattoo Stencil to Body.
Most of the transfer changes in a similar way.
Check the common stage first: paper baseline, paper-to-skin transfer, immediate lift-off, or later handling. A global symptom makes it less useful to keep editing one local patch without evidence.
Two stencils can experience the same small edge change and look very different afterward.
A sparse contour may remain readable. A dense cluster with narrow negative space may cross the point where separate lines visually merge.
That is why the diagnosis can be transfer + geometry interaction.
Before blaming transfer alone, inspect:
The Print Checker and Size & Print Calculator handle those upstream file/size checks. This page only explains why local geometry changes how strongly a transfer-stage spread is perceived.
Line is wider but still centered: classify as uniform spread. Compare paper versus transferred edge, then use the Transfer Troubleshooter if paper was sharp.
Edge trails in one direction: classify as directional smear. Verify paper first, then inspect transfer-stage contact/movement evidence with the Transfer Troubleshooter.
Two separate offset copies: classify as a double impression. This page stops at triage; use the Transfer Troubleshooter for the next transfer-stage check.
Only tight clusters become blobs: inspect density and final-size geometry with the too-dark diagnostic, Size & Print, and line-weight guide.
Everything looks soft: compare the whole paper baseline with the immediate skin result, then use the Transfer Troubleshooter.
Sharp at first, messy later: separate the successful initial transfer from later handling. Review the application workflow and product-specific instructions.
Dark but sharp: edge definition is intact. Use the too-dark diagnostic only if excess density is the actual problem.
Light but sharp: edge definition is intact. Use the too-light diagnostic if faintness or missing information is the actual problem.
Paper already fuzzy before transfer: go upstream to the Print Checker and Printer Troubleshooter.
The word "smudge" describes the result loosely. The shape, location, and first timing of lost edge definition tell you what to inspect next.
This page stays with visual transfer quality: line geometry, edge definition, paper-versus-skin comparison, and the timing of the visible failure.
It does not diagnose skin conditions, allergies, infection, medication effects, wounds, or other clinical issues. It also does not prescribe a universal transfer-medium amount, paper preparation, contact time, setting time, removal method, or named product.
For product-dependent steps, follow the current instructions from the exact paper, transfer medium, and consumable manufacturer used in the studio.
Related Guides
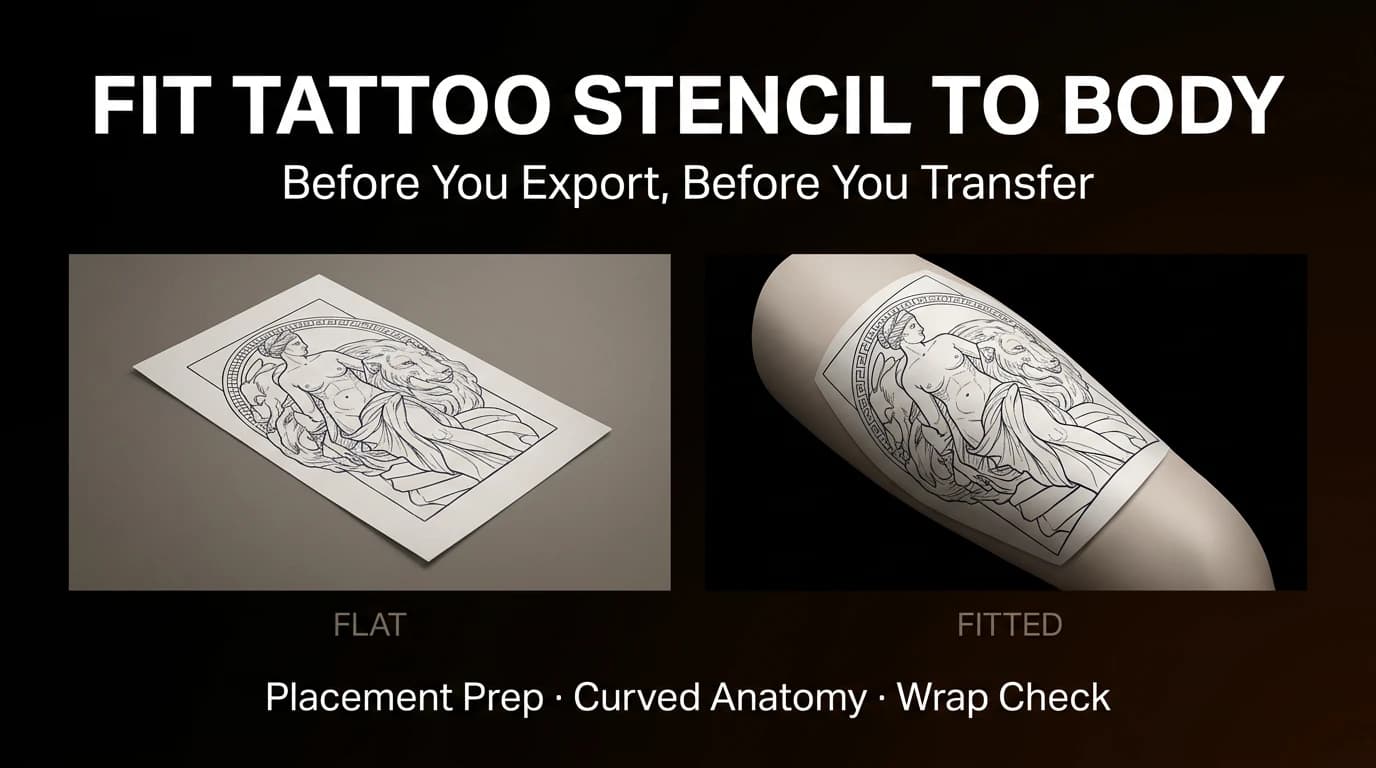
Apply a tattoo stencil to skin with a clear professional workflow for placement, transfer solution, clean contact, curved areas, setting, and final checks.
how to apply tattoo stencil · tattoo stencil application
Read guide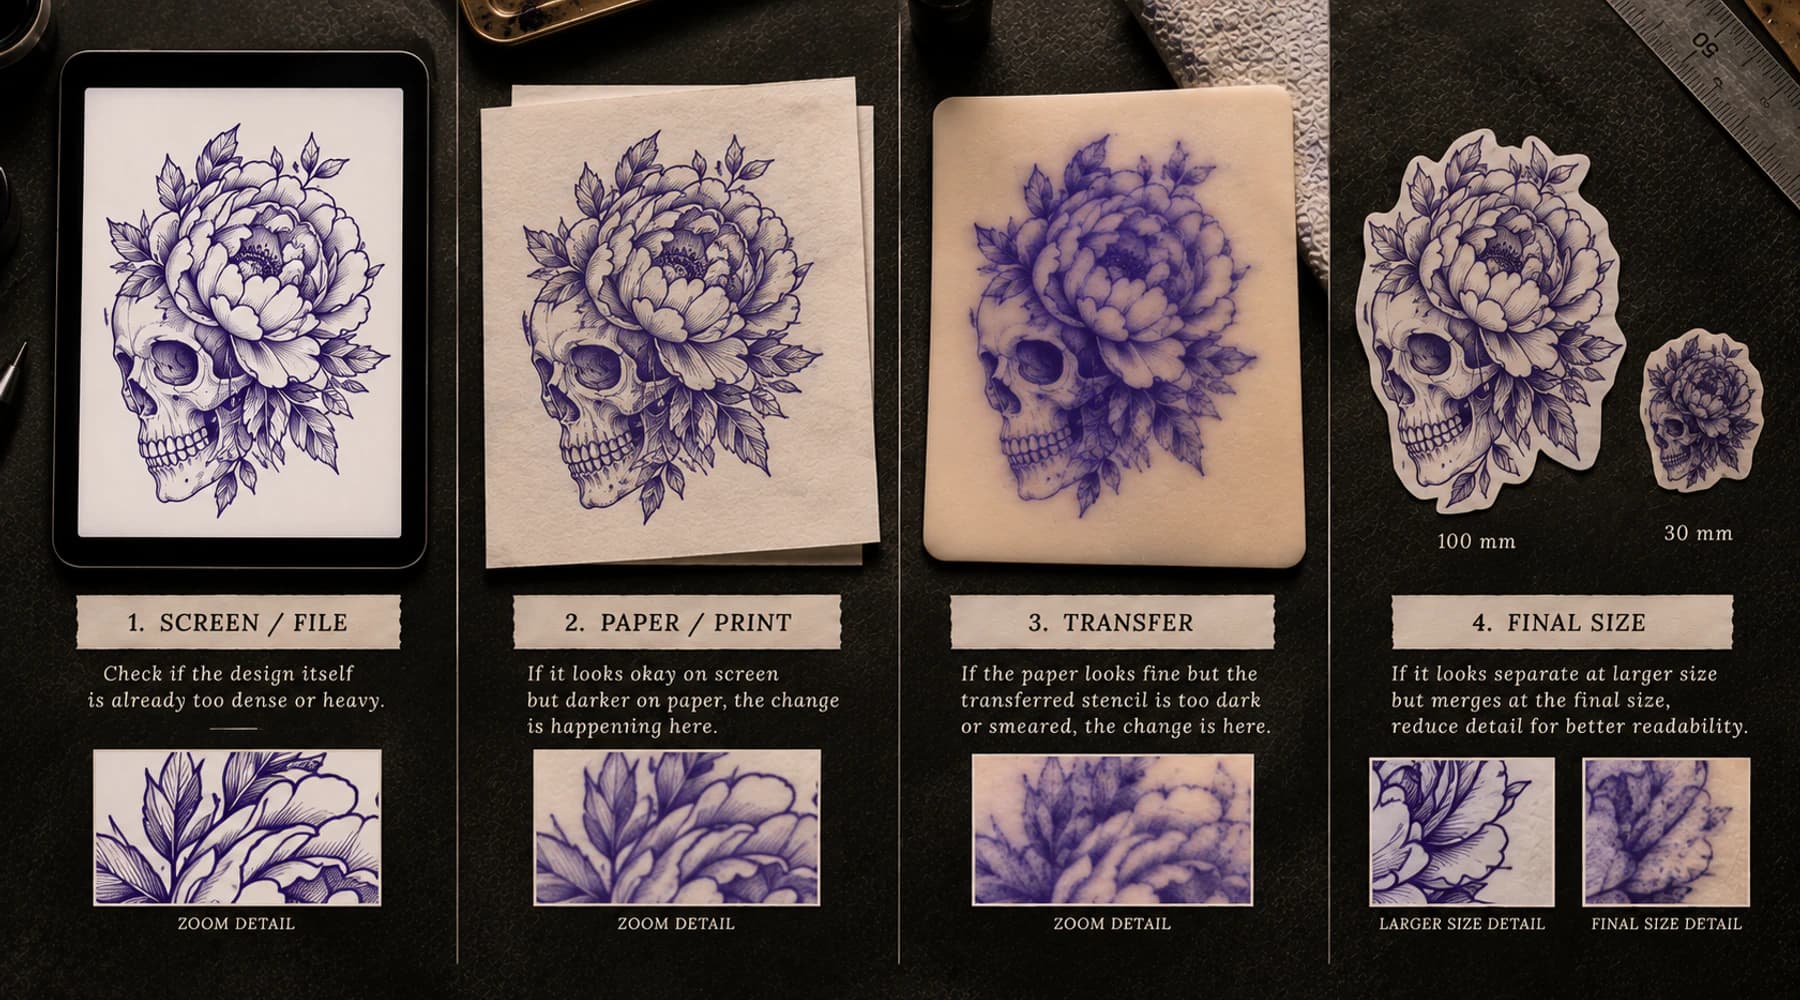
Find where a tattoo stencil first becomes too dark: source, stencil file, print, transfer, or final size, then move to the right next check.
tattoo stencil too dark · dark tattoo stencil
Read guideFind where stencil lines first become faint or disappear, from the source file and final size to printing and paper-to-skin transfer.
tattoo stencil too light · faint tattoo stencil
Read guideAuthor
Founder and product builder at StencilStudio
Andrea builds StencilStudio and tests how the tools fit into real stencil prep, using real references and outputs to document what works, what changes, and where artist judgment still matters.
In the App
Use the Transfer Troubleshooter after you classify the shape and timing of the loss of definition.