

Troubleshooting
Why a Pet Portrait Tattoo Stencil Stops Looking Like Your Pet
Diagnose why a clean pet portrait stencil looks like the right species or breed but no longer looks like the individual dog, cat, or pet in the source.
pet portrait tattoo stencil · dog portrait likeness · cat portrait likeness · pet tattoo reference · stencil fidelity
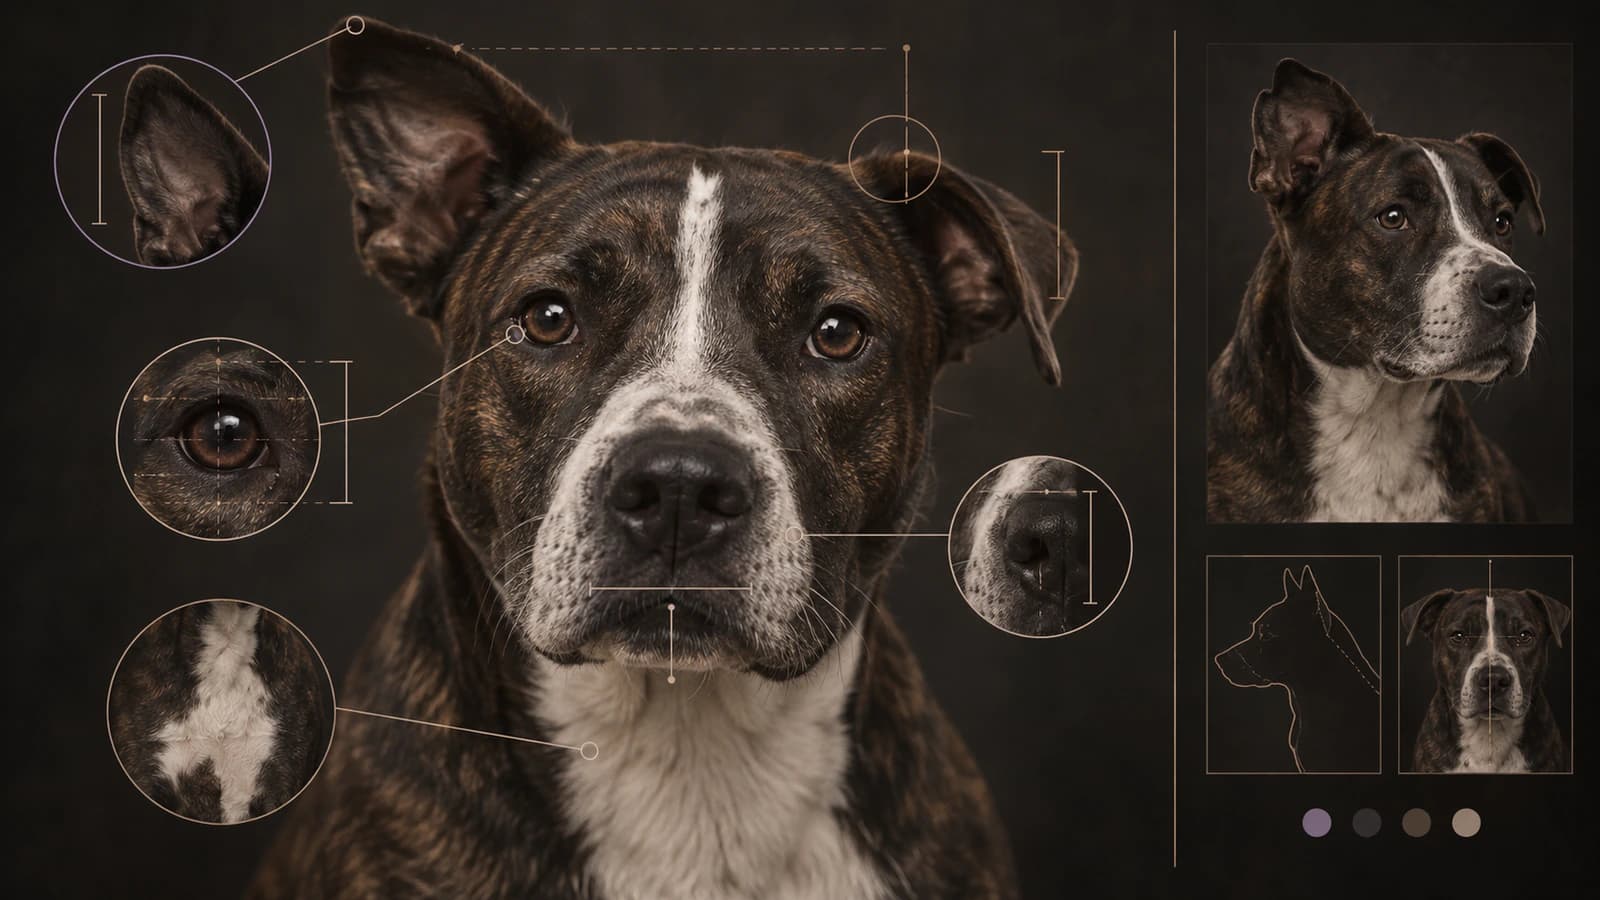
- August 24, 2026
- 12 min
The source clearly looks like one specific dog, cat, or other pet. The stencil is clean enough to use, yet it now reads as a generic animal, the wrong member of the breed, or simply not that individual.
That is a likeness problem, not automatically a detail problem.
Start with the source and stencil side by side. Match their orientation and head size, then find the first identity landmark that changed. Do not add fur until you know whether the ear set, eye relationship, muzzle, silhouette, asymmetry, or a major marking has moved.
If the source itself cannot prove those features, stop upstream instead of reconstructing them from guesswork.
Preserve the features that identify this animal before the features that merely describe its species.
Does it look like the pet, or only the breed?
A useful first test is deliberately strict:
Could this stencil plausibly represent several different animals of the same breed or type?
If yes, individual evidence may have been normalized away.
A stencil can preserve "French bulldog" while losing the folded left ear, short-wide muzzle, uneven eye opening, forehead blaze, and cheek shape that identify this French bulldog. A cat stencil can keep triangular ears and feline eyes while shifting the eye angle, whisker-pad shape, profile, or tabby landmarks enough to become a different cat.
This is not a scientific likeness test. It is a warning that species recognition and individual recognition are different jobs.
Current pet-portrait practice uses the same distinction. Monolith Studio's pet portrait guidance describes the subject as a specific animal rather than a generic dog or cat, and a community likeness critique contains the literal failure state "doesn't look like my dog," with comments pointing to eye size/spacing and a portrait reading like a different breed. Those reports establish the user problem; they do not establish universal anatomical rules.
First confirm the source can prove the identity
This diagnostic starts only when the source contains usable evidence.
Check the original photo, not the generated stencil:
- Can you place the ear tips and ear bases without guessing through blur?
- Can you compare both visible eyes and their relationship?
- Can you see the muzzle and nose boundary well enough to judge length, width, and projection?
- Is the head silhouette readable?
- Are identity-relevant coat markings actually visible?
- Is the camera angle intentional and understandable?
- For a dark pet, are there real light or tonal separations around eyes, muzzle, ears, and cheeks?
If the answer is no because the edge position is blurred, use the blurry-reference diagnostic. If dark fur or shadow has already removed the separation in the source, use the dark-reference diagnostic. The Reference Photo Quality Checker can also preflight the original file.
Do not let the derivative validate itself. A crisp invented ear edge is not evidence that the hidden source edge existed.
Secondary photos can help verify stable structure such as an ear fold, muzzle shape, or marking layout. Keep their role limited: the primary approved image still controls the chosen pose, expression, crop, and perspective.
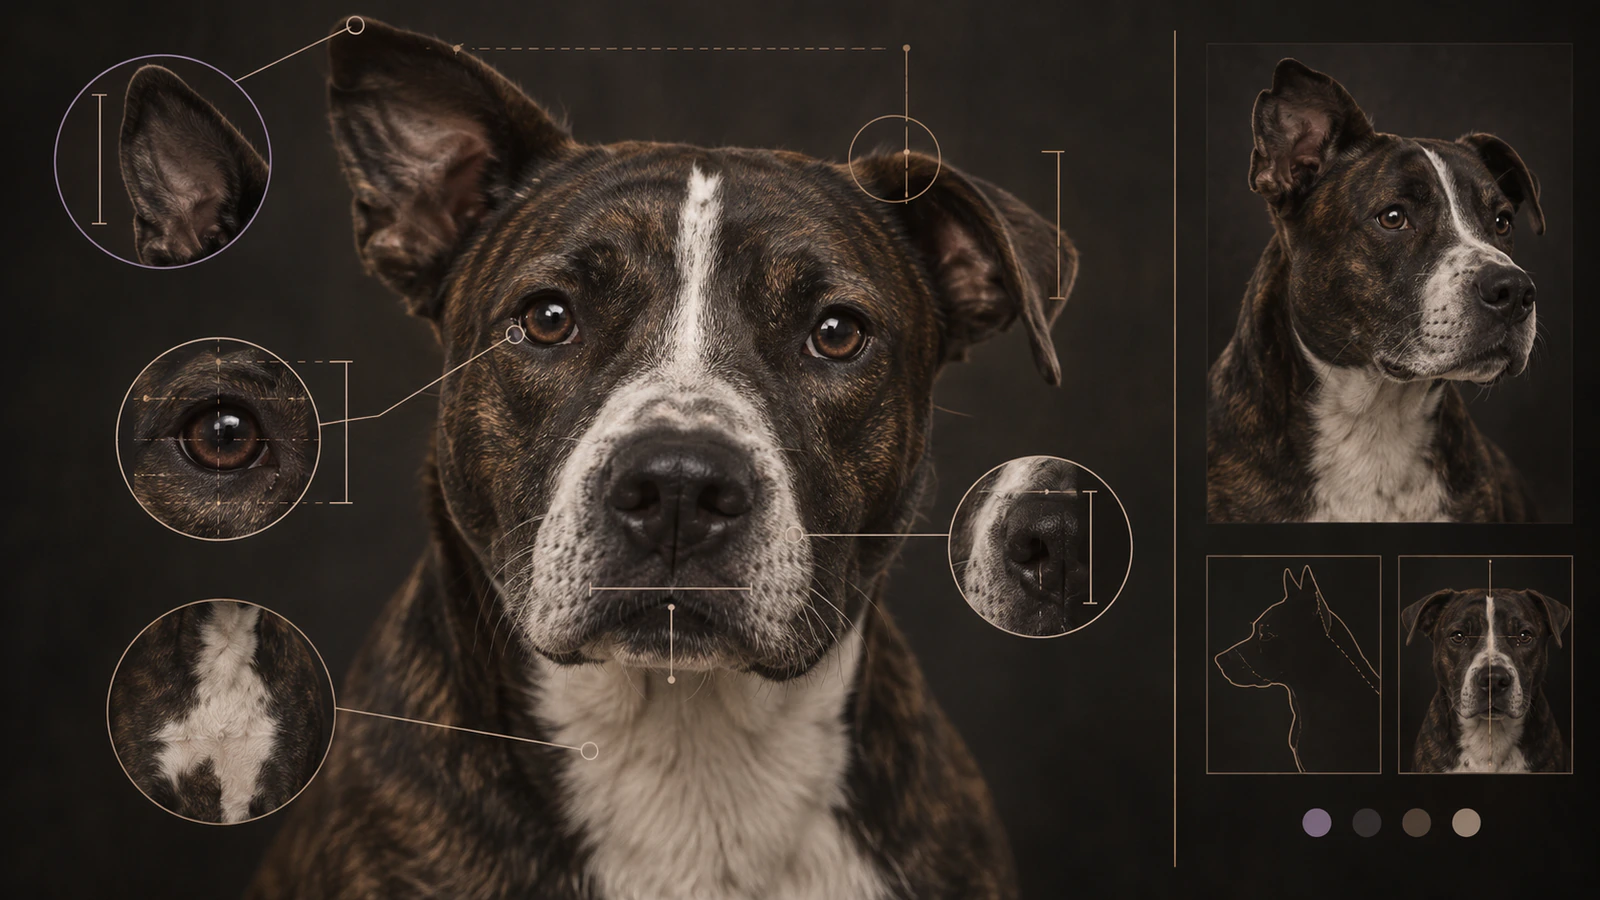
Build an identity map before correcting anything
Do not give every visible line equal weight. Mark the source in three levels.
Critical
If this changes, the animal starts reading as a different individual.
Typical candidates:
- outer head and ear silhouette;
- ear angle, fold, spacing, and unequal posture;
- eye spacing, angle, vertical offset, and gaze;
- muzzle length, width, projection, and relation to the nose;
- nose width or distinctive shape;
- characteristic cheek or jowl structure;
- major individual coat markings;
- stable source-supported asymmetry.
Supporting
These reinforce recognition but usually should not outrank the critical geometry:
- mouth posture;
- selected folds;
- characteristic tufts;
- cheek-fur breaks;
- useful whisker groups;
- secondary pattern anchors;
- expression cues visible in the source.
Texture
These can help rendering while carrying relatively little identity by themselves:
- individual hair strands;
- micro-fur;
- tiny whiskers;
- small tonal noise.
The hierarchy is source-specific. One animal may be identified immediately by a crooked blaze; another by one dropped ear; another by a long muzzle and close-set eyes.
Also record source certainty. A critical feature that is clear in the source is a high-confidence correction target. A critical feature hidden by blur, shadow, crop, or occlusion is not permission to invent.
Align source and stencil before judging local drift
A mismatched display can create false errors.
Before comparing landmarks:
- use the same left-right orientation;
- confirm one image has not been mirrored relative to the other;
- match the crop as closely as practical;
- scale the images so the overall head size is comparable;
- align a few stable anchors such as crown, eye pair, and nose center;
- only then judge local position, angle, and proportion.
This matters especially for pets with asymmetric ears or markings. A mirrored comparison can make a correct marking look displaced and a correct folded ear look wrong.
Do not compare memory with the stencil. Compare source with stencil.
Name the delta instead of saying "the likeness feels off"
Translate the vague reaction into an observable change.
| Delta | What changed | Pet example | |---|---|---| | Displacement | Correct feature, wrong position | left eye or ear base shifted | | Scale / proportion | Feature changed size relative to the head or another landmark | muzzle became shorter; nose became narrower | | Angle change | Orientation changed | folded ear raised; eye line flattened | | Shape normalization | Distinctive form became cleaner or more typical | irregular nose or jowl became generic | | Symmetry normalization | Real unequal structure was balanced | ears or coat patches made matching | | Omission | Source-supported identity landmark disappeared | blaze edge or ear fold removed | | Addition | Unsupported identity-like structure appeared | invented fur boundary or facial contour | | Marking drift | Pattern remains but moves or changes relationship | white patch moved away from the eye | | Silhouette drift | Outer head, ear, cheek, jaw, or muzzle envelope changed | long face becomes compact and round | | Hierarchy error | Low-value texture dominates higher-value structure | dense fur lines hide an already-wrong muzzle |
These are descriptions of the output, not claims about why a model, tracing method, or artist made the change. The same classes can occur in manual cleanup, automatic tracing, generative conversion, or mixed workflows.
Start with silhouette and ear geometry
If the head envelope changes, adding internal detail usually makes the wrong head more finished.
Compare:
- crown shape;
- ear height and width;
- ear angle;
- fold or flop;
- tip shape;
- distance between ears;
- ear-to-skull relationship;
- cheek width;
- jaw path;
- muzzle projection;
- outer fur mass.
Ears are especially easy to normalize toward a breed stereotype. If one ear naturally folds and the other stands, making them symmetrical may create a neater drawing and a less accurate pet.
Long-haired animals add another trap: hundreds of fur strokes can make the silhouette feel busy while the outer fur mass, face opening, or ear envelope quietly changes. Protect the mass first, then selected tufts.
Check the eyes, muzzle, and nose as relationships
Do not inspect two eyes as two isolated drawings.
Compare the pair:
- eye-to-eye spacing;
- vertical offset;
- eye angle;
- relative openness;
- gaze direction;
- eye-to-nose distance and angle.
Then compare the lower face:
- muzzle length and width;
- muzzle projection;
- nose width and angle;
- mouth corners;
- jowl or whisker-pad volume;
- chin/profile relationship where visible.
A stencil can contain two attractive eyes and still lose likeness because they moved farther apart. It can contain a convincing nose while shortening the muzzle enough to change the animal.
For profile portraits, stop using frontal checks. Prioritize forehead-to-nose profile, visible ear silhouette, muzzle projection, chin, neck/fur mass, and the visible eye.
For open-mouth references, protect jaw opening, tongue and lip/jowl geometry only where the source supports them. Do not reconstruct hidden teeth or anatomy from expectation.
Treat asymmetry and coat markings as evidence, not defects
Pet identity often depends on things cleanup is tempted to "fix":
- one folded ear;
- one eye more closed;
- an uneven muzzle;
- a crooked blaze;
- an off-center mask;
- a patch that stops at one cheek;
- unequal fur mass;
- a scar or stable feature clearly visible in the approved source.
A monochrome stencil cannot literally preserve fur color. It can preserve the boundaries and anchors that encode the pattern.
A white blaze may become a boundary line. A dark mask may need a structural separation. A tabby stripe may survive as a selected landmark. The question is not whether every color transition was traced; it is whether the marking that helps identify the animal still sits in the same relationship to eyes, nose, ears, and muzzle.
A community pet-portrait critique illustrates the point: reviewers identified changed dark fur around the nose and a white marking extended farther up the head than in the reference. That is useful qualitative evidence for marking position as an identity cue, not a universal drawing formula.
Genericization, simplification, and over-detail are different failures
Genericization
The result becomes more typical of the species or breed than the source individual.
Signals include:
- asymmetry removed;
- ear shape normalized;
- muzzle standardized;
- eye spacing made more typical;
- head contour regularized;
- marking made symmetrical;
- expression flattened.
Breed correctness can therefore damage individual likeness. Do not "correct" a source-supported oddity toward a breed ideal.
Simplification
Information is removed.
That is not automatically bad. Removing random micro-fur can improve hierarchy.
The diagnostic question is: what was removed?
A tertiary hair line may be expendable. A folded ear tip, unique eye patch, muzzle break, or marking anchor may not be.
Over-detail
More information can also reduce likeness if it buries the landmarks.
A stencil with dense fur texture and the wrong muzzle geometry is not more faithful because it contains more lines.
Fix structure first.
Dogs and cats often fail in different places
Use the same source-relative method for both, but do not assume the landmark hierarchy is identical.
Dogs often put more diagnostic weight on:
- ear set and fold;
- muzzle length and projection;
- nose width;
- forehead-to-muzzle transition;
- cheek or jowl shape;
- eye relationship;
- breed-shaped head silhouette;
- large coat landmarks;
- mouth posture.
Cats often put more diagnostic weight on:
- triangular ear geometry and spacing;
- eye angle and gaze;
- forehead contour;
- muzzle and whisker-pad shape;
- nose relationship;
- cheek-fur mass;
- tabby, mask, blaze, or patch landmarks;
- profile silhouette;
- selective negative space around whiskers.
These are comparison prompts, not veterinary measurements.
For rabbits, horses, birds, and other pets, do not invent a universal anatomy list. Before conversion, write down the few visible features that distinguish this individual, then use the same source-versus-derivative delta method.
Dark coats and patterned coats need a source-versus-conversion fork
A dark pet can fail in two different places.
The source is already collapsed: eyes, muzzle, cheek, and ear boundaries cannot be located reliably. That is upstream source evidence.
The source contains readable separation but the stencil removes it: that is a conversion/likeness delta.
Do not blame conversion for information the photo never contained.
Patterned coats need a similar relational check. Do not ask only, "Are stripes present?" Ask whether the same pattern anchors remain in the same relationship to the eyes, forehead, nose, cheek, ears, and muzzle.
Correct the highest-impact delta first
When several things changed, use this order as a starting diagnostic priority:
- global head silhouette and ear set;
- eye-muzzle-nose relationships;
- source-supported individual asymmetry;
- major coat-marking anchors;
- secondary structural folds or tufts;
- texture.
The exact priority can change for the individual pet, but the logic does not: correct the highest identity impact that the source supports most clearly.
Then change one major variable at a time and compare again.
If you simultaneously alter eyes, ears, muzzle, contrast, crop, fur, and markings, you lose the evidence of which correction restored or damaged likeness.
Keep a source-faithful baseline. If the workflow is generative and produces different versions, compare each against the identity map rather than rerolling until one merely looks attractive. The Version Compare tool can help localize geometry changes between revisions; it does not calculate likeness.
Recheck at the intended physical size
A stencil can match the source when viewed large and still lose the identity cue after reduction.
Set the intended physical dimensions and ask:
Which identity-critical feature disappears first?
Examples:
- separation around the eyes;
- a narrow muzzle/cheek gap;
- a small blaze boundary;
- an ear interior;
- a small but important marking;
- a selective whisker group.
If the full-size digital stencil is source-faithful and likeness fails only after reduction, the problem has moved. Use the final-size detail diagnostic for global density or the negative-space diagnostic when one essential opening is closing.
If the target-size digital stencil is still correct but the physical paper loses the feature, use the print missing-detail diagnostic.
Do not keep redrawing the pet when the first failure is now size or physical reproduction.
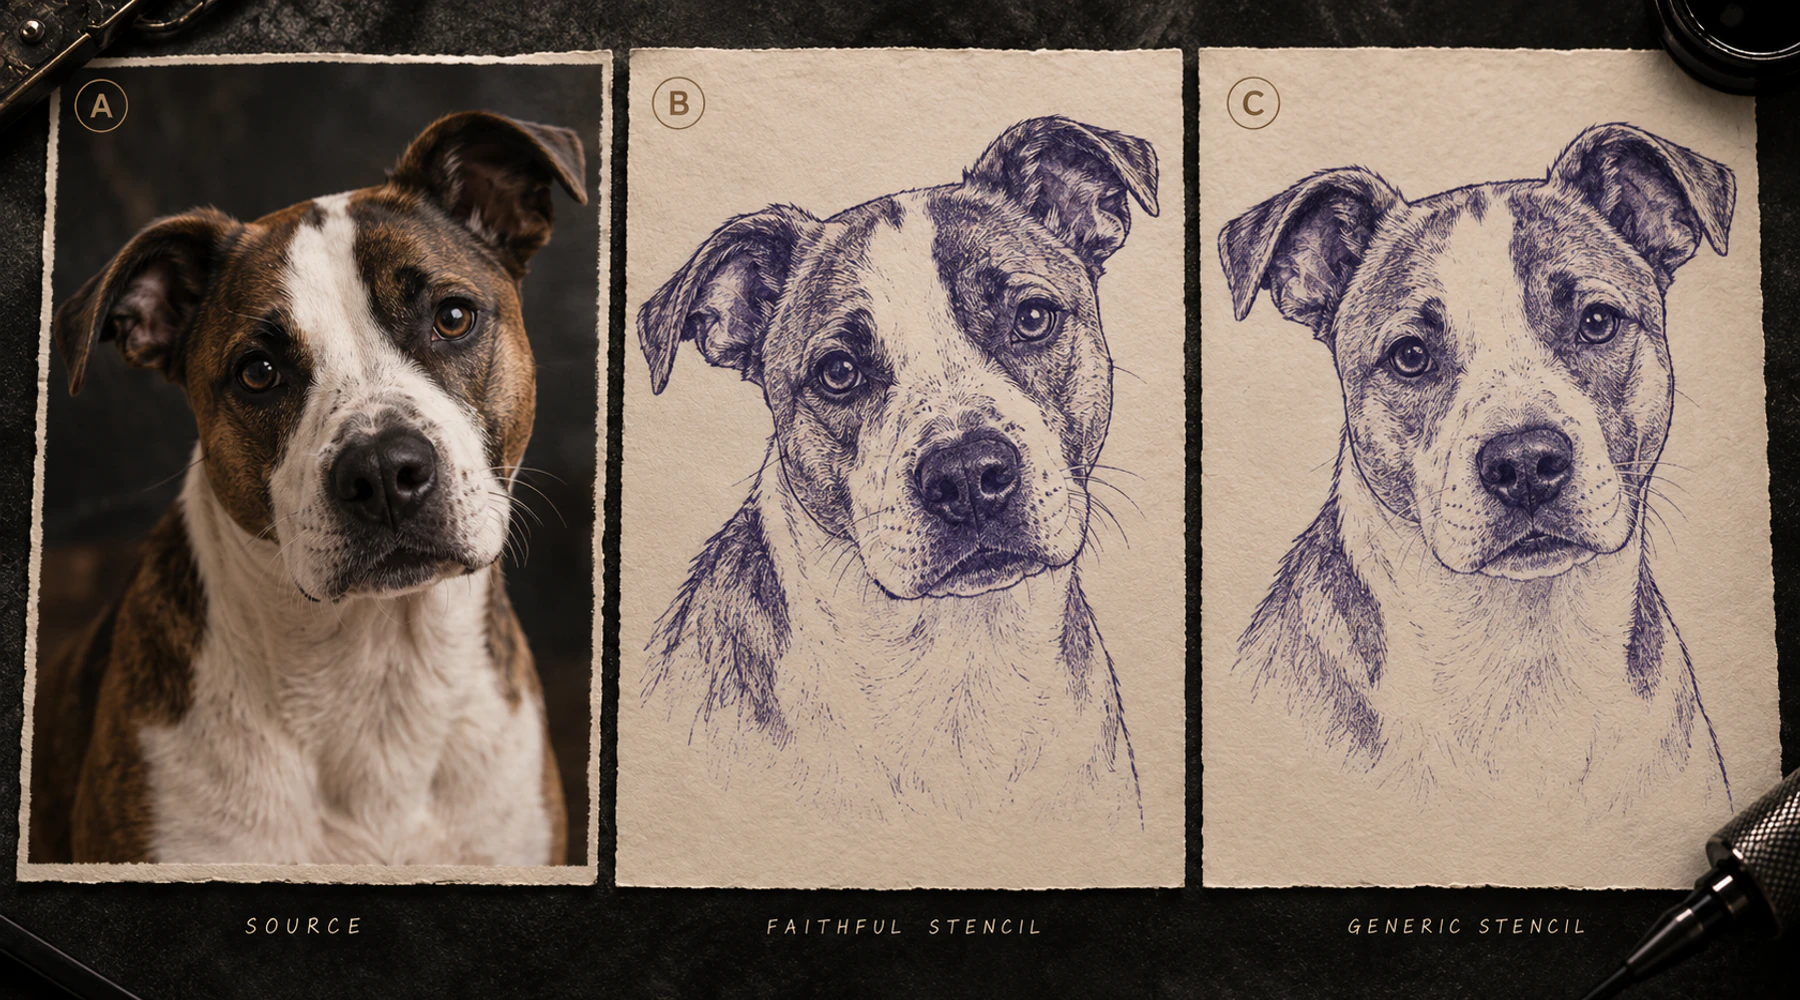
Keep a faithful version before tattoo adaptation
Source fidelity and tattoo readability are related but not identical.
Keep:
A. Source-faithful stencil The version used to prove that the pet-specific identity relationships survived conversion.
Then, when necessary, create:
B. Tattoo-adapted version A deliberate change for the intended physical size, transfer, or working method.
If you widen a narrow identity-critical gap, simplify a marking, reduce an ear interior, or remove secondary texture, record that as an adaptation. Do not present the adapted version as exact source preservation.
This separation also improves approval: the artist can explain what changed for readability instead of silently overwriting the faithful baseline.
FAQ
Why does my dog portrait stencil look like the right breed but the wrong dog?
Because breed/species cues can survive while individual landmarks drift. Compare the source and stencil for ear set, eye relationship, muzzle/nose proportions, asymmetry, head silhouette, and major markings. Find the first source-supported delta before adding texture.
Are the eyes always the most important part of a pet portrait?
No. Eyes can be critical, but one pet may depend more on a folded ear, muzzle shape, head silhouette, or unique marking. Use the source to rank identity importance rather than applying one universal feature rule.
Should I include every strand of fur?
No. Individual hairs are often lower priority than silhouette, ear geometry, eye relationships, muzzle structure, and major markings. Preserve fur direction or selected tufts when they explain form or identity; do not use hair count as a likeness metric.
How do I handle a black dog's or cat's face in a stencil?
First check whether the source itself contains usable separation around eyes, muzzle, nose, cheeks, and ears. If it does and the stencil collapses those separations, diagnose the conversion. If the source already hides them, use a stronger source or supporting reference instead of inventing anatomy.
Can AI change my pet's likeness?
A generative workflow can produce plausible animal anatomy that differs from the source, but manual tracing, cleanup, and simplification can also drift. Review the result by source-relative landmarks rather than assuming one method is automatically faithful or unfaithful.
Should I use more than one pet photo?
A clear primary image should control pose, expression, composition, and perspective. Secondary photos can verify stable features such as ear shape, markings, or muzzle structure when the primary view is ambiguous. Do not average unrelated poses into impossible geometry.
What if the stencil matches digitally but stops looking like the pet when I make it smaller?
That is no longer primarily a conversion-likeness problem. Identify the first identity cue lost at the intended size, then use the final-size density or negative-space diagnostics to decide what can be simplified while protecting that cue.
Related Collections
Jump from the guide to reviewed stencil examples
Related Guides
Keep reading from here
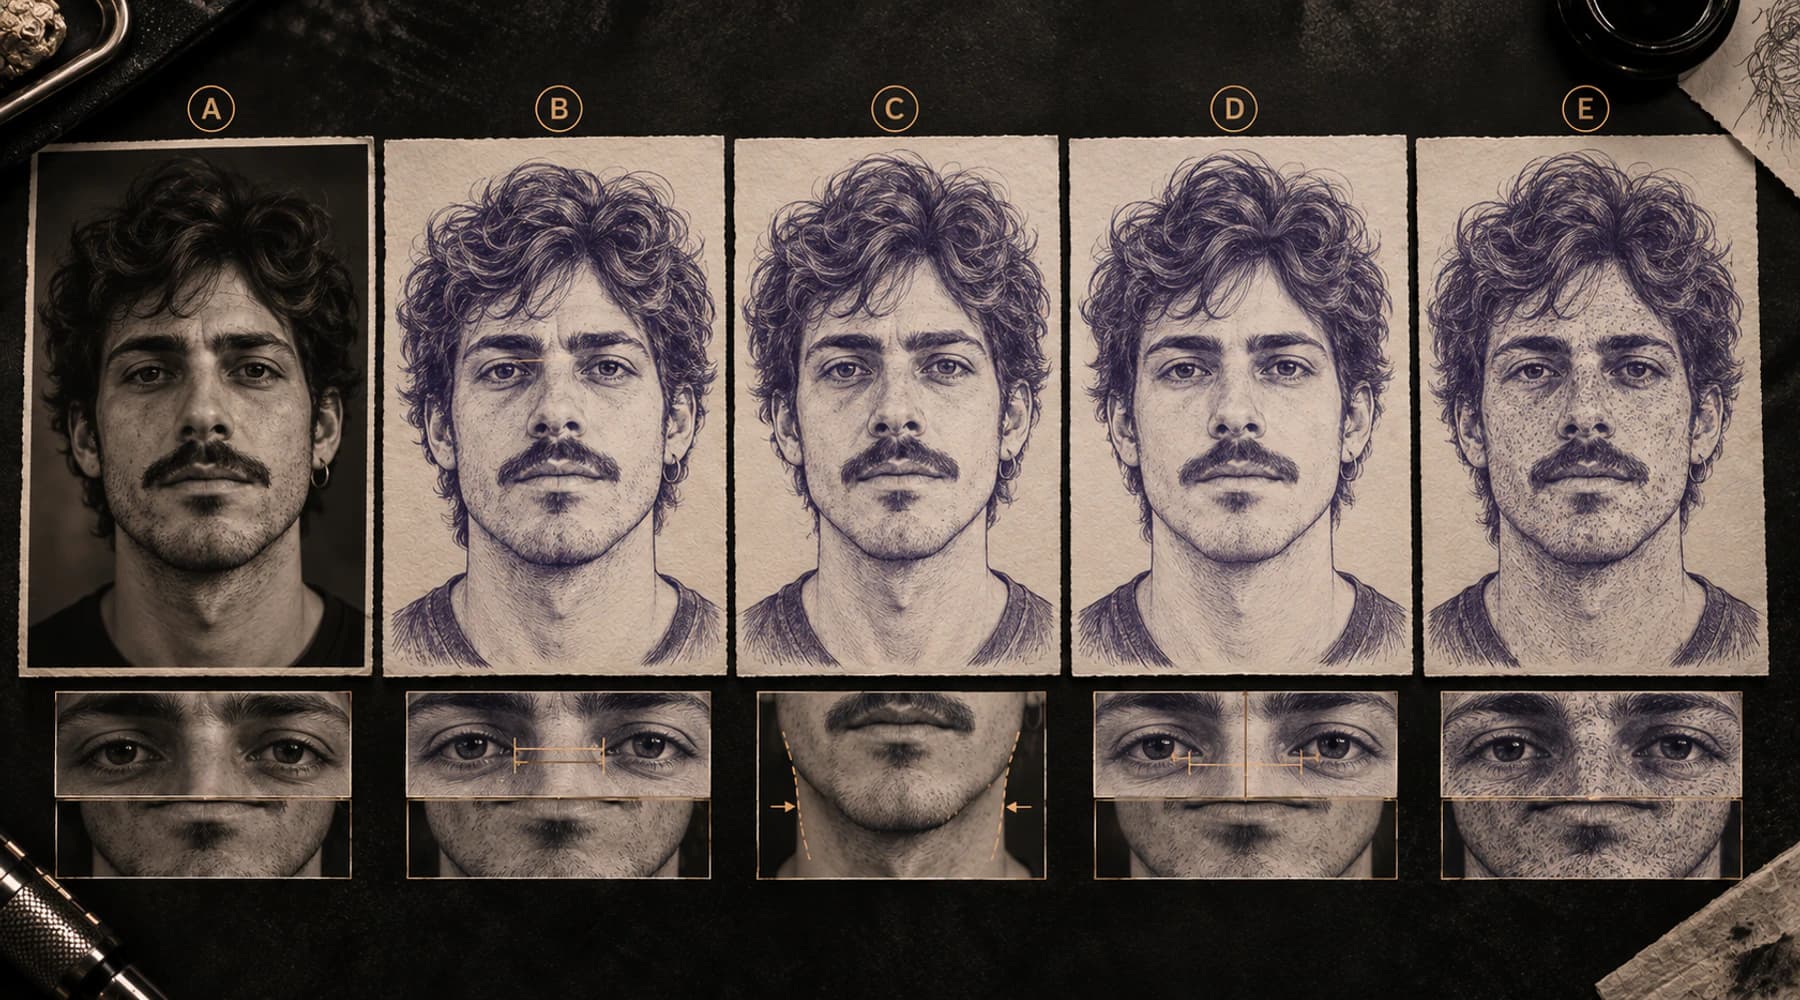
Why a Portrait Tattoo Stencil Loses Likeness
Diagnose why a portrait stencil no longer looks like the reference by checking silhouette, feature relationships, asymmetry, expression, and value boundaries before adding detail.
portrait tattoo stencil · portrait likeness
Read guide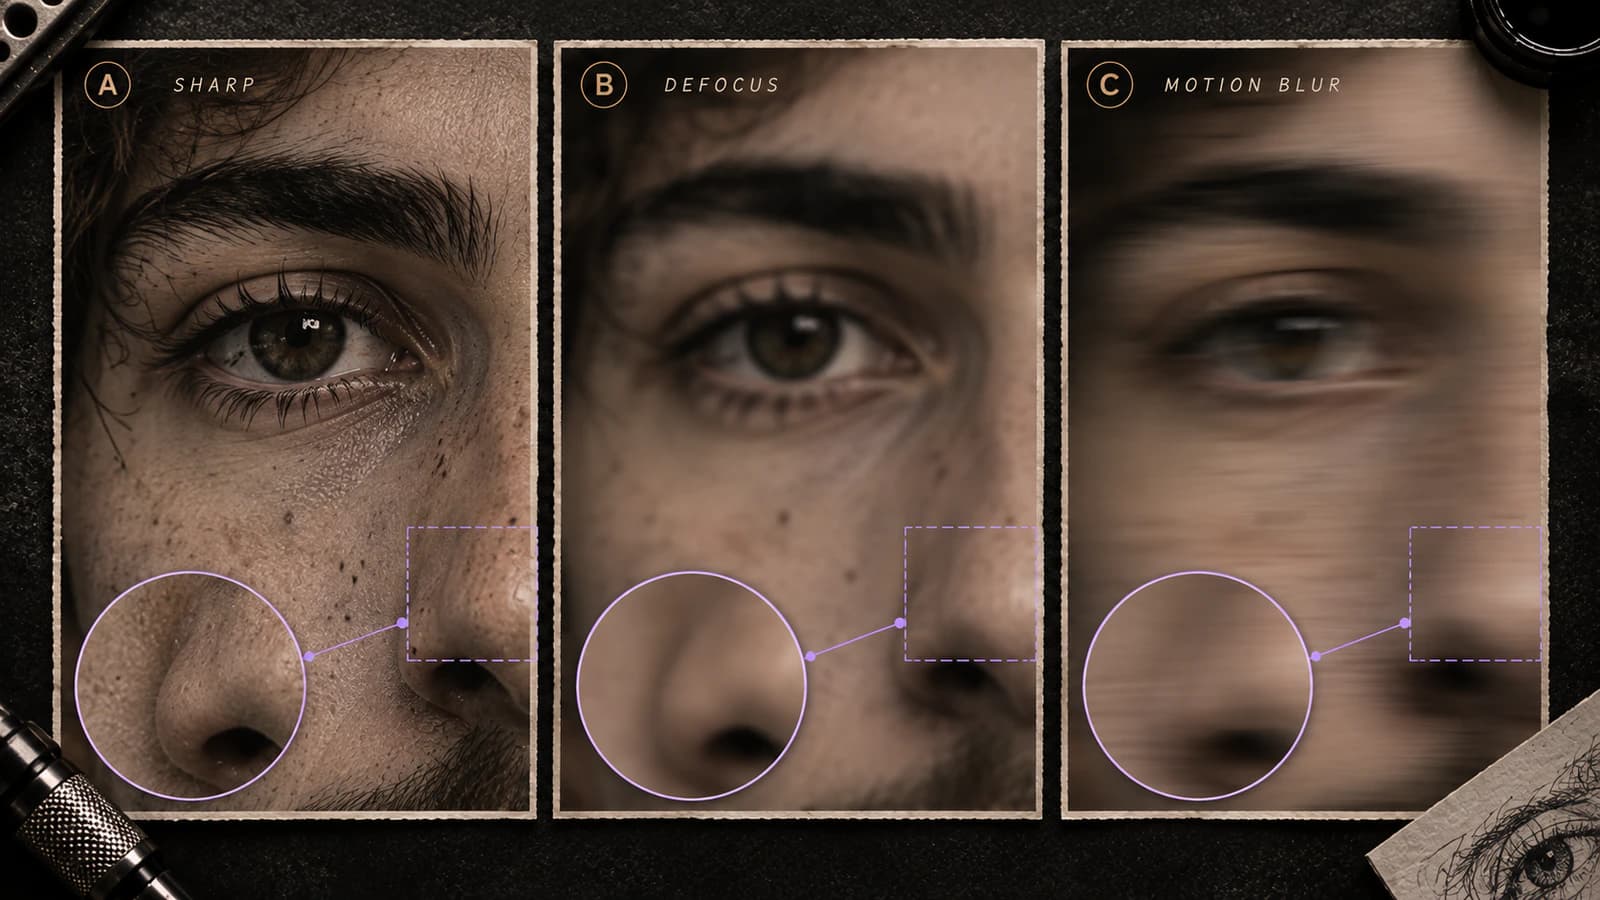
Blurry Tattoo Reference Photo: Is It Usable for a Stencil?
Diagnose a blurry tattoo reference before stencil prep. Separate recoverable softness from missing or uncertain structure, then decide whether to proceed, simplify, or request a better source.
blurry tattoo reference · tattoo reference photo blur
Read guide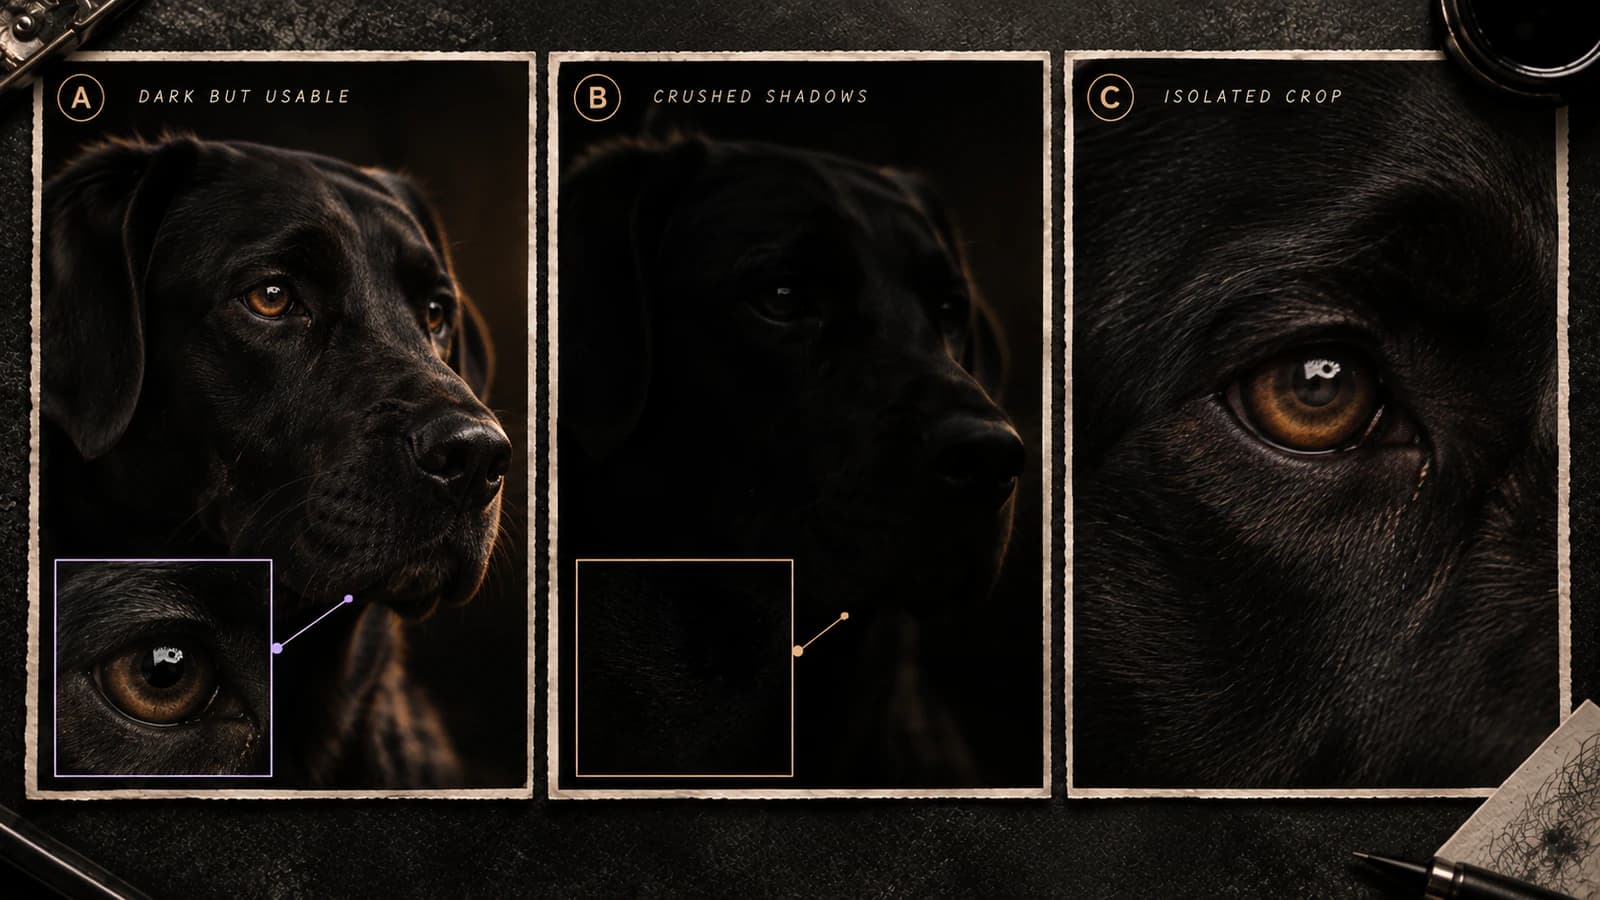
Is My Tattoo Reference Photo Too Dark?
Diagnose a dark tattoo reference before stencil prep. Separate usable dark tones from crushed shadows, weak local separation, and genuinely missing source detail.
dark tattoo reference · tattoo reference photo too dark
Read guideAuthor
Andrea Mezzadra
Founder and product builder at StencilStudio
Andrea builds StencilStudio and tests how the tools fit into real stencil prep, using real references and outputs to document what works, what changes, and where artist judgment still matters.
In the App
Compare the changed version against the approved baseline
Use Version Compare to align two stencil revisions and localize where geometry moved without turning the result into a fake likeness score.