

Dragonfly Tattoo Stencils: View Choice and Transfer-Ready Prep
Vet any dragonfly reference for stencil work by choosing the view first, checking slender-abdomen and four-wing proportions at the exact final size, then simplifying vei…
- 5
- Practical
- Artist-first
Vet any dragonfly reference for stencil work by choosing the view first, checking slender-abdomen and four-wing proportions at the exact final size, then simplifying veins so thin lines hold through print and transfer. This collection compares five structural studies drawn from reviewed stencil work: a four-wing symmetry study, a slender-body separation study, a side-view posture study, a fine-limb gap study, and a small-size contour study. The depicted moths, spider, and hummingbird are honestly labeled analogues, not dragonfly photos; each one isolates a construction lesson that dragonfly references most often fail.
Choose the Dragonfly View First: Dorsal or Side
A dragonfly is two different stencil jobs depending on viewpoint, so commit before drawing anything. In a dorsal (top-down) view the insect is symmetrical: a slim central abdomen with four narrow wings spread as countable planes, two forewings and two hindwings. In a side (profile) view the insect is directional: one long abdomen axis with wings stacked or angled above it and six small legs tucked beneath.
- Dorsal view: pick it for flat fields where symmetry can breathe: the upper back, sternum, outer thigh, or calf. The stencil wins when all four wings stay separable with open skin between neighbors and the forewings read clearly longer than the hindwings. It fails when wings overlap into one petal mass, so either spread them or switch views rather than forcing overlap at a small width.
- Side view: pick it for narrow or curved fields where one axis can run with the body: down the spine, along the forearm, or trailing up the side of the calf. The stencil wins when the abdomen forms one unbroken directional line and the wings clear the body line instead of merging into it. It fails when the abdomen kinks or the wings collapse onto the body contour, so straighten the axis or enlarge before touching vein detail.
- Decision check: print both candidate views at the intended width and hold each on the placement. Keep the view whose primary read survives at arm's length: four countable wings for dorsal, one clean abdomen axis for side. If neither survives, the size is wrong, not the view.
Check Slender-Abdomen and Four-Wing Proportions Before Transfer
Dragonfly references fail on proportion long before they fail on style. Run these three checks on the stencil file at the exact physical size, with scaling off, and fix the first failure before moving on.
- Abdomen slenderness: the abdomen should read as a long tapered needle, clearly narrower than the wing bases, with visible segment joints rather than one uniform tube. Compare the transformation study, where the slender form keeps its own silhouette against the wings. If the abdomen looks as thick as a wing base, slim it; a thick abdomen turns a dragonfly into a generic bug at transfer size.
- Four narrow wings: confirm two forewings and two hindwings, each a narrow membrane with the forewings measurably longer. Use the four-wing study as the baseline: open separations between neighboring wings matter more than any interior vein. If two wings share an edge with no skin between them, reopen the gap or remove one overlapping wing plane before keeping veins.
- Head and legs last: the head is small with large compound eyes, and the six legs tuck close under the thorax in flight views. These are subordinate marks. If eyes or legs compete with the abdomen or wings for visual weight, shrink and lighten them; they are the first detail to simplify, never the structure to build around. Perched views with sprawled legs need extra width, so default to tucked legs unless the placement allows a larger piece.
Simplify Veins So Thin Lines Hold at Small Sizes
Wing veins are the classic dragonfly failure point: they look delicate on screen and close into gray blur on skin. Apply this simplification ladder from detailed to minimal, and stop at the rung that holds at your exact width.
- Full venation (large pieces only): keep the leading-edge vein plus a few long cells near the wing base, and drop cross-veins in the outer third of each wing. This rung only survives on broad fields at generous widths where every kept vein holds open neighbors.
- Reduced venation (medium sizes): keep the wing outline, one strong leading edge per wing, and two or three long base cells; remove all fine cross-veining. If the wing still reads as a dragonfly membrane without the cross-veins, they were decoration and the stencil is stronger without them.
- Outline plus accents (small sizes): keep the four wing outlines with open separations plus the abdomen segments, and reduce veins to at most one leading edge per forewing. The minimal-outline study shows this floor: contour alone carries the read because nothing inside can close up.
- Small-size hold rule: set the intended width, preview at true size, and find the tightest vein gap. If it has no visible skin at 100 percent, merge or delete veins there before changing any line mass. The line-weight guide owns the separate question of Fine versus Normal versus Bold treatment once the surviving geometry is right, and the size calculator inspects the file at a real physical size before print.
Run the Transfer-Ready Prep Sequence
Once the view, proportions, and vein level are locked, work this checklist in order. Each step is dragonfly-specific; generic paper and fit mechanics stay with their owners linked below.
- Lock view and width: write down dorsal or side plus the exact width in centimeters. If the width changed during simplification, re-run the proportion checks at the new size rather than trusting the earlier pass.
- Proof gaps at true size: print at 100 percent with no scaling and confirm open skin between all four wings, between abdomen segments, and around every kept vein. The gap study sets the standard: any gap that looks doubtful on paper will vanish on skin.
- Orient for the body: align a side-view abdomen with the limb or spine axis, and center a dorsal view on the placement midline. Preview direction on a body photo with Fit to Body while edits are still cheap, since a view that fights the body line will distort at transfer no matter how clean the file is.
- Set print and paper: verify exact dimensions with Size and Print, then follow the stencil paper guide for media choice and the placement guide for wrap and positioning depth. This page does not re-teach those workflows; it hands off once the dragonfly decisions are made.
- Final transfer check: confirm mirror orientation for any asymmetrical side view, confirm the stencil reads at arm's length, and only then commit to skin. If one cluster still crowds, simplify that cluster rather than enlarging the whole piece past the placement limit.
Compare Dragonfly Studies Before Preparing Your Own Reference
These are curated structural studies for dragonfly stencil vetting, not a separate dragonfly generator and not dragonfly photography. Browse the broader animal tattoo stencil collection for insect-adjacent construction logic and the symbol collection for compact wing and segmentation geometry, or compare every curated direction from the subject index when the job might belong to a different insect. Butterfly construction, with its broad scaly wings and symmetric border patterns, belongs to the butterfly subject; perched-versus-flight feather logic belongs to the owl guide. If you are starting from your own photo, drawing, or reference, use the photo-to-stencil workflow first, then generate one stencil online when the source is ready. Keep generic simplification and transfer mechanics in their prep owners; this page owns only the dragonfly view decision, the abdomen and wing proportion checks, the vein ladder, and the transfer-ready sequence.
FAQ
Which dragonfly view fits my placement and size goal?
Choose dorsal for flat fields where symmetry can breathe, such as the upper back, sternum, outer thigh, or calf, because four countable wings need room to separate. Choose side view for narrow or curved fields where one axis runs with the body, such as down the spine, along the forearm, or up the side of the calf. Print both candidates at the intended width and keep the view whose primary read survives at arm's length; if neither survives, change the size before changing anything else.
How do I check slender-abdomen and four-wing proportions?
Confirm the abdomen reads as a long tapered needle, narrower than the wing bases, with visible segment joints. Confirm two forewings and two hindwings as narrow membranes with the forewings measurably longer and open skin between every neighboring wing. Keep the small head and tucked legs subordinate; if they compete with the abdomen or wings, simplify them first. Run all three checks at the exact physical size with scaling off.
How far do I simplify veins so small sizes hold?
Work the ladder down: full venation with base cells only on large pieces, reduced venation with one leading edge per wing at medium sizes, and outline plus accents at small sizes. Find the tightest vein gap at true size; if it holds no visible skin, merge or delete veins there before adjusting line mass. Below a certain width every interior vein is a liability, and the abdomen-plus-wing silhouette must carry the read alone.
What is my transfer-ready prep sequence for this dragonfly?
Lock the view and exact width, proof every gap at a true-size print, orient the abdomen or symmetry axis to the body with a photo preview, verify dimensions with the size calculator, follow the paper and placement guides for media and fit depth, then confirm mirror orientation and arm's-length readability before committing to skin. Simplify any crowding cluster rather than enlarging past the placement limit.
Why are moth, spider, and hummingbird examples on a dragonfly page?
They are labeled structural studies, not dragonfly depictions. No dragonfly stencil sits in the reviewed inventory yet, so each example isolates one construction lesson dragonflies need: four-wing symmetry, slender-body separation, side-view posture, fine-limb gaps, and small-size contour floors. Captions and commentary disclose the depicted creature on each piece. When the actual job is a moth, spider, or bird rather than a dragonfly, the symbol and animal collections remain the right owners.
Can I turn my own dragonfly reference into a stencil here?
This page is a vetting and comparison guide, not a separate dragonfly generator. Use the photo-to-stencil workflow or the online generator for your own reference, then use the view framework, the proportion checks, the vein ladder, and the prep sequence above to judge abdomen slenderness, wing separations, vein levels, and orientation before print.
Examples
Dragonfly stencil examples
Compare the linework, spacing and detail choices that make each stencil read differently.
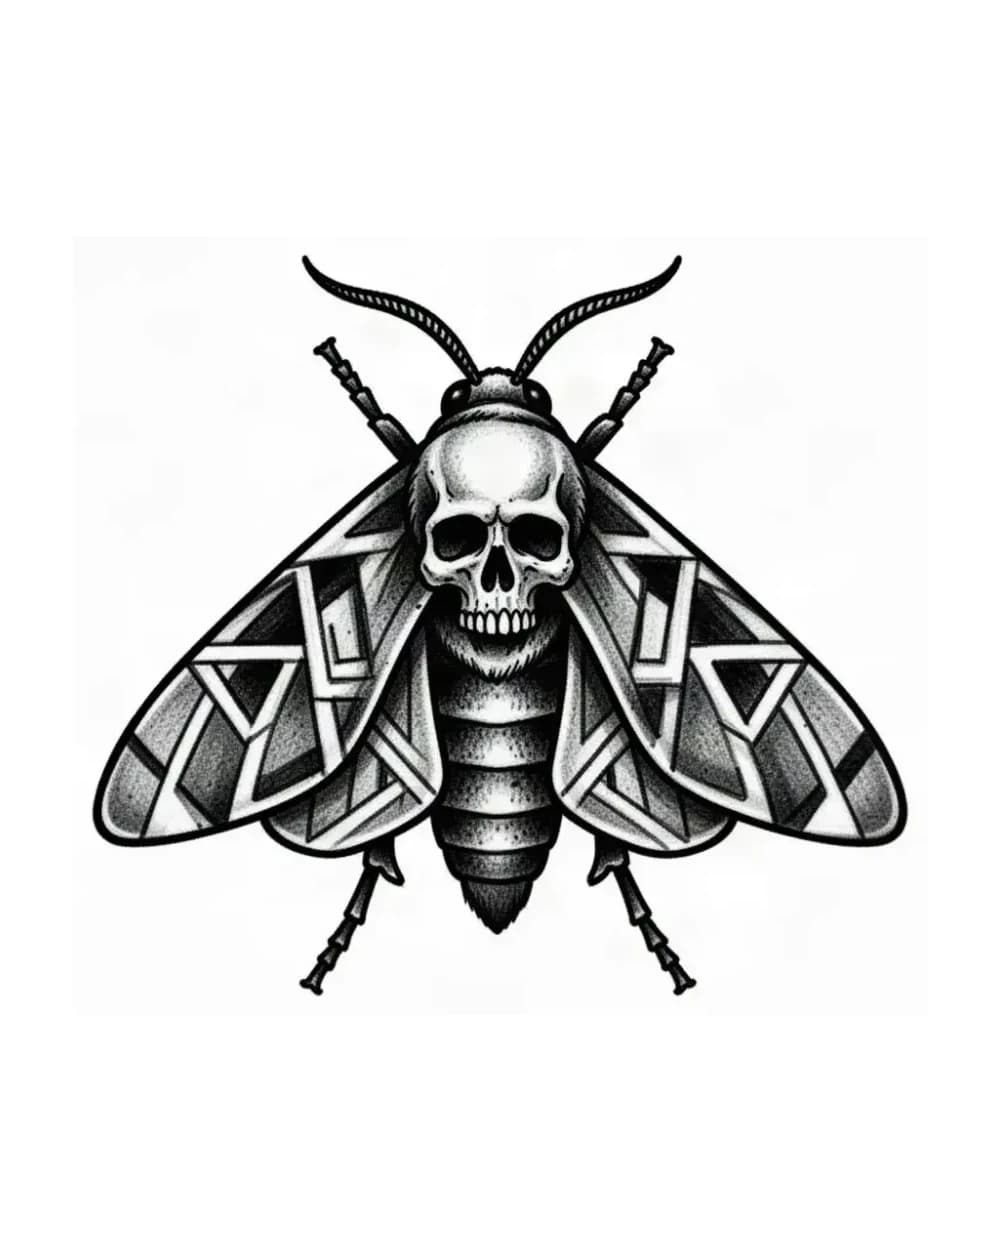
A symmetrical death moth used here as a four-wing study: two forewings and two hindwings sit as countable planes around one central body, the same layout check a dorsal dragonfly must pass before vein detail matters.
Explore more tattoo symbol stencils stencils
- The four wings keep a first read through outer contour and open separations between neighboring wings, which models the dorsal dragonfly rule: wing plan comes first, interior veins second, decoration never.
- Artists vetting a dorsal (top-down) dragonfly who need to see how four narrow wings stay separable at final size, and how much vein structure can be removed before the wings read as plain petals.
- This depicts a moth, not a dragonfly; use it for four-wing symmetry and vein-reduction logic only. Moth wings are broad and scaled while dragonfly wings are narrow membranes, so protect the forewing-to-hindwing length difference and never copy the skull marking or scalloped edges onto a dragonfly.
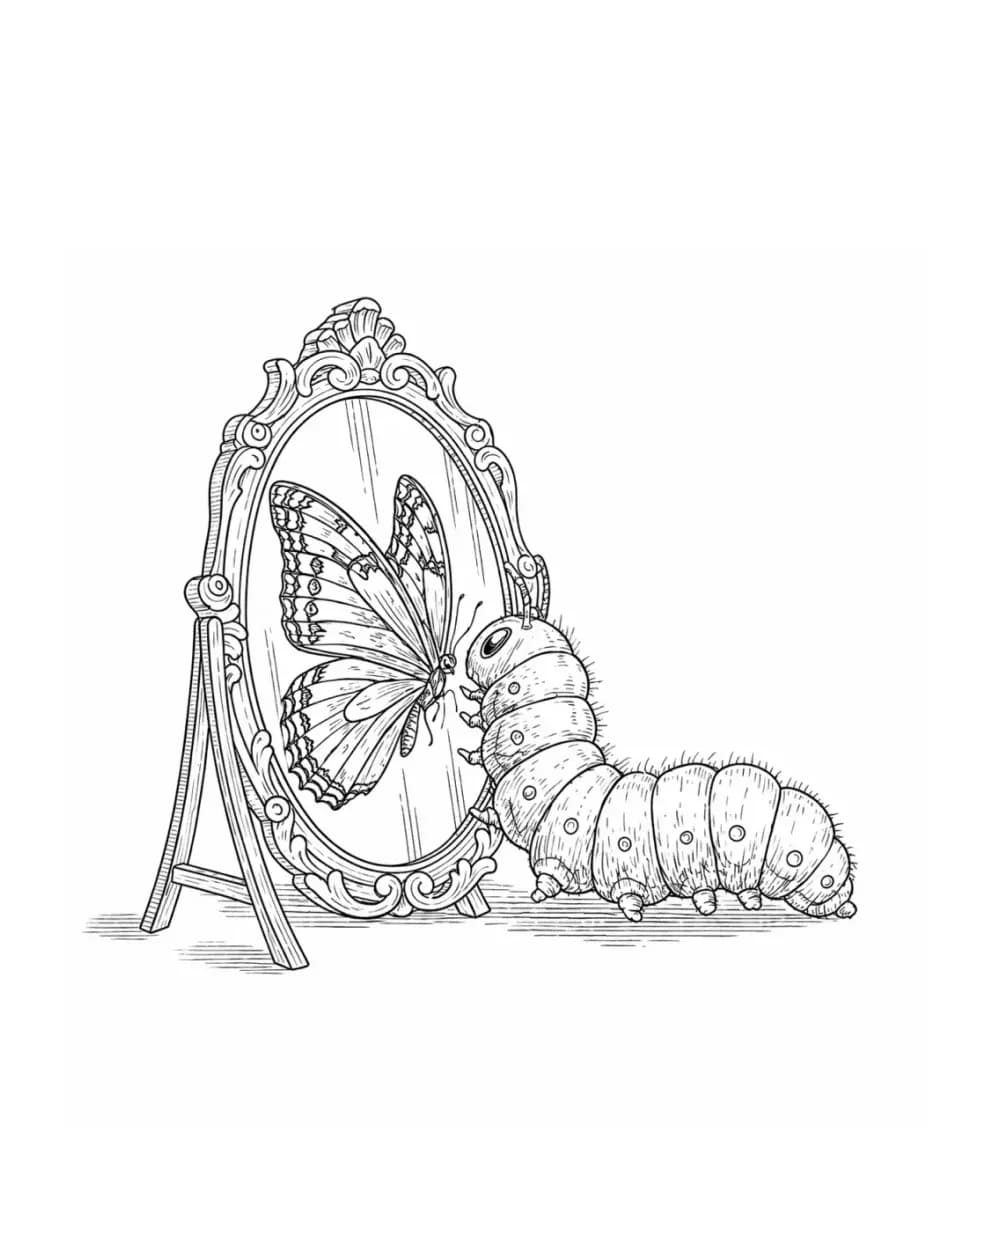
A two-form transformation composition used here as a slender-body study: the caterpillar keeps a long segmented read while the butterfly holds one clear outer wing shape, the same body-versus-wing hierarchy a dragonfly needs.
Explore more animal tattoo stencil gallery stencils
- The two forms never share an outline, which models the dragonfly priority: the slender abdomen must own its own silhouette before wing veins enter, and each wing keeps an independent contour.
- Artists deciding how much abdomen segmentation a dragonfly keeps, and how to keep the slim body readable against four wings without letting either side steal the read.
- This depicts a caterpillar and a butterfly, not a dragonfly; use it for body segmentation and wing separation logic only. Caterpillar segments are chunky and butterfly wings are broad, so slim the segments toward a true dragonfly abdomen and never copy butterfly scallops or border patterns.
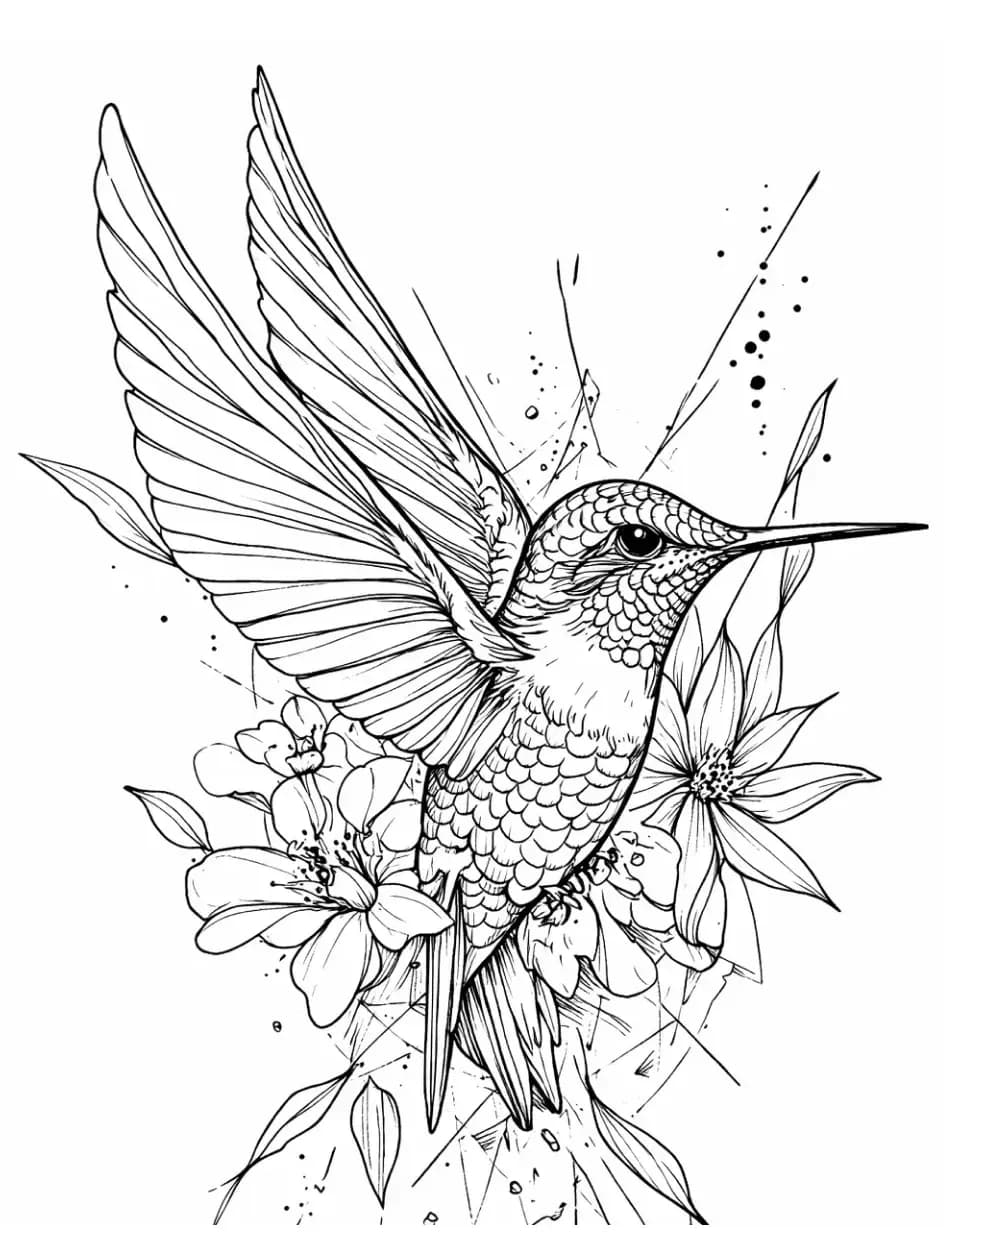
A wing-forward hummingbird used here as a side-view study: beak direction sets one body axis while the raised wing keeps its own edge outside the floral support, the same profile discipline a side-view dragonfly needs on curved placements.
Explore more animal tattoo stencil gallery stencils
- The bird reads from beak direction plus one raised wing edge before floral accents matter, which models the side-view dragonfly check: abdomen axis first, wing placement second, support detail last.
- Artists planning a side-view dragonfly for forearms, calves, or ribs, where the abdomen must run with the limb and the wings must clear the body line without merging into it.
- This depicts a hummingbird, not a dragonfly; use it for profile axis and wing-posture logic only. A hummingbird carries two feathered wings and a beak, so convert the lesson to four membrane wings, six tucked legs, and a head with large compound eyes rather than copying any feather or beak shape.
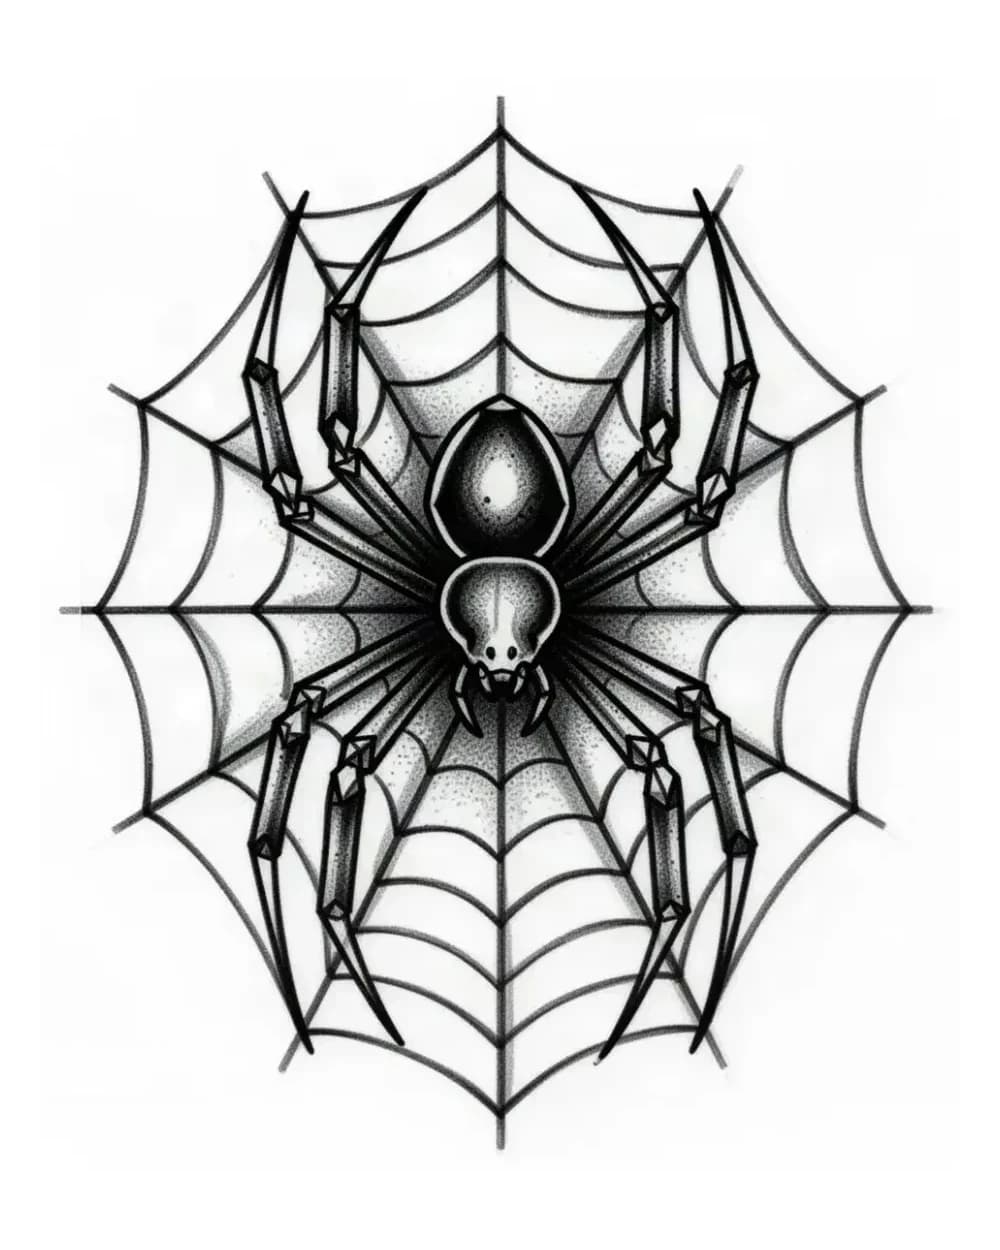
A geometric spider on a radial web used here as a gap-retention study: jointed legs hold open separations from the body and from each neighboring leg, the same spacing test dragonfly abdomen segments, legs, and wing veins must pass at transfer size.
Explore more tattoo symbol stencils stencils
- Each leg stays countable because open gaps separate it from its neighbors, which is the exact standard to apply to dragonfly veins and abdomen joints: if a gap closes here at true size, it will close on skin.
- Artists checking whether thin dragonfly legs, abdomen segments, and vein lines keep open skin between neighbors at a compact width, and finding which cluster closes first.
- This depicts a spider on a web, not a dragonfly; use it for segmentation and gap logic only. Eight jointed walking legs are not four flight wings, so translate the lesson to wing-vein spacing and abdomen joints rather than copying leg count or the radial web.
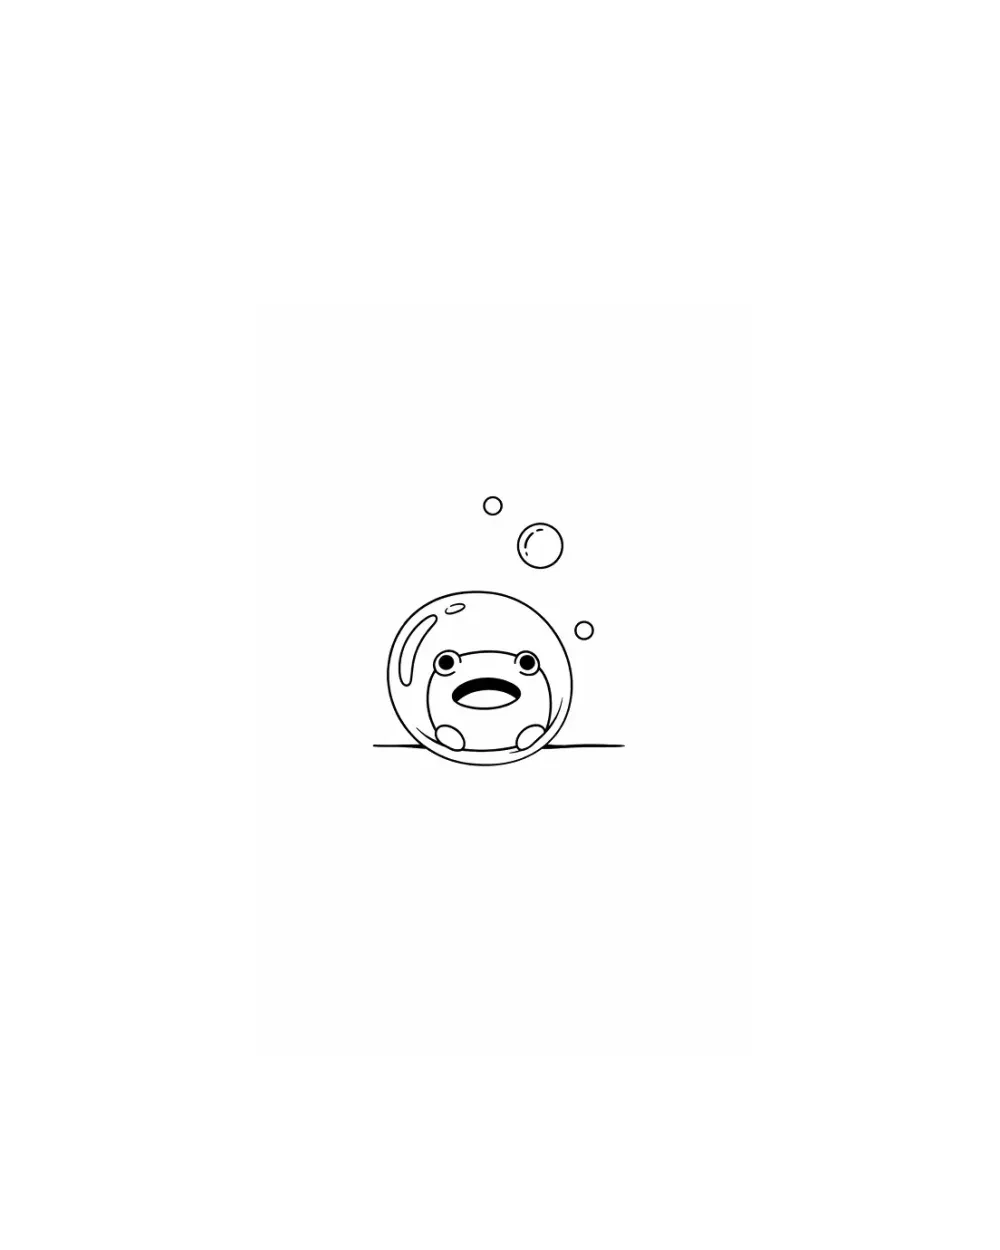
A compact frog resting in a bubble used here as the simplification endpoint: one continuous outer contour with the minimum interior marks that still reads as the creature, the same floor a tiny dragonfly must reach before transfer.
Explore more animal tattoo stencil gallery stencils
- The form survives through outer contour alone because nothing inside it can close up, which proves the small-size rule: below a certain width, every interior vein is a liability and the abdomen-plus-wing silhouette must carry the read.
- Artists placing a micro dragonfly as an accent or inside a larger composition, who need to confirm how little interior detail a small insect stencil needs to stay legible.
- This depicts a small frog in a bubble, not a dragonfly; use it as scale proof only. It carries almost no interior information, so it cannot guide a detailed dragonfly; treat it as the extreme simplified end of the vein ladder, not as a design to copy.
FAQ
Quick questions about dragonfly stencils.
Choose dorsal for flat fields where symmetry can breathe, such as the upper back, sternum, outer thigh, or calf, because four countable wings need room to separate. Choose side view for narrow or curved fields where one axis runs with the body, such as down the spine, along the forearm, or up the side of the calf. Print both candidates at the intended width and keep the view whose primary read survives at arm's length; if neither survives, change the size before changing anything else.
Next step
Turn your own reference into a clean stencil draft.
Use what reads clearly here as direction, then start from your own reference.