

Stencil File Workflow
How to Version Tattoo Stencil Files So the Approved Version Gets Printed
Keep tattoo stencil revisions traceable from review to approval, final size, mirror state, export, print, and the physical stencil without turning the workflow into paperwork.
tattoo stencil versioning · tattoo design revisions · tattoo stencil file workflow · tattoo design approval · stencil print workflow
- August 24, 2026
- 9 min
The newest file is not automatically the file you approved.
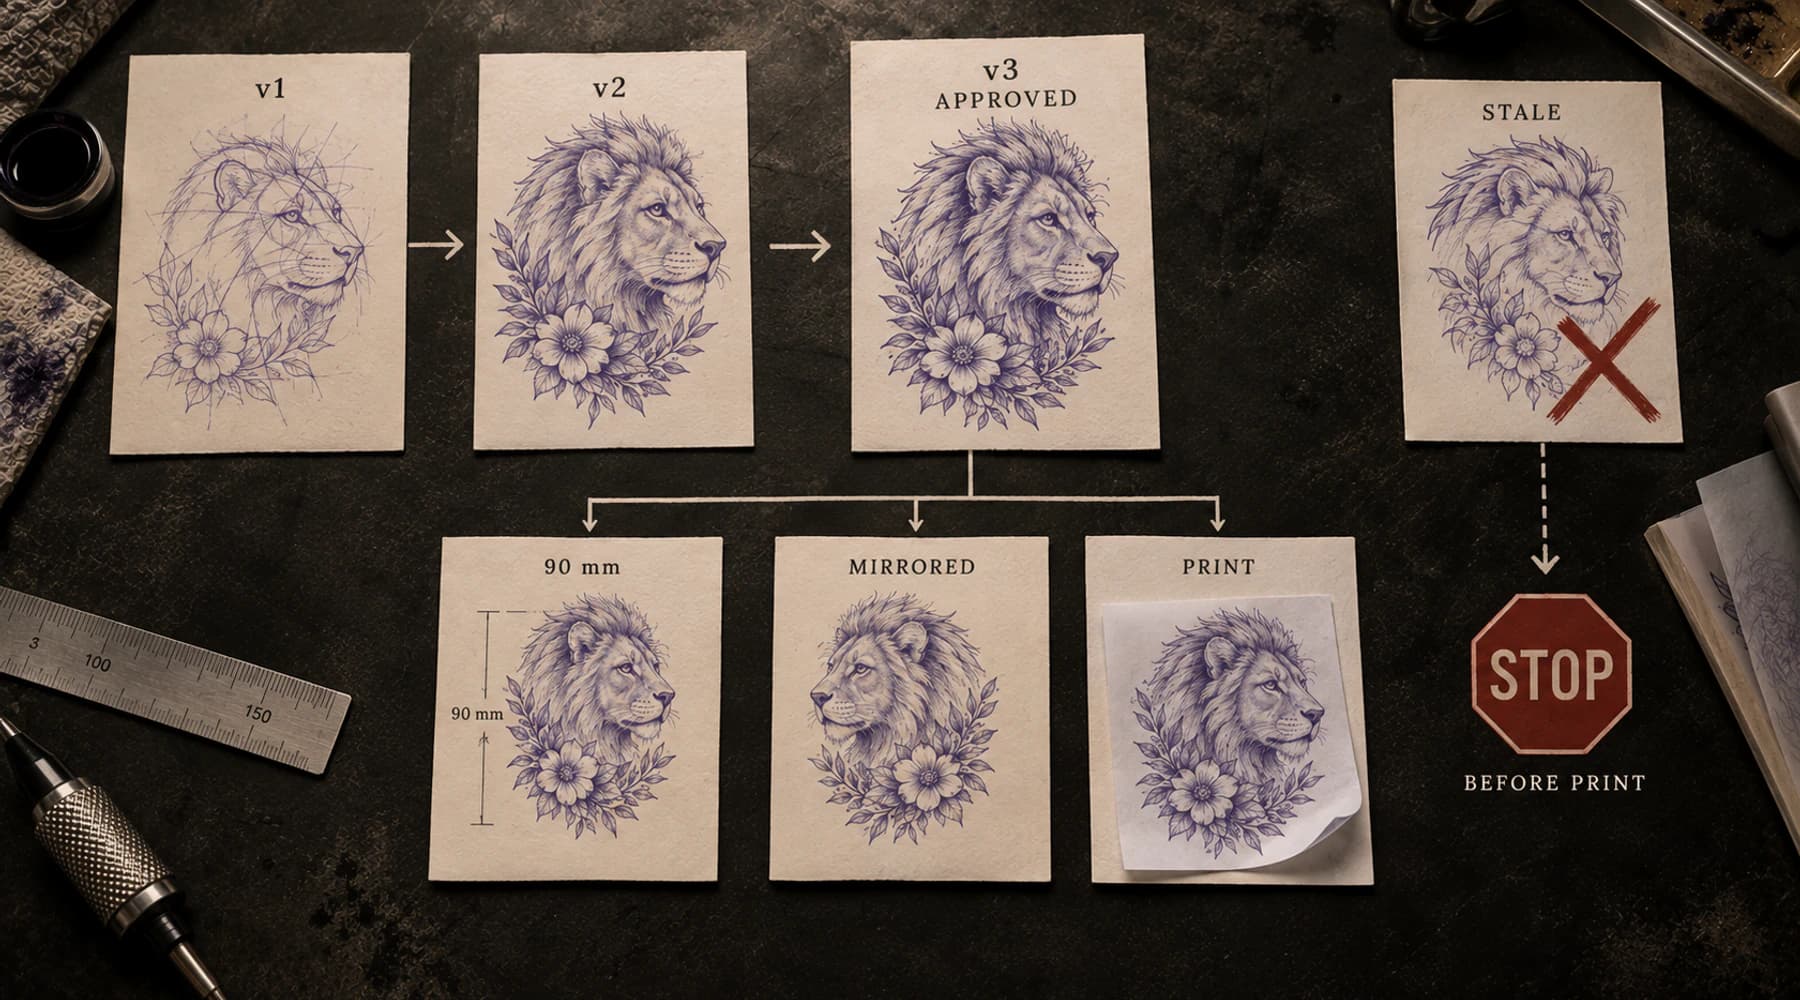
A tattoo project can easily end up with several design revisions, a client-review image, a mirrored copy, two print sizes, and an old PDF still sitting in Downloads. The problem starts when one of those files reaches the printer and nobody is completely sure which design it came from.
You do not need a complicated file-management system. You need to be able to answer four questions quickly:
- Which design version was approved?
- Did the artwork change after that approval?
- What size and mirror state is this print file?
- Is this the exact file I intend to print now?
A sensible filename helps. A short note helps. Keeping one approved master helps most.
Separate design changes from print preparation
This is the most useful distinction in the whole workflow.
A design revision changes what could end up on skin. Make a new revision when you:
- add, remove, move, or redraw a line;
- change lettering or a date;
- move a portrait feature;
- alter a logo or handwriting shape;
- change composition or crop in a meaningful way;
- open or close a gap;
- stretch, reshape, or simplify the design.
A print variant keeps the approved artwork the same but prepares it for output. Examples include:
- 90 mm vs 105 mm physical width;
- mirrored vs unmirrored print state;
- placement on A4 or Letter paper;
- PNG vs a true-size PDF of the same artwork.
Those should not be mixed together inside vague names such as final-final-2.pdf.
A simple record is enough:
DESIGN: v03 approved
PRINT: 90 mm / mirrored / A4 PDF
If the printed stencil is wrong later, this lets you ask a much simpler question: was the approved design wrong, or was the print preparation wrong?
Freeze the approved design before making print variants
Once a revision is accepted for the job, keep one stable copy of that exact artwork.
Do not continue editing the only file marked approved. Save the approved state, then create size-, mirror-, and page-specific outputs from it.
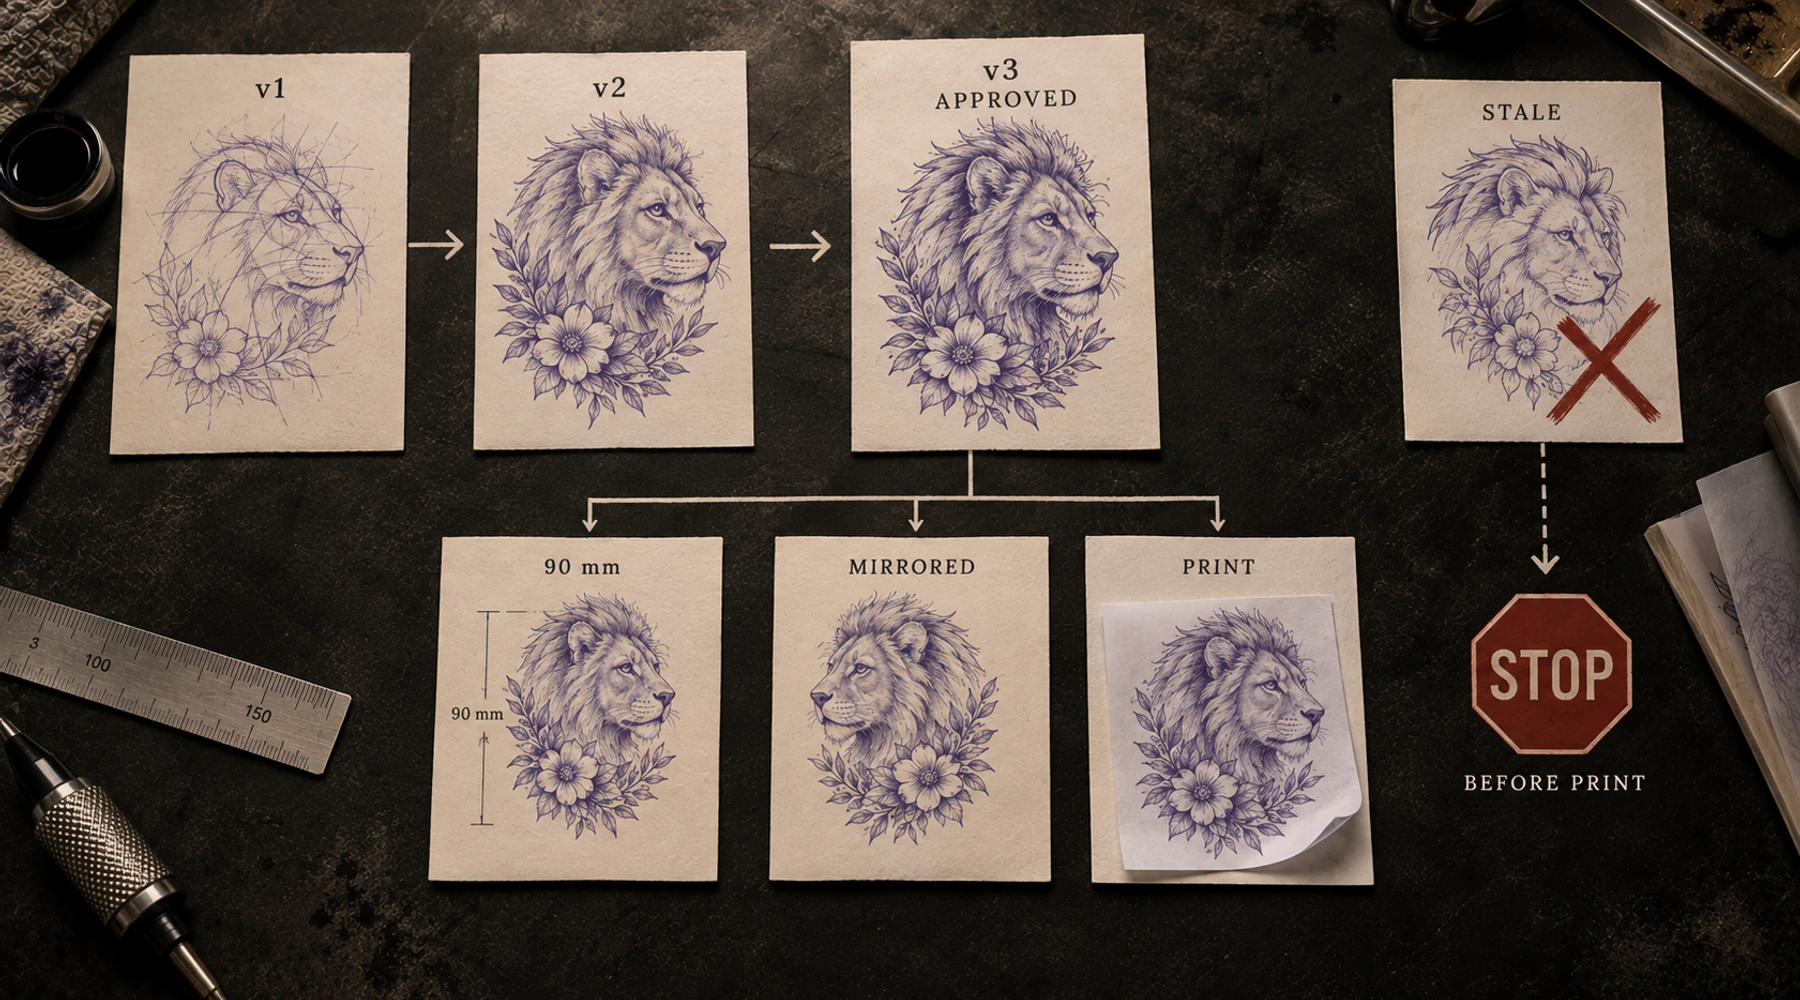
If the geometry changes after approval, make another design revision and review that new version. Do not silently edit the approved file while keeping the old approval label.
What needs a new revision?
Use one practical test:
Could this change alter what the client or artist sees in the tattoo design?
If yes, make a new design revision.
| Change | New design revision? | |---|---| | Add, remove, redraw, or move a line | Yes | | Change portrait feature spacing or silhouette | Yes | | Change lettering, date, or symbol | Yes | | Reshape handwriting or a logo | Yes | | Change crop enough to change composition | Yes | | Stretch one axis or alter proportions | Yes | | Mirror the unchanged approved design for printing | No, record print state | | Set a different physical print size without altering geometry | No, record print size | | Export unchanged artwork to PDF | Usually no | | Re-export the same unchanged file because the first copy was lost | No |
The software may create a new file every time you export. That does not mean every export is a new design revision.
The reverse is also true: saving over the same filename does not mean the design stayed unchanged.
Keep revision notes short
A revision number tells you sequence, not what changed.
You usually need only one sentence per meaningful revision:
| Revision | What changed | Status | |---|---|---| | v01 | First cleaned stencil | Working | | v02 | Restored two leaf gaps | Review | | v03 | Reduced lower flourish | Approved | | v03 / 90 mm / mirrored | Same approved design, print preparation only | Print file |
Avoid vague notes such as cleanup when the edit actually changed a letter, portrait landmark, signature stroke, logo opening, or other meaningful geometry.
For delicate source-preservation work, the handwriting preparation guide and portrait likeness diagnostic show why a small change can matter.
Approval belongs to an exact visual version
A file called approved.png can still be overwritten. A file called v4-final.pdf can still have been exported from the wrong design.
Keep enough context to identify what was actually reviewed. For a simple job, that may be nothing more than:
- the review image;
- the client's or artist's approval message;
- the matching revision label.
The Tattoo Design Approval Sheet Maker can put one artwork version, review status, dimensions, orientation, notes, project ID, and date on one sheet. Its Approved label is a creative workflow status, not a legal consent or waiver.
After approval, ask one question before every edit: am I changing the design, or only preparing the same design for print?
Record mirror state separately
A perfectly approved design can still print backwards.
Keep the review version in the intended final viewing direction, then record any print reversal separately. For example:
rose-v03-approved.png
rose-v03-print-90mm-mirrored.pdf
The labels are only examples. What matters is that you do not have to remember whether a particular export has already been flipped.
Do not guess the correct mirror state from the filename alone. Verify the actual printer and transfer path. The mirror guide covers that workflow.
If you cannot tell whether the file has already been mirrored, go back to the approved view and rebuild the print variant from there.
Record the real print size
One approved design can legitimately have several physical sizes.
Keep the intended width, and height when useful, attached to each print output:
rose-v03-print-90mm-mirrored.pdf
rose-v03-print-105mm-mirrored.pdf
If resizing forces you to remove lines, open gaps, or otherwise change the artwork, that is no longer just a print-size variant. The geometry changed, so make a new design revision.
Use the Tattoo Stencil Size & Print Calculator when you need known physical dimensions. If a printed stencil comes out at the wrong measurement, use the wrong-size diagnostic.
Watch for stale exports
This is a common failure:
v03 artwork updated
-> old v02-print.pdf still exists
-> old PDF is easier to find
-> old PDF gets printed
A recent modification date does not guarantee that the file contains the approved design. A copied old PDF can be newer than the actual approved artwork.
Before printing, either:
- generate a fresh print file from the approved revision; or
- compare the existing export with the approved revision when you are not sure.
The Tattoo Stencil Version Compare can place two versions side by side, overlay them, blink between them, and show differences. It does not know which version was approved, so you still need to identify that yourself.
Use filenames to reduce mistakes, not to replace checking
A practical pattern is:
project-revision-status-print-state.extFor example:
rose-v03-approved.png
rose-v03-print-90mm-mirrored.pdf
Use any naming pattern that your studio can read instantly. The useful parts are:
- project;
- revision;
- approval or working status;
- physical size when relevant;
- mirror state when relevant.
Avoid relying only on final, latest, final2, or use-this-one. Those labels become meaningless as soon as another export is created.
Five checks immediately before print
Open the exact file you are about to send to the printer and verify:
1. Correct approved design
Is this file based on the revision that was actually chosen?
2. No unexpected geometry change
Did any contour, spacing, crop, proportion, character, or design element change after approval?
If you are unsure, compare the approved version with the print file.
3. Correct mirror state
Is left-right orientation correct for this exact printer and transfer workflow?
4. Correct physical size
What width and height should appear on paper?
If you cannot answer that, set the intended size before printing.
5. Correct file
Are you printing the exact PNG or PDF you just checked, rather than a similarly named export from Downloads or another folder?
The Tattoo Stencil Print Checker can inspect one chosen final file at intended size for file-side print risks. It does not know which revision the client approved, so establish that first.
Keep multiple paper stencils identifiable
If you print one stencil and use it immediately, there is little ambiguity.
If you print several sizes, mirrored and unmirrored versions, multiple placements, or several client jobs at once, the paper sheets can become easy to confuse.
A small note can be enough:
v03
90 mm
mirrored
For larger batches, the Stencil Label Sheet Maker can create compact labels with an ID, version, recorded size, mirror state, copies, and optional thumbnail.
When something looks wrong, trace it back one step at a time
Do not immediately open the newest file and start editing.
Follow the chain backwards:
PHYSICAL STENCIL
-> EXACT PRINT FILE
-> PRINT SIZE / MIRROR STATE
-> APPROVED DESIGN
-> WORKING REVISION
Then ask the matching question:
| Problem | First thing to check | |---|---| | Old revision printed | Which design produced this export? | | Working experiment printed | Was this version ever approved? | | Artwork changed after approval | Does the print file still match the approved artwork? | | Backwards print | Where did the horizontal flip happen? | | Wrong size | What physical dimensions belong to this file? | | Wrong composition | Which design variation was actually chosen? | | Old PDF or PNG | Was it regenerated after the last approved change? | | Paper sheets look similar | Which digital file produced this sheet? |
The newest file is not always the right answer. It might be an experiment, an alternate composition, or a new print variant rather than the approved design.
Stop printing when you cannot identify the approved file
Do not guess when:
- two files marked
finalare visibly different; - nobody can identify which revision was approved;
- the artwork changed after approval without another review;
- mirror state is unknown;
- intended size is unknown;
- several old exports coexist and you cannot tell which is current;
- several physical stencils exist and you cannot tell which file produced them.
Go back to the last visual version you can confidently identify as approved, then create a fresh print file from it with the correct size and mirror state.
A simple seven-step routine
A solo artist does not need special project-management software for this.
- Keep the original source or starting artwork.
- Create a new revision when the design itself changes.
- Write one short note about what changed.
- Keep one stable copy of the approved version.
- Create size and mirror variants from that approved copy.
- Open the exact export and verify it before printing.
- Label or retain the printed variant when multiple paper stencils could be confused.
The goal is not more files or more paperwork. It is simple: the design that was approved should be the design that reaches the printer.
Related Guides
Keep reading from here
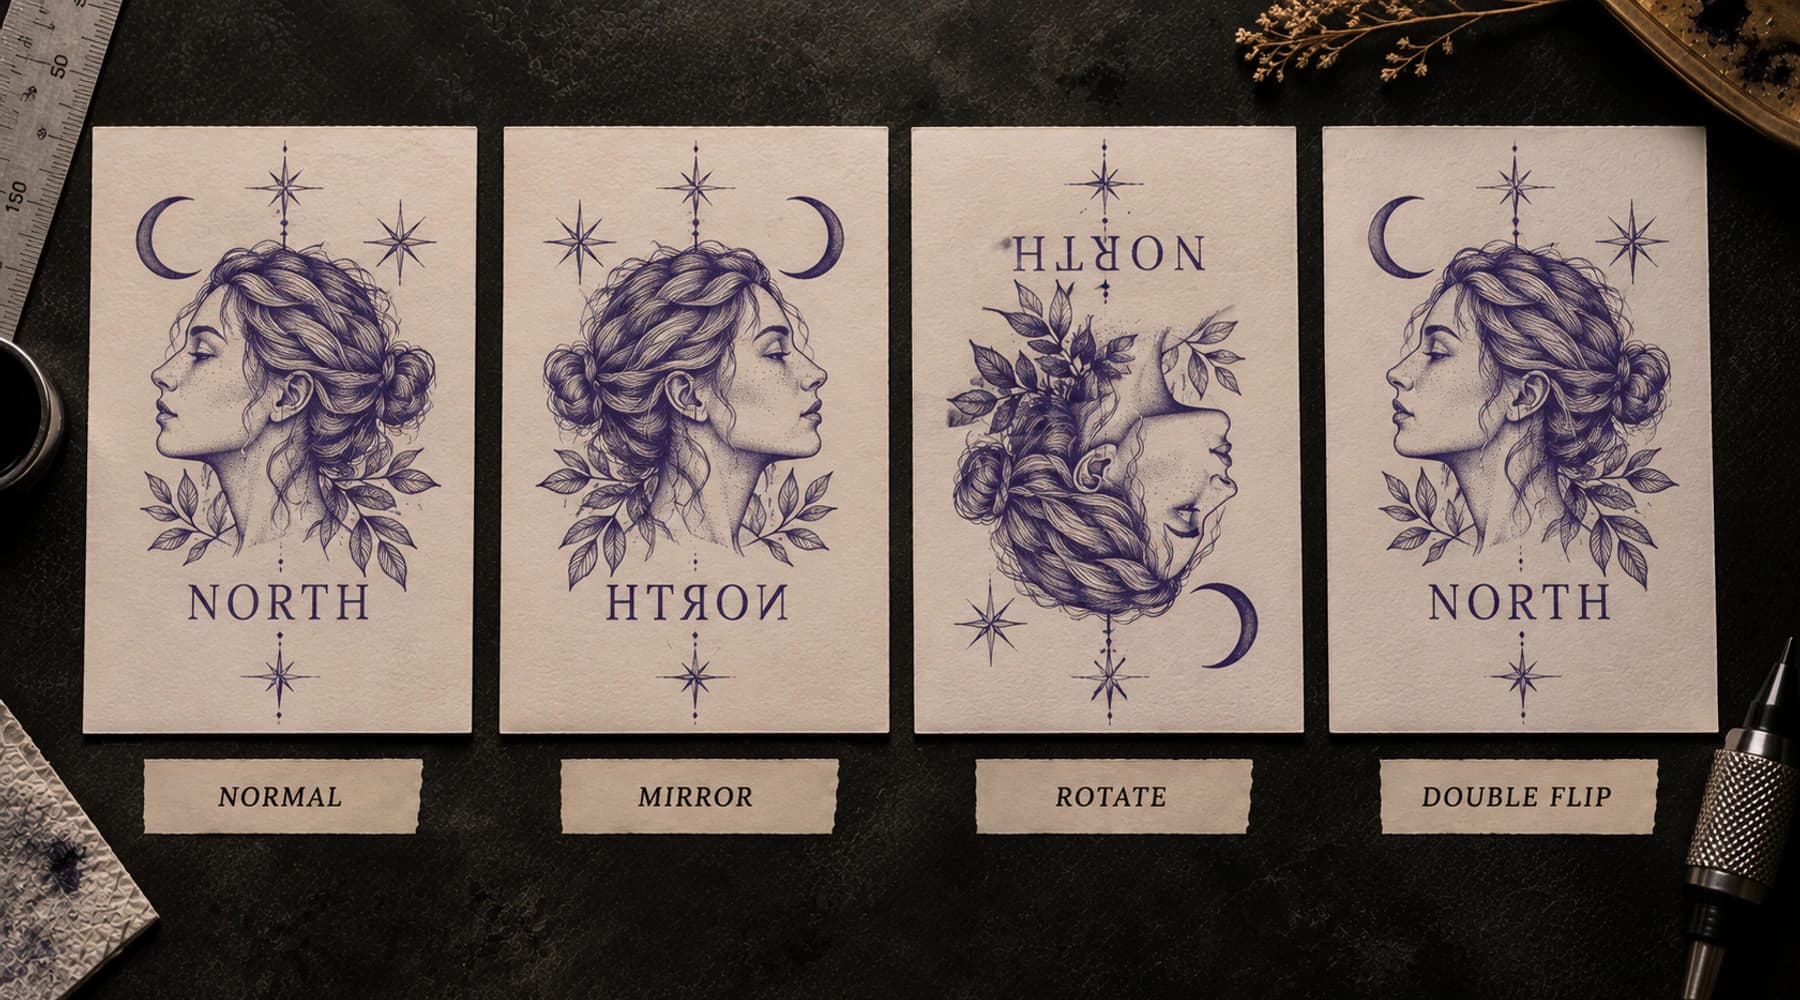
How to Mirror a Tattoo Stencil for Printing
Trace mirror state through design, export, printer, paper and skin so lettering and asymmetric stencils reach the client in the intended orientation.
mirror tattoo stencil · tattoo stencil backwards
Read guide
Tattoo Stencil Printed the Wrong Size? Find Where Scale Changed
Diagnose a tattoo stencil that printed larger or smaller than intended. Measure the paper, compare target and document size, then isolate scaling in the print path.
tattoo stencil wrong size · tattoo stencil printed too small
Read guide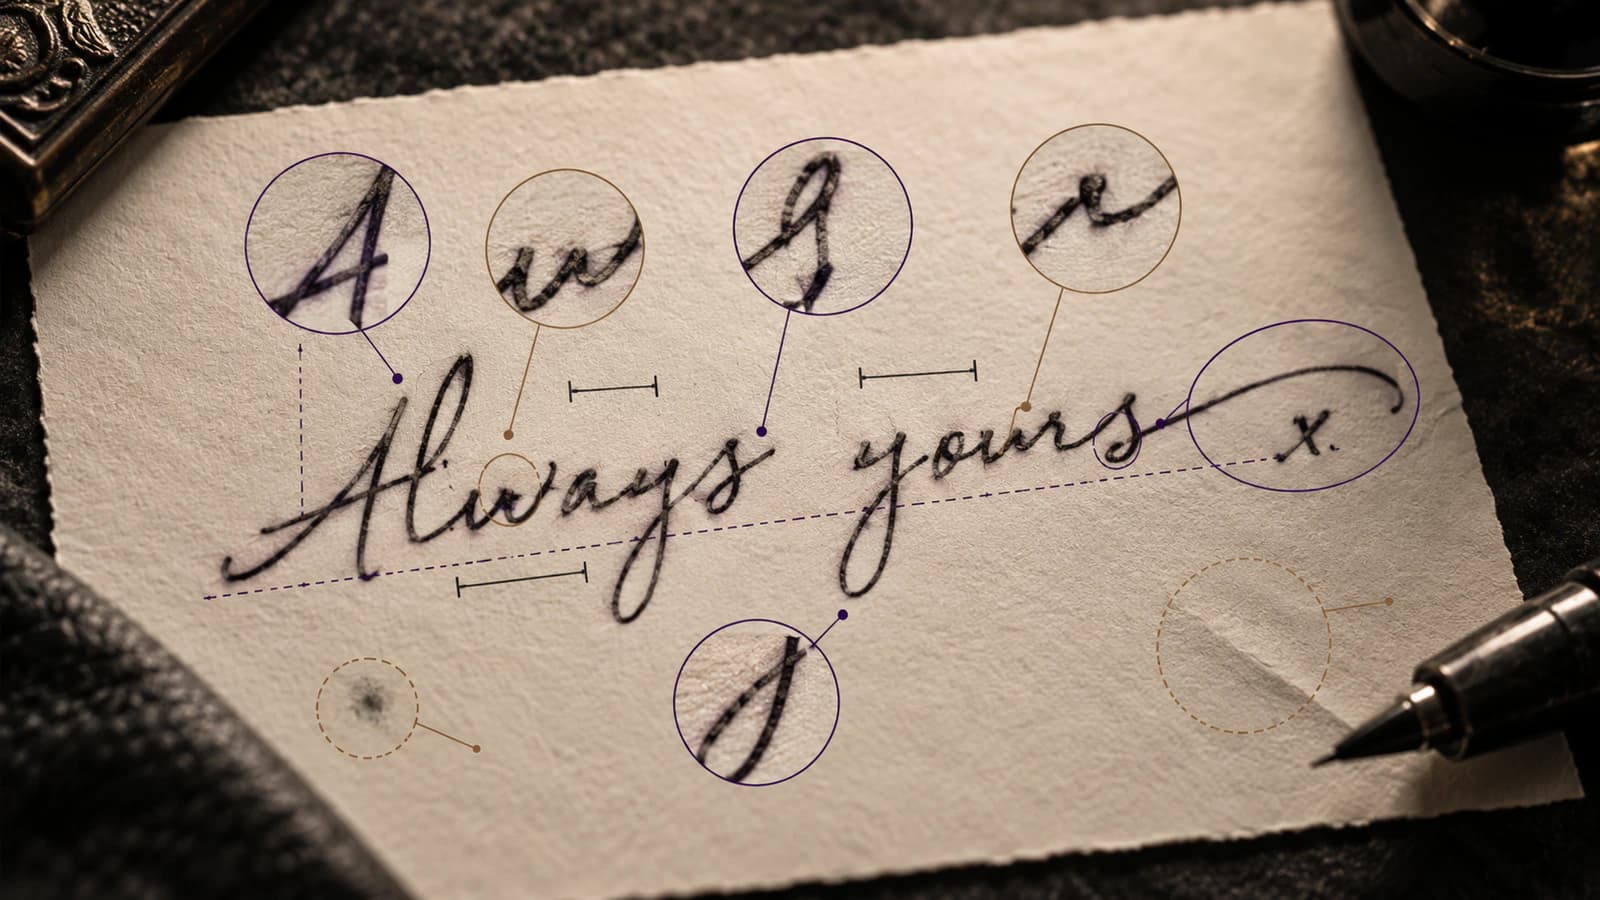
How to Prepare Real Handwriting for a Tattoo Stencil
Prepare a signature, note, or real handwriting for a tattoo stencil while preserving letter shapes, joins, spacing, baseline, and writer-specific irregularities.
handwriting tattoo stencil · signature tattoo stencil
Read guideAuthor
Andrea Mezzadra
Founder and product builder at StencilStudio
Andrea builds StencilStudio and tests how the tools fit into real stencil prep, using real references and outputs to document what works, what changes, and where artist judgment still matters.
In the App
Compare the revision before you freeze it
Put two stencil versions side by side, overlay them, blink A and B, and inspect differences before choosing the version that moves forward.