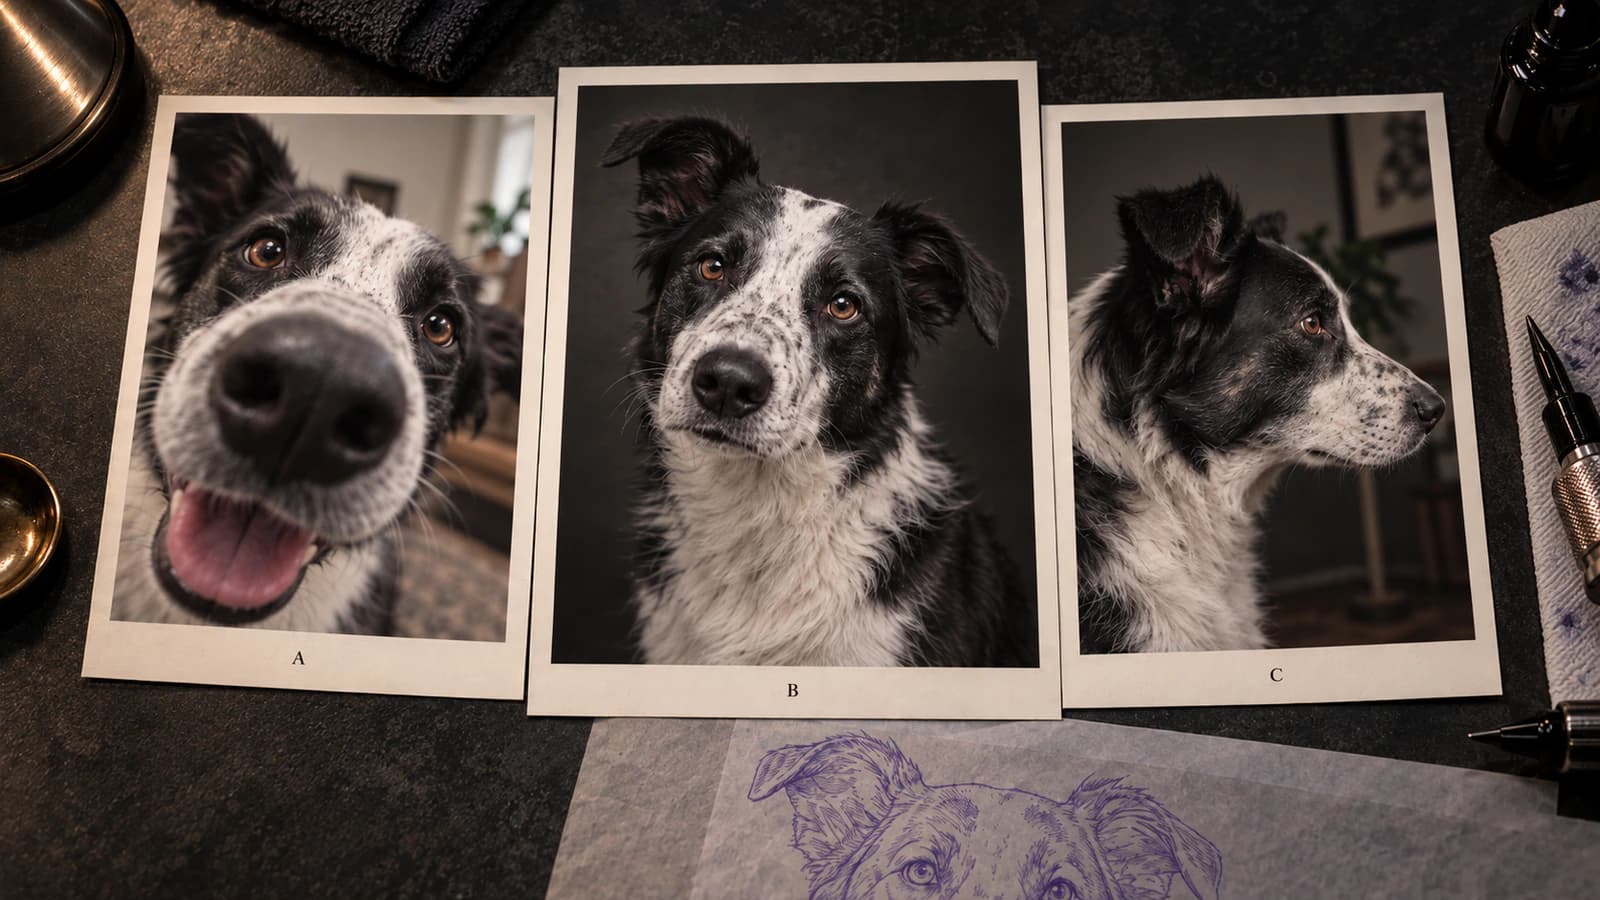
Choose one pet photo that preserves the individual animal before stencil conversion. Check perspective, ears, eyes, muzzle, silhouette, markings, supporting references, and source quality.
pet tattoo reference photo · pet portrait tattoo reference · dog photo tattoo stencil · cat photo tattoo stencil · pet source selection
With several photos of the same pet, the job is not to pick the nicest image. It is to pick the one photo you can trust for the pose you are drawing, then use the others to answer narrow questions.
One photo controls the geometry. A supporting photo adds evidence to that decision. It never votes on coordinates, and it never replaces the pose.
Intended pose match
Primary source
Shows the head turn, angle, and expression the portrait should keep.
Supporting source
Confirms a detail inside that pose instead of offering a different pose.
Find another photo when
No candidate shows the pose the client wants, so the pose itself is still undecided.
Camera distance and perspective
Primary source
Keeps the muzzle, eyes, and ears in proportions that still look like this animal.
Supporting source
Offers a calmer distance for one feature when the primary was shot very close.
Find another photo when
Every candidate is close enough to swell the muzzle and shrink the ears, unless that distortion is the intended look.
Head, ear, and silhouette evidence
Primary source
Shows the outline you plan to draw, including the ears and the top of the head.
Supporting source
Fills in an ear edge, cheek line, or mane shape that the primary crops or hides.
Find another photo when
The defining ear, profile, or head shape is missing from every usable image.
Eye relationship
Primary source
Reads both eyes together, including spacing, angle, and gaze.
Supporting source
Confirms that an asymmetry, squint, or lid shape is normal for this pet.
Find another photo when
One eye is closed, turned away, or lost in shadow in every frame.
Muzzle and nose relationship
Primary source
Keeps nose width, muzzle length, and the mouth line belonging to the same face.
Supporting source
Clarifies whisker pad, jowl, or nose detail the primary flattens.
Find another photo when
The muzzle is blocked by a hand, toy, or extreme angle in all candidates.
Individual markings and asymmetry
Primary source
Places the blaze, mask, patch, or stripes in a readable relationship to the eyes, nose, and ears.
Supporting source
Confirms a marking that falls into shadow or out of frame in the primary.
Find another photo when
A defining marking is never clearly visible, so it would have to be invented.
Characteristic or accidental state
Primary source
Captures the expression and posture the client wants remembered.
Supporting source
Confirms that an unusual ear or mouth position is typical, not a one-frame accident.
Find another photo when
The chosen pose is a fleeting accident that does not match the intended portrait.
Occlusion and missing geometry
Primary source
Keeps collars, blankets, hands, and frame edges away from the parts you need.
Supporting source
Shows the hidden edge behind an accessory, another pet, or a crop.
Find another photo when
The missing area is central to the design and no photo shows it.
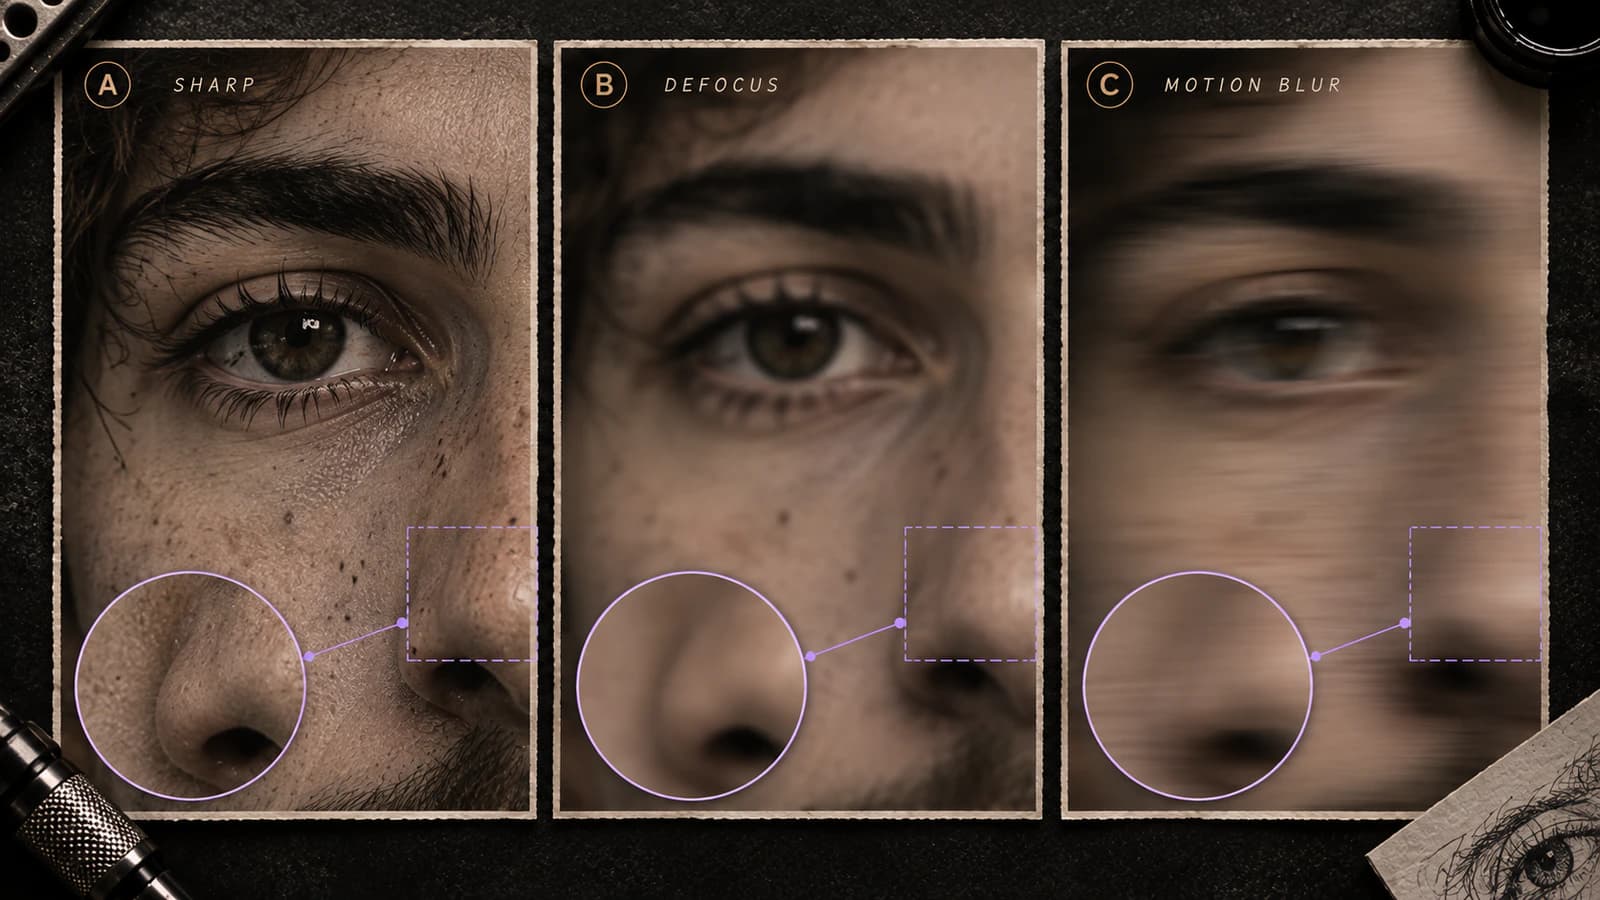
Clarity for inspection
Primary source
Lets you trace the important edges without guessing through blur or compression.
Supporting source
Gives a sharper look at one area without becoming the pose authority.
Find another photo when
The edges you need cannot be located, and the blur diagnostic cannot recover them.
There is no total score and no automatic winner. A photo that loses on sharpness can still win the geometry job if it shows the pose and proportions you actually want.
Label your candidates A, B, C, D in any order. Assign one geometry source, give the other photos one clear question each, and name the features that must survive conversion. Nothing here is uploaded or saved, and the result is a role, not a score.
Your source pack
Primary
Not assigned yet.
Supporting
None yet.
Identity anchors
None named yet.
No geometry source yet
No candidate is controlling the pose. Give one photo the geometry job, or take a new photo that can own the pose before you convert anything.
A supporting photo adds evidence to the chosen pose. It does not donate its own angles or proportions, and a strong expression photo can still be the wrong geometry source.
If you have several photos of the same pet, do not start by asking which one is sharpest. Start with a harder question:
Which photo gives the most trustworthy view of this individual animal for the tattoo you intend to make?
A technically polished image can still be a weak primary source if the camera is extremely close to the muzzle, one ear is cropped, a familiar marking disappears in glare, or the expression is an unusual split-second frame. A modest phone photo can be stronger when the ear set, eye relationship, muzzle, silhouette, markings, and familiar expression all read clearly.
This guide is for choosing and freezing the source before stencil creation.
If the source is already usable but the generated stencil stops looking like the pet, use the pet-likeness diagnostic.
Decide which photo controls the portrait
The selector above turns this into a decision you can make with your own photos. Label your candidates, give one photo the geometry job, give the others one clear question each, and name the features that have to survive conversion.
The result is a role, not a rank. A photo can be the best expression reference and still be the wrong geometry source. A softer photo can win the geometry job if it shows the pose and proportions you actually want.
Choose the individual, not a generic member of the breed
A pet reference has two different recognition jobs.
The first is broad: does this look like a dog, cat, rabbit, horse, bird, or a particular breed or type?
The second is specific: does this look like this animal?
The second question should control source selection.
A photo can contain enough information to draw a convincing Labrador while still hiding the dropped ear, eye asymmetry, muzzle proportion, blaze, cheek shape, or coat patch that distinguishes one Labrador from another. A generic tabby structure does not automatically preserve one cat's eye angle, forehead pattern, muzzle shape, or profile.
Do not correct an unusual feature toward a breed stereotype just because another photo looks more conventional. Source-supported individuality is the point.
Pick one primary geometry source
When several photos exist, assign one image a clear role:
The primary source controls the pose-specific geometry.
That includes the chosen:
camera viewpoint and head turn;
apparent head and muzzle proportions;
ear position in that pose;
eye relationship;
head and neck silhouette;
mouth or tongue position when relevant;
major visible coat-marking relationships.
The primary source does not need to be the only photo you use. It needs to be the one image whose geometry you are willing to treat as the authority for the chosen portrait.
If no photo deserves that role, do not average several weak images into a fictional animal. Ask for another source when possible, or make the reconstruction decision explicit before conversion.
Check perspective before you reward detail
Pet owners often have memorable close-up phone photos. They can be excellent expression references and poor geometry authorities at the same time.
When the camera is very close to a three-dimensional face, the nearer parts of the animal can appear proportionally larger than parts farther from the camera. On a pet portrait, that can make a projecting nose or muzzle dominate while the eyes, ears, and rear of the head recede.
Do not reject phone photos or wide views automatically. Instead compare candidate images of the same pet:
Does one frame make the nose or muzzle look unusually large relative to the head?
Do the ears appear much smaller or farther back than they do in other familiar views?
Is the distortion part of the intended playful portrait, or an accident of camera position?
Does another image confirm the proportions you actually want to preserve?
A close image can remain a useful secondary reference for nose texture, markings, or expression even when it is not the best primary geometry source.
Make a short identity list for this pet
Before choosing between similar photos, write down the few visible features that make the animal individually recognisable.
Do not start with a universal anatomy checklist. Start with this pet.
Useful candidates can include:
one ear that folds, tilts, sits lower, or changes the outer silhouette;
eye spacing, angle, openness, or a stable asymmetry;
muzzle length, width, projection, whisker-pad or jowl shape;
nose placement and its relationship to the muzzle;
a blaze, mask, eye patch, stripe cluster, muzzle white, chest marking, or other major pattern anchor;
a characteristic cheek, mane, curl, ear tuft, or long-hair silhouette;
a familiar mouth posture, head tilt, or expression that the client deliberately wants;
a scar or other stable visible feature that is genuinely supported by the source.
Three to five strong anchors are usually more useful for source selection than a long inventory of hair strands.
The list is not a biological ranking. Different pets carry identity in different places.
Ears, expression, and posture can be temporary
A pet can look very different from one frame to the next without any photo being false.
One ear may be upright when alert and relaxed a second later. A dog may pant in one photo and close its mouth in another. A cat may narrow its eyes, flatten its ears, turn its head, or compress its body into a posture that changes the silhouette.
Ask whether the chosen frame represents the animal in the way the client wants remembered or portrayed.
Do not normalize a one-ear-up pose because a breed guide shows two ears upright. Do not replace an intended open-mouth expression with a neutral mouth because it is easier to simplify.
At the same time, avoid making an accidental motion frame the authority when a more stable photo better represents the intended portrait.
Use coat markings as anchors, not wallpaper
Fur texture and coat identity are not the same thing.
Hundreds of visible hairs can be low-value source information. One asymmetrical blaze or patch can be high-value identity evidence.
When markings matter, choose a primary source that shows where they sit relative to stable structures such as:
eye corners;
nose and muzzle;
forehead;
ear bases;
cheek or jaw;
neck or chest when that area belongs in the tattoo.
A secondary image from another angle can confirm that a marking exists or clarify its shape. It should not be overlaid as though the marking occupies identical two-dimensional coordinates from every viewpoint.
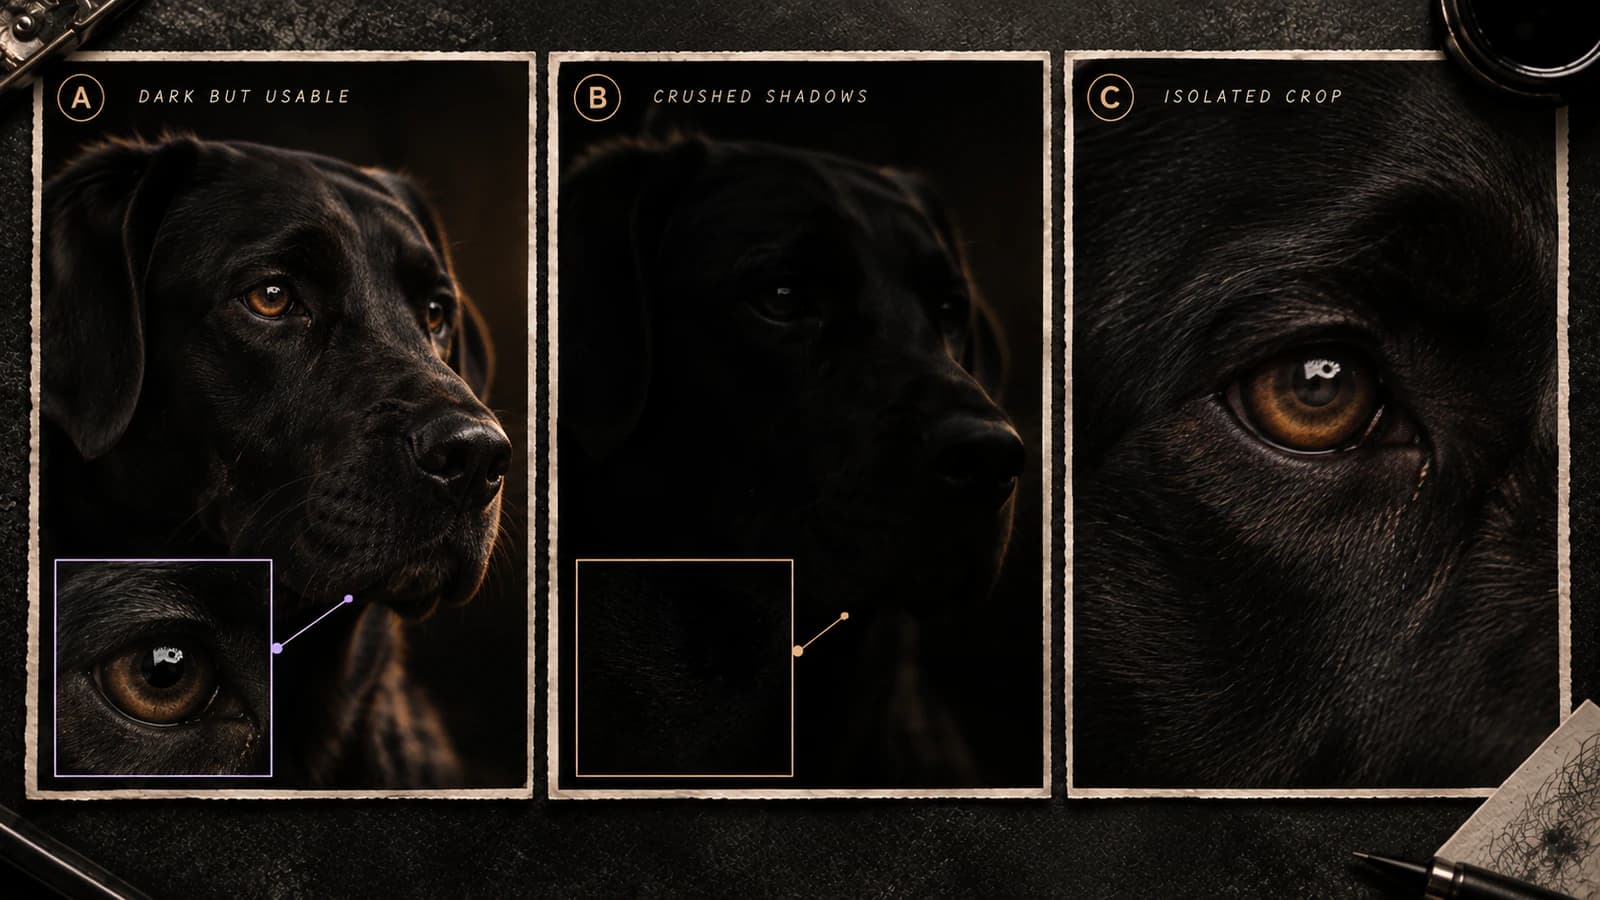
For a dark pet, the same principle applies to light breaks and separations. If the source cannot distinguish an eye, muzzle edge, or cheek plane from the surrounding dark coat, route the image to the dark-reference diagnostic instead of inventing an outline.
Long hair can be part of the silhouette
Do not reduce a long-haired pet to an imagined smooth skull before you have decided what the visible coat mass contributes to identity.
Ear fringe, cheek fur, curls, mane shape, chest flow, and characteristic tufts can change the outer portrait shape enough to matter.
The useful distinction is:
preserve fur structure that carries identity; postpone micro-texture that merely describes hair.
This is one reason the "sharpest photo wins" rule fails. A crisp image of generic fur cannot compensate for a wrong head envelope or hidden ear relationship.
Supporting photos answer questions, they do not vote on geometry
Once the primary source is chosen, secondary references become much more useful because their job is narrow.
A supporting photo can verify:
the hidden edge of an ear;
a marking that falls into shadow in the primary;
the recurring shape of the eyes;
nose or muzzle character;
coat direction;
whether an apparent asymmetry is stable across photos;
the real color boundary that will later need a monochrome interpretation.
Use a specific question for each supporting image.
Good: Does this second photo confirm that the left ear normally folds at the tip?
Bad: Take the ears from A, eyes from B, muzzle from C, and head shape from D.
Different viewpoints contain different projection geometry. Supporting references should reduce uncertainty, not silently create a composite animal that was never photographed.
Synthetic source-selection example. The strongest primary source is the image whose pose-specific geometry and individual identity cues are readable together. Other photos can verify uncertain details without replacing its perspective.
Worked example: four photos, one source pack
Suppose the client sends four photos of the same dog. This is an illustrative example, not a real client case, but the decision pattern repeats often.
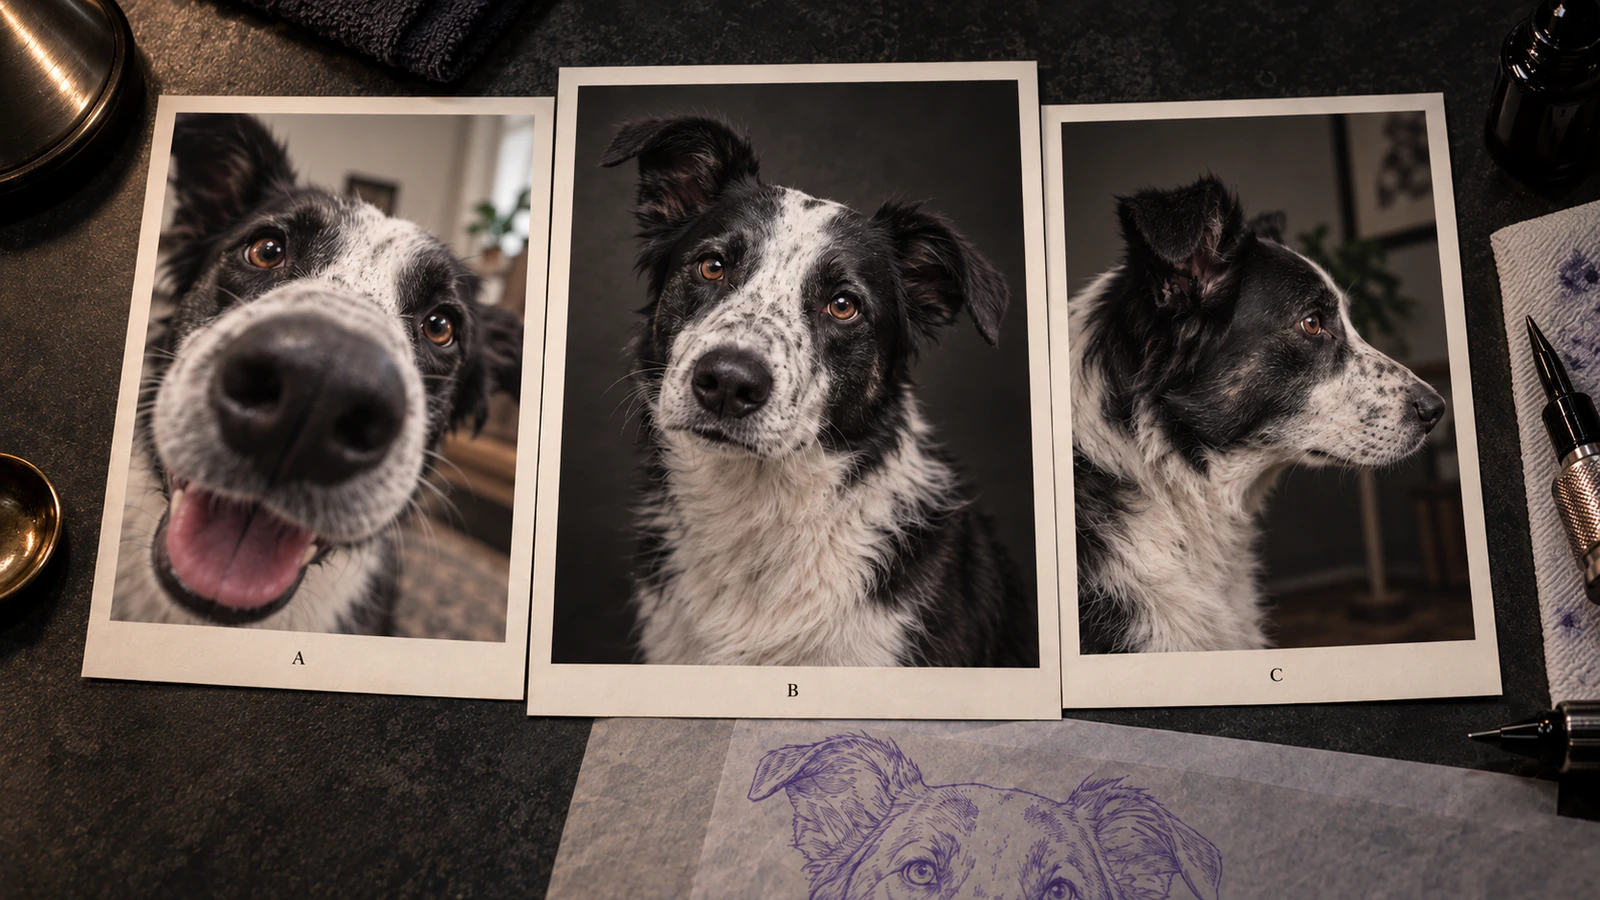
Photo A is very sharp and shows the expression the client loves, but it was taken close to the face, so the muzzle looks much larger than the ears. It still answers a useful question, so it becomes a supporting reference for expression and nose detail.
Photo B is slightly softer but shows the intended head turn, both ears, a stable silhouette, and the markings in their real positions. It becomes the primary geometry source.
Photo C is a side angle that shows the left ear folding at the tip. It becomes a supporting reference that confirms the ear.
Photo D is cropped and motion-blurred. It is set aside for this design.
The source pack is now a decision:
Primary: Photo B controls pose, proportions, and outline.
Supporting: Photo A confirms the expression and nose detail without donating its close-camera proportions.
A different dog, a different pose, or a different intended expression would move the roles. That is why the source pack is written down before conversion rather than decided from whichever result looks best afterward.
Keep enough crop context to judge the pet
Do not crop straight to the eyes and nose before you have judged the whole source.
For a head portrait, keep enough working context to see the:
complete ear set when it matters;
top and sides of the head;
cheek and muzzle envelope;
head-to-neck transition;
long-hair or mane silhouette;
relevant collar, tag, bow, or accessory if it is intentionally part of the design.
For a full-body pet tattoo, the identity evidence may also include body silhouette, posture, leg relationships, tail, and larger coat markings.
Cropping is still a general photo-preparation operation. The pet-specific rule here is narrower: do not remove identity context before you have decided which source deserves authority.
Keep the untouched original and make a separate working crop.
Treat occlusion as missing evidence
Hands, blankets, toys, furniture, harnesses, leashes, other pets, long fur, and the frame edge can hide important pet geometry.
A meaningful photo is not automatically a complete source.
If an identity-critical feature is hidden:
keep the primary photo if it still owns the intended pose;
find a real supporting photo that shows the hidden feature;
decide whether that feature needs to appear in the tattoo;
avoid presenting generative fill or inpainting as recovered source truth.
Removing a leash or background object can be a harmless design edit in one area and an identity-changing reconstruction where it crosses fur, an ear, a leg, or the muzzle. Compare cleanup back to real source evidence.
Run technical preflight after the identity choice
Source selection and file quality are different decisions.
After you know which image should be the primary reference, check the actual file that will enter the workflow.
If the chosen photo is a screenshot, social-media copy, messaging preview, or compressed derivative, ask for the original camera file or highest-quality available version before trying to manufacture detail.
An upscale can create a larger or cleaner-looking file. It cannot prove a pet-specific ear edge, eyelid, marking boundary, or muzzle contour that the source never recorded.
If you can take one more photo, solve the missing evidence
Do not turn this into a photography session unless a new photo actually resolves a source problem.
If the pet is available and the current set is weak, a useful replacement usually aims to:
move the camera far enough away that the muzzle is not exaggerated unintentionally;
use the portrait angle you actually want rather than forcing every pet into a frontal view;
keep eyes, ears, muzzle, and important markings visible;
avoid motion blur;
use light that separates dark or light features from each other and from the background;
capture the animal in a familiar, intentional expression or posture.
You do not need a particular phone, lens, or focal length to satisfy this workflow. The source needs trustworthy relationships, not a photography specification sheet.
Freeze the source pack before conversion
Once the source is agreed, preserve the decision.
Keep:
1. Untouched original The highest-quality real source available.
2. Primary working source The approved orientation and non-destructive crop that controls pose-specific geometry.
3. Supporting references Only the photos needed to answer named identity questions.
4. Identity notes A short record of the markings, asymmetries, expression, or silhouette cues that must not be normalized away.
Do not continue swapping the primary image during generation because one result from another angle looks attractive. A moving source makes it impossible to tell whether the stencil changed or the reference changed.
If likeness changes after conversion, the problem has moved downstream
A prepared source can pass every check here and still produce a derivative that drifts.
That is a different job.
If the approved primary source clearly contains the pet's identity but the stencil changes ear set, eye relationship, muzzle proportion, silhouette, asymmetry, or coat-marking anchors, use Why a Pet Portrait Tattoo Stencil Stops Looking Like Your Pet.
At that point, stop searching for a better source unless new evidence shows the source itself was inadequate. Compare the derivative back to the frozen source and locate the first identity change.
Andrea builds StencilStudio and tests how the tools fit into real stencil prep, using real references and outputs to document what works, what changes, and where artist judgment still matters.