

Placement Prep
How to Plan a Patchwork Tattoo Sleeve Without Painting Yourself Into a Corner
Plan a patchwork tattoo sleeve around existing pieces, important anchors, intentional negative space, future tattoos, orientation, and final body placement without filling every gap too early.
patchwork tattoo sleeve · patchwork sleeve planning · sticker sleeve tattoo · tattoo sleeve layout · tattoo placement planning
- August 14, 2026
- 10 min
A patchwork sleeve is built from independent tattoos, but that does not make placement random.
The difficult part is that every new piece changes the options available to the next one. A small tattoo can occupy the only clean vertical gap left for a future portrait. A rotated design can make sense from one camera angle and fight the rest of the arm when the client turns. Filler can make a collection feel finished today while removing the breathing room that would have made a stronger piece possible later.
That planning problem is increasingly visible in tattoo culture. In February 2026, Inked Magazine described tattoo collages as collections that often evolve over time, with artists specifically discussing how they inspect existing work, flow, spacing, and contrast before adding another piece. An earlier Allure sleeve-planning guide makes a similar practical point: for patchwork sleeves, the largest and most important images can be placed first, then the spaces around them help determine what smaller pieces make sense later.
The useful planning goal is therefore not to finish the sleeve on a screen. It is to preserve good options.
Start with what is already permanent
If the client already has tattoos on the arm, those pieces are not inspiration. They are constraints.
Map them first.
Record the information that will affect later placement:
- where each existing tattoo sits when the arm is relaxed;
- which view shows it most clearly;
- its approximate occupied area;
- its dominant orientation;
- whether it visually behaves like a large focal piece, a medium supporting piece, or a small accent;
- which nearby gaps are genuinely open and which only look open from one angle.
Do not design the future sleeve on an empty arm and add the existing tattoos at the end. That reverses the real problem.
The Patchwork Tattoo Sleeve Planner uses separate outer, inner, and side planning surfaces for this reason. It is deliberately not a photorealistic try-on. The job at this stage is to understand the collection from more than one view.
Identify the pieces that deserve priority
Not every tattoo needs the same visual authority.
Before placing new work, separate the pieces that matter most from the pieces that exist mainly to support the collection.
An anchor is a piece whose placement you would protect even if the rest of the sleeve changed. It may be larger, more meaningful, more visually complex, or simply the tattoo the eye should reach first from an important viewing angle.
A support piece helps balance the arm without needing to dominate it.
A filler solves a smaller residual space after the larger decisions are stable.
These labels are not tattoo-style categories and there is no universal ratio of anchors to fillers. They are planning language. Their value is that they force a question before another small tattoo is added:
Is this piece important enough to spend this space now?
If the answer is uncertain, leave the area open.
Protect future space before you need it
The empty parts of a patchwork sleeve are not automatically mistakes.
Some gaps are useful because they:
- separate two dense tattoos;
- let different silhouettes remain readable;
- keep an important piece from being boxed in;
- preserve a vertical or horizontal corridor for future work;
- leave room around an elbow, ditch, wrist transition, or other placement that still needs a client-specific decision;
- allow the collection to evolve without forcing every later tattoo into a leftover shape.
This is one reason a patchwork sleeve can benefit from explicit future-space zones.
A future-space zone is not a promise that a specific tattoo will go there. It is simply a visible instruction: do not spend this area casually.
In the planner, add a Future Space block, resize it to the approximate opportunity you want to protect, and give it a note such as:
- portrait later;
- keep open for travel piece;
- possible lettering;
- wait until elbow plan is settled;
- breathing room, no filler yet.
That note can be more valuable than inventing a placeholder design.
Use spacing as a relationship, not a magic number
Search results about patchwork sleeves often prescribe one fixed gap between tattoos. That is tempting because it sounds measurable.
The problem is that equal centimetres do not create equal visual spacing.
A tall narrow dagger, a circular flower, a dense black piece, and fine script can each occupy the same bounding box while needing very different breathing room. The body surface, line weight, orientation, future plans, and the silhouette of the neighboring tattoo all change the decision.
A better approach is comparative.
Inspect whether the gaps around the new piece feel consistent with the collection you are intentionally building. Look for:
- one gap that is much tighter than every other gap without a reason;
- two dense edges facing each other and creating an accidental dark corridor;
- small pieces clustering until they behave like one noisy mass;
- a large open area that is valuable future space rather than a problem to solve immediately;
- a filler that makes the local area busier but does not improve the overall arm.
The planner's spacing halo is intentionally a visual guide, not a centimetre prescription. Increase or decrease it to make crowding easier to see. A collision flag means "inspect this relationship," not "this tattoo is wrong."
Check all important views before calling the layout balanced
A patchwork sleeve wraps around the arm. One screenshot cannot represent that honestly.
A layout can look evenly distributed from the outer arm while several pieces converge around the side transition. The reverse can also happen: a design moved away from the outer view may create a strong side composition that is invisible in a flat front mockup.
Review at least the views that matter for the planned collection.
For an arm, a useful consultation map can separate:
- outer arm, where many visually important pieces are often judged first;
- inner arm, which can contain a different density and orientation logic;
- side / transition, where pieces from the other views begin to interact.
The three surfaces in the free planner are abstract maps. They do not simulate circumference, muscle shape, flexion, or skin distortion. Their job is to stop you from solving the whole sleeve from one preferred angle.
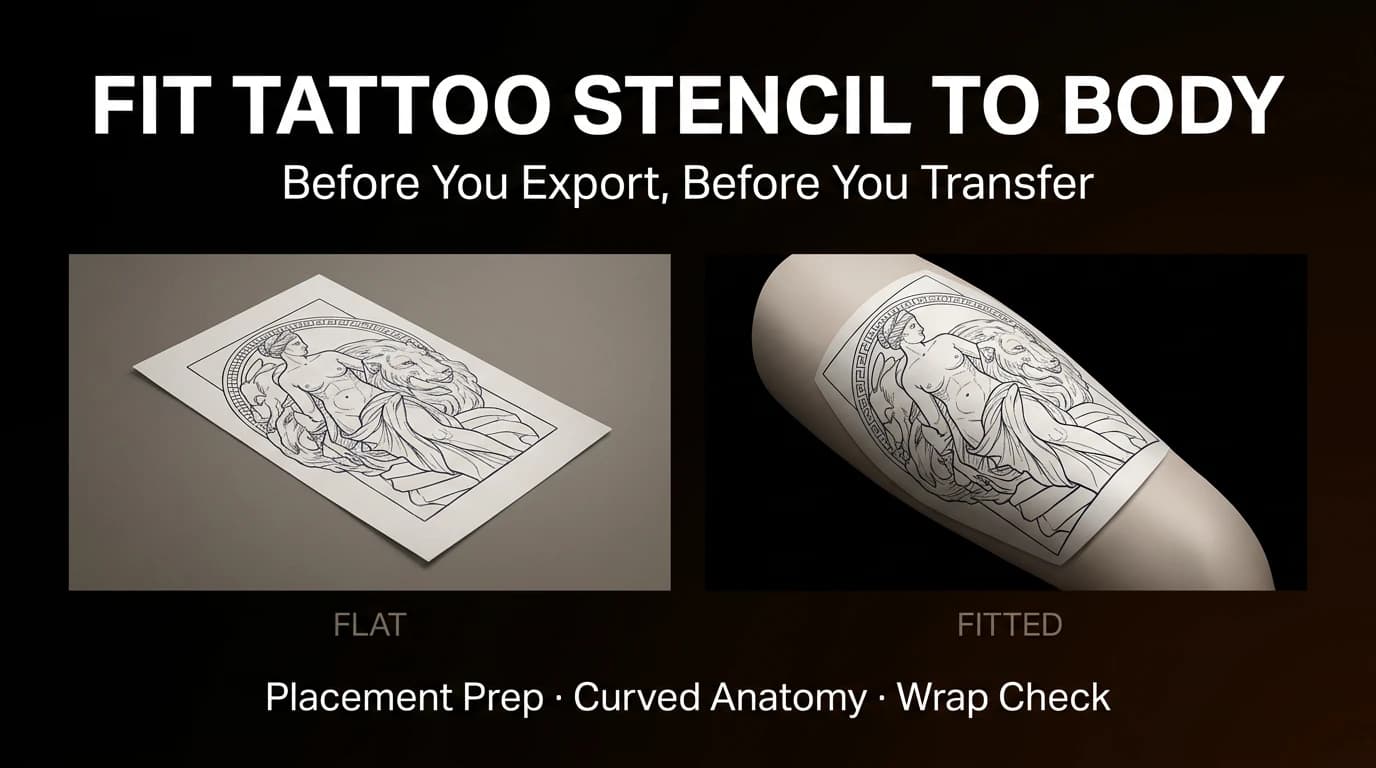
Once a specific tattoo and placement are selected, move that individual piece into the Fit to Body workflow and check the actual client.
Orientation should be decided piece by piece, then checked as a collection
A patchwork sleeve can contain tattoos with different directional logic.
A portrait, animal head, dagger, text line, flower, and abstract symbol do not all have the same concept of "upright."
For each candidate placement, ask:
- What is the primary viewing condition for this piece?
- Does the subject have an obvious top and bottom?
- Does it need to relate to the arm when relaxed, to the wearer, or to an outside viewer?
- Does rotating it create a useful flow with neighboring pieces or only solve one awkward gap?
- Will the orientation still make sense when the arm changes position?
Do not rotate a meaningful design merely because the rectangle fits better.
If a piece has text, a face, strict geometry, or another orientation-sensitive feature, label that constraint in the consultation plan so it survives later layout changes.
Treat line weight and visual density as part of the composition
Patchwork does not require every tattoo to share one style.
Inked's 2026 reporting describes collage tattoos as personal collections that can grow from different moments, flash events, and artists. What still matters at the planning stage is how the pieces behave together visually.
Two tattoos can be the same physical size but carry very different visual weight.
Compare:
- bold outside contours vs delicate linework;
- large black masses vs open line drawings;
- high internal detail vs simple silhouettes;
- compact circular designs vs long directional designs;
- heavily framed pieces vs borderless pieces.
If one small tattoo reads darker and heavier than a larger anchor, its placement may need more breathing room than its dimensions suggest.
For a finished stencil, the Fine vs Normal vs Bold line-weight guide owns the separate question of how the working line map should behave. Do not use the patchwork planner to guess final stencil line weight from a tiny screen preview.
Do not use filler to solve uncertainty
Filler feels productive because it closes visible gaps.
But a gap can mean several different things:
- intentional negative space;
- a future opportunity;
- an unresolved transition between two strong pieces;
- an awkward shape that genuinely needs a small design;
- a placement problem that should be solved by moving an existing candidate rather than adding more content.
Before adding filler, name the problem it is solving.
If you cannot name the problem, leave the space alone for the next planning pass.
This is especially important when the sleeve is expected to grow over months or years. A patchwork collection can remain coherent without being complete.
Separate flash-sheet layout from body layout
A flash sheet and a patchwork sleeve can contain the same set of tattoo designs, but they solve different geometry.
The Tattoo Flash Sheet Maker arranges finished artwork on a rectangular print or social surface. It optimizes presentation on paper or screen.
A patchwork sleeve planner asks where independent tattoos relate to each other on the body.
Do not infer body placement from a nice flash sheet. A design that balances a rectangular page may have completely different neighbors once the collection wraps around an arm.
Use the flash sheet for presentation. Use the patchwork map for placement planning.
Use a contact map during consultation
A useful exported patchwork plan does not need to look photorealistic.
It needs to preserve decisions.
A good consultation map should make it easy to discuss:
- which pieces are already fixed;
- which new pieces are highest priority;
- which surface each piece belongs to;
- approximate rotation and relative scale;
- protected future areas;
- areas where spacing still feels unresolved;
- orientation notes;
- what still needs to be checked on the actual client.
The free planner exports outer, inner, and side views into one PNG so those decisions can be reviewed together.
Do not treat that PNG as a transfer template or exact-size body model. It is a conversation artifact.
Move from relative layout to exact physical size only when the placement is stable
Patchwork planning is mostly about relative relationships between pieces.
Printing is different. Printing needs real dimensions.
Once one tattoo is selected for the next session:
- confirm its body placement on the client;
- settle orientation and any curvature adjustment;
- decide the actual physical width or height;
- inspect the stencil at that final size;
- prepare true-size print output;
- verify the printed scale before transfer.
Use the Tattoo Stencil Size & Print Calculator for the physical-size step. If the chosen stencil is too large for one sheet, How to Print a Large Tattoo Stencil covers tiled sheets vs compatible continuous media without shrinking the tattoo just to satisfy the printer.
A repeatable patchwork planning pass
When a client returns with another piece, do not rebuild the whole plan from memory.
Use the same sequence:
- update the map with anything tattooed since the last consultation;
- review the three important surfaces;
- identify which open areas are genuinely available;
- protect any future space that still matters;
- place the new candidate as an anchor, support piece, or filler according to its actual importance;
- compare its visual weight with nearby work;
- test alternative rotations without compromising subject orientation;
- inspect spacing relationships rather than chasing a universal gap number;
- export the updated plan;
- move only the chosen piece into final body-fit and print preparation.
This keeps the sleeve flexible without making every new tattoo an isolated decision.
Patchwork sleeve planning checklist
Before committing the next placement, confirm:
- existing tattoos are represented in the plan;
- the most important future pieces have not been crowded out by filler;
- intentional open skin is treated as part of the composition;
- outer, inner, and side relationships have been reviewed;
- orientation-sensitive designs still make sense when the arm is relaxed;
- visual density and line-weight differences have been considered;
- no spacing warning is being dismissed without inspection;
- future-space zones still reflect what the client actually wants to preserve;
- the consultation map is being used as a planning aid, not as a calibrated body simulation;
- the final chosen stencil will receive a separate client placement check and exact-size print pass.
A strong patchwork sleeve does not need every future tattoo decided today. It needs today's decision to leave tomorrow with good options.
Related Collections
Jump from the guide to reviewed stencil examples
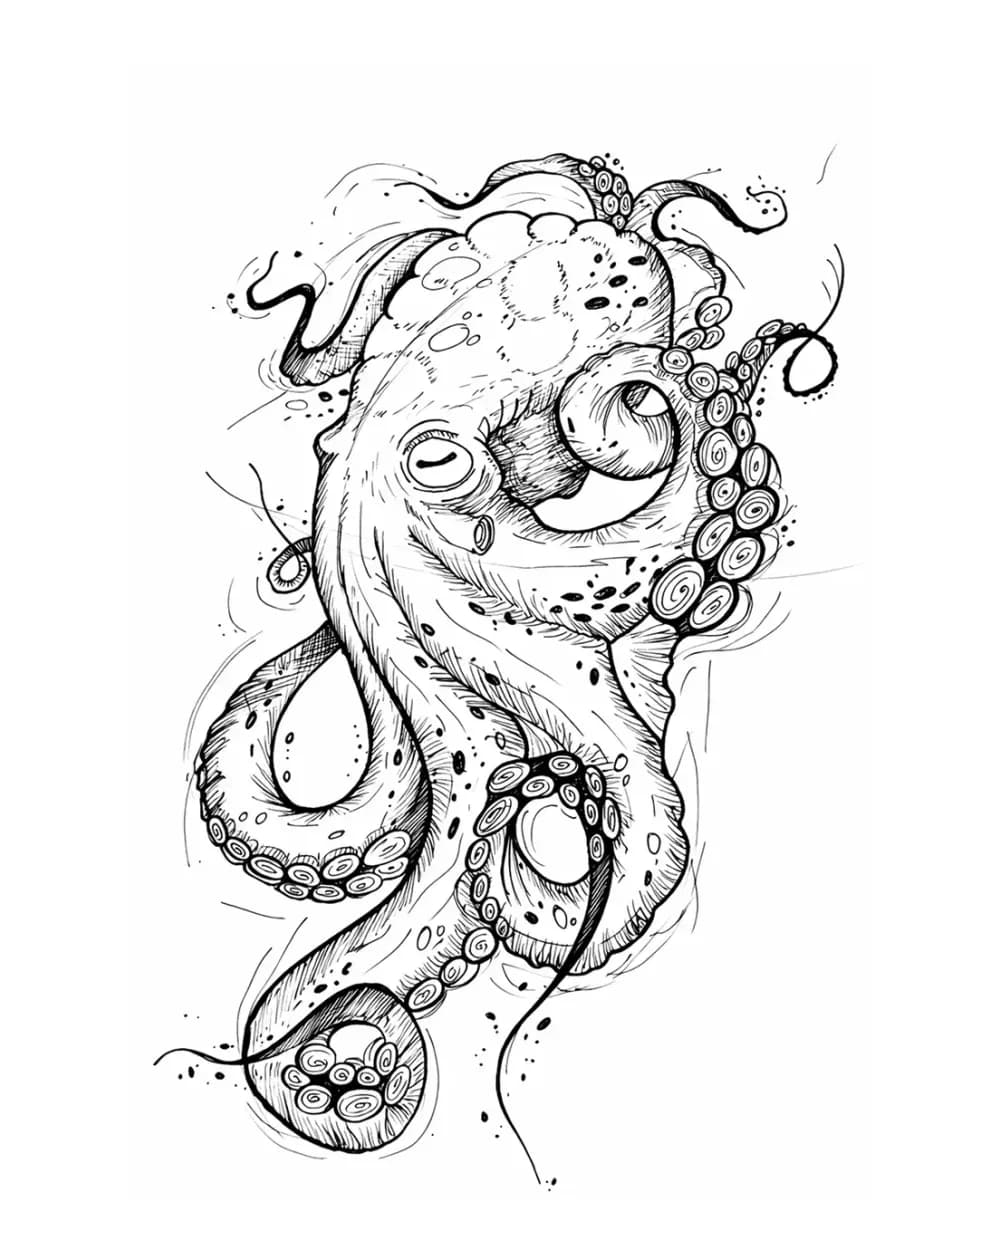
Animal Tattoo Stencil Gallery
12 curated examplesCompare 12 curated animal tattoo stencil examples across wildlife, pets, birds, and sea life. Start with the animal silhouette and recognition landmarks, then compare ho…
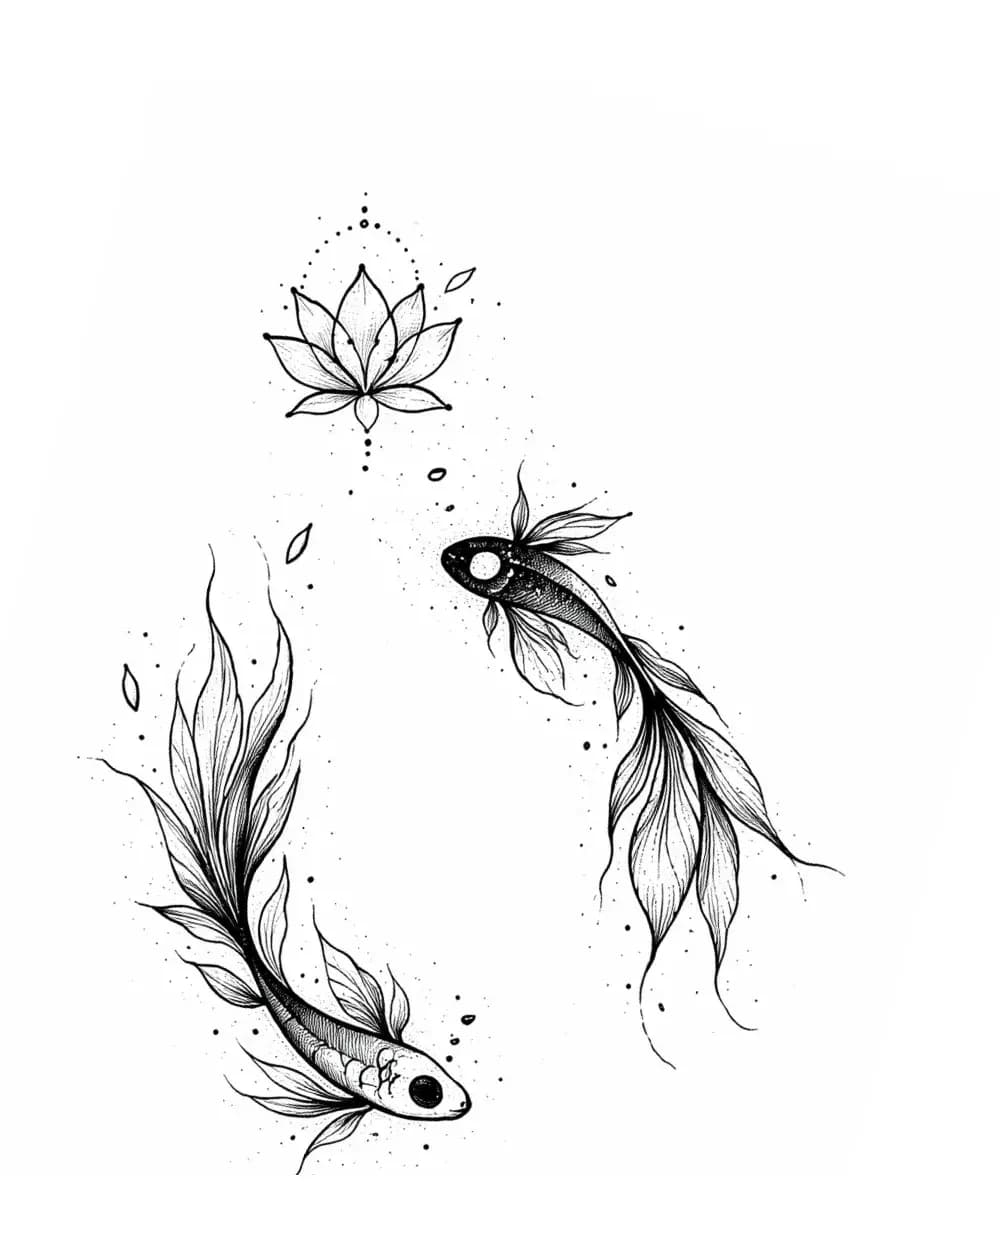
Floral Tattoo Stencil Group
7 curated examplesThis floral stencil page is an early but useful reference set for artists who care about flow, spacing, and botanical rhythm more than raw volume. Even with a small inve…
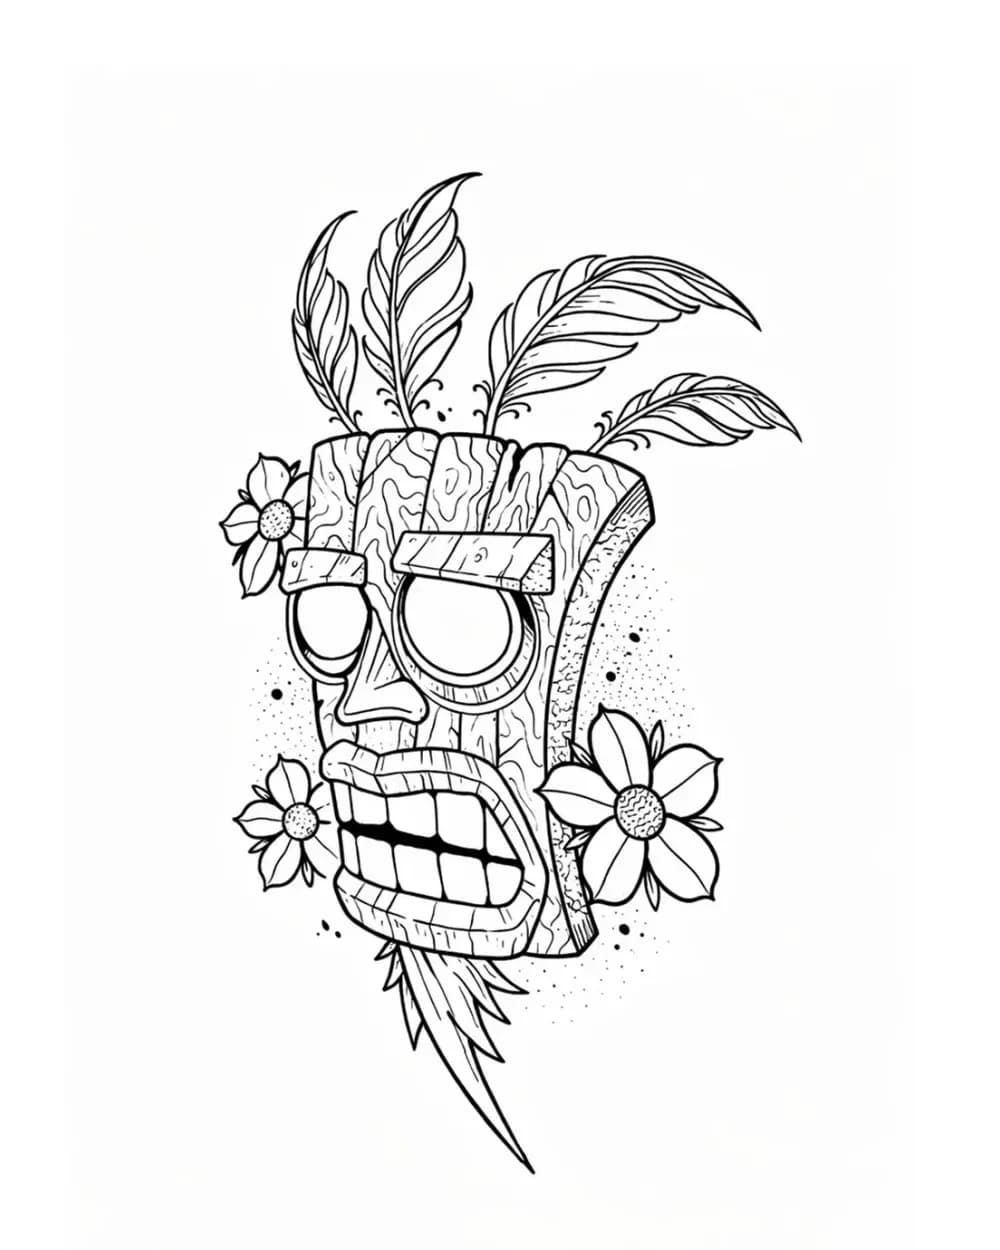
Tattoo Symbol Stencils
7 curated examplesCompare compact tattoo symbol stencils to see which silhouettes, internal gaps, repeated details, and orientation cues stay readable before adapting your own reference.…
Related Guides
Keep reading from here
How to Fit a Tattoo Stencil to Curved Body Placement
Review focal point, wrap, compression, negative space, and body line before exporting a tattoo stencil for a curved placement.
fit tattoo stencil to body · tattoo placement prep
Read guide
Tattoo Flash Sheet Layout: Size, Spacing and Composition
Plan a tattoo flash sheet for print or social: choose size, protect readable artwork, set optical spacing, choose hierarchy and labels, and know when to split.
tattoo flash sheet layout · tattoo flash sheet size
Read guideHow to Print a Large Tattoo Stencil for Sleeves and Back Pieces
Print a large tattoo stencil at true size across multiple pages or compatible roll media, then verify scale, alignment, overlap, and placement before transfer.
large tattoo stencil · sleeve tattoo stencil
Read guideAuthor
Andrea Mezzadra
Founder and product builder at StencilStudio
Andrea builds StencilStudio and tests how the tools fit into real stencil prep, using real references and outputs to document what works, what changes, and where artist judgment still matters.
In the App
Map the collection before the next piece becomes permanent
Use the free Patchwork Tattoo Sleeve Planner to arrange existing and future pieces across outer, inner, and side arm views, protect open space, and export a consultation map.