

Stencil Workflow
AI Tattoo Designs as References: What to Fix Before Making the Stencil
Review an AI-generated tattoo reference before stenciling it: separate the client's real intent from anatomy errors, broken lettering, fake symmetry, impossible overlaps, and detail that will not survive at final size.
AI tattoo reference · AI tattoo design · AI tattoo design as reference · tattoo artist consultation · AI tattoo stencil
- August 14, 2026
- 10 min
An AI-generated tattoo image can be useful in a consultation without being ready to tattoo.
The useful distinction is simple: the image can communicate intent before it qualifies as a design source.
A client may be pointing to the subject, silhouette, mood, composition, ornament, or placement direction rather than asking you to reproduce every generated detail. If you treat the whole image as authoritative, you can spend the stencil stage faithfully preserving mistakes that nobody actually wanted.
Recent reporting has made this workflow problem harder to ignore. Allure reported in August 2026 on AI-generated images becoming a normal part of beauty consultations, with tattoo artists describing both frequent client use and strong technical or ethical objections. A June 2026 studio guide from Victims of Ink makes the useful distinction that an AI image can work as reference without being treated as final tattoo-ready artwork.
The practical response is not to debate AI at the stencil stage. It is to separate the client's intent from the generated artifacts before linework begins.
Use this page for that reference-triage step. Once the source has been approved, continue with the broader How to Make a Tattoo Stencil workflow for stencil preparation.
Start by asking what the client actually wants from the image
Do not begin by tracing.
Begin by identifying which parts of the reference are carrying the request.
Ask the client to point to the parts they would be disappointed to lose:
- the main subject;
- the pose or gesture;
- the overall silhouette;
- the placement direction;
- one facial expression or landmark;
- a specific object;
- the relationship between two subjects;
- a decorative border or framing idea;
- a color or value mood;
- lettering or a date;
- the amount of negative space;
- the general density of the composition.
This turns a generated image into a set of design requirements.
It also exposes a useful difference. A client may say, "I like the wolf and moon composition, but I do not care about the background texture." That means the texture is not part of the source of truth. It can disappear before the stencil ever sees it.
If the client cannot explain what matters, use the image as a conversation aid rather than freezing it as final artwork.
Separate deliberate structure from generation artifacts
An AI image can look coherent at normal viewing size while containing local contradictions.
Inspect the parts that require physical construction.
Anatomy
Check:
- number and position of fingers, toes, limbs, horns, wings, petals, teeth, or other repeated structures;
- joints that bend in a plausible direction;
- facial landmarks that agree with the head angle;
- hands that connect to wrists and arms cleanly;
- eyes, ears, nostrils, and mouth corners that belong to the same perspective;
- animal anatomy where fur or shadow may be hiding an impossible transition.
Do not rely on a high-detail stencil to clarify anatomy that is ambiguous in the source. More lines will only document the ambiguity more precisely.
Objects and mechanical forms
Look for:
- handles that connect to nothing;
- blades or tools whose edges change direction without a reason;
- jewelry that passes through skin or clothing impossibly;
- chains with broken link logic;
- architectural lines that disagree about perspective;
- overlapping objects whose front/back order changes halfway through.
The question is not whether the image looks realistic at a glance. The question is whether you can explain the structure with deliberate contours.
Treat lettering, dates, and symbols as data, not decoration
Generated text is one of the easiest places for a visually convincing reference to become unusable.
Verify every character against what the client actually wants.
For lettering, check:
- exact spelling;
- capitalization;
- punctuation;
- repeated letters;
- ligatures;
- spacing;
- whether ornamental strokes are intentional or accidental;
- whether counters remain open at the intended tattoo size.
For dates and numerals, retype the value somewhere else and compare it character by character.
For symbols, do not assume a generated approximation is equivalent to the requested symbol. Confirm the intended form and orientation before it becomes permanent linework.
If the design is mainly lettering, move to the Tattoo Lettering Stencil Maker once the wording is confirmed rather than trying to rescue generated pseudo-lettering.
Repeated patterns deserve a continuity check
AI images often create repetition that looks convincing until you follow it from one end to the other.
Trace the pattern visually.
Check whether:
- a border keeps the same construction;
- scales change count or orientation unexpectedly;
- beads gain or lose holes;
- chain links change type;
- feathers change attachment logic;
- mandala segments stop matching;
- ornamental curls begin as one motif and finish as another;
- left/right structures are intended to match but do not.
Do not automatically "correct" asymmetry. First decide whether symmetry is part of the client's request.
If exact symmetry matters, rebuild it deliberately from a stable half or central construction. If the piece is meant to be organic, preserve the asymmetry that looks intentional and remove only contradictions.
Separate lighting from structure
A generated image may create depth with dramatic lighting that does not translate directly into useful stencil guidance.
Before line extraction, classify visible boundaries.
Structural boundaries describe a real edge, overlap, plane change, anatomical landmark, or negative-space border.
Tonal boundaries may exist only because one part of the image is brighter or darker.
Texture may describe fur, stone, smoke, fabric, skin, scales, or atmospheric noise without defining the underlying form.
A stencil does not need to convert every contrast edge into a line.
For dense references, ask:
- If this shadow disappeared, would I still understand the form?
- If this texture disappeared, would the subject still read?
- Is this edge telling me where something begins or only how light falls across it?
- Will this mark help during the tattoo, or only make the stencil look more like the generated image?
The Tattoo Stencil Shading Guide covers the separate decision of which value landmarks deserve guidance after the structure is sound.
Test the idea at the size it will actually live
AI concept images are normally judged on a phone or large screen. Tattoo detail has to survive at a physical size.
Before investing in cleanup, reduce the reference to the approximate size and aspect ratio of the intended tattoo.
Look for:
- facial features that collapse together;
- ornamental gaps that disappear;
- micro-texture that becomes grey noise;
- tiny stars, dots, leaves, scales, or filigree that no longer read individually;
- parallel lines that become one dark band;
- small lettering counters that close;
- subtle depth cues that only work while zoomed in.
This is not a universal "minimum detail" rule. Different designs, placements, execution styles, printers, and artists have different tolerances.
The useful test is comparative: what information still has a job at this specific size?
Use the Tattoo Stencil Detail Levels guide after the source is approved to compare how much internal guidance should remain.
Identify the design decisions that need to be rebuilt before stenciling
Some issues can be removed during simplification. Others need an actual design decision first.
Rebuild before conversion when:
- anatomy is unclear;
- the perspective is contradictory;
- a hand, face, animal feature, or object changes identity locally;
- lettering is malformed;
- repeated patterns have no consistent construction;
- the focal point is buried in decoration;
- two important forms merge ambiguously;
- an overlap could be interpreted in multiple ways;
- the composition relies on impossible lighting to separate forms;
- the client wants a precise symbol that the generated image only approximates.
The stencil stage should reduce a design. It should not invent the missing answer to a design problem.
Watch for style imitation and source ambiguity before the file becomes "the design"
Technical cleanup is only one part of reference review.
If the image appears to imitate a specific living artist, reproduces identifiable existing artwork, or the client is unsure where the image came from, treat that as a source conversation before stencil preparation.
Studio policies differ. The practical boundary for the stencil workflow is simple: do not let conversion turn an unresolved reference question into a production-ready file by accident.
You can still ask what the client likes about the reference:
- composition;
- subject;
- density;
- contrast;
- movement;
- negative space;
- ornamental language;
- placement.
Those attributes can guide an original drawing without treating every pixel of the AI image as an instruction.
Use a three-column mental model: keep, rebuild, remove
A fast artist review can classify each important region into one of three states.
Keep
The structure is clear and intentionally part of the request.
Examples:
- a strong silhouette;
- a correct facial landmark;
- a useful overlap;
- a clear ornamental frame;
- a well-defined object;
- a negative-space shape the client explicitly likes.
Rebuild
The idea matters, but the generated construction is not trustworthy.
Examples:
- a hand with unclear fingers;
- malformed lettering;
- a chain that changes link logic;
- an eye that does not match the head perspective;
- an ornamental repeat with inconsistent units;
- a weapon or mechanical object with impossible geometry.
Remove
The region adds no useful tattoo information.
Examples:
- atmospheric background filler;
- accidental micro-symbols;
- texture that exists only to make the AI image look finished;
- lighting fragments that become random stencil lines;
- secondary decoration the client does not care about.
This classification is more useful than asking whether the AI image is "good" or "bad." It tells you what the next action is.
Freeze an approved reference before creating derived versions
Once the concept is corrected, save one approved reference.
Do not keep generating variations while you are also building the stencil. Otherwise the target can move every time the cleanup becomes difficult.
Treat the approved reference as the comparison master.
When a cleaner or line-oriented version is created, compare:
- silhouette;
- pose;
- proportions;
- subject identity;
- focal point;
- number of repeated elements;
- lettering;
- symbols;
- major overlaps;
- negative-space structure.
If one of those changes unexpectedly, you no longer have a cleaner version of the same design. You have a new design decision that needs review.
Then hand the approved reference to the normal stencil workflow
Once the source is stable, stop treating it as a special AI problem.
The remaining work is ordinary stencil preparation:
- crop away irrelevant background;
- preserve structural contours and recognition landmarks;
- remove nonessential texture;
- decide how much internal guidance is useful;
- inspect the result at final size;
- compare line weight separately from detail level;
- review body placement;
- verify orientation;
- export and print without accidental scaling.
The reference-to-stencil workflow explains how StencilStudio handles an existing source image, and the free web stencil maker lets you test the approved reference before committing to a larger workflow.
If curvature matters, check Fit to Body before the final print rather than trying to solve body flow inside the generated concept.
Do not judge an AI reference by how finished it looks
A polished image can create false confidence.
A rough sketch with deliberate anatomy and clear structure can be easier to tattoo than a highly rendered AI concept with contradictory local detail.
When reviewing the reference, prioritize:
- clear intent;
- coherent construction;
- readable hierarchy;
- final-size survival;
- clean handoff into stencil preparation.
Rendering polish comes after those requirements, not before them.
A practical AI tattoo reference checklist
Before calling the source approved, confirm:
- the client has identified what they actually want to preserve;
- anatomy and object construction are coherent;
- lettering, dates, numerals, and symbols are verified manually;
- repeated patterns follow a deliberate rule;
- symmetry or asymmetry is intentional;
- important overlaps have one clear reading;
- lighting and texture are not being mistaken for structural contours;
- the composition still reads near final size;
- unresolved regions have been rebuilt rather than hidden with detail;
- source/style concerns have been handled according to the studio's policy;
- one approved reference is frozen before stencil conversion.
Only then move into line extraction and stencil cleanup.
FAQ
Can a client use an AI tattoo design as a reference?
Yes. It can communicate subject, composition, mood, placement, or visual direction. Treat it as reference material first, then review and correct the structure before it becomes production artwork.
Can an AI-generated tattoo design be turned directly into a stencil?
Technically an image can be converted immediately, but that skips the most important review. If anatomy, lettering, repeated elements, perspective, or overlaps are wrong in the source, the stencil can preserve those mistakes very efficiently. Approve the design structure first.
What are the most common problems to check in an AI tattoo reference?
Start with anatomy, hands, faces, lettering, dates, repeated patterns, symmetry, impossible overlaps, tiny decorative filler, and lighting edges that do not represent actual structure.
Should every detail in the AI reference appear in the tattoo stencil?
No. Keep the information that helps preserve structure, recognition, placement, or execution. Decorative texture and screen-only microdetail can often be removed when they have no useful job at the final tattoo size.
What is the difference between an AI tattoo reference and an AI tattoo stencil?
The reference communicates the design idea. The stencil is a working map derived from an approved design. A reference can contain texture, color, lighting, and unresolved details that do not belong in the stencil.
Related Collections
Jump from the guide to reviewed stencil examples
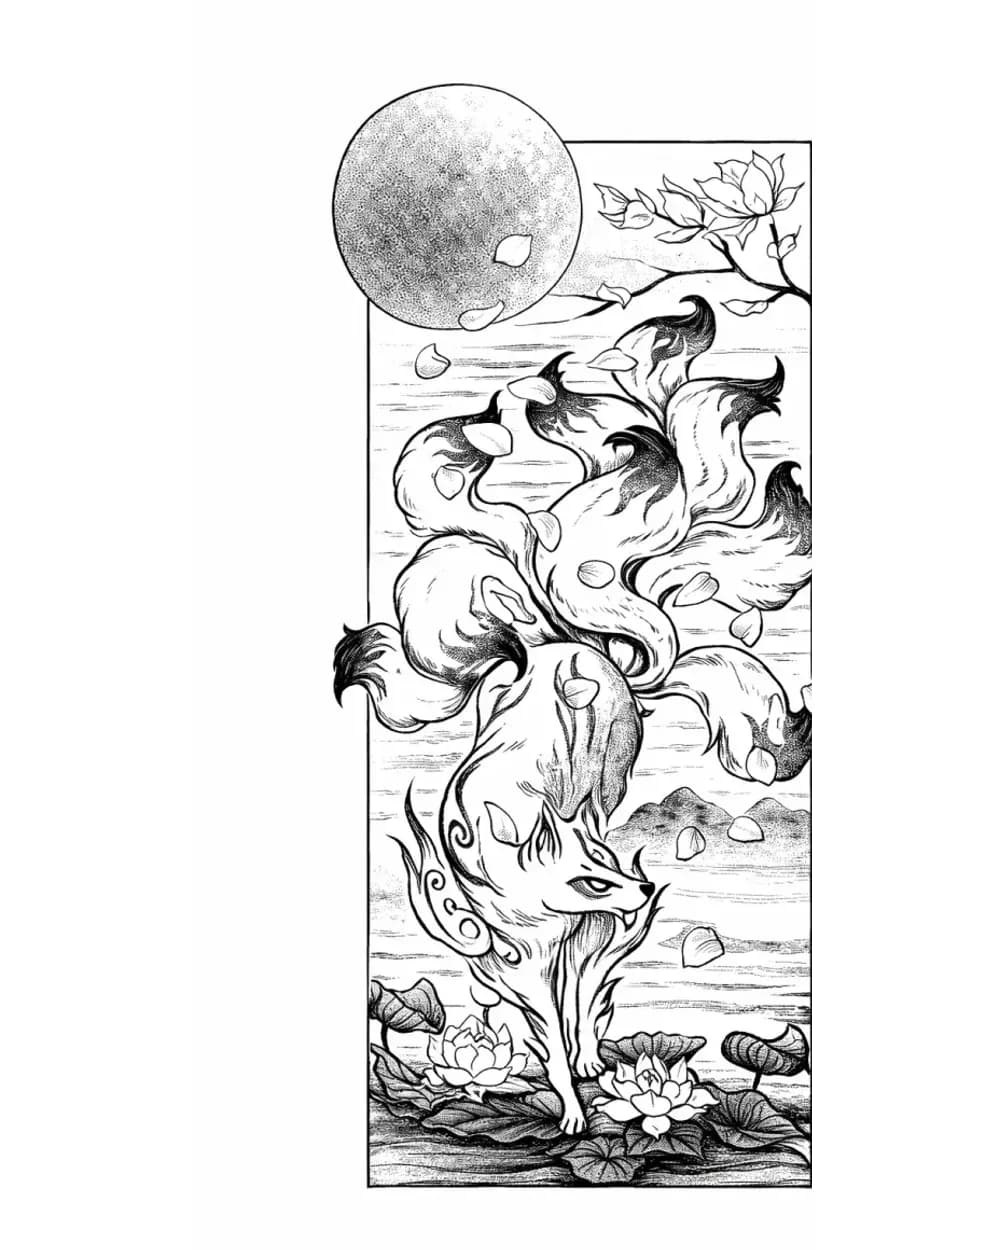
Fantasy Tattoo Stencil Group
16 curated examplesFantasy subjects only stay useful as stencil references when the main idea lands before the ornament does. This set is stronger now because it can compare fox spirits, d…
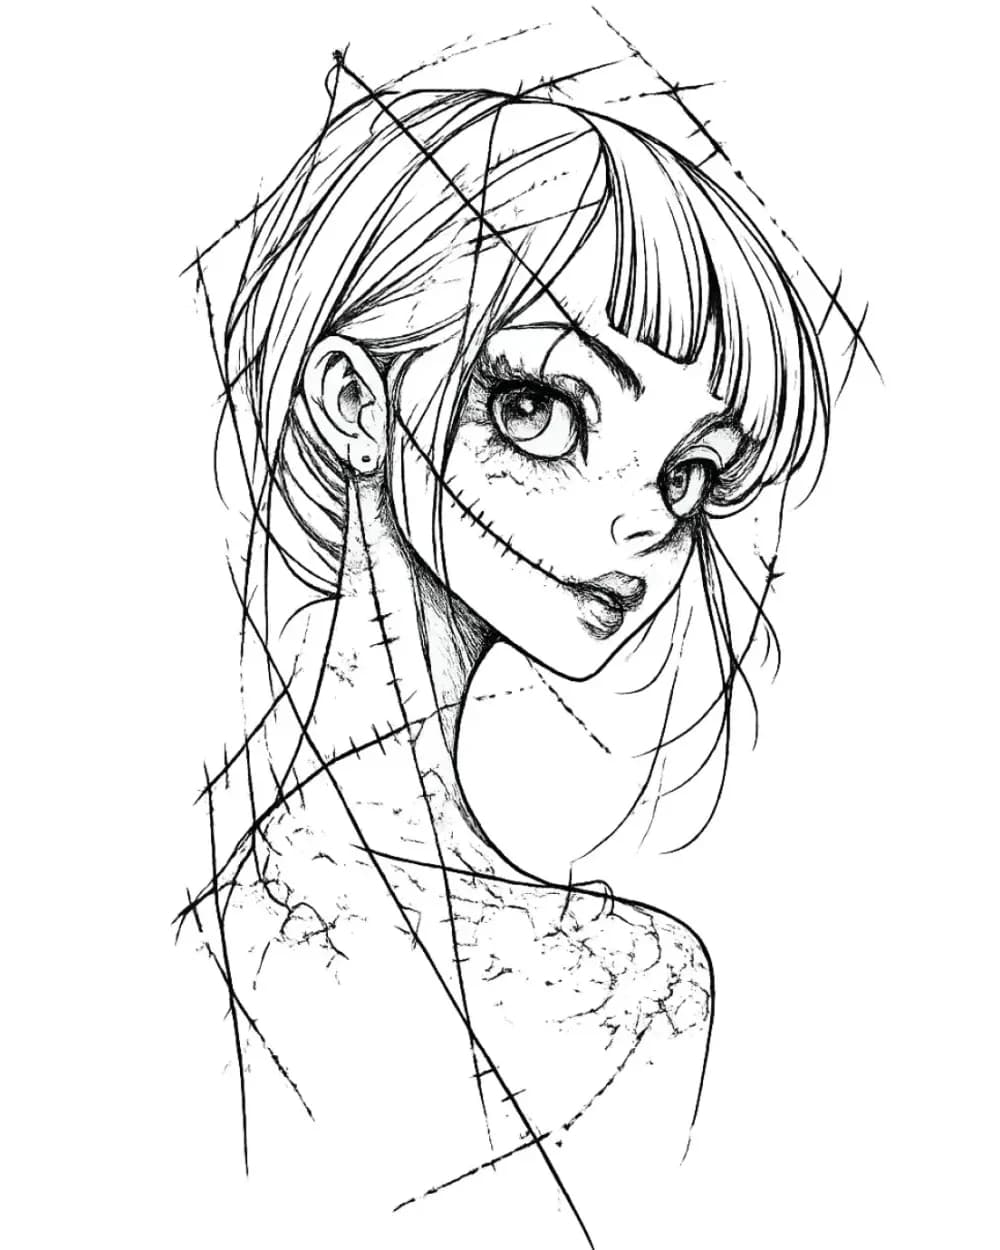
Portrait & Figure Tattoo Stencil Examples
9 curated examplesCompare first-party portrait, face, and figure tattoo stencil examples to see which recognition anchors, expression cues, body shapes, and detail clusters need to surviv…
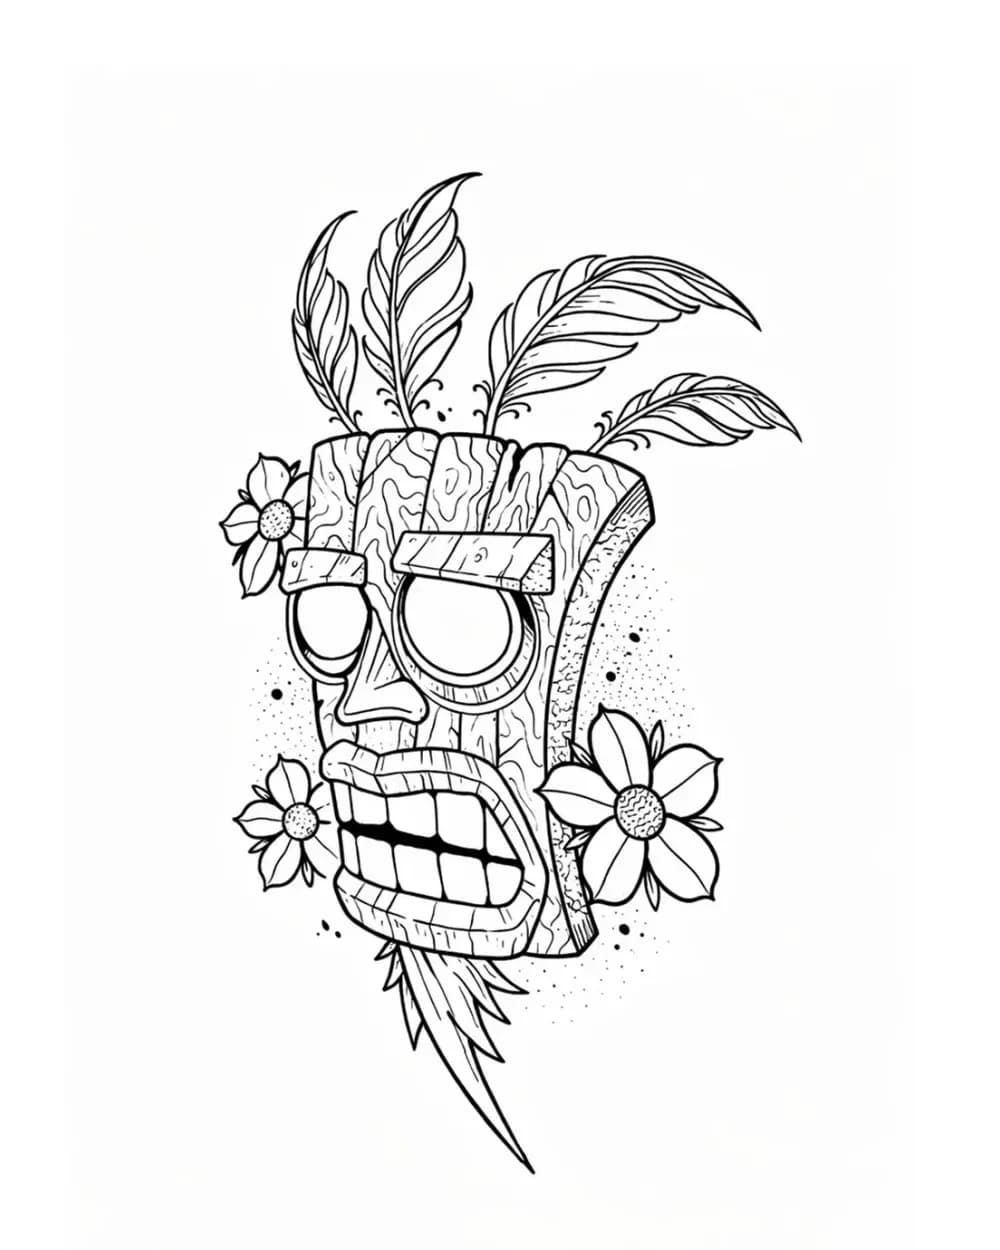
Tattoo Symbol Stencils
7 curated examplesCompare compact tattoo symbol stencils to see which silhouettes, internal gaps, repeated details, and orientation cues stay readable before adapting your own reference.…
Related Guides
Keep reading from here
How to Make a Tattoo Stencil: Reference to Transfer-Ready
Turn a drawing, photo, or reference into a clean tattoo stencil by simplifying the source, choosing line hierarchy and value guidance, checking size and orientation, and preparing transfer-ready output.
how to make a tattoo stencil · tattoo stencil workflow
Read guideBest Tattoo Stencil App? A 2026 Professional Workflow Comparison
Compare current tattoo stencil apps and Procreate by workflow: source conversion, editing, body fit, exact-size print, export, platform, cost, and evidence.
tattoo stencil app · tattoo stencil software
Read guide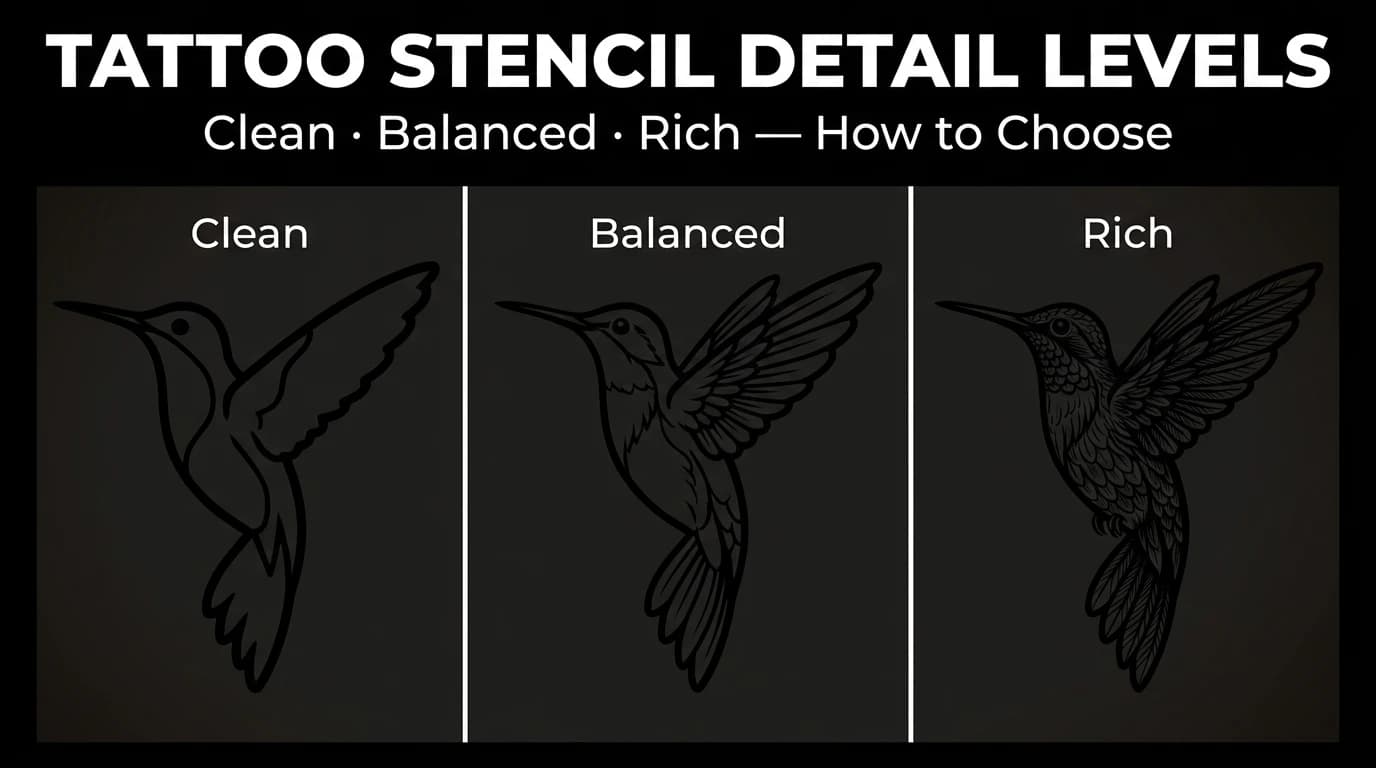
Tattoo Stencil Detail Levels: Simple, Standard, and Detailed
Compare Simple, Standard, and Detailed tattoo stencil modes and choose the amount of structural guidance that suits the size, subject, and placement.
tattoo stencil detail levels · tattoo stencil readability
Read guideAuthor
Andrea Mezzadra
Founder and product builder at StencilStudio
Andrea builds StencilStudio and tests how the tools fit into real stencil prep, using real references and outputs to document what works, what changes, and where artist judgment still matters.
In the App
Approve the reference first, then build the stencil
Once the concept is structurally clear, use StencilStudio to turn the approved reference into a cleaner stencil draft and compare the amount of guidance you actually need.