


Stencil Gallery

Geometric Tattoo Stencils

Use this collection to choose a geometric direction that survives as a stencil, then prove it at the size you plan to use. It compares sacred geometry, dotwork-led, and precise linework builds with explicit selection criteria, final-size checks for symmetry, line precision, dotwork density and gap retention, and a geometric-specific transfer-prep sequence. The six panels below reuse existing reviewed catalog assets as illustrative comparisons with owner links, not as a flash library. When the direction is approved, build from your own reference and verify it at final size.

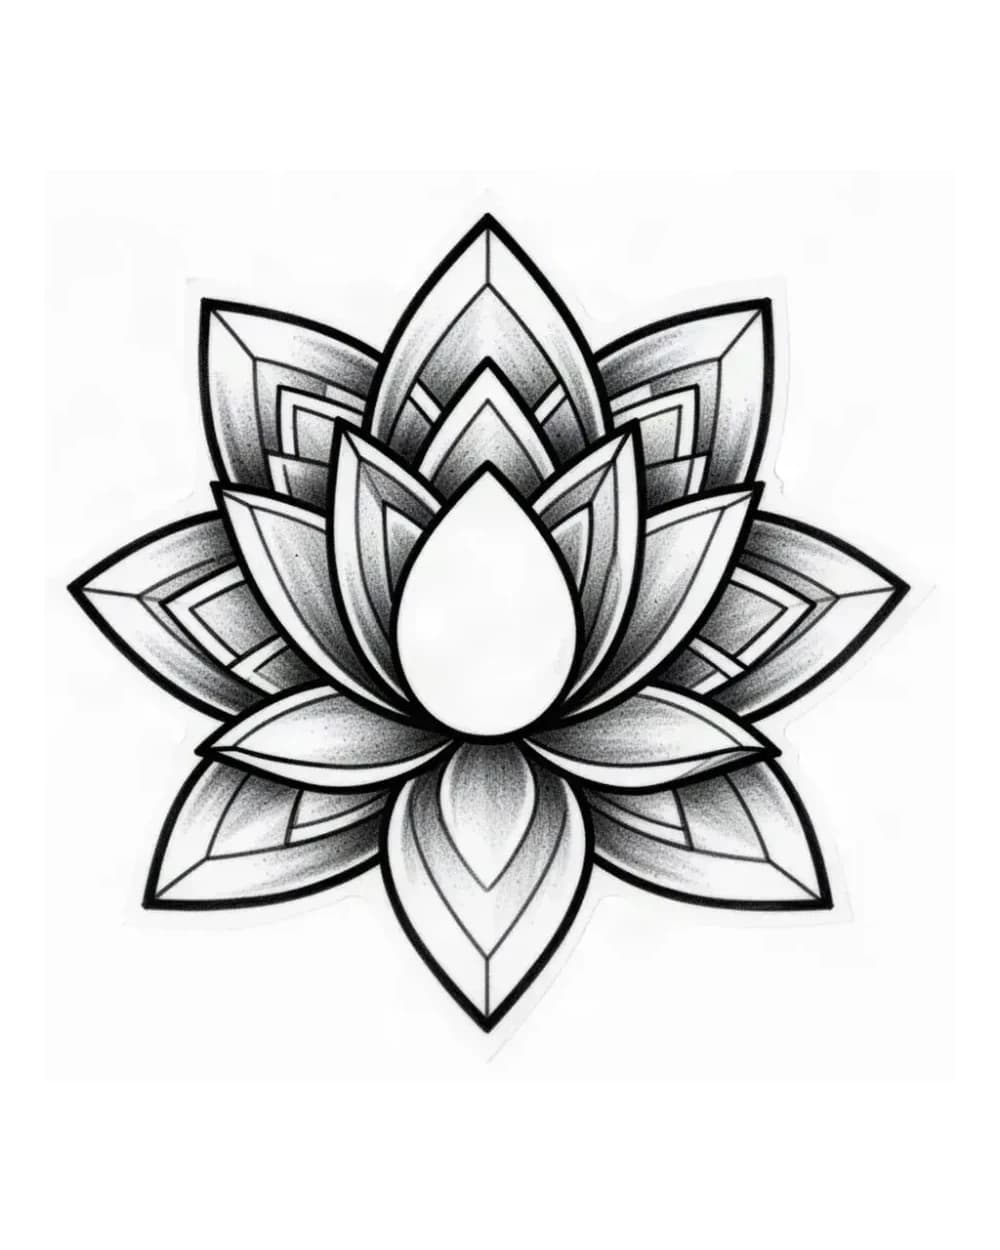
Geometric lotus stencil with symmetrical petals and open center used to illustrate sacred-adjacent construction
3
Checklists
Final size

Geometric direction decisions

Compare geometric directions by stencil criteria, not pictures alone.

Six illustrative panels map sacred, faceted, and radial structures to symmetry, gap, and size decisions with checklists. This is an editorial comparison framework with owner links, not a flash download library. Use it to choose a direction and vet your own reference before print.

These curated panels reuse existing reviewed catalog assets to make transfer decisions concrete at final size. They show what to protect at final size and where structure must stay ahead of finish. They are illustrative comparisons with owner links, not a flash library.

Geometric lotus stencil with symmetrical petals and open center used to illustrate sacred-adjacent construction

Existing catalog lotus used to illustrate sacred-adjacent symmetry. Petal rhythm and the open center must stay ahead of secondary detail at final size.

See floral stencil references

The symmetrical petal ring gives a stable center to judge, so petal spacing reads before small inner marks matter.
Checking whether a sacred-adjacent medallion keeps its center readable when reduced.
Inner petal lines and the center opening merge first when the diameter is reduced without protecting gaps.
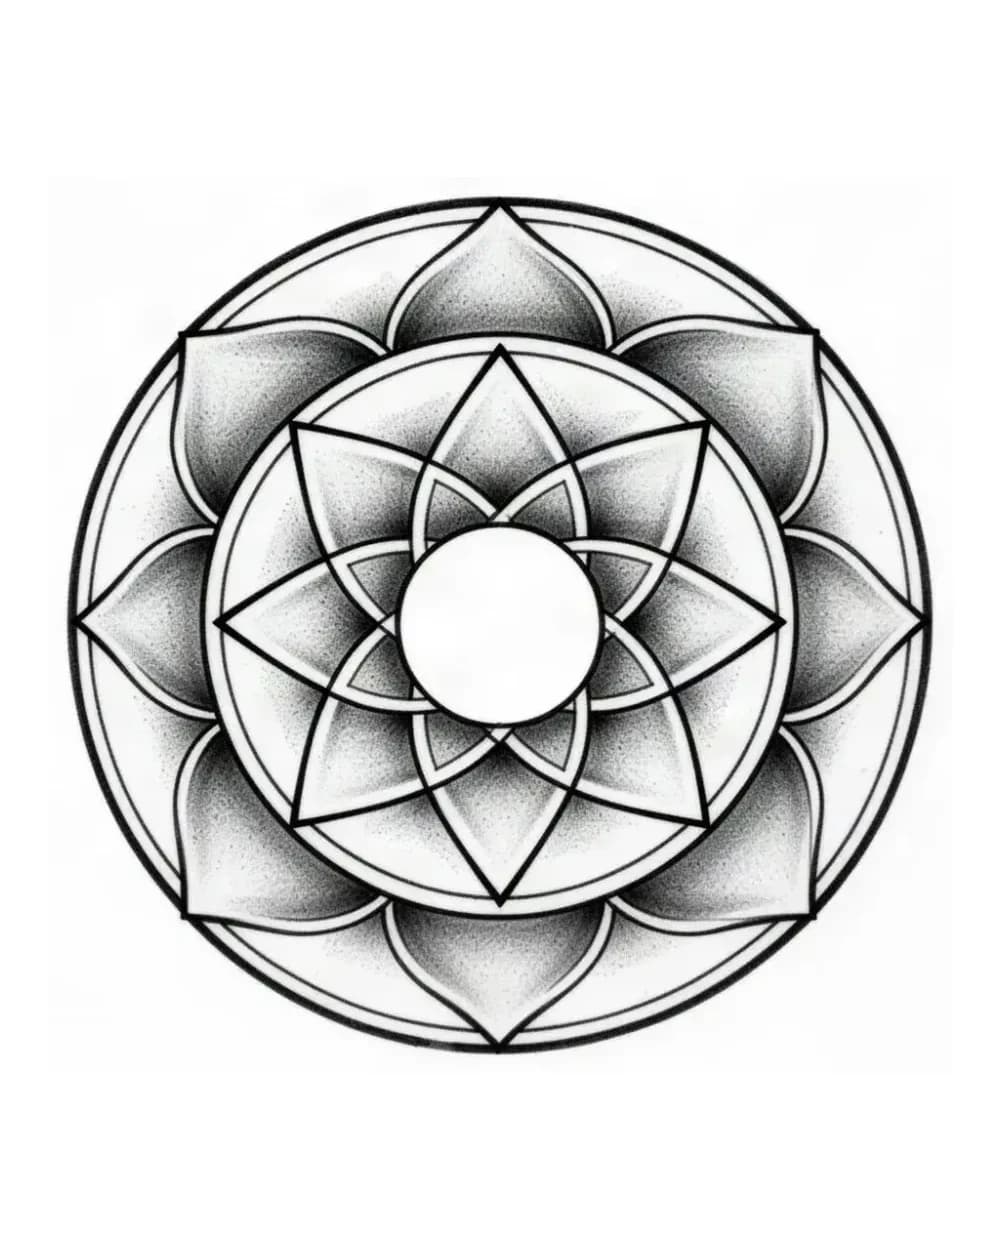
Concentric sacred geometry stencil with petal intersections and open center used to illustrate ring and radius hierarchy

Existing catalog sacred geometry used to illustrate ring hierarchy. Concentric construction must stay separated before inner detail is kept.

See symbol stencil references

Concentric rings establish the construction clearly, so the eye can judge radius consistency before ornament density.
Vetting concentric sacred builds where every radius must match at the intended diameter.
Petal intersections and small enclosed openings close quickly; protect the open center and one clean ring first.
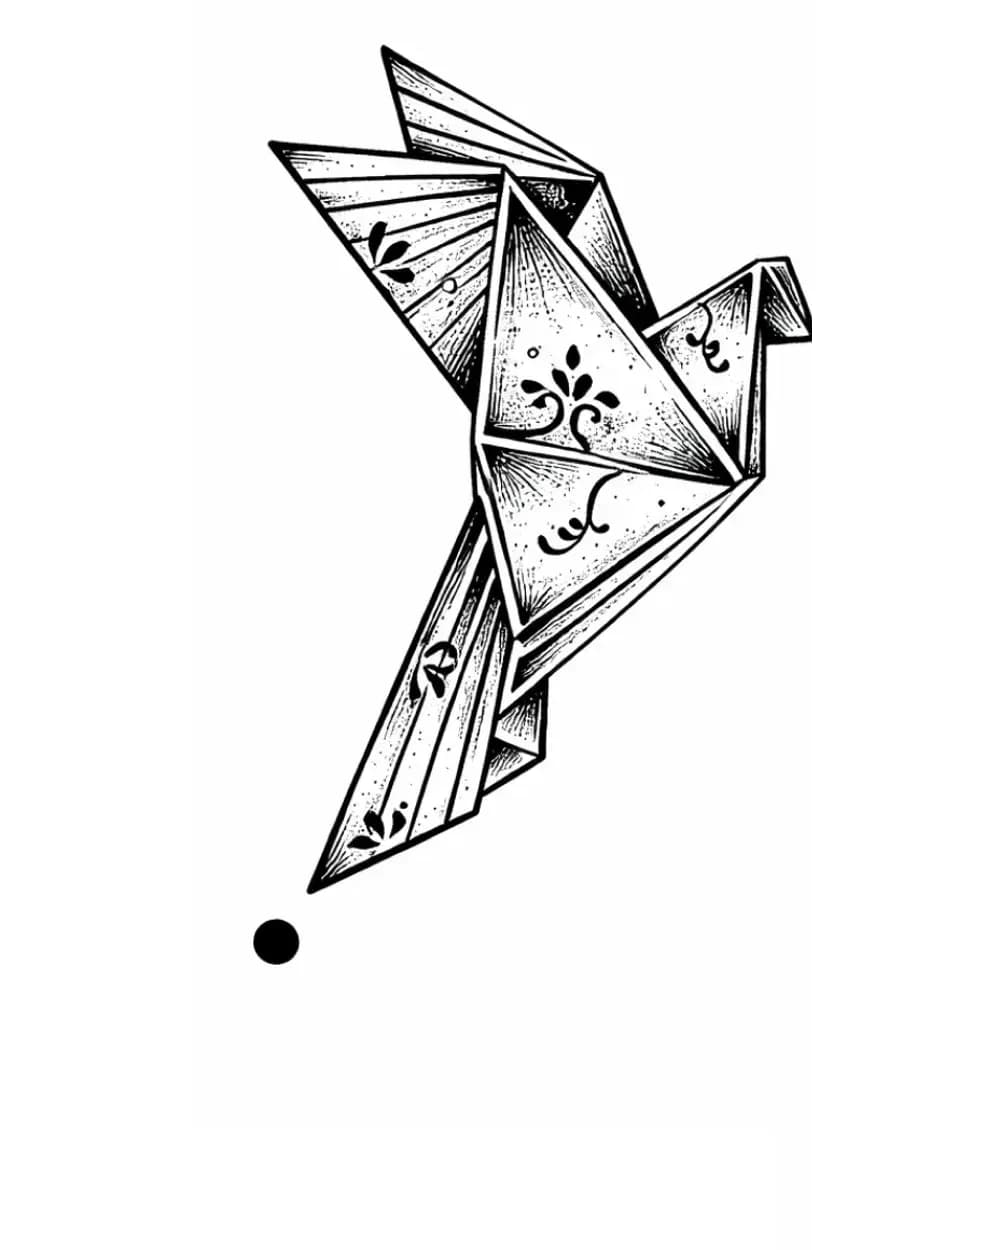
Angular origami bird stencil with folded planes and narrow triangular gaps used to illustrate faceted linework hierarchy

Existing catalog origami used to illustrate faceted linework. Major folded planes must carry the read before crease lines compete.

See symbol stencil references

Large folded planes establish the bird before smaller crease lines, which makes hierarchy easy to judge.
Comparing faceted linework where edge hierarchy matters more than texture.
Narrow triangular gaps and repeated fold lines merge first; simplify creases before weakening the outer planes.
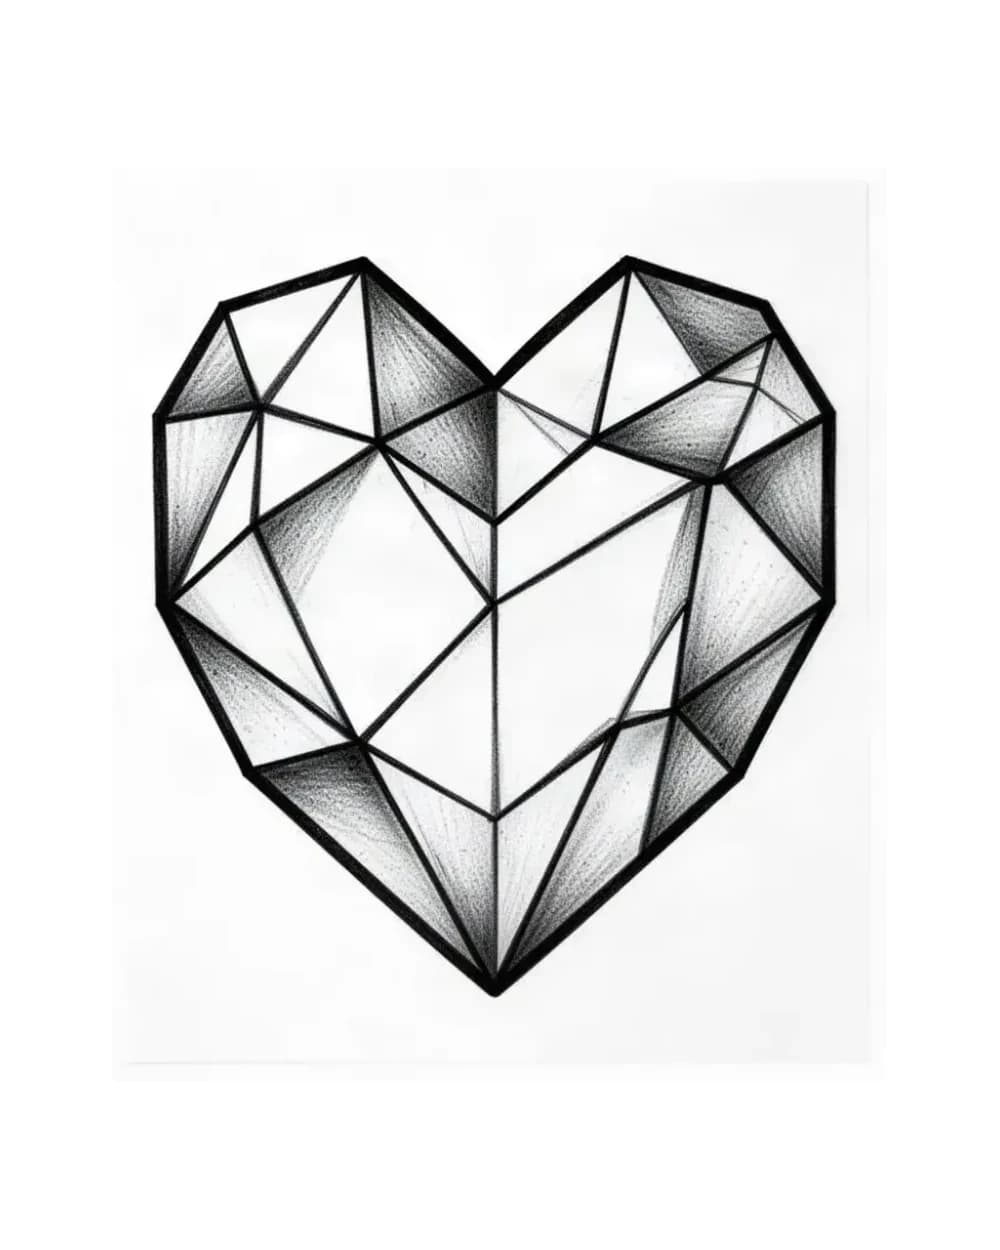
Faceted geometric heart stencil with straight separation lines used to illustrate symmetrical construction and joint retention

Existing catalog faceted heart used to illustrate symmetrical construction. Straight separation lines must remain open at final size.

See heart stencil references

Straight facets and a clear bilateral axis make symmetry errors visible before decoration distracts.
Checking faceted symmetry where the axis must stay honest on flat placements.
Facet joints can join into one dark mass when reduced; keep separation lines open ahead of interior detail.
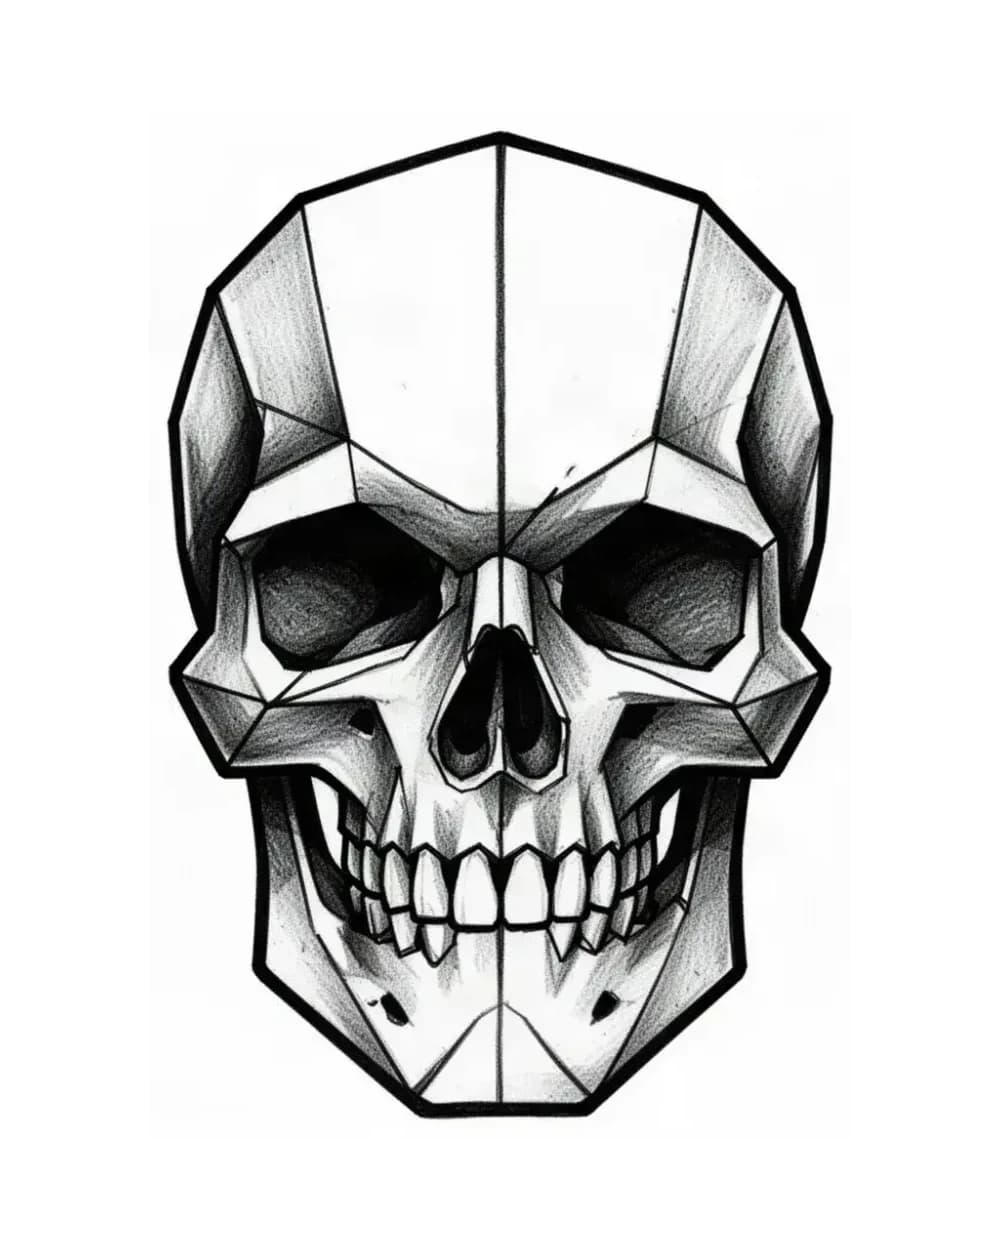
Faceted geometric skull stencil with straight planes used to illustrate how support detail stays subordinate to construction

Existing catalog faceted skull used as a construction contrast. Faceted planes carry the read while support detail stays secondary.

See skull stencil references

Faceted planes give a clean construction map, so support marks can be judged as secondary rather than competing structure.
Studying faceted construction discipline without borrowing subject-specific skull depth.
Do not import skull identity into a pure geometric piece; use this panel only for facet and joint logic.
Compass rose stencil with eight points and geometric ring used to illustrate repeat consistency around a center

Existing catalog compass rose used to illustrate radial repeat. Point count, star center, and ring separation must stay consistent.

See symbol stencil references

Even point spacing around a stable ring makes repeat drift easy to spot before transfer.
Vetting radial repeats where every point must match its neighbors at the intended size.
Ring channels and point gaps close when crowded; protect one clean repeat interval first.

Each direction below is an editorial stencil archetype with explicit trade-offs. Pick the row that matches the client intent, then run the failure and transfer checklists against your own reference at the exact size you plan to use.

Geometric direction comparison by stencil criteria
DirectionFirst readGap and line riskSize behaviorBest for
Sacred geometryClosed symbolic construction with one center point governing rings and radii.Fine inner lines and small enclosed openings merge first when crowded.Needs the largest minimum size of the three directions.Symbolic medallions and centered panels on flat, stable areas.
Dotwork-ledSimple frame plus dot fields or gradient fills that carry tone.Packed dots read as one flat patch when skin gaps close.Flexible when dots stay countable with open skin at true size.Filler panels and background depth without heavy black.
Precise lineworkOpen grids, hexagon rows, and band repeats with shared straight edges.One mismatched repeat breaks the rhythm of the full band.Most adaptable across sizes, rescale by adding or removing repeats.Bands, armbands, sleeve structure, and placements that wrap.

Direction and symmetry failures

  • Drifted center or stepped mirror half. Rebuild every circle and radius on one center point before changing line mass.
  • Mismatched repeat width, rotation, or spacing. Isolate one repeat unit and rebuild neighbors to match it exactly.
  • Texture or dots carrying the first read. Rank construction contours first and mark one removable finish family.
  • Armband closing joint unplanned. Count repeats around the full limb measurement and mark registration ticks before print.
  • Animal or object likeness mixed into pure geometry. Keep subject identity with subject browsing and keep this comparison on measured construction.

Final-size and transfer-ready checks

  • True-size proof. Inspect the stencil at exact physical dimensions and find the tightest joint plus the densest dot cluster.
  • Open joints and channels. Confirm every must-keep gap stays open at arm's length with scaling off.
  • Dot gradient with open skin. Keep dense edge fading into open skin with one solid anchor, not one flat gray pocket.
  • Axis on skin. Verify the center or travel axis on the live placement photo before transfer, especially for wraps.
  • Production handoff. Set layout in Size and Print, preflight with the Print Checker when needed, then follow the paper and skin-application owners.

Geometric preparation notes

Keep measured structure ahead of finish.

Use these notes after the direction table: every geometric build shares one center or repeat logic, but sacred, dotwork-led, and linework directions each fail at different gaps and densities that must survive final-size reduction.

Choose the geometric direction before judging detail

Start from the job the piece has to do. A sacred construction uses closed symbolic sets such as circle families, node grids, and proportion-based medallions around one center point, so it reads instantly but needs the largest minimum size because fine inner lines merge first. A dotwork-led build uses a simple construction frame plus dot fields or gradient fills for tone, so it suits filler and background depth when dots stay countable with visible skin between them. A precise linework pattern uses open grids, hexagon rows, triangle tessellations, bands, and armband repeats with shared straight edges, so it adapts best across placements and rescales by adding or removing repeats. Compare the panels with the same questions: what is the first read at arm's length, which marks are structural and which are finish, and what happens to that hierarchy when the design is reduced to the intended width or diameter.

Keep the center true and repeats consistent

Geometric work fails first at the axis or center, not at decoration. For medallions and mirrored panels, fold the reference on its intended axis or center and compare opposite halves at the same scale. For bands and tessellations, isolate one repeat unit and compare width, rotation, and spacing across every neighbor. Rebuild a drifted center or a mismatched repeat before touching line weight or dotwork, because thicker lines cannot rescue geometry that steps off axis. The symmetry checker tool compares two halves around an artist-chosen axis when the eye needs a second opinion, and the size calculator locks the physical dimensions so every later check measures the same stencil.

Protect the white space at final size

Tessellation joints, channels, and dot intervals are the structural material, not background. Print the stencil at 100 percent with scaling off, then confirm each must-keep joint stays visibly open at arm's length. As a practical starting point, many artists test close parallel detail at about 2 mm separation and allow more room on high-movement areas, then judge the specific stencil rather than treating that number as a rule. Keep dot gradients as dense edge fading into open skin with one solid anchor where the darkest tone should sit, and run a squint check: step back until dots disappear and confirm the pattern still reads. If a joint closes on paper, enlarge the piece or remove a repeat rather than thinning lines to force the fit.

Place flat work honestly and plan wraps in advance

Flat fields such as the outer forearm, calf, upper back, and outer thigh preserve drawn geometry with little compensation, so the limb axis becomes the design axis and repeats leaning across it crowd fast. Centered fields such as the chest and sternum read mirror symmetry immediately, so align the geometric center to the body midline on a live placement photo before print. Full-wrap placements such as armbands are the hardest common case because flat-drawn repeats compress on the curve and the closing joint must meet cleanly. Count repeats around the full limb measurement, mark registration ticks on the stencil margin, and confirm the closing joint on the body preview before transfer instead of discovering a visible step on skin.

Move an approved direction to a clean transfer

Confirm the physical width or diameter first, then recheck the same stencil at that size rather than at zoom. Check that construction contours carry the first read, that every tessellation joint and channel stays open, that dotwork still reads as a gradient with open skin rather than one flat patch, and that mirror orientation is confirmed for asymmetrical builds. Export a true-size PDF with no fit-to-page scaling, measure the physical print with a ruler, and inspect the narrowest joint and smallest dot cluster on plain paper. After the file passes, set exact layout in Size and Print, use the Print Checker when file-side preflight evidence is needed, choose paper after the production method is known, and follow the skin-application owner for placement, product, and first-pass checks. If any check fails, simplify the failing cluster and recheck at size before committing paper.

FAQ

Geometric stencil questions.

Match the direction to size and placement. Sacred medallions need the largest minimum size and the flattest area because fine inner lines merge first. Dotwork-led panels suit filler and background depth when dots stay countable with open skin at true size. Open linework patterns adapt best to wrap placements such as armbands and forearm bands. Pick one direction before vetting, because each fails in a different place.

Next step

Turn your approved geometric direction into a stencil draft

After the direction, symmetry, gaps, dotwork, and size decisions pass at final size, generate from your own approved reference.