01
Start from the cleanest useful reference
Use enough resolution to inspect structure and value, crop out irrelevant background, and keep the landmarks you will actually need to relocate on skin.


Realism Stencil Workflow
Realism needs more than a clean outline, but it does not need every photographic tone on the transfer. Preserve recognition landmarks, useful value boundaries, dark anchors, and directional texture - then judge the map at the size you will actually tattoo.
Web: upload, crop, Simple / Standard / Detailed, one free generation, PNG download. Max Quality, Fit to Body, mirror, exact-size print prep, and PDF workflow are in the iPhone app.
Reviewed examples
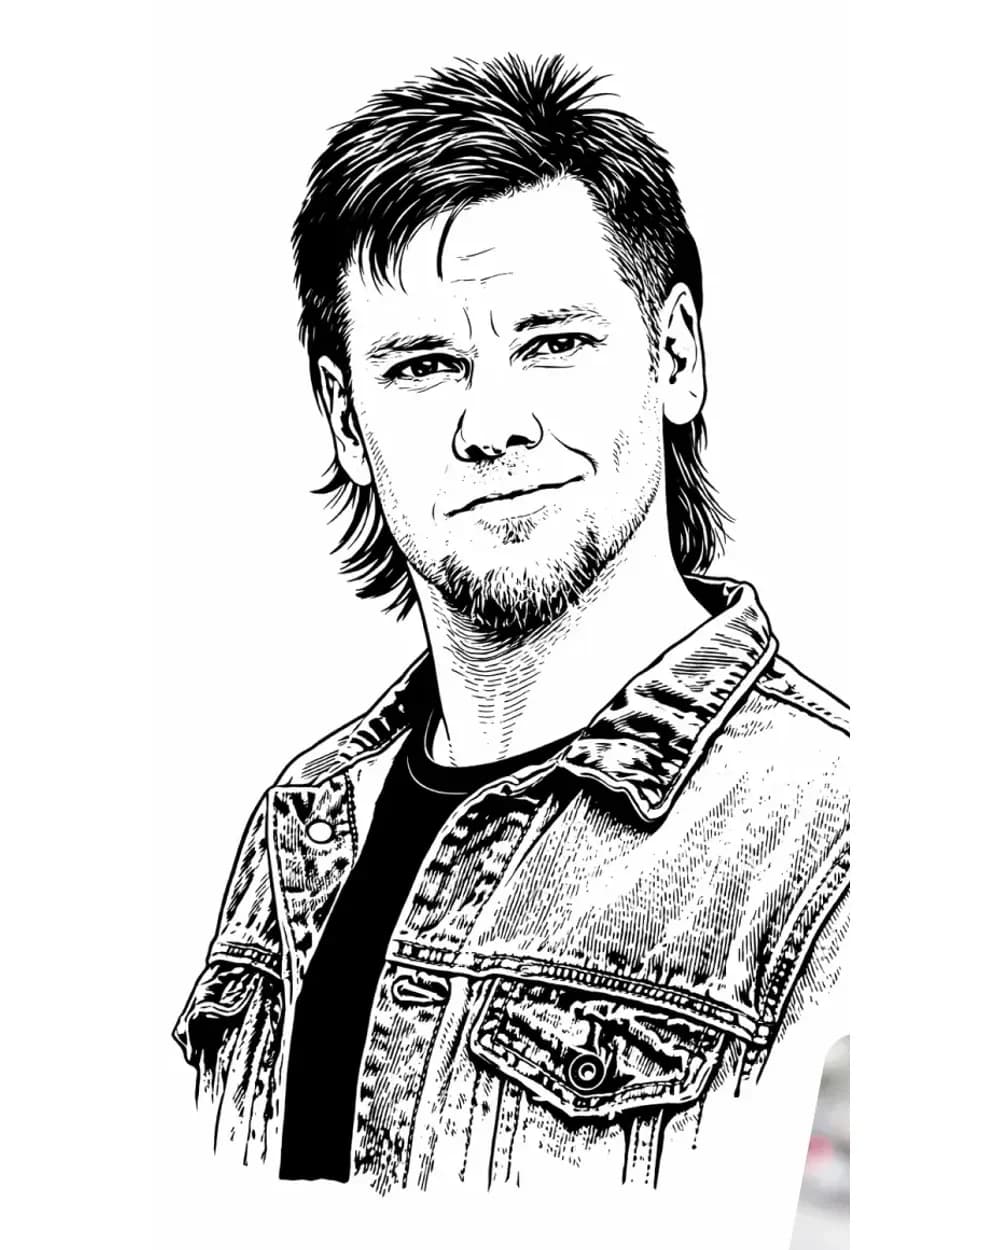
These examples span human portrait structure, animal faces, coat pattern, large facial planes, and hard anatomy. Compare what each stencil keeps before you compare how many lines it contains.
A face-led realism stencil where the eye line, nose, mouth, jaw, and selected value boundaries matter more than reproducing every photographic transition.
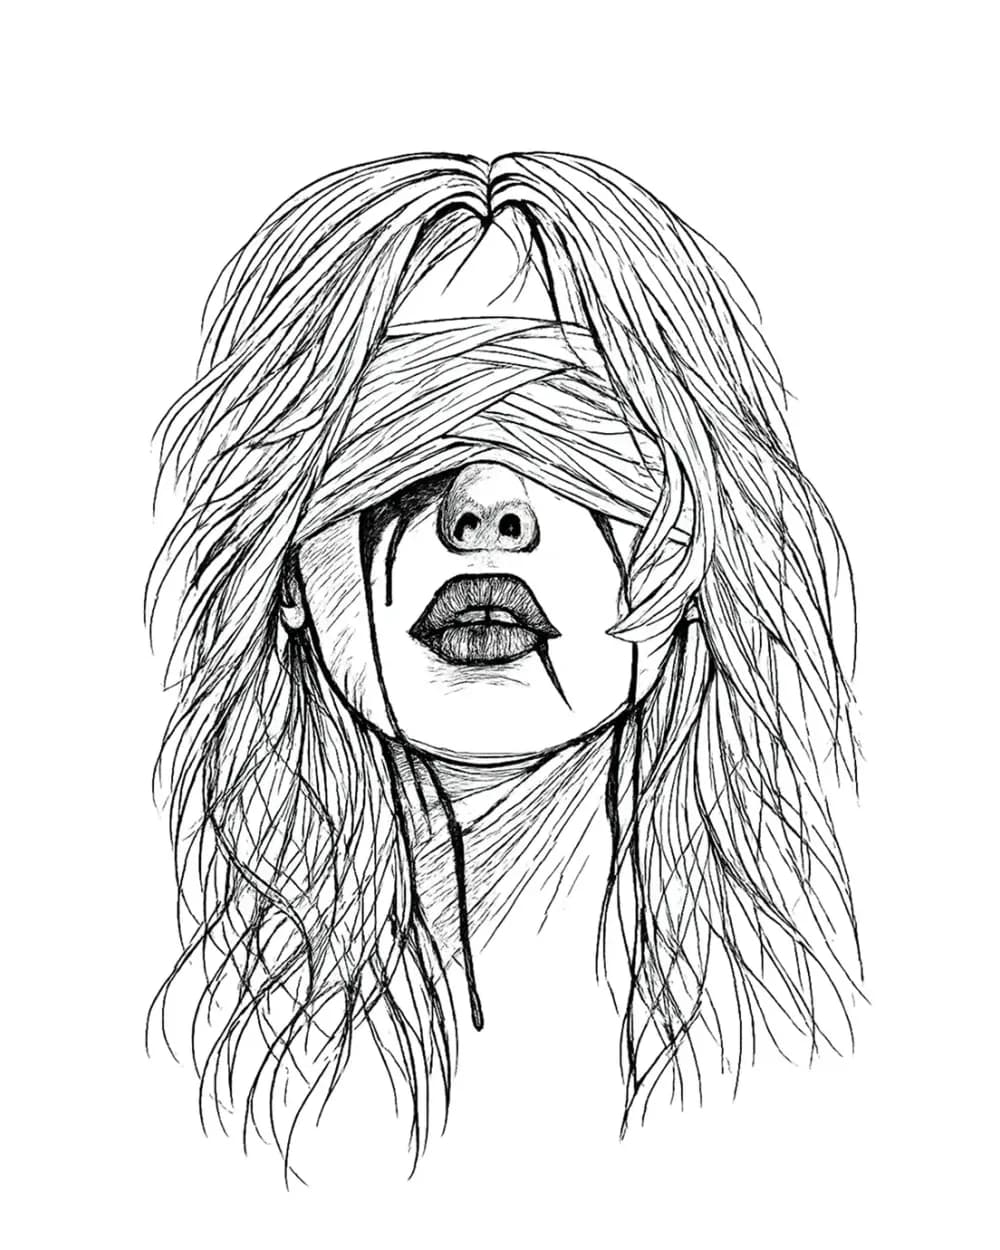
A realism test where the eyes are hidden and the remaining face, fabric, and hair relationships have to carry the structure.
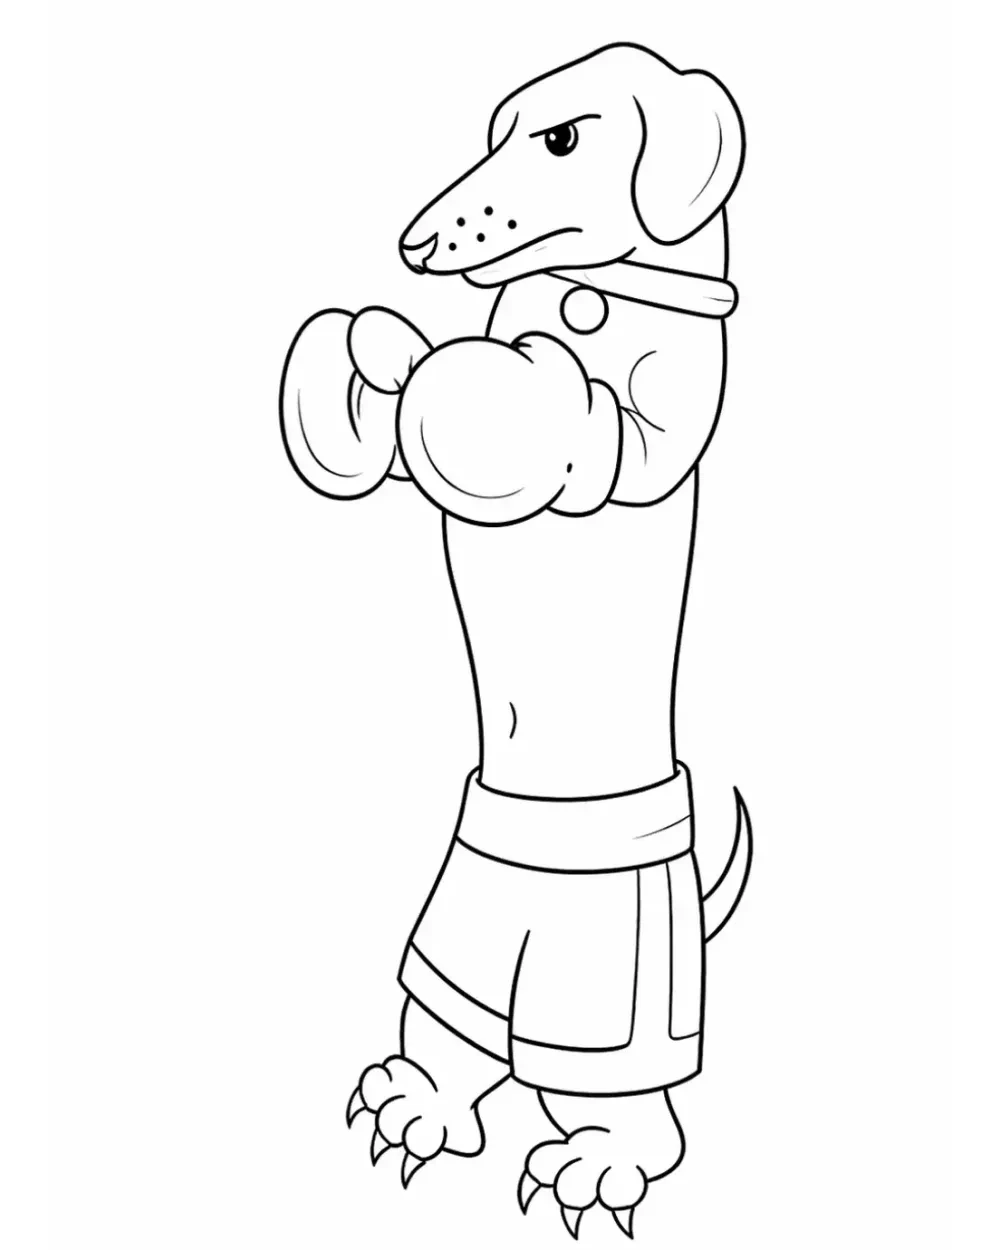
A short-coat animal example where facial planes and muzzle geometry carry more useful information than a large inventory of fur marks.
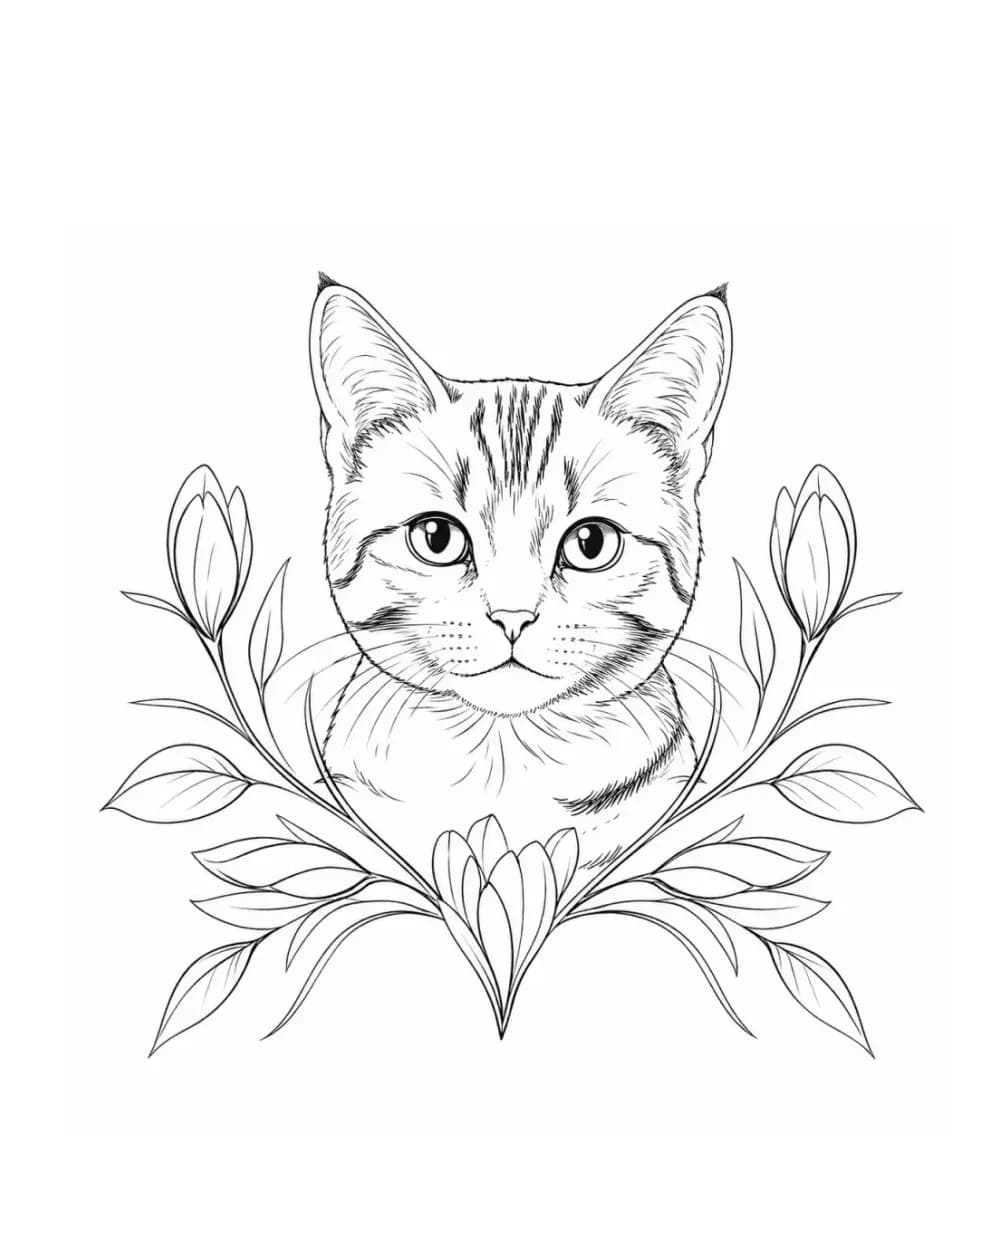
A denser animal stencil where pattern, eyes, nose, and fur direction need hierarchy instead of equal line weight everywhere.
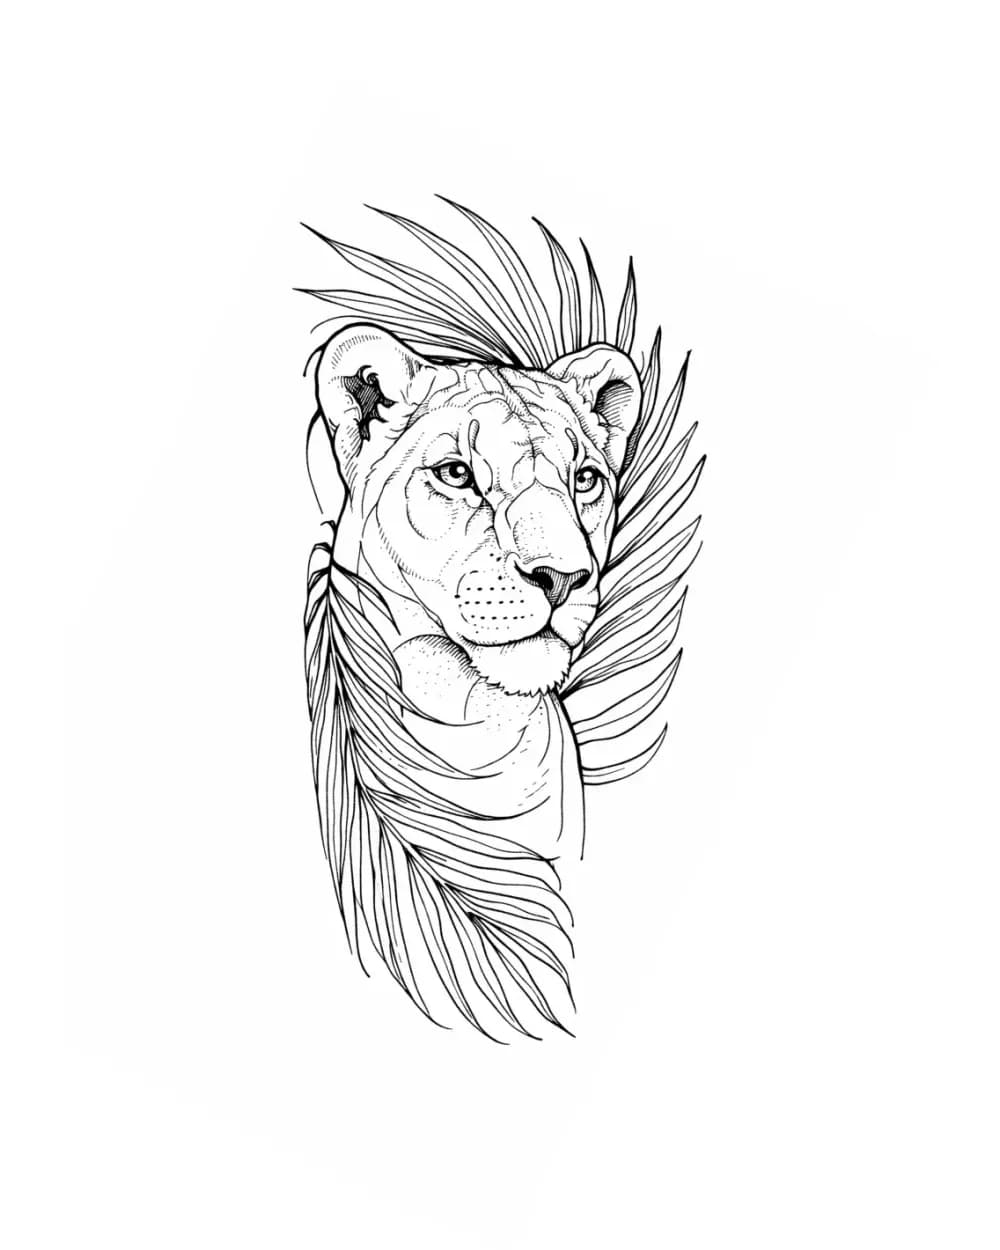
A profile example where the silhouette and large facial planes can carry realism guidance without filling the stencil with small texture.
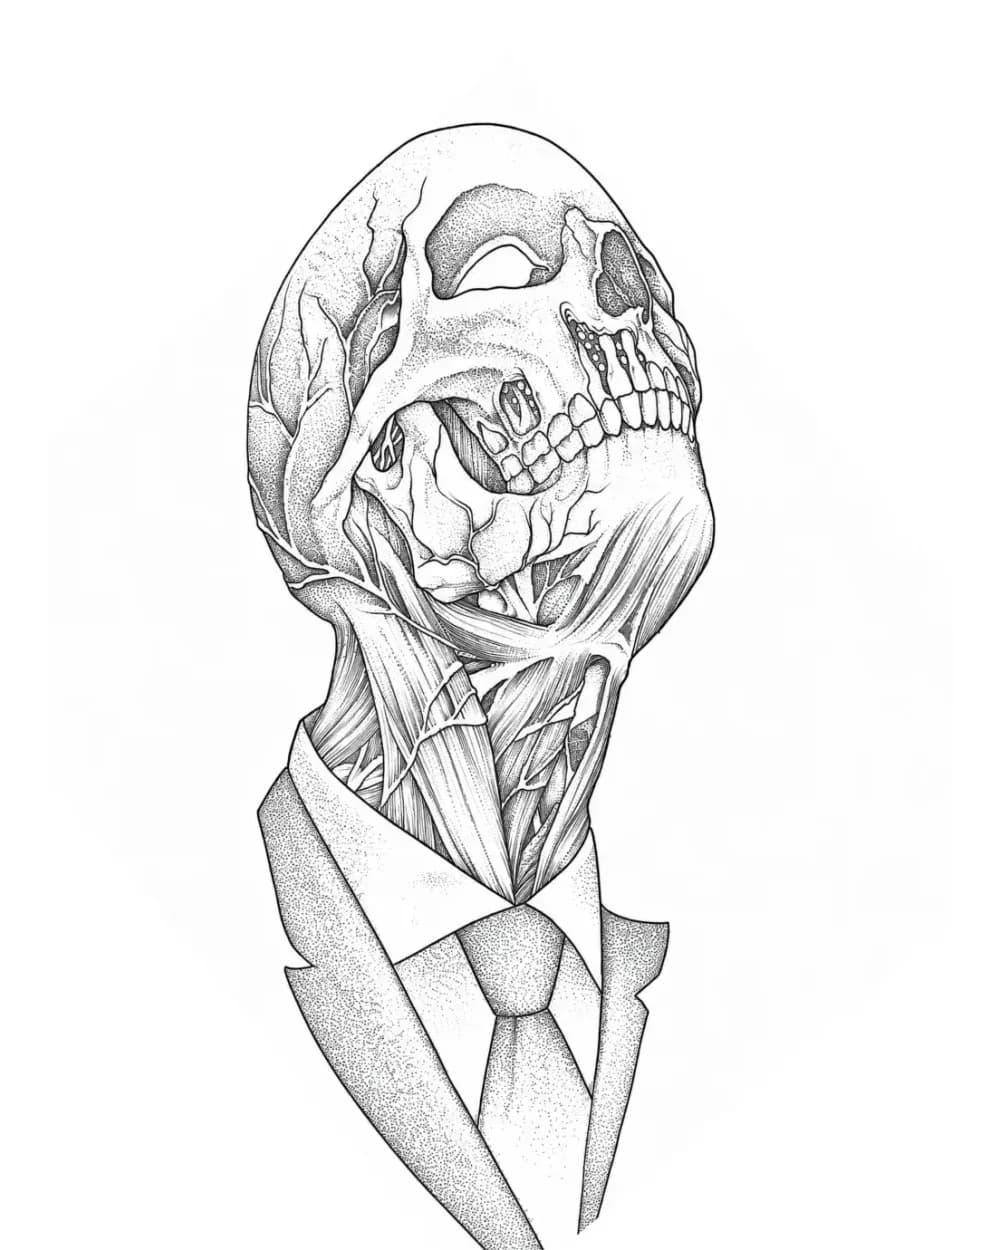
A hard-structure example where bone openings, neck anatomy, and major depth boundaries need to stay distinct before secondary texture.
The realism map
A stencil is useful when it protects the information that is hard to relocate later. The reference can keep the rendering information that never needed to become a transfer line.
Keep
Eyes, nose or muzzle, mouth, silhouette, bone openings, joints, and other anchors that establish the subject
Reduce
Repeated micro-edges that do not change recognition or form
Verify
The subject still reads correctly before you inspect texture
Keep
Deep dark cores, hard shadow edges, contact shadows, selected plane changes, and useful light reserves
Reduce
Smooth gradients converted into multiple near-identical contour bands
Verify
The stencil tells you where the form turns without pretending to be the finished render
Keep
A few hair, fur, wrinkle, fabric, or anatomy cues when their direction explains the surface
Reduce
Hair-by-hair, pore-by-pore, or grain-by-grain tracing
Verify
Texture stays subordinate to the main form and remains separable at final size
Keep
Only background, florals, props, or framing that materially supports composition or registration
Reduce
Photographic clutter and atmosphere that consume transfer density without helping execution
Verify
The first subject is obvious at normal working distance
For a deeper tonal legend, use the tattoo stencil shading guide. It separates hard edges, dark cores, contact shadows, fade direction, and light reserves without treating the stencil as a finished render.
Workflow
Structure first, tonal anchors second, texture last. That order makes it easier to remove information without losing the subject.
01
Use enough resolution to inspect structure and value, crop out irrelevant background, and keep the landmarks you will actually need to relocate on skin.
02
Compare Standard and Detailed instead of assuming the densest result is automatically better. Keep the version whose smallest marks still have a clear job.
03
Check silhouette, recognition landmarks, deepest darks, hard value boundaries, and contact shadows first. Only then decide which texture cues are worth retaining.
04
A realism map can look elegant while zoomed in and collapse when printed smaller. Check the tightest facial, fur, tooth, hair, or anatomy cluster at the size the client will actually wear.
Final-size preflight
Zoom is useful for editing. It is a poor test for whether dense realism guidance will remain readable on skin.
If the outside shape or main head/body gesture is unclear, extra tonal marks will not rescue the stencil.
A deep value anchor should help you relocate a real form or cavity. Remove marks that are dark only because the source photo is noisy.
Do not close a smooth gradient with two hard contour lines unless the reference actually contains a hard boundary.
Keep texture when it explains fur flow, hair direction, fabric, wrinkles, or anatomy. Drop repetitive marks that add no new decision.
Check eyes, nostrils, teeth, whiskers, hair, folds, and small shadow guides at the intended physical dimensions before transfer.
Use the right owner
Move to a subject-specific workflow when the exact identity of one face or pet becomes the main risk.
Use the portrait workflow when eye spacing, gaze, nose, mouth, jaw, and other likeness relationships are the primary constraint.
Portrait stencil workflowUse Pet Portrait when ears, eyes, muzzle, coat landmarks, and individual animal identity matter more than general animal realism.
Pet portrait workflowIf the style and subject are already decided, prepare the actual image instead of browsing more examples.
Photo-to-stencil workflowFAQ
The useful answers are about information hierarchy, not how many lines a stencil can contain.
A useful realism stencil preserves the landmarks and value decisions that are difficult to reconstruct later: silhouette, recognition-critical anatomy, deep dark masses, hard shadow boundaries, contact shadows, selected light reserves, and a limited amount of texture direction. It does not need to reproduce every photographic tone.
Try the workflow
Compare the information density, audit the realism map at final size, and keep the reference beside you for the finished rendering.