

Military family stencil reference

Choose the military family before you draw the stencil

Military requests are family decisions, not single-motif picks. Settle branch service, memorial, patriotic, or equipment intent first, then vet insignia density and lettering at patch, chest, and back-piece sizes before preparing a transfer-ready stencil.

Built for working artists preparing military client pieces. This page covers family choice, branch and memorial vetting, insignia simplification, and transfer preparation only, not tattoo application or healing advice. Single-figure and single-object construction stays with its specialist owners.

Military family shortlist

Four directions, four different stencil contracts.

Name the family before judging any reference. Each one asks the skin for different width, height, and inscription room.

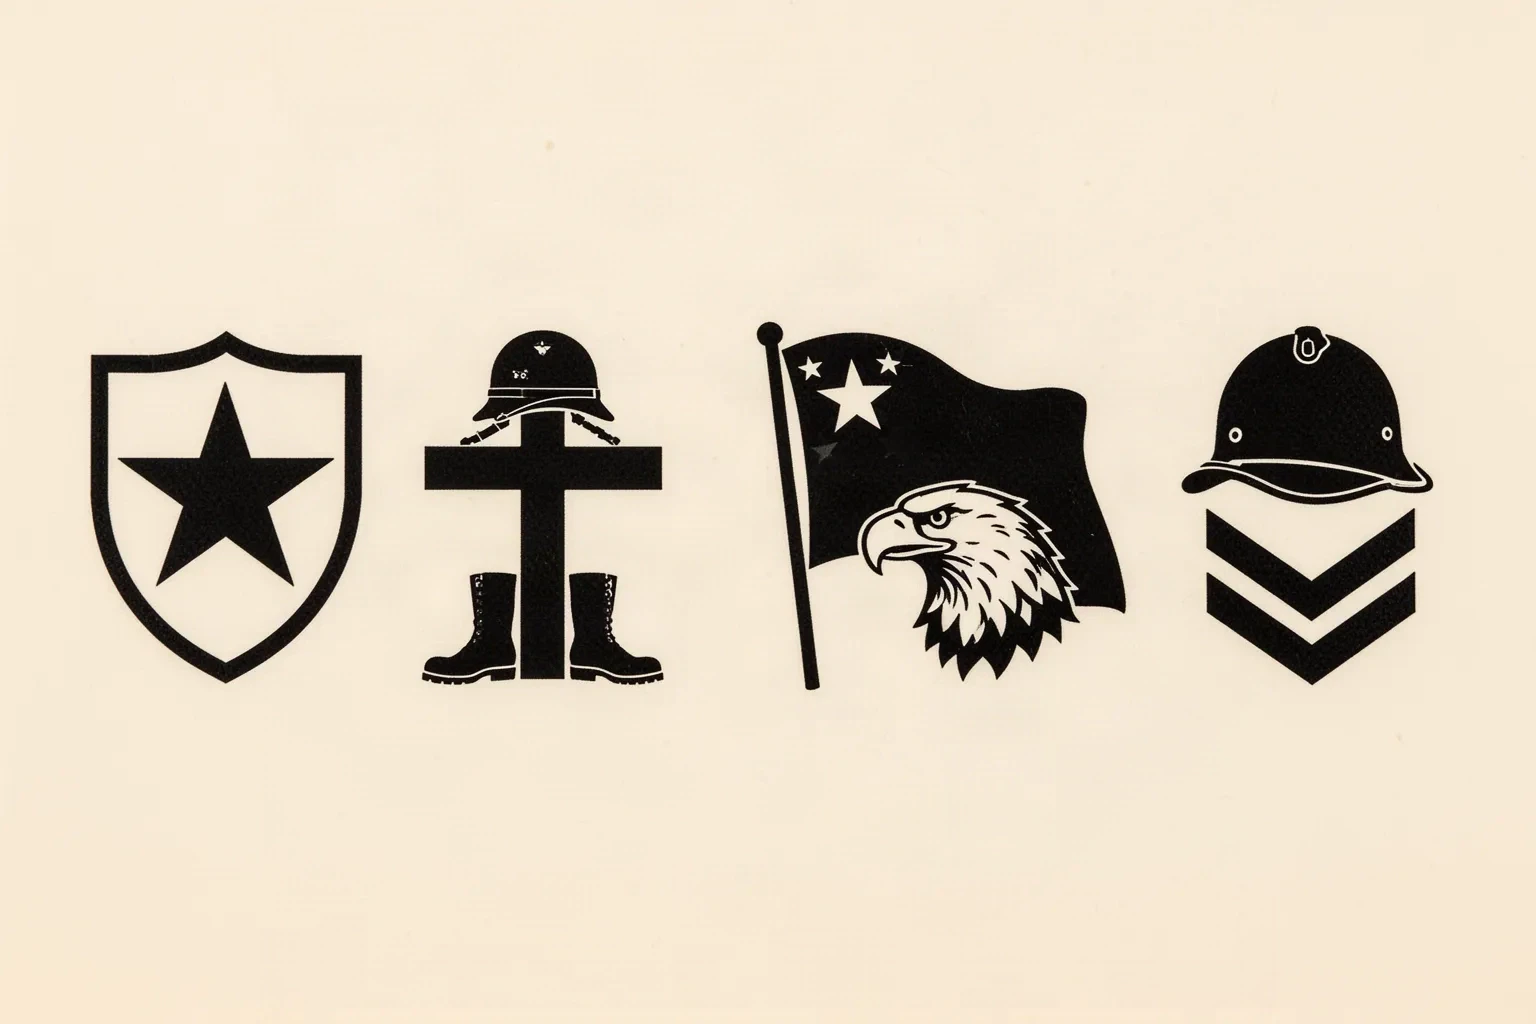
Four military stencil motif families in bold black linework: a star shield for branch service, a helmet and boots at a cross for memorial tributes, a flag with an eagle head for patriotic pieces, and a helmet above chevrons for service equipment.
Original conceptual illustration, not app output and not a branch-accurate insignia reference. Compare the four directions at one bold stencil weight to judge border, emblem, and support hierarchy before choosing a reference.

Branch service emblems

Army star, Navy anchor crest, Marine Corps eagle globe and anchor, Air Force wings, Coast Guard shield, Space Force delta

Best for: Clients with active service, veteran identity, or unit pride who want the branch named at first read.

Branch crests carry text rings, stars, wings, ropes, and shield borders in one dense emblem. Keep one emblem per field, rank the outer shield or ring first and one inner charge second, and treat motto rings and scroll lettering as the first candidates for enlargement or removal.

Verdict: Choose it when the branch identity is the message and the placement allows crest-scale width. Patch placements suit one simplified crest; chest and back pieces suit a crest plus one support cue.
Memorial tributes

Fallen-soldier cross with helmet and boots, folded flag with name and dates, dog tags with dates, unit number with KIA date

Best for: Clients honoring a specific person, unit loss, or service-connected remembrance where names and dates must stay correct.

Memorial builds fail on inscription scale, not imagery. Size the smallest date numeral and name counter first, hold open skin between the emblem zone and the inscription band, and keep one emblem plus one inscription band maximum on patch and chest fields.

Verdict: Choose it when remembrance is the job. Keep wording to name plus dates plus at most one short line, verify every fact against the client source, and enlarge rather than compressing emblem plus text into one small field.

Patriotic symbols

American flag with canton and stripes, bald eagle head, liberty bell outline, shield with stripes and stars

Best for: Clients who want national pride without a specific branch mark, including veteran-family and commemorative pieces.

Flags and eagles read through stripe rhythm and head-to-beak separation. Keep flag stripes countable with open channels between each, keep star fields as spaced dots rather than filled texture, and keep eagle beaks and eyes clear of feather rows with real skin breaks.

Verdict: Choose it for broad-readable pieces at parade distance. Flags suit rectangular chest panels, upper backs, and forearms on the limb axis; eagle heads suit square chest and shoulder fields where the head can stay large.

Service equipment

Helmet profile, crossed rifles with unit patch, aircraft silhouette, ship silhouette, service chevrons and rank bars

Best for: Clients who want a role or trade cue such as infantry, aviation, medical, or naval service rather than a formal crest.

Equipment motifs bring hard edges, repeated bars, and small hardware that merge at transfer size. Keep one object dominant, rank chevrons or bars as one band family, and drop screws, stitching, and panel lines before touching silhouette mass.

Verdict: Choose it when the job or trade is the story. Firearm and ammunition detail stays subordinate here and links to its specialist owners when the client wants a full weapon comparison.

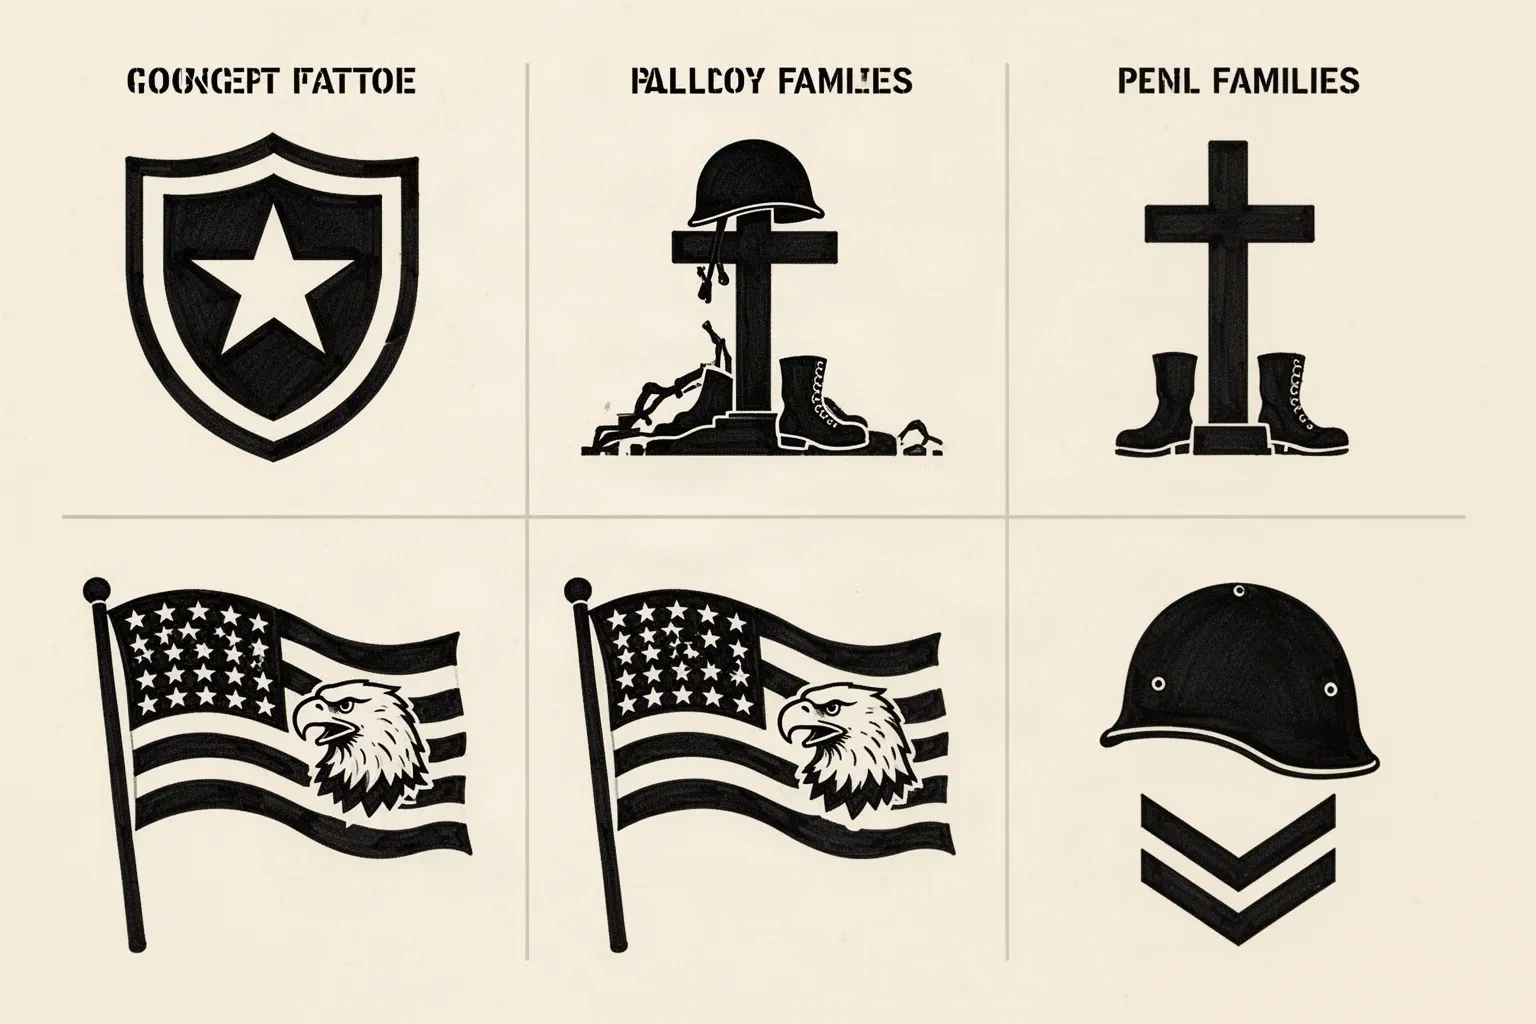
Six black line military motif studies in two rows: a shield with a star, a helmet and boots mounted at a cross, a cross flanked by two boots, two crossed flags with eagle heads, and a helmet above two chevrons.
Original conceptual illustration, not app output and not a branch-accurate insignia reference. Use it to compare shield, memorial cross, flag, and equipment cue weight side by side before choosing the family anchor.

Single-object ballistics and firearm construction are judged on their own pages. When an equipment concept leans on a full weapon read, use the gun silhouette owner and the bullet casing owner for that detail rather than expanding it here. Sailor figure construction stays with the sailor owner.

Suitability vetting

Bold lines, patch geometry, and placement decide the result.

A military emblem is a dense badge built for large reproduction. These three checks predict whether it survives reduction, print, and transfer on skin.

Bold-line readability at tribute sizes

Military emblems are drawn for print and cloth at sizes far larger than skin allows. Transfer viability comes from one ranked outer contour, one inner charge with its own skin ring, and lettering sized for its own transfer rather than shrunk to fit leftover space. When every star point, wing feather, rope twist, and motto letter keeps separation at true size, the emblem survives reduction and print.

Check: Cover all lettering and inner texture. If the outer shield, ring, or flag field plus one inner charge still names the family at a glance, the hierarchy is sound. If removing tone leaves one filled badge, reopen separations before judging detail.

Patch, chest, and back-piece placement fit

Military clients often ask for patch shapes, chest panels, or full back pieces, and each field distorts detail differently. Patches demand compact square or shield geometry with one emblem only. Chest panels give width but curve at the edges and compress text rings. Back pieces give flat room but invite overfilling with extra banners, dates, and secondary emblems that compete for the same skin.

Check: Name the field before judging the reference: patch means one crest recropped to its border, chest means crest centered on the flattest span with text rings verified at 1:1, back means ranked zones with open skin between emblem, inscription, and support cue.

Insignia and lettering density control

The densest failure points are motto rings, unit scrolls, date lines, star rows, and rope or laurel borders. Each family adds thin parallel marks that share one band and print as a single dark ring. The stencil holds when borders carry one clean band, lettering carries countable counters and separators, and stars and bars keep uniform gaps with skin on both sides of every stroke.

Check: Inspect the smallest letter counter, the tightest date separator, and the narrowest border channel at the exact physical size. If two marks share one edge at 1:1, enlarge the piece, shorten the wording, or remove one family before changing outer line mass.

Transfer-ready simplification

Judge the white space at the size you will print.

Screens forgive crowding that paper and skin do not. Set the size first, then inspect each feature below at true physical size with scaling off.

Military detail simplification by size
FeaturePatch and small chestLarge chest and back piece
Branch crests and shield bordersOne shield or ring outline with one inner charge and no motto text. Rope twists, laurel leaves, and secondary banners go first.Same priority. Larger fields allow one motto arc or one scroll, but only when every letter holds its own counter at 1:1.
Stars, wings, chevrons, and barsKeep star points blunt and spaced, chevrons as one band family with skin between bars, and wing feathers as three to five countable rows maximum.Additional feather or stripe rows can work when each row keeps its own channel. Detail should never join the border or close a neighboring gap.
Names, dates, and unit letteringName plus dates only, on one baseline with uniform separators. Script flourishes, second quotes, and Roman numeral strings need their own size pass or a larger field.One short unit line or motto can join the inscription band when it stays subordinate and fully separated from the emblem edge.
Flags, eagles, and equipment pairingFlags need countable stripes with open channels; eagles need beak-to-eye separation with plain feather masses. Equipment keeps one object with no screws or stitching.One pairing cue such as a small flag fold or single chevron can support a crest when it stays compact and keeps an open skin ring.

Reference to clean stencil

Build from the family anchor outward, then rank the rest.

Work in this order so one change at a time can be judged at the same size. Stop when emblem, inscription, and zone gaps each read correctly.

  1. 01

    Lock family, field, and size first

    Choose branch, memorial, patriotic, or equipment with the client, name the patch, chest, or back-piece field, and set the intended physical width and height in millimeters before judging detail. A crest that holds at 18 cm on a back panel can fail at 7 cm as a patch with no line being wrong on its own. Use the size calculator when target dimensions are still open.

  2. 02

    Rank emblem versus inscription versus support

    Assign every mark a role: lead emblem that carries the branch or patriotic read, inscription that carries names and dates, and support that shapes the story. Resolve zone overlap, touching scroll edges, and competing baselines before touching line weight. A military piece with one clear anchor and one separated text band is already halfway to stencil-ready.

  3. 03

    Simplify borders, stars, and lettering at 1:1

    Reduce rope twists, laurel rows, star fields, feather rows, and motto rings before strengthening contours. Keep open skin inside every star point cluster, between every stripe and bar, around every letter counter, and along the full border channel, then run a squint check until fine texture drops out and confirm the family still reads.

  4. 04

    Verify print and transfer path

    Export a true-size PDF with no fit-to-page scaling, inspect the narrowest border channel, the smallest name counter, the tightest date separator, and the closest emblem-to-text gap on plain paper, then measure the physical print with a ruler. If the digital file passes and only paper fails, move to print-stage evidence instead of simplifying again.

Placement and size decisions

Patches want compact crests, chests want centered anchors

A military emblem is a wide badge with text and fine inner marks. Placements with a clear flat span preserve borders and lettering, while narrow or wrapped fields demand a recrop.

Patch fields

Compact shield, circle, or rectangle fields where only one simplified crest survives. Text rings and scrolls wrap fast and close first.

Check: Recrop to one emblem inside its border with no motto ring, keep stars and bars to one band family, and verify the border channel at the exact patch size.

Chest panels

Broad panels with room for a crest plus one inscription band or flag fold. The curve compresses outer text rings and wide stripe runs at the edges.

Check: Center the emblem on the flattest span, keep inscription on one straight baseline, and confirm every letter counter on a live body preview.

Back pieces

Large flat fields where branch, memorial, and patriotic zones can combine. The width invites overfilling with extra banners, dates, and secondary emblems.

Check: Hold open skin between emblem, inscription, and support zones, rank one anchor dominant, and verify every zone separation at true size before print.

Forearm, calf, wrist, and ankle

Long or small wrapped fields where flags and equipment run well but full crests with text rings crowd fast.

Check: Run flags and equipment along the limb axis, recrop crests to charge plus border only, and move full inscriptions to a larger field or a separate pass.

Stencil-ready checklist

Approve the military piece only when every line passes

Run this short sequence with scaling off and a ruler in hand. One failed line means fix, enlarge, shorten, or reselect before transfer.

  • Confirm the family direction, the patch, chest, or back-piece field, and the intended millimeter size.
  • Confirm one ranked emblem with open skin between border, inner charge, and any support cue.
  • Confirm every name counter, date separator, and motto letter transfers as its own mark at 1:1.
  • Confirm stripes, stars, bars, and feather rows read as countable marks with skin between each.
  • Confirm spelling, date order, unit wording, and branch naming against the client source.
  • Export a true-size PDF with scaling off and measure the physical print with a ruler.
One family per field Verify gaps at 1:1 Ranked emblem plus separated text

FAQ

Military stencil decisions, answered

Short answers for the family choice, readability, simplification, memorial scope, placement, and print checks that recur when a military reference moves toward transfer-ready output.

Match the direction to what the client wants recognized first. Branch emblems suit service identity and unit pride. Memorial builds suit honoring a person or loss with verified names and dates. Patriotic symbols suit national pride without a specific branch mark. Service equipment suits role or trade stories such as aviation, infantry, or naval duty. This page recommends one direction per field and one anchor per composition, with a second cue admitted only when each zone keeps its own separations at true size.

Next steps

Use the neighboring owners for adjacent jobs.

This guide covers military family choice, patch and chest and back-piece vetting, insignia simplification, and reference-to-stencil preparation. Use the links below for related jobs such as figures, objects, conversion, sizing, and placement.

Sailor figure construction, bullet tip and band depth, firearm silhouette depth, memorial archetype depth, generic conversion mechanics, gallery file detail, and placement mechanics stay in their specialist owners. The links above hand off instead of repeating that detail.

From evaluated reference to working stencil

Turn the approved military direction into a stencil draft.

Start from the family option that passed the bold-line, placement, and gap checks, then continue on iPhone for body fit, exact-size print, mirror and professional export.