Cheetah print stencil prep

Prep a cheetah print that transfers as clean dots

Cheetah print is solid dots with open skin between every neighbor, not rings and not clusters. Set the stagger, scale the dots to your band width, keep every gap countable at true size, then simplify and verify before transfer.

Built for working artists preparing animal-print bands and fills. This page covers solid-dot identification, repeat, scale, density and breakup control, band and fill placement, and transfer-ready simplification only, not tattoo application or healing advice. Leopard rosette construction stays on the leopard owner, printer troubleshooting stays on the printer guides, and hand-zone fit stays on the hand owner, linked below.

Cheetah versus leopard for stencil choice

Dots mean spacing, rings mean breakup.

Settle the species read in seconds. The mark type decides which simplification logic applies, and mixing them is the most common print failure.

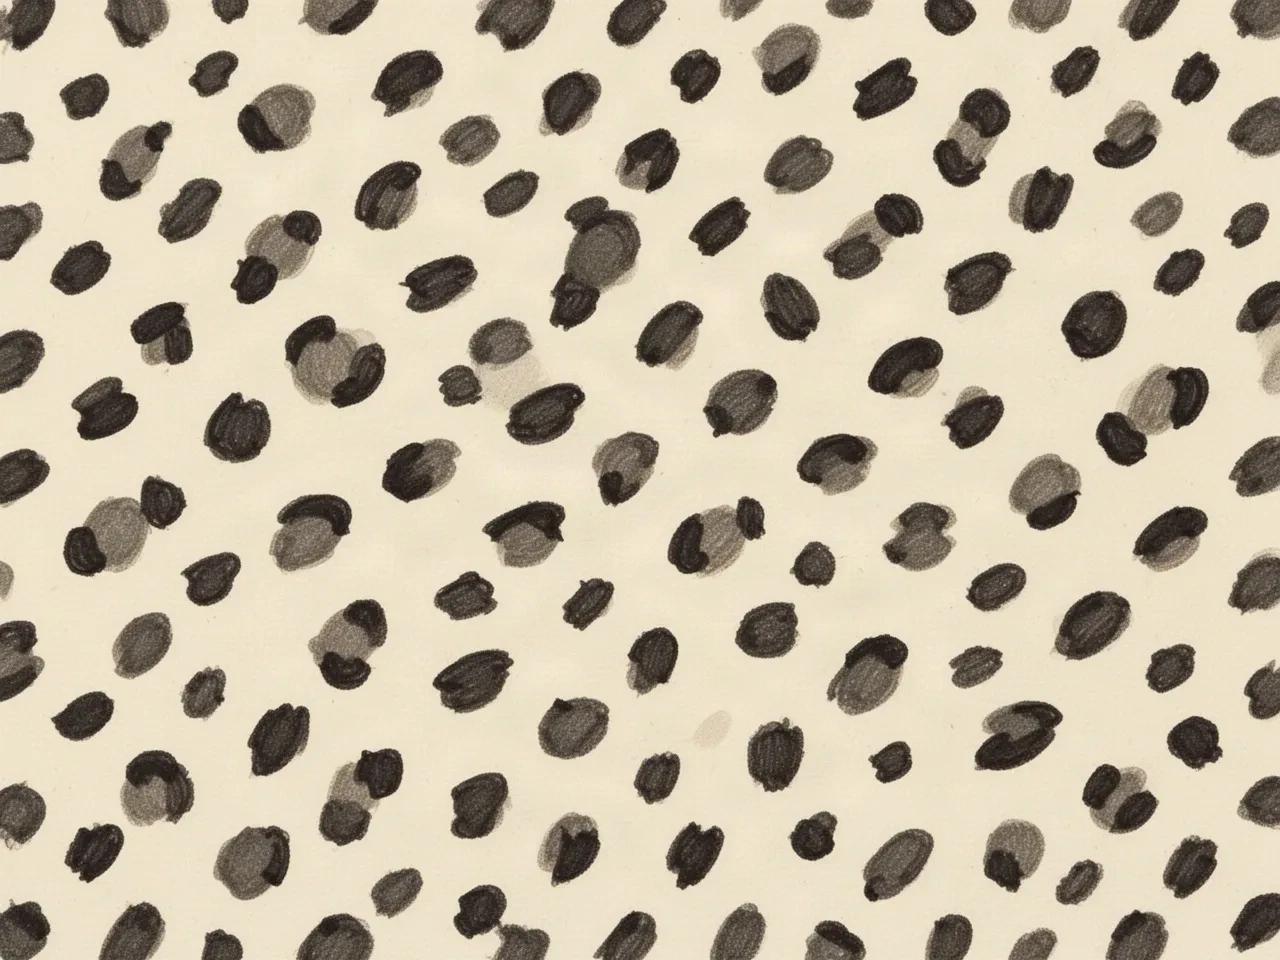
Pattern illustration of cheetah print: filled solid dark dots scattered in a staggered rhythm with clear paper gaps between neighbors, no rings, arcs, or pale centers.

Cheetah: isolated solid dots

Filled dots with skin between every neighbor. The stencil job here is count, stagger, and gap.

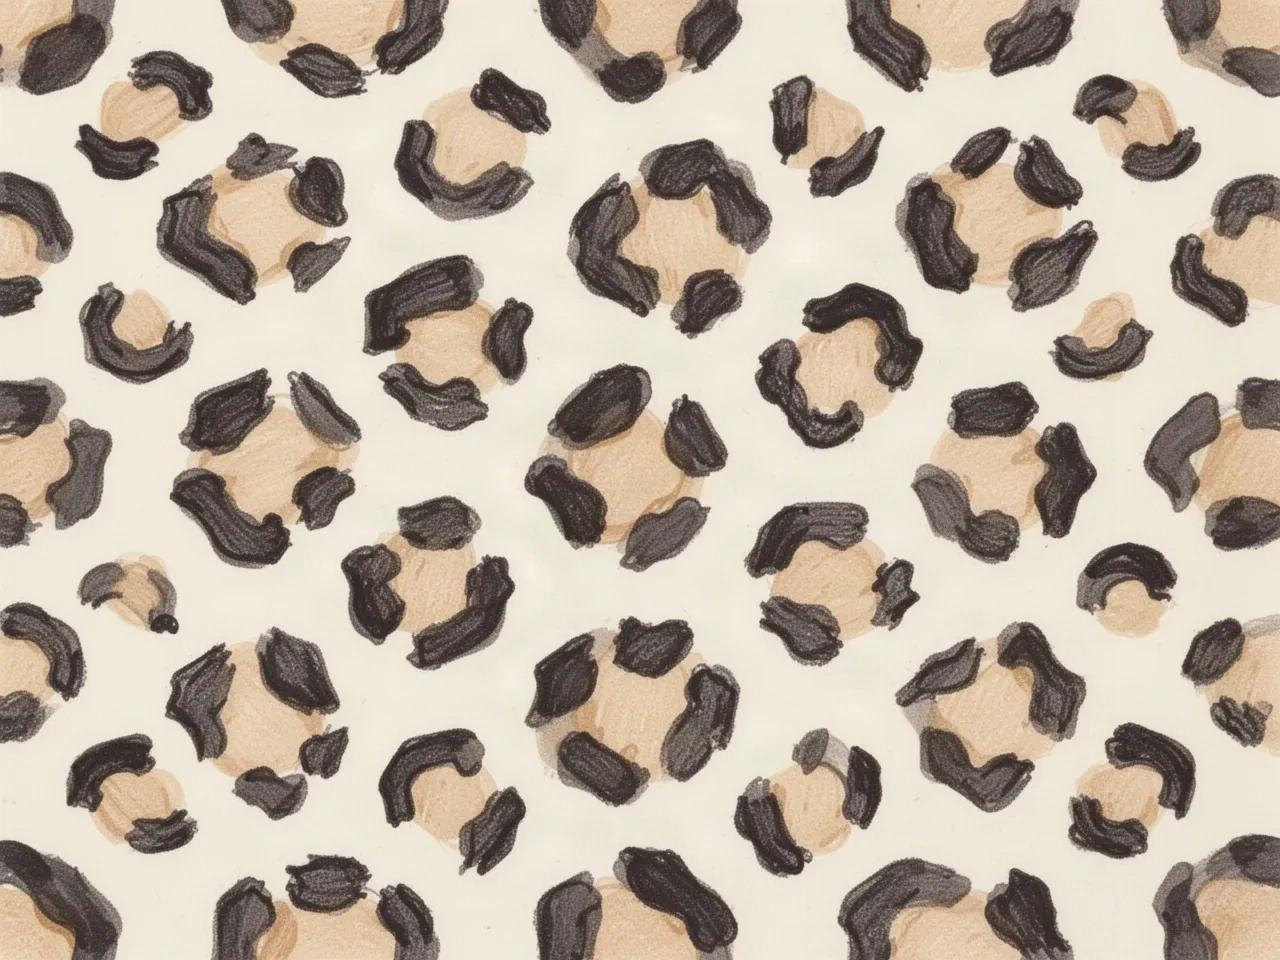
Pattern illustration of leopard print: irregular broken dark rings and C-shaped fragments grouped unevenly around pale centers, with no solid center dots.

Leopard: broken rosettes

Broken rings and C-shaped fragments around pale centers. That ring-breakup workflow stays on the leopard owner.

Original pattern illustrations for mark-type identification. They are not stencil files, app output, or photographs of healed tattoos.

Solid-dot versus rosette identification for stencil work
MarkWhat it looks likeWhat changes on the stencil
Cheetah: solid dotsSmall, round to slightly oval filled dots, evenly scattered with clear skin between every neighbor. No rings, no broken arcs, no pale centers.The stencil job is spacing and count. Each dot is one filled shape, so failure means dots touching, rows merging, or dots shrinking below transfer mass.
Leopard: broken rosettesIrregular broken rings and C-shaped fragments grouped around a lighter center, uneven in size and spacing, clustered along back and flanks.The stencil job is ring breakup: open centers, separated fragments, and merged neighbors. That full rosette workflow stays on the leopard owner linked below.
Jaguar confusion to excludeLarger rosettes with a solid center dot inside the ring. Sometimes sold as cheetah or leopard print in flash sets.Do not mix center-dot rings into a cheetah run. If a ring has an inner dot, treat it as a different print and reselect the flash.

Quick test: cover half the reference and look at five marks. If all five are filled dots with skin around each one, it is cheetah print and this page applies. If any mark is a ring, arc, or C-shape around a pale center, it is rosette work and belongs on the leopard owner. Full rosette density, ring breakup, and head plus profile vetting stay there and are not repeated here.

Repeat, scale, density and breakup

Control four levers, then the print holds.

Cheetah print fails when dots grid into rows, shrink below transfer mass, touch neighbors, or bunch at borders. Each lever below has a check you can run at true size.

Repeat: dot rhythm across the field

A cheetah print field reads as an even scatter, not rows and not clusters. Stagger alternate rows by about half a spacing unit so no straight grid lines appear, and keep the same stagger through the whole band or fill.

Check: Squint at the repeat block. If straight rows, columns, or diagonal lines jump out, re-scatter the dots before touching size.

Scale: dot size against band width

Dot diameter sets how many dots fit across the band and how much skin survives between them. Small bands carry few dots across; wide fills carry many. Changing dot size changes density faster than changing spacing does.

Check: Count dots across the narrowest part of the band. If fewer than three fit with skin between them, the dots are oversized or the band needs a simpler rhythm.

Density: skin kept between dots

Skin between dots is the structure, the same way open centers are the structure in rosette work. When the gap between two dots closes at true size, the pair prints as one blotch and the cheetah read turns muddy.

Check: Cover half the field and look at one palm-sized patch at 1:1. If every dot keeps its own separation from every neighbor, density is sound.

Breakup: edges, fades, and interruptions

Real stencil bands rarely run edge to edge with uniform dots. Plan where the print starts, stops, thins near joints, or wraps around a focal motif, so the fade looks intentional instead of crowded at the border.

Check: Mark the first and last dot row at each end of the band. If the border dots touch the edge line or bunch against a motif, thin or remove that outer row.

Repeat, scale, density and breakup by band width
BandRepeat and scaleDensity ruleBreakup rule
Narrow band, about 3 to 5 cm wideOne staggered scatter, about 3 dots across the width, dot diameter about 4 to 6 mm with gaps at least half a dot wide at 1:1.Fewer, larger dots with generous skin. Remove every second dot before shrinking any dot.Fade the outer row near joints and motif borders. Keep at least one full skin gap between the print edge and any outline.
Medium band or half sleeve panel, about 6 to 10 cm wideFull staggered scatter, about 4 to 6 dots across, dot diameter about 5 to 8 mm. Keep the stagger consistent across the panel.The most flexible band. Vary dot size slightly for a natural scatter, but keep every gap countable at true size.Thin density, never just dot size, where the limb curves or the panel meets a focal piece. Remove border dots that touch neighboring linework.
Wide fill or back and thigh field, about 12 cm and aboveLarge staggered scatter, 7 or more dots across. Repeat one tested tile rather than rebuilding the scatter by hand across the whole field.Room for denser coverage, but only when every gap stays open at 1:1. Large size does not rescue dots that already touch on paper.Plan interruption zones around focal motifs, scars, or creases. A clean skin channel around a motif reads better than dots squeezed against it.

Dot sizes above are stencil-prep starting points for judging gaps on paper, not placement or clinical rules. The working artist confirms the final call for the specific skin and placement, and the size calculator sets exact dimensions once the repeat is chosen.


From reference to clean stencil

Remove dots first, then protect the borders.

Work in this order so one change at a time can be judged at the same size. Stop when every dot, gap, and border reads correctly at 1:1.

  1. 01

    Confirm print, size, and placement first

    State the job in one line: cheetah solid-dot print, intended band width or fill dimensions in millimeters, and the named body area. A scatter that holds on a thigh fill can plug on a wrist band with no dot being wrong on its own.

  2. 02

    Lock the repeat tile at true size

    Build one tile with staggered rows, set dot diameter and minimum gap, then repeat the tile across the field. Judge gaps on a 1:1 print with scaling off, never on a zoomed screen alone.

  3. 03

    Simplify by count, not by thinning

    When gaps close, remove dots first: delete every second dot in the crowded zone, thin border rows near motifs and joints, and merge only dots that already touch into one clean dot. Do not thin every dot into faint marks that vanish on transfer.

  4. 04

    Set breakup and borders

    Decide where the print starts, stops, and fades. Open a skin channel around focal motifs, fade density near creases and joints, and keep border dots clear of edge lines and neighboring linework.

  5. 05

    Verify print and transfer path

    Export a true-size PDF with no fit-to-page scaling, inspect the tightest dot pair and the narrowest border gap on plain paper, then measure the physical print with a ruler. If the file passes and only paper fails, use the printer guides linked below instead of simplifying again.

Band and fill placement

Match the scatter to the field it wraps

A cheetah print is a field pattern, not an animal portrait. Wide flat panels preserve even stagger with little compensation, while wraps, curves, and focal motifs demand thinning and skin channels.

Armband and leg band

A continuous wrap where the seam meets itself. Even stagger matters more than exact dot size because the eye catches grid lines and seam mismatches first.

Check: Build one tile that repeats cleanly at the seam, stagger alternate rows, and confirm the join keeps the same gaps as the rest of the band.

Fill around a focal motif

Dots sit in the negative space around existing linework. The motif edge is the boundary, and dots that touch it merge the print into the focal piece.

Check: Hold one full skin gap between every dot and every motif outline. Remove border dots before shrinking the whole field.

Shoulder cap and calf curve

Curved fields where dots on the outer curve spread apart and dots on the inner curve bunch together. Uniform spacing on screen becomes uneven on skin.

Check: Align the repeat with the limb axis, thin the inner-curve rows first, and preview on a body photo before print.

Rib, side, and back panels

Large flat-ish fields with breathing movement and long sight lines. Rows that look straight on screen read as stripes from a distance.

Check: Break every straight row with the half-step stagger, then squint from a few steps back and confirm the field reads as scatter, not stripes.

Transfer-ready checklist

Approve the print only when every line passes

Run this short sequence with scaling off and a ruler in hand. One failed line means remove dots, reopen a gap, or reselect the tile before transfer.

  • Confirm solid-dot print with no rings, arcs, or center dots anywhere in the tile.
  • Confirm the stagger reads as scatter with no straight rows, columns, or diagonals at a glance.
  • Confirm every dot keeps its own skin separation from every neighbor at 1:1.
  • Confirm one full skin gap between the print and any motif outline, edge line, or border.
  • Confirm border rows thin near joints, creases, and motif edges instead of bunching.
  • Export a true-size PDF with scaling off and measure the physical print with a ruler.
Dots, not rings Verify gaps at 1:1 Remove dots before thinning

FAQ

Cheetah print decisions, answered

Short answers for the dot-versus-rosette, repeat and density, transfer-ready, placement, and smudge checks that recur on cheetah print bands and fills.

Look for filled shapes versus rings. Cheetah print is solid round dots with clear skin between every neighbor. Leopard print is broken dark rings and C-shaped fragments grouped around a lighter center. For stencil prep the difference decides the fix: cheetah work simplifies by removing dots and widening gaps, while leopard work simplifies by merging rings and opening centers. The leopard owner linked below holds the full rosette workflow.

Next steps

Use the neighboring owners for adjacent jobs.

This guide covers cheetah solid-dot identification, repeat, scale, density and breakup control, band and fill placement, and transfer-ready simplification. Use the links below for related jobs held elsewhere.

Rosette construction, animal head and profile anatomy, cross-animal comparison depth, printer troubleshooting, and hand-zone mechanics stay in their specialist owners. The links above hand off instead of repeating that detail.

From print plan to working stencil

Turn the approved cheetah print into a stencil draft.

Start from the repeat tile that passed the dot, gap, and border checks, then continue on iPhone for body fit, exact-size print, mirror and professional export.