

Lily-of-the-Valley Tattoo Stencils: Bell Vetting and Prep
Vet any lily-of-the-valley reference for stencil work by checking the arching stem first, counting bell spacing second, and protecting bell-mouth openings before worryin…
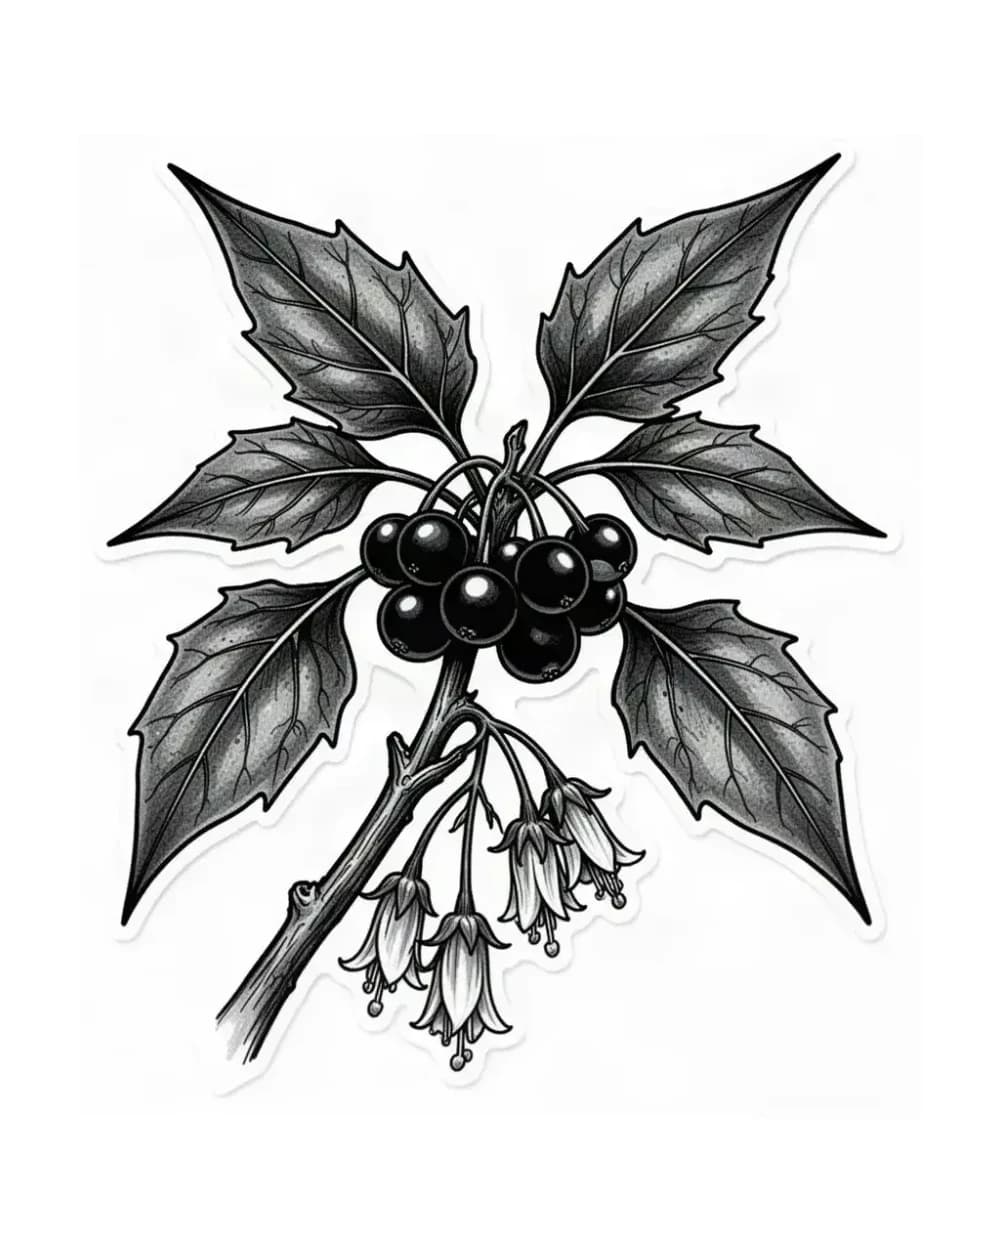
- 6
- Practical
- Artist-first
Vet any lily-of-the-valley reference for stencil work by checking the arching stem first, counting bell spacing second, and protecting bell-mouth openings before worrying about leaves. This collection compares six structural studies drawn from reviewed floral stencil work: a bell-cluster rhythm study, a sprig-spacing study, a bell-count study, a stem-curve study, a bell-opening study, and a small-size survival study. The depicted flowers are honestly labeled nightshade, sprig, branch, rose, and wildflower analogues, not valley photos; each one isolates a construction lesson that valley sprigs most often fail.
How Valley Sprigs Differ From Other Lilies
Lily of the valley is not a true lily. True lilies (genus Lilium) build each bloom from six tepals around a throat with a stamen fan, while valley (Convallaria majalis) carries a one-sided raceme of small nodding bells along one arching, leafless flower stalk, usually 5 to 15 bells per stem, with two broad basal leaves rising separately from the base. That difference changes every stencil decision: there is no funnel mouth to protect, no tepal count to verify, and no stamen spray to simplify. The job is a repeated small-form rhythm along one arc, plus one leaf decision.
- Valley bells: small pendent cups, each roughly 5 to 8 mm in life with a notched rim of six small lobe tips. The stencil read comes from the bell silhouette plus one open mouth notch per bell, never from interior shading. If the reference only shows bells as dots or serrated blobs with no mouth opening, reselect the reference before drawing.
- The arching stalk: one leafless scape that arcs and carries every bell on short individual stems (pedicels) along its upper side. Stencil viability comes from keeping that single arc continuous and uncrossed. A valley stalk with a kink, a fork, or a competing second shoot reads as a tangle once reduced, so choose one leader arc or recrop the reference.
- The leaves: two broad smooth blades rising from the base, separate from the flower stalk. They are the most common failure point because artists draw them stem-clasping like true-lily leaves or let them touch the lowest bell. Keep valley leaves basal, subordinate, and separated from the bell run by visible stem or skin.
- Decide valley versus lily first: if the brief asks for large open trumpet blooms, recurved spotted tepals, or a calla spathe, the job belongs with the lily variant guide, which owns the variant-first decision across lily types. Commit to valley only when the brief asks for a small nodding bell cluster on an arching stem. If the count or the architecture points elsewhere, switch owners before touching line weight.
Vet the Arching Stem, Bell Count, and Spacing
Work through these checks in order on the reference at the intended width, and fix the first failure before moving on.
- Arc continuity: trace the stalk from base to tip in one motion. The arc should curve smoothly in one direction with no S-kink sharper than the bell spacing can absorb. The bell-cluster study shows how one arching stem carries repeated forms without breaking direction; apply the same test to the valley stalk. If the reference stalk zigzags, smooth it into one arc or drop the bells that sit on the broken section.
- Bell count: count distinct bells with a visible separation between every pair. A transfer-clean valley stem usually carries 5 to 9 readable bells; references showing 12 or more tightly packed bells need thinning, because bells that touch at 1:1 merge into a serrated band within months. Use the bell-count study as the baseline: buds and blooms must read as stations along one line, not as a clustered band. Remove the weakest bell (usually the smallest or most overlapped one) rather than shrinking every gap equally.
- Bell spacing: protect visible stalk between neighboring bells and a clear pedicel gap where each bell hangs. Bells should graduate slightly smaller toward the tip, following the natural raceme, instead of sitting at equal size like beads on a string. Equal-sized, evenly packed bells are the fastest way to make a valley sprig read as a manufactured pattern rather than a plant.
- Hanging direction: every bell mouth should nod downward or outward from the stalk, never point upward into the stem above it. Bells drawn upright collect ink in the cup and close first; keep the nod consistent along the whole run. Check this against the arch: on a strongly curved tip the lowest bells hang nearly vertical while upper bells angle outward, which is correct as long as no mouth touches a neighboring bell.
Keep Bell Openings Legible at Small Sizes
Valley failure looks like filling in, not like missing detail. The bell mouth is the smallest open shape on the design, so it decides the minimum viable size.
- Mouth-notch rule: give every bell one readable mouth opening, drawn as a small cup notch with open skin inside it. Use the bell-opening study as the baseline: if its outer-ring separation logic holds, the valley bell holds. If a mouth closes at true size, enlarge that bell or drop it; never rescue it with thinner lines, because thin cup lines are the first to blow out.
- Small-size ladder: at wrist, ankle, or behind-ear widths (about 6 cm and below), carry a single stem with 3 to 5 bells, one short stalk, and no leaves. At forearm, calf, or collarbone widths (about 6 to 12 cm), a full 5 to 9 bell run with one basal leaf can work when every mouth and every bell gap is verified at 1:1. Larger fields (thigh, upper back, side torso) allow paired stems or a stem plus a second leaf, but width never rescues mouths that already touch. The small-size study shows which fine stems survive reduction: simplify the tightest cluster first at every band.
- Leaf discipline at small sizes: leaves merge before bells do, because broad blades carry long parallel edges that close into solid masses. Below about 6 cm, recrop leaves out entirely and let the bell run carry the read. When a leaf is kept, give it one midrib and an unbroken outer contour with open skin between the leaf edge and the lowest bell. Serrated or veined leaf interiors belong only at large sizes with verified gaps.
- Line-weight behavior: when two bell edges sit close, the question is which lines merge, not whether they merge. Use the line-weight guide for gap behavior; this page does not repeat generic line theory. As a valley-specific habit, merge whole bells (fewer bells, same weight) instead of thinning outlines, since thin bell cups are the first marks to spread.
Compose the Sprig and Direct Leaf Flow
Valley sprigs are vertical accents, so placement decides the composition as much as the bells do. Lock these decisions while edits are still cheap.
- One primary stem path: give the composition one stalk the eye can follow from base to tip without jumping to a competitor. The stem-curve study shows bloom, stem, and leaves forming one vertical movement; a valley sprig needs the same single path so it can run with a forearm, calf, or thigh. Crossed or equal-weight paired stems read as a tangle once reduced, so rank one stem as the leader and subordinate or remove the other.
- Bell run versus leaf balance: rank the bell run as the focal family and leaves as measured accents. Keep one basal leaf per stem at most, set it lower and visually lighter than the bells, and never let a leaf tip cross the stalk or touch a bell. If covering the leaves makes the bell run read cleanly and uncovering them collapses the piece, thin the leaves before touching bell linework.
- Limb-flow orientation: align the stalk with the limb axis on forearms, calves, and thighs, with bells nodding outward from the body line; keep sprigs slim and vertical on ribs and side torsos; reserve paired stems or stem-plus-leaf compositions for broad fields like the upper back or outer thigh. Small curved placements (wrist, ankle, collarbone) suit a single short stem with 3 to 5 bells following the body curve. Preview direction on a body photo with Fit to Body before locking width, since a stalk that fights the limb will distort at transfer no matter how clean the bells are.
- May birth-flower pairings: valley is a May birth-flower emblem, so pairing requests are common. Keep the valley sprig architecturally clean first, then let inscription, date, or companion-flower decisions live in the memorial planning rather than in bell detail. When the companion is a larger bloom, hold the valley stem subordinate in size and keep open skin between the two subjects so neither silhouette borrows the other.
Run Valley Final-Size Readability and Transfer Prep
Judge the finished stencil at the exact physical width with scaling off, because screens forgive crowding that paper and skin do not. Confirm every verdict with a measured 1:1 print.
- Print at true size: set exact width and page layout with the size calculator, print at 100 percent with no scaling, and measure the result with a ruler. Reduce the file to final size on screen first to find the first cluster that closes, then confirm on paper.
- Run the four valley checks in order: one continuous stalk arc with no kink or fork; 5 to 9 countable bells (3 to 5 at small sizes) with visible stalk between every pair; one open mouth notch per bell with open skin inside it; leaves basal, subordinate, and separated from the lowest bell. Fix the first failure before moving on, and reprint after each fix.
- Transfer surface prep: choose paper and printer settings with the stencil paper guide and keep this page out of generic paper depth. After transfer, check that every bell mouth survived the move onto skin; mouths that filled during transfer mean the source gaps were already marginal, so reopen them in the file rather than forcing the transfer twice. If a transfer fails outright, the stencil removal guide covers cleanup and retry without damaging the prep work.
- Know when to stop: a valley sprig is ready when the stalk, the bell count, the mouths, and the leaf separation all pass at 1:1 and the composition follows the placement axis. Extra bells, extra leaves, or interior vein detail added after that point only raise the merge risk. Ship the clean version.
Compare Valley Studies Before Preparing Your Own Reference
These are curated structural studies for valley stencil vetting, not a separate valley generator and not valley photography. Browse the broader floral tattoo stencil collection for general botanical flow, confirm the variant decision in the lily variant guide when the brief could belong to a trumpet, calla, or tiger lily instead, or compare every curated direction from the subject index when the job might belong to a different flower. If you are starting from your own photo, drawing, or reference, use the photo-to-stencil workflow first, then generate one stencil online when the source is ready. Keep generic simplification and transfer mechanics in their prep owners; this page owns only the valley bell-cluster decision, the small-size mouth checks, and the valley sprig flow.
FAQ
How is a lily-of-the-valley stencil different from a lily stencil?
True lilies build each bloom from six tepals around a throat with a stamen fan, while valley carries a one-sided run of small nodding bells on an arching leafless stalk with separate basal leaves. There is no funnel mouth, no tepal count, and no stamen spray to manage. Make the variant decision in the lily variant guide first, then use this page for the bell-cluster construction only valley needs.
How many bells should a valley stem carry?
A transfer-clean stem usually carries 5 to 9 readable bells with visible stalk between every pair, or 3 to 5 bells at small sizes around 6 cm and below. References with 12 or more packed bells need thinning, because touching bells merge into a band. Count distinct bells with separations at the intended width, and remove the weakest bell rather than shrinking every gap equally.
What bell-opening gaps stay legible at small sizes?
Every bell needs one readable mouth notch with open skin inside it at the exact final width. There is no universal minimum size; the 1:1 output test decides. Print at true size with no scaling, find the first mouth that closes, and either enlarge that bell or drop it. Never rescue a closing mouth with thinner lines, since thin cup lines spread first.
How should I compose the sprig and place the leaves?
Give the piece one stalk path aligned with the placement axis, rank the bell run above the leaves, keep at most one basal leaf per stem set lower and lighter than the bells, and hold open skin between every leaf edge and the lowest bell. Below about 6 cm, recrop leaves out and let the bell run carry the read. Preview direction on a body photo while edits are cheap, then verify with a measured 1:1 print.
Can I turn my own valley reference into a stencil here?
This page is a vetting and comparison guide, not a separate valley generator. Use the photo-to-stencil workflow or the online generator for your own reference, then use the stem, count, mouth, and leaf checks above to judge bell spacing, mouth openings, leaf separation, and placement flow before print.
Where do variant choice and print execution live?
Variant choice across lily types lives with the lily variant guide, which this page links instead of repeating. True-size layout lives with the size calculator, paper and transfer depth with the stencil paper guide, and cleanup with the stencil removal guide. This page owns the valley bell-cluster decision and the valley final-size prep that those guides do not cover.
Examples
Lily of the Valley stencil examples
Compare the linework, spacing and detail choices that make each stencil read differently.
A nightshade branch used here as a bell-cluster study: small nodding forms hang along one arching stem with open gaps between them, the same construction a valley bell run needs.
Explore more floral tattoo stencil group stencils
- The arching stem carries one clear direction while each hanging form keeps its own separation, which is the exact hierarchy a valley sprig needs: stem arc first, bell spacing second, mouth detail last.
- Artists vetting a valley bell run who need to see how repeated nodding forms stay countable along one arching stem at final size.
- This depicts nightshade berries, not valley bells; use it for cluster rhythm and stem-arc logic only. Berry masses are rounder than valley bells, so protect the bell-mouth notch separately when drafting.
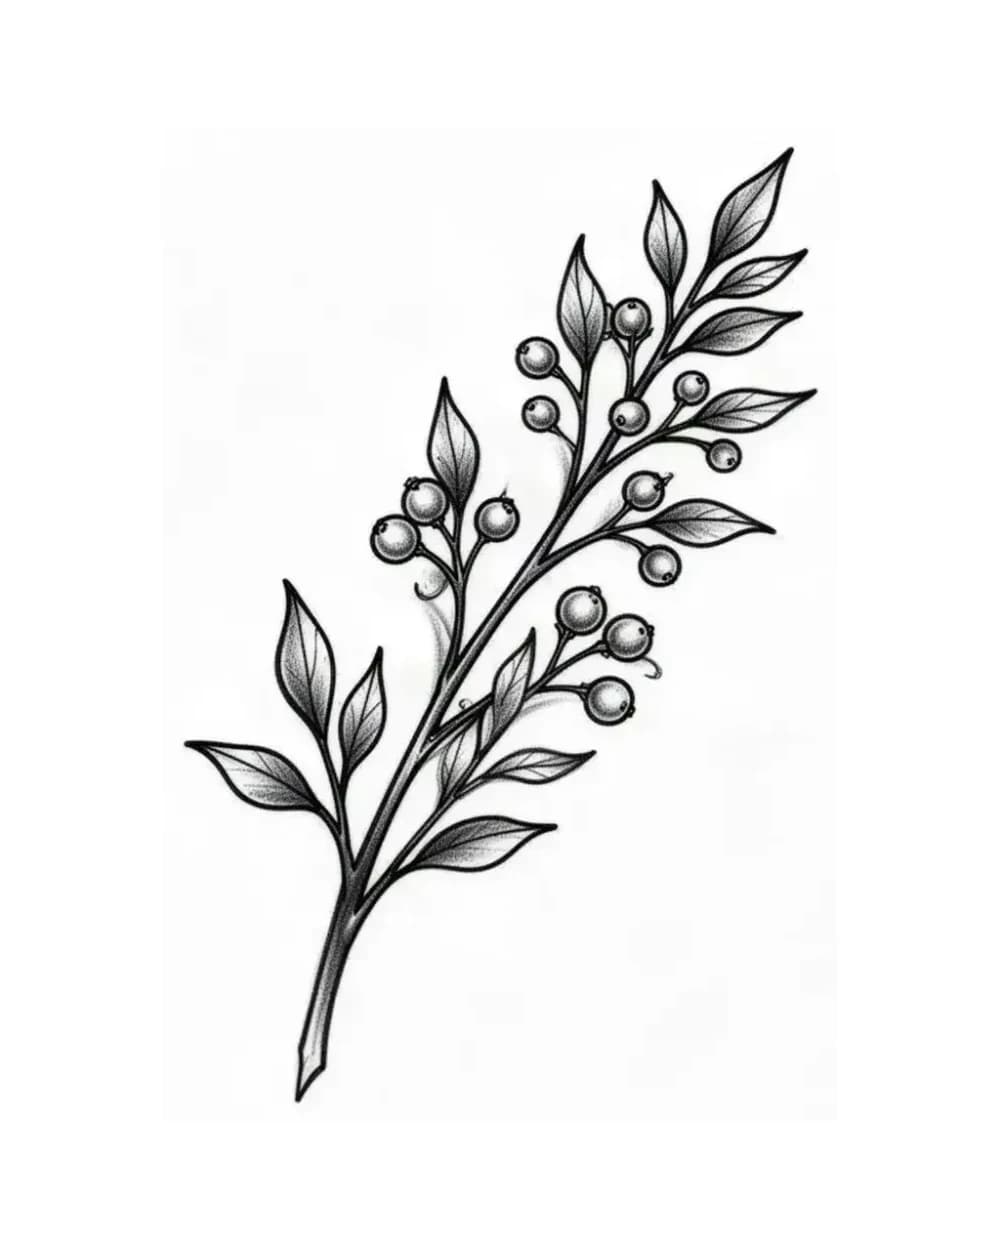
A minimal sprig used here as a spacing study: a slender stem with small leaves and wide open gaps shows how much air a valley sprig needs before bells are added.
Explore more floral tattoo stencil group stencils
- The slender stem holds the first read with nothing competing, which proves the valley rule that open stem gaps matter more than foliage detail.
- Artists composing a valley sprig who need a baseline for open stem spacing before committing bell positions.
- This depicts a generic sprig, not valley bells or valley leaves; use it for spacing logic only. Valley leaves are broad paired blades, not the small leaves shown here, so draft leaves separately.
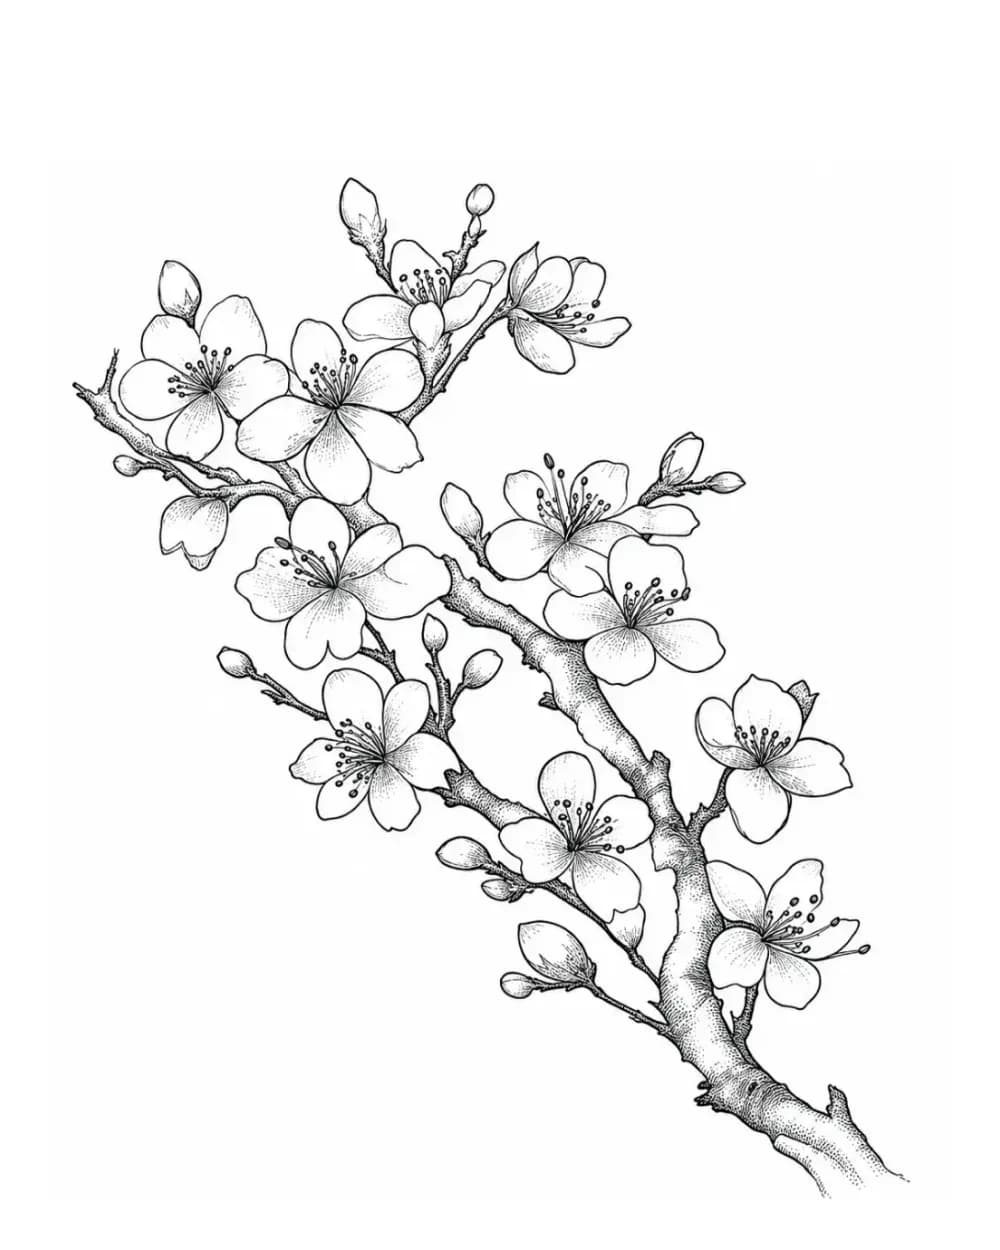
A diagonal flowering branch used here as a bell-count study: buds and blooms sit as stations along one woody line with visible stem between them, the same spacing valley bells need.
Explore more floral tattoo stencil group stencils
- The diagonal branch gives the composition one built-in direction, so buds and blooms read as ordered stations instead of scattered detail competing at equal weight.
- Artists deciding how many valley bells a stem can carry for shoulders, ribs, or thighs without the run collapsing into a band.
- This depicts a cherry branch, not valley bells; use it for station spacing and count logic only. Cherry blooms are larger and woodier than valley bells, so scale the gap rule down when drafting.
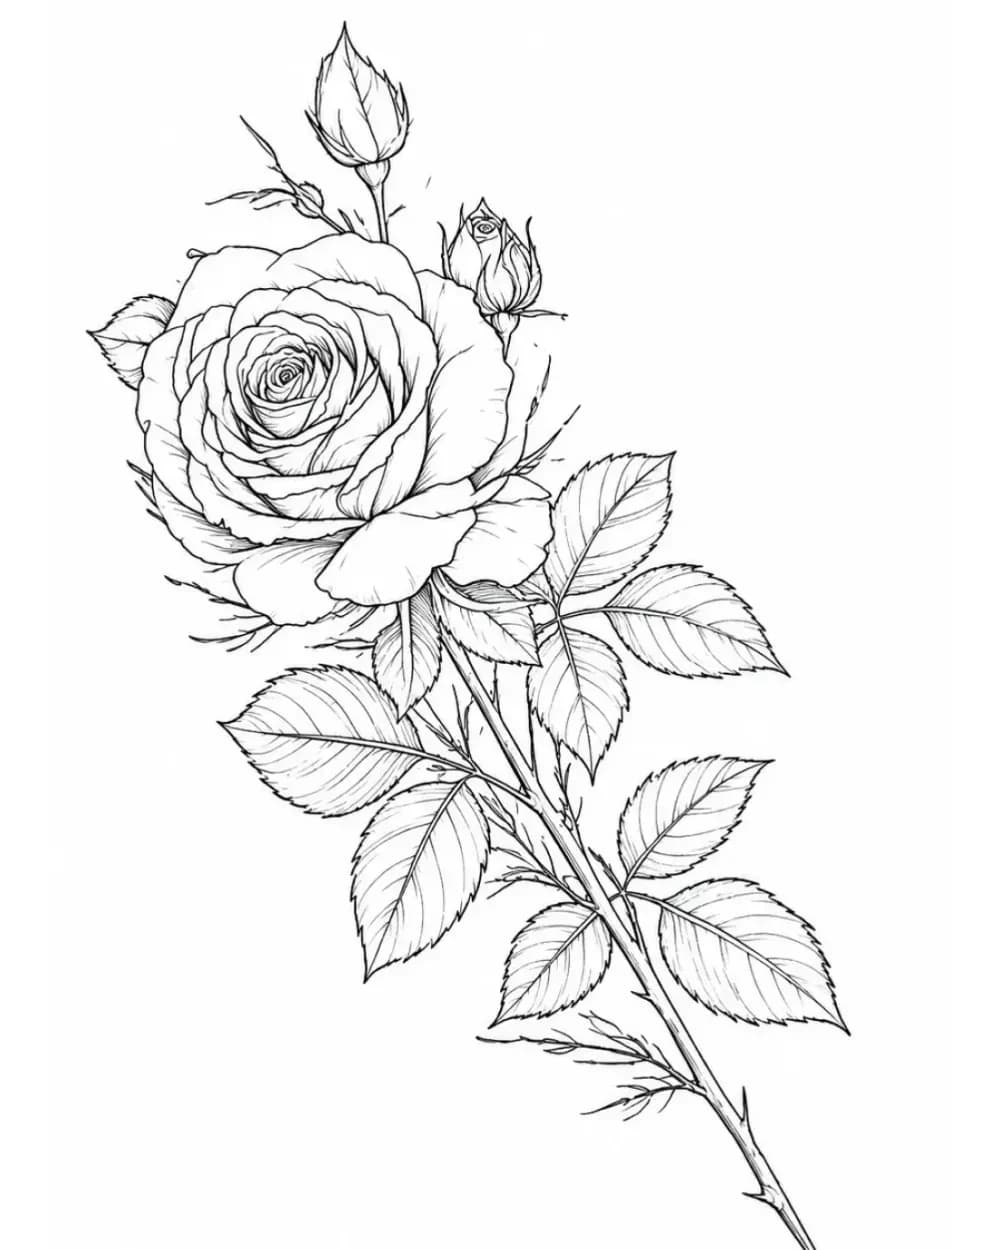
A single long-stem bloom used here as a stem-curve study: bloom, stem, and leaves form one vertical movement, the same arrangement a stemmed valley sprig needs.
Explore more floral tattoo stencil group stencils
- The flower head leads while the stem and leaves create one directional line, so the whole piece reads as a single vertical movement that can run with a limb.
- Artists planning a stemmed valley composition for forearms, calves, or thighs where the stem must carry placement flow.
- This depicts a rose, not valley bells; use it for stem and leaf-rhythm logic only. Rose leaves are serrated and stem-clasping while valley leaves are broad basal blades, so keep valley leaves subordinate and separate.
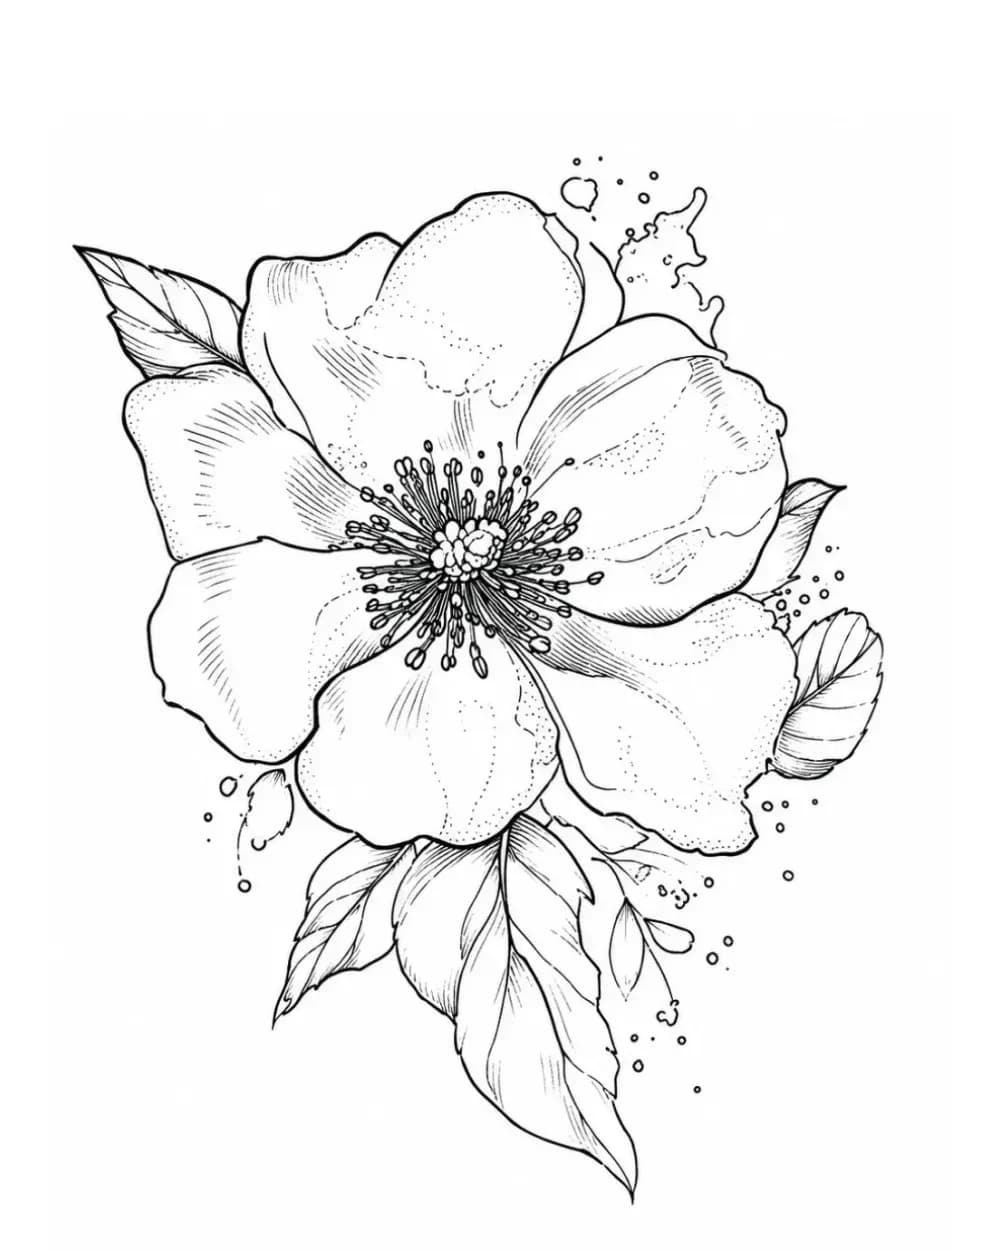
A compact single bloom used here as an opening study: one clear outer ring with visible gaps between separations shows the baseline every valley bell mouth must pass.
Explore more floral tattoo stencil group stencils
- The bloom holds legibility through a clear outer ring with visible gaps between major separations, which is the standard to apply to valley bell mouths at final size.
- Artists checking whether valley bell mouths stay open at a compact size for wrists, ankles, or collarbones.
- This depicts a wild rose, not a valley bell; use it for outer-ring separation logic only. A valley bell mouth is a small notched cup, not a wide petal ring, so the opening test is stricter than this study suggests.
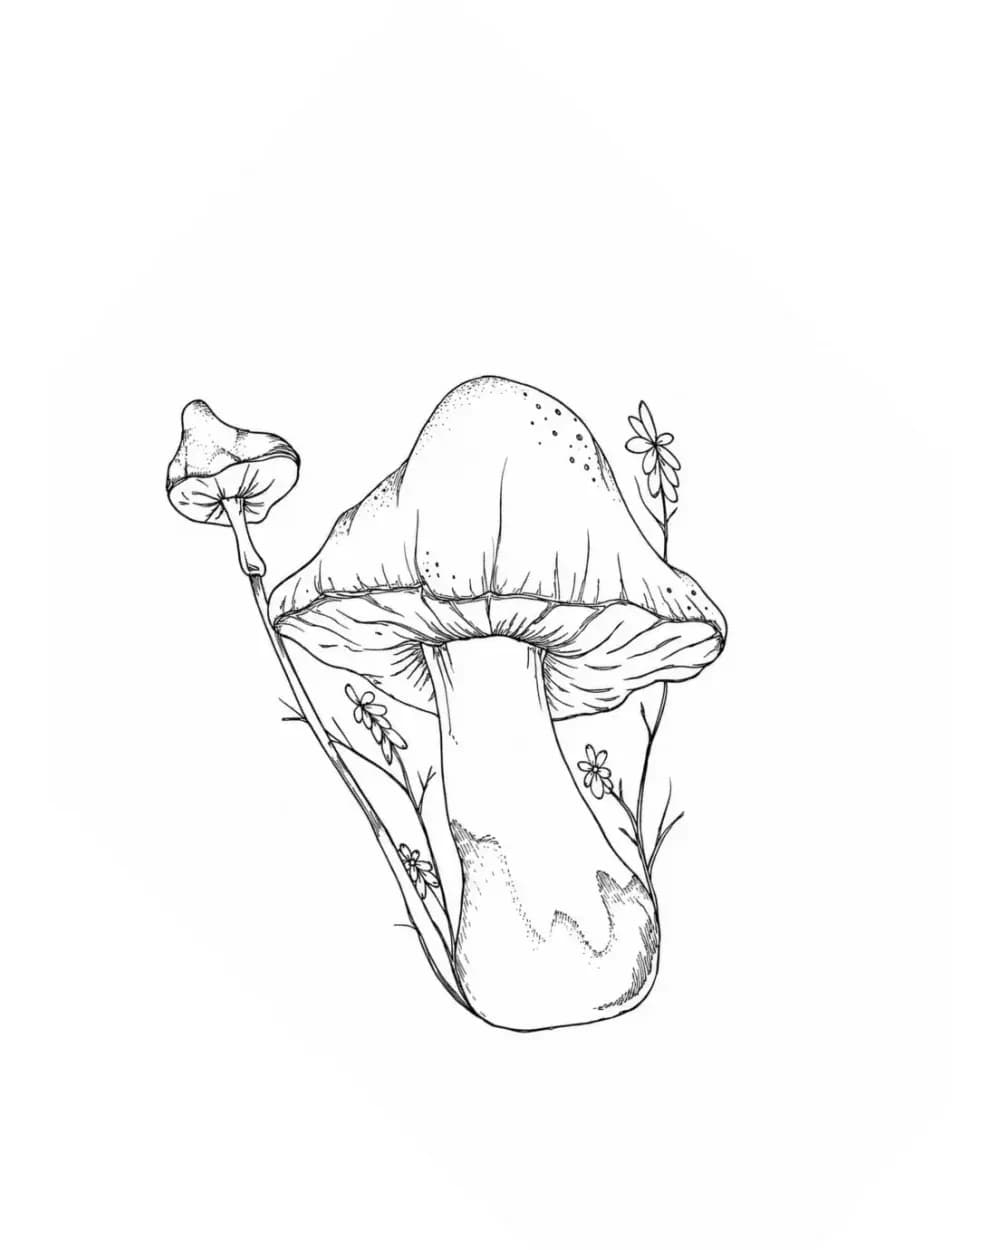
A forest-floor cluster used here as a small-size study: delicate wildflower sprigs beside larger forms show which fine stems survive reduction and which merge first.
Explore more floral tattoo stencil group stencils
- The wildflower sprigs stay readable because thin stems keep open gaps between every element, which is the rule that decides whether a small valley sprig survives transfer.
- Artists testing whether a small valley sprig holds at ankle, wrist, or behind-ear sizes where bell detail is the first thing to close.
- This depicts mushrooms with wildflower accents, not valley bells; use it for small-scale survival logic only. Protect bell separations before keeping cap texture or stem hatching from this study.
Related galleries
Keep browsing nearby stencil ideas.
FAQ
Quick questions about lily of the valley stencils.
True lilies build each bloom from six tepals around a throat with a stamen fan, while valley carries a one-sided run of small nodding bells on an arching leafless stalk with separate basal leaves. There is no funnel mouth, no tepal count, and no stamen spray to manage. Make the variant decision in the lily variant guide first, then use this page for the bell-cluster construction only valley needs.
Next step
Turn your own reference into a clean stencil draft.
Use what reads clearly here as direction, then start from your own reference.