

Stencil Gallery

Koi Fish Tattoo Stencil: Flow, Placement and Transfer

Use this collection to choose a koi flow that survives as a stencil, then prepare it for the curve and size you actually need. It compares upstream rise, downstream glide, coiled turn and lotus-paired builds with explicit readability rules for scales, fins and whiskers, curved-body adaptation for arms, legs, shoulders and back, and a koi-specific final-size and transfer sequence. The six panels below reuse existing reviewed catalog assets as illustrative comparisons with owner links, not as a flash library. When the direction is approved, build from your own reference and verify it at final size.

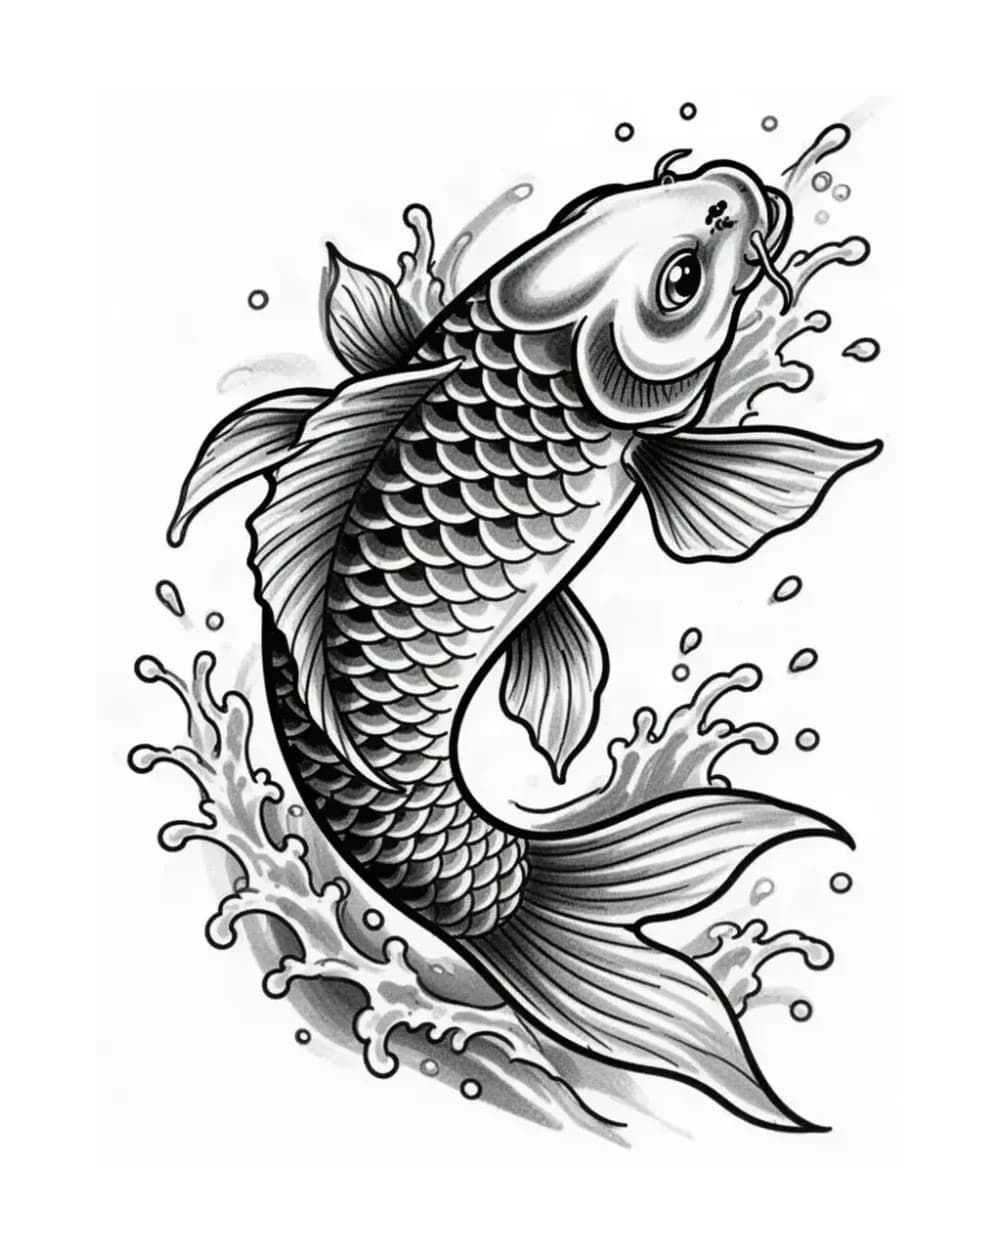
Rising koi fish stencil with diagonal body arc and flowing fins used to illustrate upstream flow readability
4
Checklists
Final size

Koi flow decisions

Compare koi flow by stencil criteria, not pictures alone.

Six illustrative panels map rising, coiled and paired koi structures to flow, gap and placement decisions with checklists. This is an editorial comparison framework with owner links, not a flash download library. Use it to choose a flow, protect readability at final size, adapt the curve to skin, then print a clean transfer.

These curated panels reuse existing reviewed catalog assets to make transfer decisions concrete at final size. They show what to protect at final size and where structure must stay ahead of finish. They are illustrative comparisons with owner links, not a flash library.

Rising koi fish stencil with diagonal body arc and flowing fins used to illustrate upstream flow readability

Existing catalog koi used to illustrate upstream rise. The diagonal body arc and main fin separations must stay ahead of splash detail at final size.

See animal stencil references

The rise reads first through the diagonal body arc, so flow direction is judged before splash or fin texture.
Choosing an upward koi direction where the body arc must stay continuous at transfer size.
Small splash dots and fin-tip splits merge first when reduced; protect the body arc and head gap before retaining splash texture.
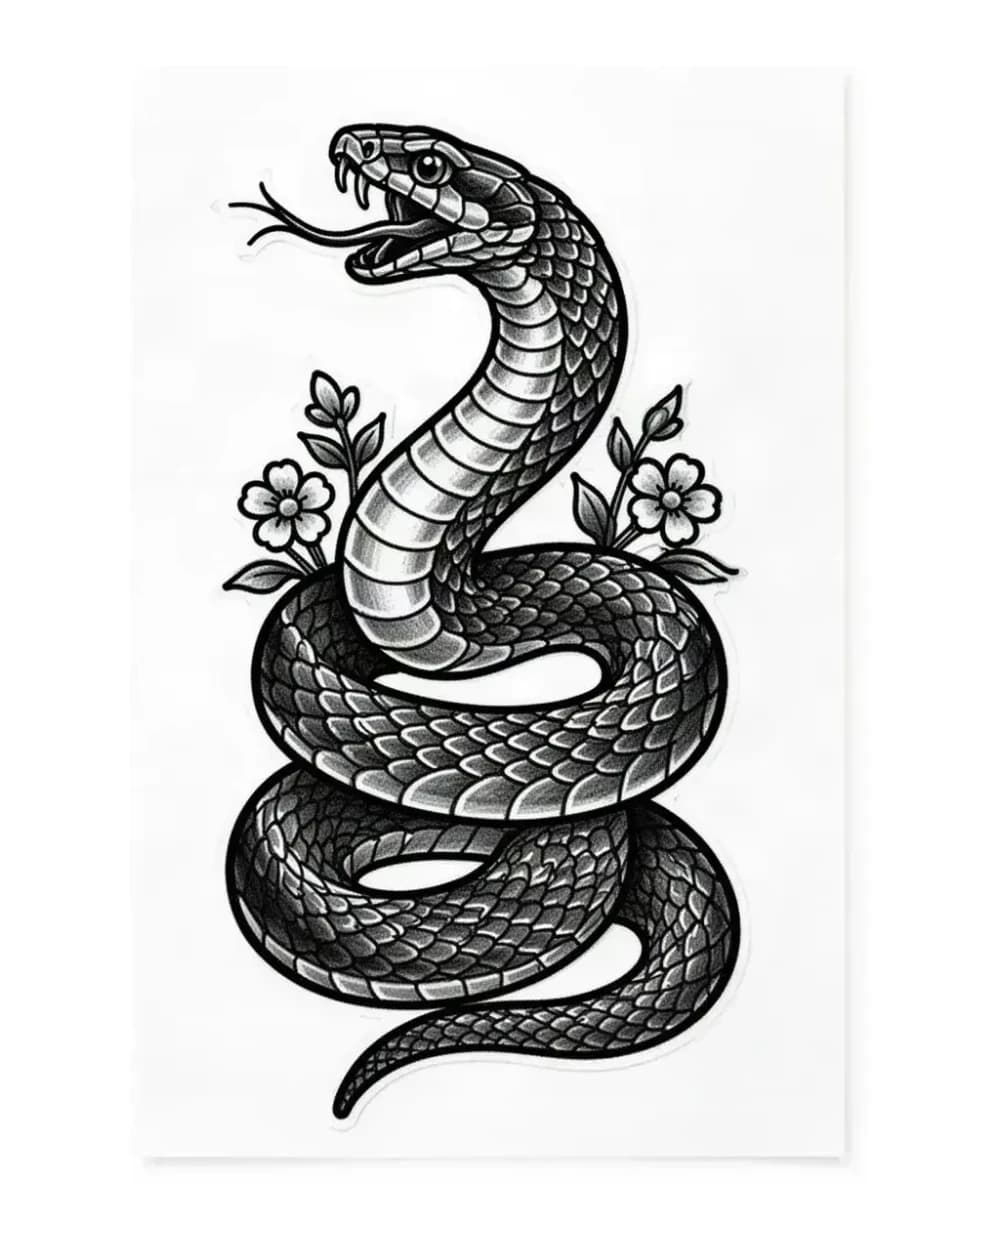
Coiled snake stencil with S-curve body path used to illustrate coiled koi turn logic on curved skin

Existing catalog coiled reptile used to illustrate S-curve turn logic. The raised head and simple scale groups show how a coil keeps one readable path through overlaps.

See animal stencil references

The coil reads first through head posture and simple scale groups, which makes overlap separation easy to judge.
Planning a coiled koi turn where the body must cross itself without knotting at transfer size.
Small petal clusters and scale edges near the coil close before the body path does; simplify support first and keep head contour open.
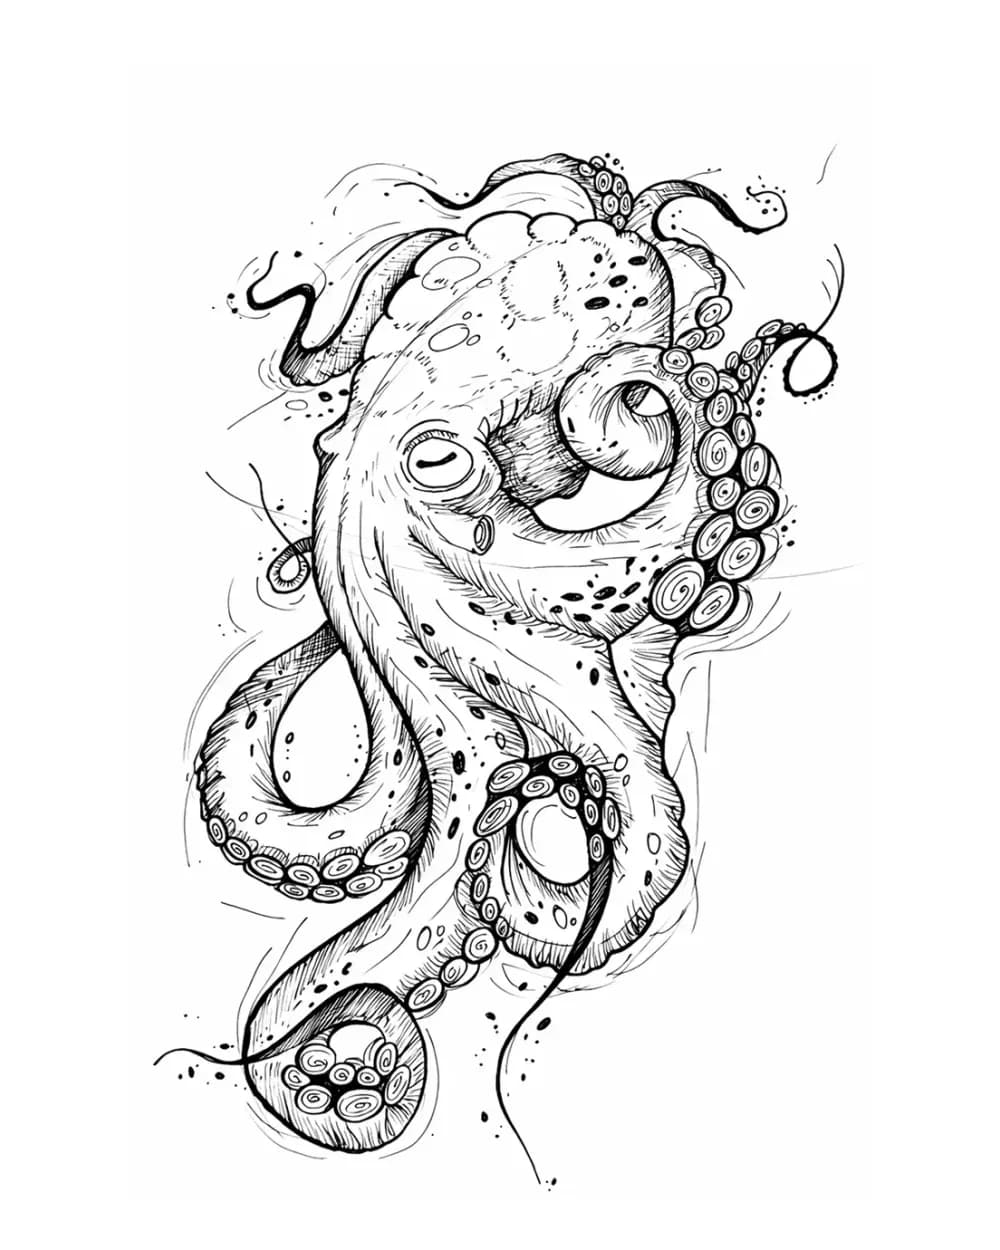
Octopus stencil with vertical tentacle paths used to illustrate fin overlap separation in flowing koi work

Existing catalog octopus used to illustrate flow overlap discipline. Body mass and main path separations must survive before suction-cup or fin detail is kept.

See animal stencil references

The composition holds because the body mass anchors the read and each main path keeps its own separation.
Vetting koi fin overlaps where several flowing paths must stay distinct at final size.
Tentacle crossings and small inner curves knot into one dark area when reduced; confirm separation at every overlap before keeping fine detail.
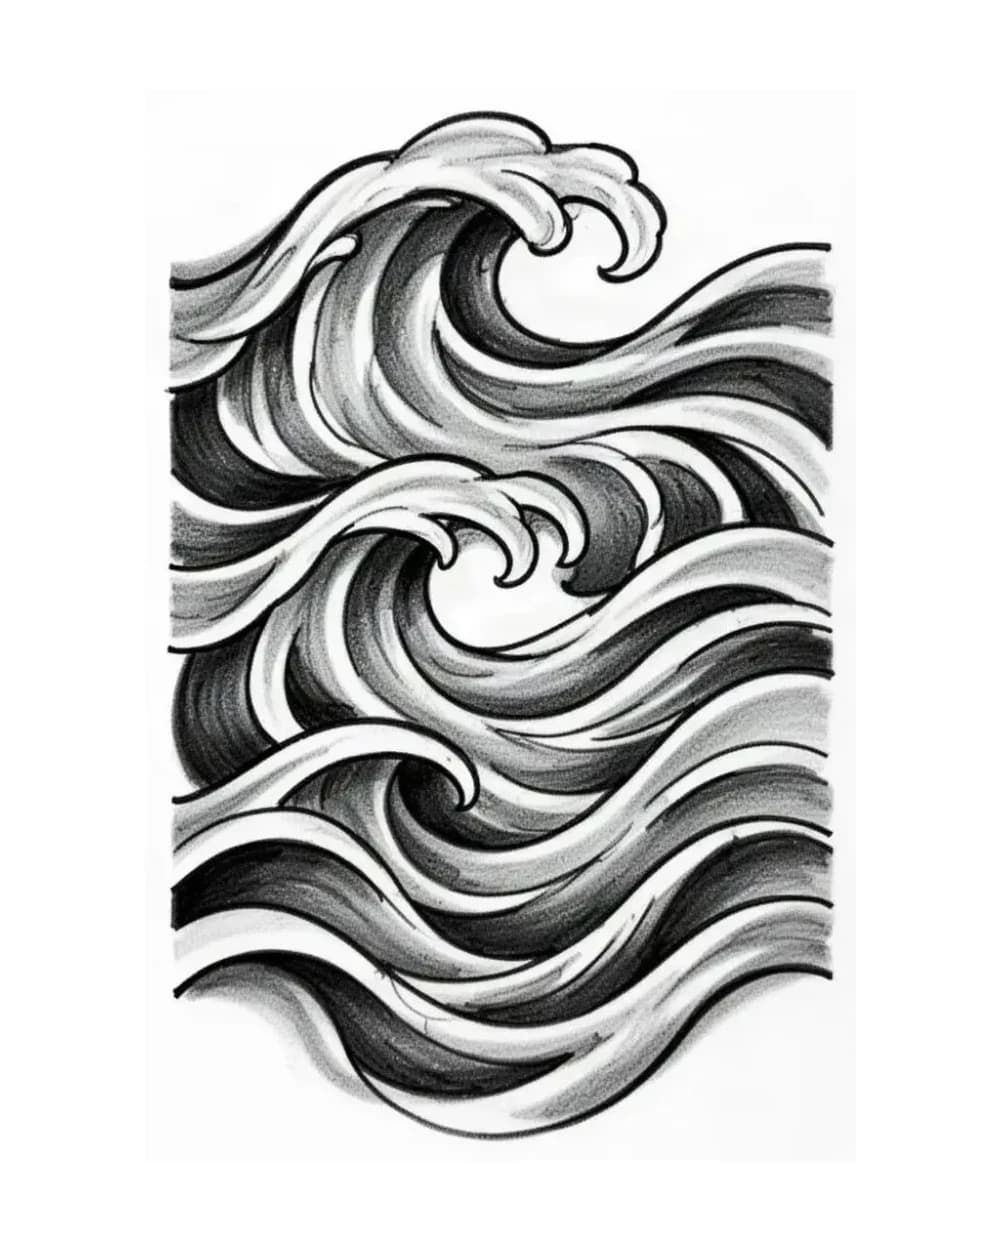
Abstract wave stencil with flowing water lines used to illustrate koi water support hierarchy

Existing catalog wave panel used to illustrate water support. Wave lines must sit behind the fish and keep one open channel instead of crossing fins.

See symbol stencil references

Simple flowing lines establish motion as background, so the fish can be judged as the separate first read.
Adding water motion behind a koi without letting support lines cut through fins or whiskers.
Dense parallel wave lines merge into a gray band when reduced; keep one clean channel and lighten waves behind the fish.
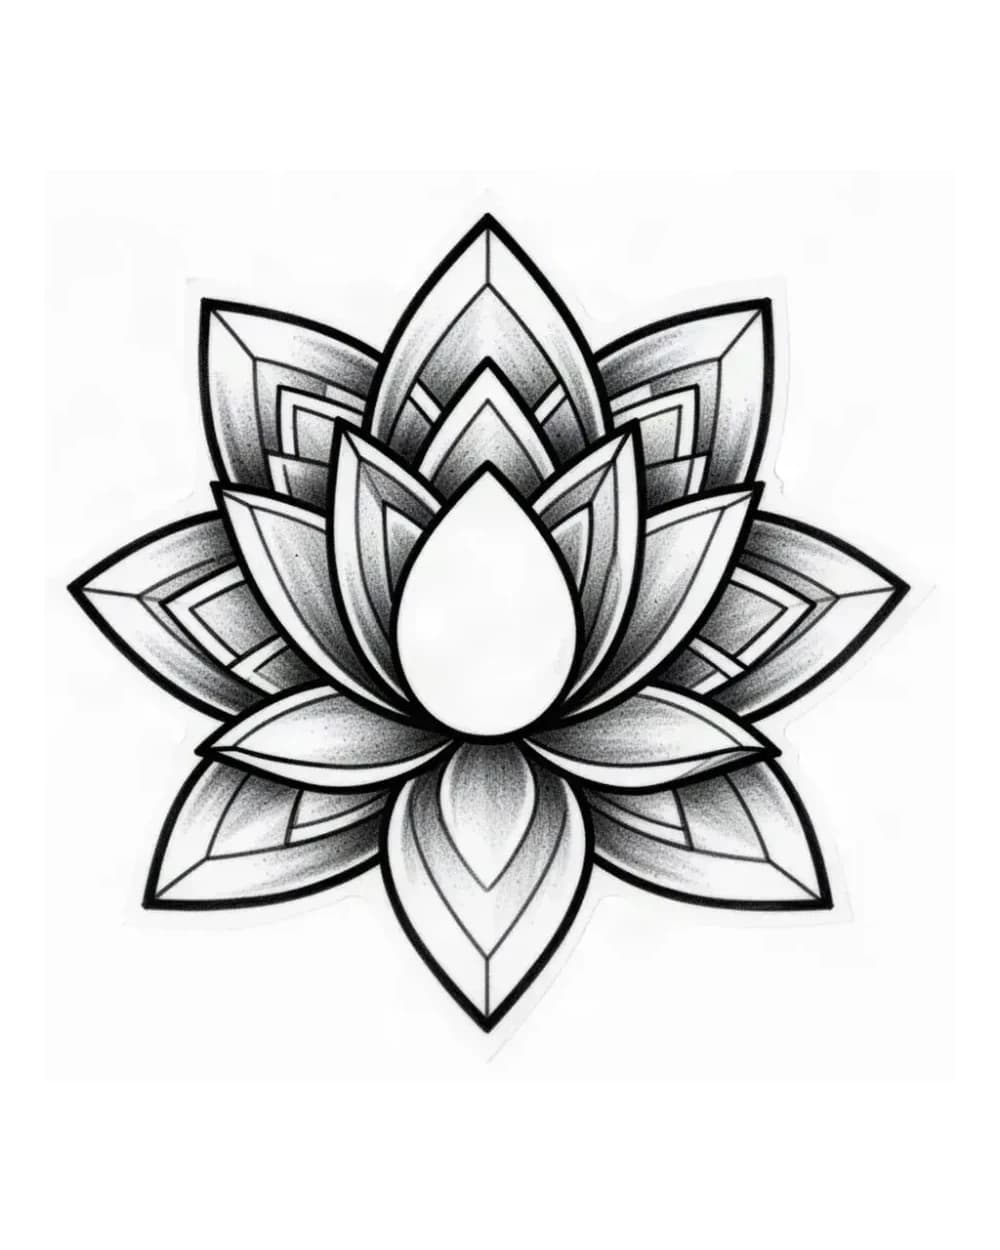
Geometric lotus stencil with symmetrical petals and open center used to illustrate koi and lotus pairing

Existing catalog lotus used to illustrate pairing discipline. Petal rhythm and the open center must stay secondary to the koi eye, mouth and fin edges.

See floral stencil references

The symmetrical petal ring gives a stable secondary mass to judge, so flower density reads behind the fish.
Checking whether a lotus pairing keeps the koi ahead of petal detail at the intended size.
Inner petal lines and the center opening merge first when reduced; protect fish landmarks before retaining small petal marks.
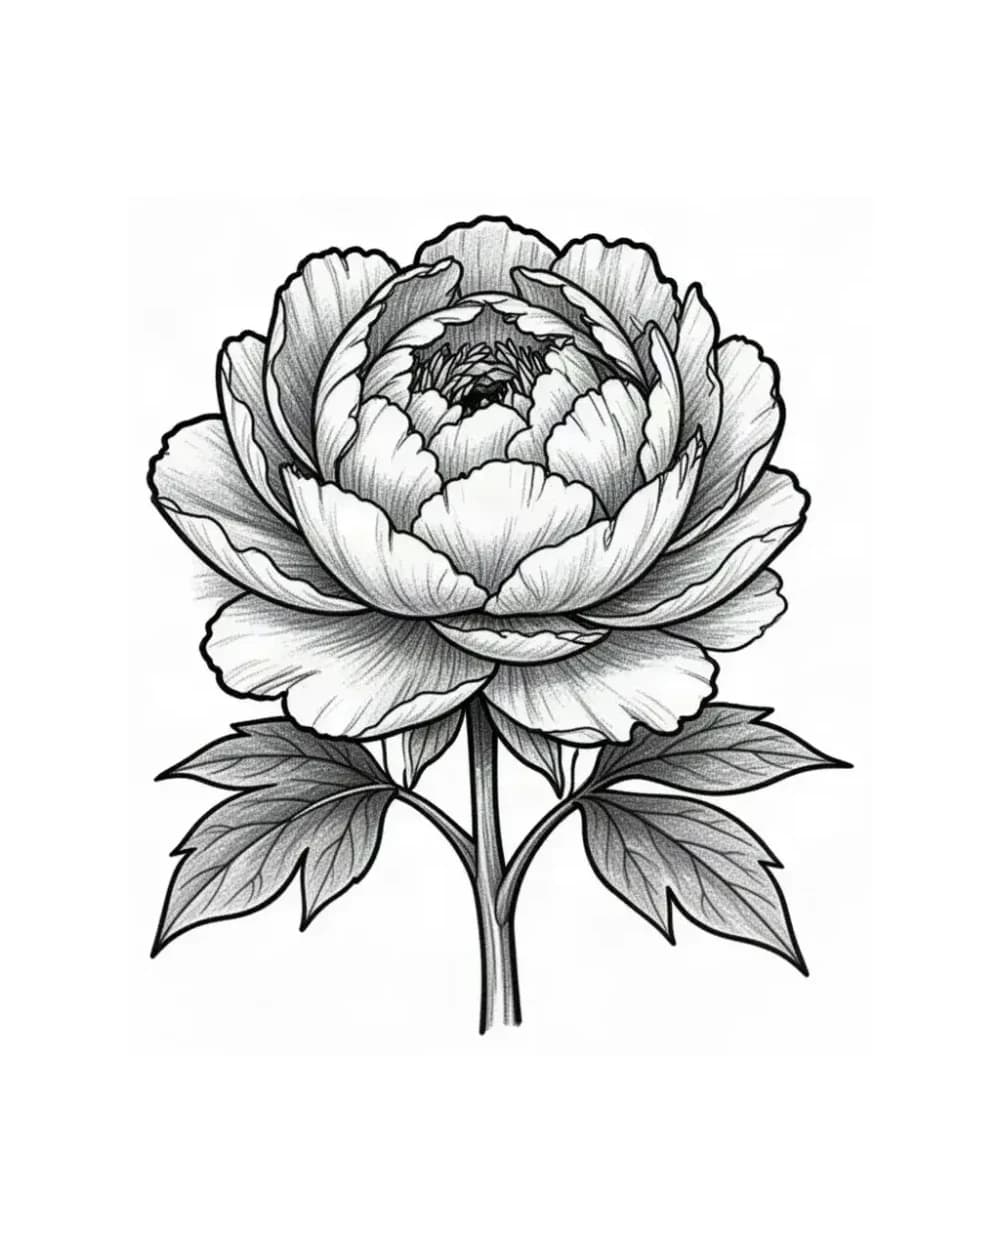
Fine-line peony stencil with delicate petal lines used to illustrate fin ray and whisker line weight for koi

Existing catalog fine-line peony used to illustrate delicate line logic. Thin petal separations show how fin rays and whiskers behave when line weight is too even.

See floral stencil references

Delicate parallel lines make gap closure visible early, so density can be judged at true size before transfer.
Setting fin ray and whisker hierarchy where thin lines must stay lighter than the body contour.
Even-weight thin lines vanish or merge first; keep the body contour dominant and simplify the finest rays before print.

Each row below is an editorial koi stencil archetype with explicit trade-offs. Pick the row that matches the placement and client intent, then run the failure and transfer checklists against your own reference at the exact size you plan to use.

Koi flow and pairing comparison by stencil readability
OptionFirst readTransfer riskFinal-size checkBest for
Upstream riseDiagonal body arc rising against the limb, head leading, fins trailing behind the motion.Splash dots and fin-tip splits merge first and read as noise around the tail.Protect the body arc and main fin separations before keeping splash texture; confirm the head gap stays open.Forearms, calves and shoulder caps where upward motion should read at arm's length.
Downstream glideLong lateral sweep following the limb, head and tail near one horizontal line, gentle S bend.Scale rows and whisker lines flatten into the body edge when the sweep is drawn too shallow.Keep scale separations and both whisker lines distinct from the mouth edge at true size.Outer thighs, back panels and ribs where the design should travel with the body line.
Coiled turnCompact S or C coil that turns inside the placement, head angled back toward the tail path.Fin overlaps and belly-curve crossings knot into one dark area when gaps close.Confirm separation at every overlap and keep one clean water or skin channel through the coil.Shoulders, hips and wrap areas where the koi must turn instead of running straight.
Koi with lotus and waterKoi plus one lotus or water accent placed behind the fish, never crossing the eye or mouth.Petal veins and wave lines compete with fins and whiskers when kept at equal weight.Keep the fish landmarks ahead of petals and waves; simplify the support cluster first.Clients who want lotus pairing without letting the flower take over the stencil.

Three quick checks before you shortlist

  • Body arc and head gap first. Name the head, body arc and leading fin edge that carry the koi read before touching scales or splash.
  • Tightest cluster at final size. Preview at exact width, find the densest scale row, fin split or splash cluster, and simplify that cluster first.
  • Support stays supporting. Waves, petals and splash must sit behind the eye, mouth and fin edges; lighten or remove support before weakening fish landmarks.
  • One flow, one next step. Undecided: compare upstream, downstream and coiled rows against the placement. Decided: set exact size, preview fit on the body area, then move to print.

Transfer-ready handoff

  • True-size proof. Inspect the stencil at exact physical dimensions on plain paper, not screen zoom; find the tightest gap plus the densest detail cluster.
  • Hierarchy. Keep the body contour dominant, fin rays and whiskers subordinate, and splash, petal and wave detail lightest.
  • Curve and mirror. Confirm orientation for the side of the body and check curvature or movement for the planned area on a live photo.
  • Production handoff. Set layout in Size and Print, preflight with the Print Checker when needed, then follow the paper and skin-application guides.

Koi preparation notes

Keep the body arc ahead of scales, fins and support.

Use these notes after the flow table: every koi build shares one body arc and head-led hierarchy, but rising, gliding, coiled and paired directions each fail at different scale rows, fin overlaps, whisker gaps and support densities that must survive final-size reduction.

Choose the koi flow before judging detail

Start from the job the placement has to do. An upstream rise uses a diagonal body arc with the head leading and fins trailing, so it reads as motion against the limb and needs splash restraint because dots crowd the tail first. A downstream glide uses a long lateral sweep near one body line, so it reads as calm travel but needs scale-row and whisker discipline because shallow bends flatten those lines into the body edge. A coiled turn uses a compact S or C bend that turns inside the placement, so it fits wrap areas but needs overlap separation because fin and belly crossings knot first. Compare the panels with the same questions: what is the first read at arm's length, which marks are structural and which are finish, and what happens to that hierarchy when the design is reduced to the intended width.

Keep scales, fins and whiskers readable at real size

Koi fail first at small repeated detail, not at the body outline. Scale rows close into armor-like bands when every row keeps equal weight, so rank the body contour above scale interiors and simplify the densest row cluster first. Fin rays behave like fine parallel lines: keep the outer fin edge dominant, keep rays lighter, and remove the finest splits before weakening the fin shape. Whiskers are the most fragile marks on the stencil because two thin lines near the mouth vanish or merge quickly, so keep both whisker lines distinct from the mouth edge and proof them at true size rather than at zoom. Splash dots and water stipple should stay the lightest family in the composition; when dots compete with fins, remove dots before touching fish structure.

Pair lotus and water without crowding the fish

Treat lotus and water as background that must lose to the fish. Place one flower or wave mass behind the koi body, never across the eye, mouth or leading fin edge, and keep petals and wave lines lighter than the koi contour. Run the cover test: hide the lotus with your hand and confirm the remaining koi still reads as a koi with a clear head, body arc and fin separations. When the flower wins, reduce its size or remove inner petal detail rather than thinning fish landmarks. For water, keep one open channel through the composition so waves read as motion instead of a gray band, and confirm no wave line cuts through a whisker or fin gap at final size.

Adapt the body curve to the placement

Flat fields such as the outer thigh, calf and upper back preserve drawn koi curvature with little compensation, so the limb axis becomes the design axis. Centered fields such as the chest and upper back read symmetry and direction immediately, so align the head-to-tail axis to the body midline on a live placement photo before print. Curved fields such as forearms, shoulders and ribs compress one side of the design, so preview the shortlisted stencil on a photo of the area and allow more length for coiled turns. Full-wrap placements are the hardest common case because a flat-drawn coil compresses on the curve and the closing joint must meet cleanly; count turns around the full limb measurement, mark registration ticks on the stencil margin, and confirm the closing joint on the body preview before transfer.

Move an approved koi to a clean transfer

Confirm the physical width first, then recheck the same stencil at that size rather than at zoom. Check that the body arc carries the first read, that scale separations and fin edges stay open, that both whisker lines remain distinct from the mouth, that lotus and wave support stays subordinate, and that mirror orientation is confirmed for the side of the body. Export a true-size PDF with no fit-to-page scaling, measure the physical print with a ruler, and inspect the narrowest scale gap, the tightest fin split and the smallest splash cluster on plain paper. After the file passes, set exact layout in Size and Print, use the Print Checker when file-side preflight evidence is needed, and follow the paper and skin-application guides for production mechanics. If any check fails, simplify the failing cluster and recheck at size before committing paper.

FAQ

Koi stencil questions.

Match flow to placement and motion. An upstream rise suits forearms, calves and shoulder caps where upward motion should read at arm's length. A downstream glide suits thighs, back panels and ribs where the design should travel with the body line. A coiled turn suits shoulders, hips and wrap areas where the fish must turn inside the placement. Pick one flow before vetting detail, because each fails at a different overlap or gap.

Next step

Turn your approved koi direction into a stencil draft

After the flow, readability, lotus and curve decisions pass at final size, generate from your own approved koi reference.