

Placement Prep
Tattoo Layout Composition Planner, Multi-Piece Flow and Spacing
Compose multiple stencil drafts into one coherent body-zone layout. Learn flow, spacing, scale consistency and sequencing, combine drafts with body-map and arm-planner handoffs, and reserve future space with a zone checklist.
tattoo layout generator · tattoo layout planner · multi-piece tattoo layout · tattoo composition planning · tattoo flow and spacing · future space tattoo planning
- November 20, 2026
- 12 min
A multi-piece tattoo layout fails long before the needle touches skin. It fails when the second piece lands without a plan for the third, when two dense designs end up facing each other across a narrow gap, or when a small tattoo occupies the only clean vertical corridor a future portrait needed.
If you searched for a tattoo layout generator, here is the honest version: no single button arranges independent tattoos into a coherent body composition for you. What works is a short repeatable sequence. Compose the drafts against five principles, mark the whole body before placing the next piece, check arm pieces in arm views, and reserve future space with explicit orientation checks. This guide gives you that sequence and hands each execution step to the Studio tool that owns it.
The five composition decisions
Every coherent multi-piece layout answers the same five questions, whatever the style. Run them in this order, because each one constrains the next.
| Decision | The question | What good looks like |
|---|---|---|
| Flow | Where does the eye travel across the zone? | Pieces share a direction of movement instead of pulling in opposite directions |
| Spacing | How much skin separates neighbors? | Gaps read as intentional and consistent for the collection, not measured with one ruler |
| Scale consistency | Do sizes agree with each other? | One anchor scale leads, supporting pieces step down deliberately, nothing drifts between sizes |
| Negative space | Which skin stays empty on purpose? | Open areas separate dense pieces and protect corridors for future work |
| Sequencing | What gets placed in which session order? | Large, orientation-sensitive and structurally important pieces claim space before filler does |
Flow comes first because it is the hardest to fix later. Two tattoos can each look excellent alone and still fight when one moves vertically and the other moves diagonally across the same limb. Before committing any placement, decide the dominant direction for the zone: along the limb, around the limb, radiating from a focal point, or scattered with even breathing room. Every new draft then either serves that direction or needs a reason to break it.
Spacing is a relationship, not a number. A bold blackwork piece and a fine-line sprig can sit in identically sized gaps and look completely different, because visual weight differs. Judge each new gap against the gaps already in the collection: is one gap much tighter than the rest without a reason, do two dense edges face each other and form an accidental dark corridor, are small pieces clustering until they behave like one noisy mass? If any answer is yes, move the candidate before adding more content.
Scale consistency means the collection agrees on what big and small mean. Pick the anchor piece for the zone and size everything else relative to it. The most common drift is gradual shrinkage: each new tattoo gets sized to its own leftover gap instead of to the collection, and after three sessions the arm holds one large piece surrounded by stamps. Size new drafts against the anchor, not against the hole.
Negative space is a material, not a leftover. Skin gaps separate different densities, keep silhouettes readable, and preserve corridors where future pieces can still land. If a gap has a job, name it. Unnamed gaps get filled by the next impulse tattoo.
Sequencing protects everything above. Place the largest, most orientation-sensitive and most meaningful pieces first, in planning if not in ink. Filler is the last decision, never the tool that solves uncertainty.
Build each draft separately, then compose
A layout plan is easier to judge when every candidate exists as its own clean draft at a comparable scale. Generate or redraw each piece one by one, then bring them together on a shared surface instead of trying to design the composition and the artwork in the same pass.
A practical pass looks like this:
- Produce one clean stencil draft per planned piece. When the starting point is a photo or reference image, the StencilStudio generator converts single images into stencil drafts; keep that step for single-draft creation only and return here for the composition.
- Normalize the drafts to one reference scale before comparing them. Print or preview each draft so its longest dimension is proportionally correct relative to the others, using the anchor piece as the baseline.
- Lay the drafts out together on a neutral surface, phone canvas, or paper cutouts. Check the five decisions above at this small scale first. Problems visible at thumbnail size are composition problems, not detail problems.
- Lock the relative relationships (which piece leads, which supports, which gaps stay open) before any single draft goes to true-size print and transfer prep.
Resist perfecting one draft in isolation while the relationships stay vague. A flawless individual stencil in the wrong scale or direction is still a layout failure.
Mark the whole body before placing the next piece
Individual drafts answer what each tattoo looks like. The body map answers where each tattoo lives relative to everything else, including work that does not exist yet.
Use the Tattoo Body Map and Body Template Maker to record the full project across neutral front, back, left-side and right-side views. Its job is zoning, not artwork: mark each area with its project status so the plan survives across sessions and consultations.
- Existing: tattoos already on the skin. These are constraints, not inspiration. Map their position, dominant orientation and approximate footprint first.
- Planned: drafts committed to a zone but not yet tattooed. These hold their ground against new ideas.
- Future: corridors and areas deliberately kept open for work the client already wants later, such as a portrait, a travel piece or lettering.
- Reserved: transition areas that need a client-specific decision first, such as around the elbow, ditch, wrist or collarbone. Nothing casual goes here until the decision is made.
This map is intentionally not a photorealistic preview. It is a project record that stops you from solving the whole layout from one preferred angle and makes the reserved areas visible to both artist and client. Once a specific stencil and placement are selected, move that individual piece into per-piece review on the actual client instead (see below).
Check arm pieces in arm views, then fit each piece on the client
Different planning questions need different surfaces. Using the wrong one is how balanced plans turn into awkward tattoos.
- Whole-body zoning belongs on the body map. Use it when the question is which zone gets the next piece and which areas stay protected.
- Arm arrangement belongs in arm views. When several independent pieces share one arm, open the Patchwork Tattoo Sleeve Planner and arrange them across its outer, inner and side maps, with spacing inspection and future-space blocks. The detailed arm-only arrangement workflow lives there and in its companion guide, How to Plan a Patchwork Tattoo Sleeve. This article does not repeat that walkthrough; it routes you to it at the right moment.
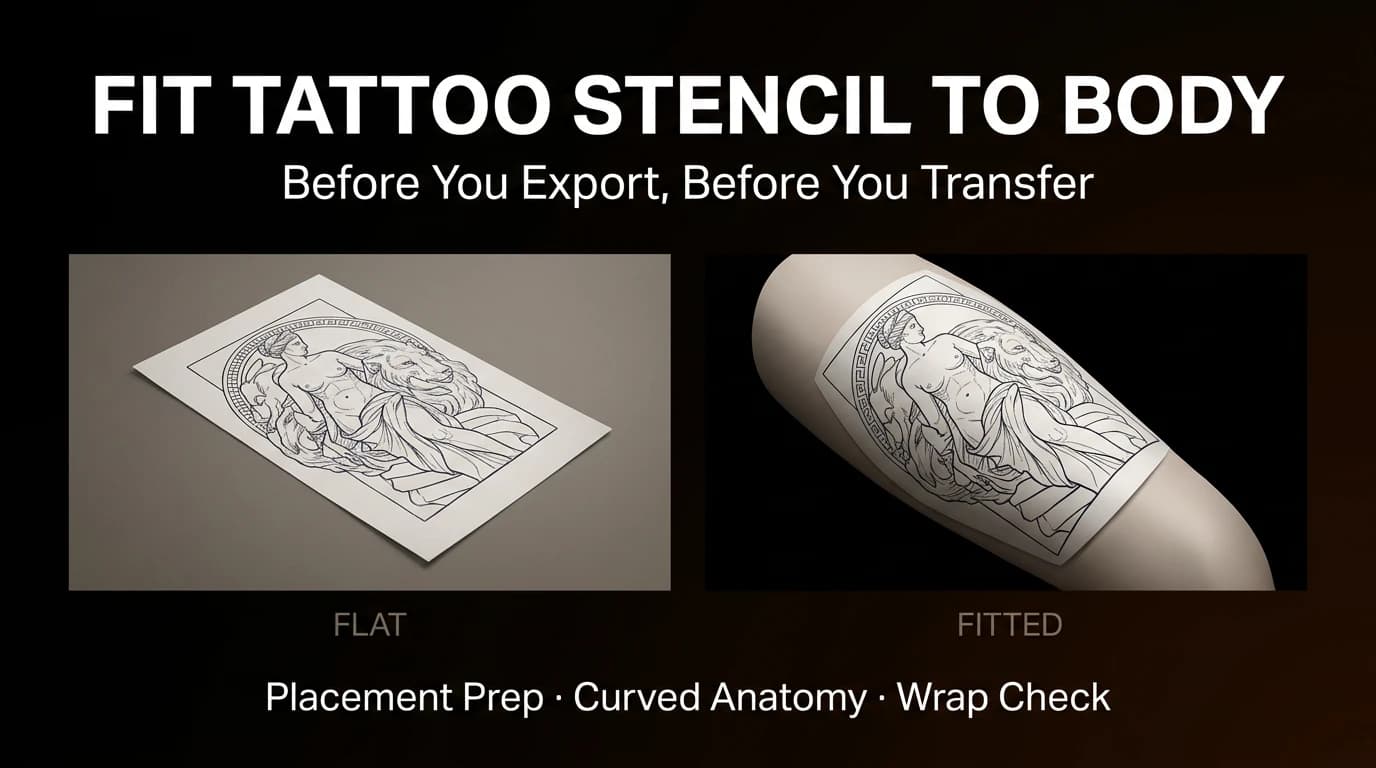
- Single-piece fit belongs on the client. Once one stencil is selected for the next session, use Fit to Body and the placement-prep guide to check focal point, wrap, compression and curvature against the real body.
A common failure is skipping the middle step: drafts jump from a folder straight onto skin, and the collection coherence is discovered only in hindsight. The body map plus the arm views are cheap. Cover-ups are not.
A worked sequence from three drafts to one plan
Consider a typical consultation setup, presented here as an illustrative example rather than a real client case. The client has an existing script tattoo on the outer forearm, and brings two new requests: a floral shoulder piece and a geometric calf band, with a possible portrait later.
- Map constraints first. Record the existing script on the body map as Existing, with its orientation and footprint. The outer forearm around it is now a constrained area, not open land.
- Assign direction per zone. The forearm already moves along the limb with the script. Give the shoulder piece a radiating direction from the deltoid focal point, and the calf band a wrapping direction. Three zones, three declared directions, no pieces fighting across zones they do not share.
- Size against an anchor. The floral shoulder piece is the visual anchor of the upper body. Size the calf band relative to it so the lower leg does not read as an unrelated sticker collection: the band can be bolder and simpler at its viewing distance, but its visual weight should step down deliberately from the shoulder, not compete with it.
- Route each piece to its surface. Mark the shoulder and forearm zones as Planned on the body map. Open the arm planner only for the upper-body pieces that interact, and arrange the floral piece relative to the existing script across outer, inner and side views. The calf band does not belong in the arm planner; keep it on the body map and fit it per-piece later.
- Reserve the portrait corridor. The client mentioned a possible portrait. On the body map, mark one clean vertical area, such as the outer upper arm or the thigh depending on the client's preference, as Future with a note naming the intended piece. Add matching future-space blocks in the arm planner so a filler idea cannot silently occupy it.
- Sequence the sessions. Orientation-sensitive and large pieces claim space first: shoulder floral, then calf band, then the portrait corridor stays protected. Small supporting work and filler come last, sized to what remains.
The output of this pass is a sequenced plan: which zones hold which pieces at which relative scale, which areas are protected and why, and which tool each piece visits next. Nothing here replaces true-size print and transfer prep for the chosen stencil; that stays a per-piece step.
Future-space reservation and orientation checklist across zones
Future space fails in two ways: the space gets spent casually, or the space survives but faces the wrong way. Run this checklist per zone before the next session, and record the answers on the body map so they persist.
| Zone | Orientation check | Reservation check |
|---|---|---|
| Upper arm and shoulder | Does the design read correctly with the arm relaxed at the side, not only in a flexed photo pose? Do faces, lettering and directional motifs point the intended way for the primary viewer? | Is one clean vertical corridor still open for a future large piece? Are filler ideas kept off the outer upper arm until the client decides? |
| Forearm | Does the piece hold together from both the wearer's view and the viewer's view? Does wrapping text stay readable from its primary side? | Are wrist and elbow transitions left undecided rather than filled early? Can the forearm still connect visually to the upper arm later? |
| Thigh and calf | Does a long design account for foreshortening when the leg moves? Do bands wrap evenly instead of drifting? | Is the front of the thigh protected if the client wants a future large-scale piece? Are backs of calves left alone until their high-distortion behavior is discussed? |
| Torso, ribs and sternum | Does the composition follow the body's center lines and breathing movement instead of fighting them? Is symmetry deliberate where the client will compare both sides? | Are sternum and rib corridors reserved as single-decision areas rather than split across sessions? Is breathing and posture change noted for wide pieces? |
| Back | Does the piece use the spine and shoulder blades as structure rather than ignoring them? Does the top-to-bottom reading order survive at distance? | Is the central back kept available for one coherent back piece if the client ever wants it, instead of being peppered with small work? |
| Neck, hands and other high-visibility areas | Is orientation verified in natural posture for every viewer angle, including profile? For text and faces, is the top-bottom direction explicit? | Has the client confirmed these areas stay in the plan at all, given visibility and employment considerations? Nothing here should be a default overflow zone. |
Three orientation rules apply everywhere. First, decide the primary viewing condition per piece (wearer, outside viewer, or both) before rotating anything. Second, never rotate an orientation-sensitive design just because the rectangle fits better; move the composition and let edges absorb the change. Third, label orientation constraints in the plan so they survive layout revisions months later.
And three reservation rules apply everywhere. Name every protected area with its intended future use or its pending decision. Treat filler as guilty until proven innocent near a protected area. Reconfirm reservations at each consultation, because clients forget what they asked you to protect.
What this guide does not cover
This guide covers the composition method: principles, draft assembly, body-map zoning, arm-view handoffs, sequencing and future-space reservation. Execution depth lives with its owners by design.
- Single-image stencil conversion settings and PNG export belong to the generator.
- Arm-only arrangement detail and planning-map export belong to the Patchwork Tattoo Sleeve Planner and its planning guide.
- Neutral body-map marking mechanics and planning-sheet export belong to the Body Map and Body Template Maker.
- Flash-sheet print and social composition belong to the flash-sheet layout guide.
- Style-specific motif pairing and bodysuit vetting belong to motif and style references, not to this style-agnostic framework.
Follow the handoffs above and each page stays focused on the decision the reader actually faces at that moment.
FAQ
I have five small tattoos planned and no large anchor. Where do I start?
Declare the most meaningful or most visible piece the provisional anchor, usually the one on the most prominent zone, and size the rest relative to it. If nothing deserves anchor status, that is itself a finding: plan the collection as scattered work with generous even breathing room and protect one corridor for a future anchor instead of letting five equal pieces drift into clutter.
Should I finish one body zone completely before starting another?
Usually not. Secure the structurally important pieces in each active zone first, then let zones evolve in parallel. Finishing one zone completely with filler is how future large pieces lose their corridors. Keep the body map current across all zones so a decision on the arm cannot accidentally spend space promised to the leg or back.
When do I use the body map and when the arm planner?
Use the body map whenever the question spans zones or sessions: what goes where next, what stays protected, what the client already committed to. Switch to the arm planner when multiple pieces share one arm and you need to judge their outer, inner and side relationships plus spacing. Use per-piece fit review when one stencil is selected for the next session.
How much skin should I leave empty around each piece?
There is no universal gap measurement, because a bold dense piece needs more breathing room than a fine open one at the same physical distance. Match each new gap to the gaps already in the collection, keep dense edges from facing each other across narrow skin, and treat any gap that protects a future corridor as reserved rather than empty.
My client keeps adding small impulse tattoos. How do I keep the layout intact?
Make the protected areas visible in the consultation using the body map and its future and reserved marks. Impulse pieces then face a concrete question, which named area is this spending, instead of an abstract warning. Route each impulse idea to the smallest genuinely available gap at a scale relative to the zone anchor, and re-export the plan so the next session inherits the decision.
Related Guides
Keep reading from here
How to Plan a Patchwork Tattoo Sleeve Without Painting Yourself Into a Corner
Plan a patchwork tattoo sleeve around existing pieces, important anchors, intentional negative space, future tattoos, orientation, and final body placement without filling every gap too early.
patchwork tattoo sleeve · patchwork sleeve planning
Read guideHow to Fit a Tattoo Stencil to Curved Body Placement
Review focal point, wrap, compression, negative space, and body line before exporting a tattoo stencil for a curved placement.
fit tattoo stencil to body · tattoo placement prep
Read guideTattoo Flash Sheet Layout: Size, Spacing and Composition
Plan a tattoo flash sheet for print or social: choose size, protect readable artwork, set optical spacing, choose hierarchy and labels, and know when to split.
tattoo flash sheet layout · tattoo flash sheet size
Read guideAuthor
Andrea Mezzadra
Founder and product builder at StencilStudio
Andrea builds StencilStudio and tests how the tools fit into real stencil prep, using real references and outputs to document what works, what changes, and where artist judgment still matters.
In the App
Map the whole layout before the next piece becomes permanent
Use the free Body Map and Body Template Maker to mark existing, planned, future and reserved zones across front, back and side views, then route each piece to generation, fit or arm planning.