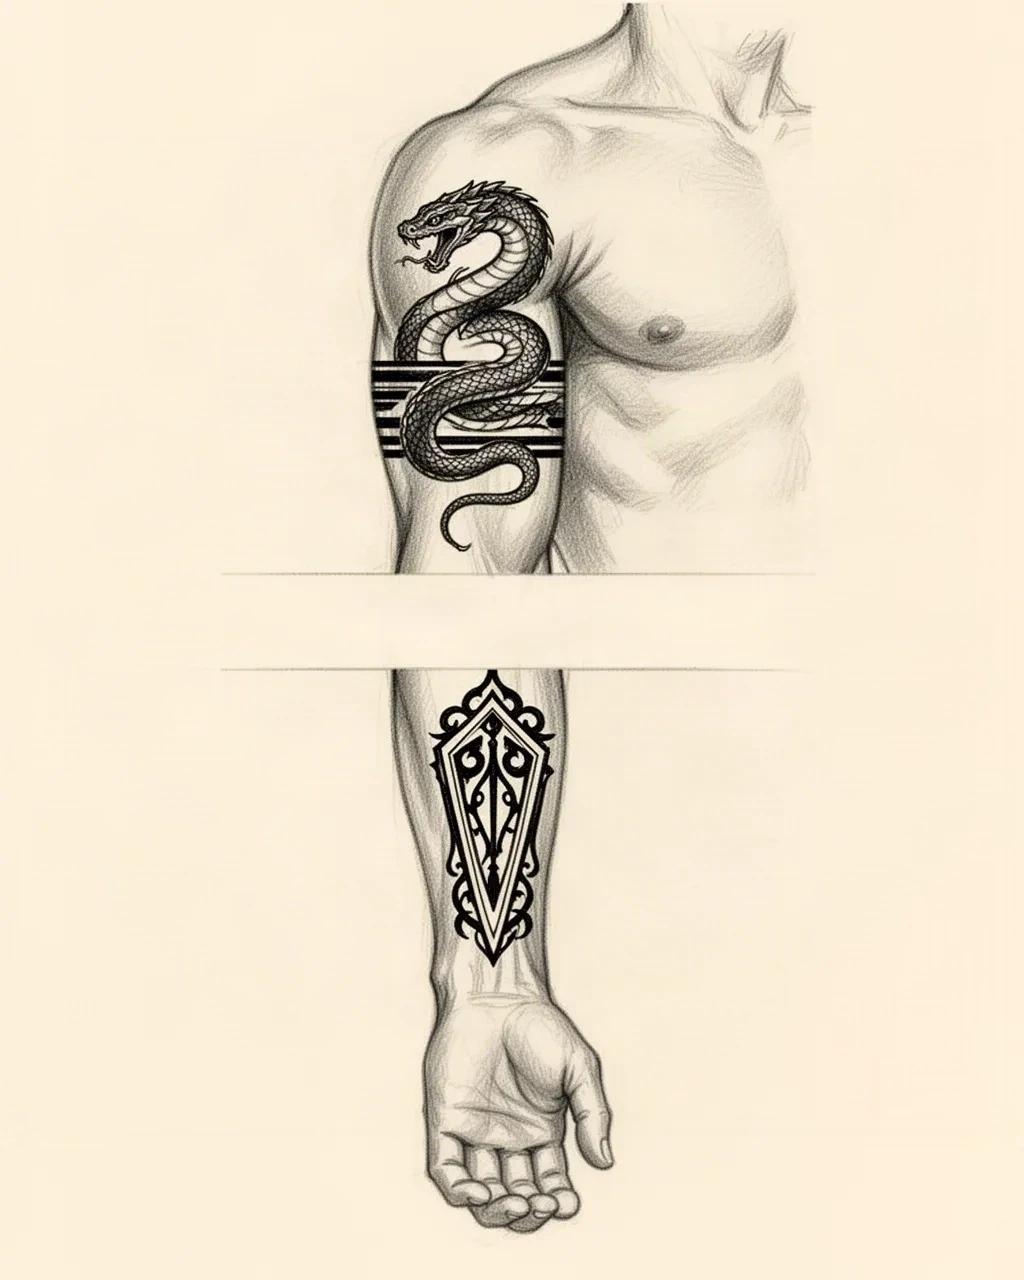
Half-length wrap, taper, and flow
Check every face the half length actually turns through.
A half sleeve wraps less arm than a full sleeve, but the faces it does cross still move. Match the check to the face below, then name the elbow-gap treatment before print.
Hard stop above or below the crease
Use when: Best when the half sleeve must look finished on its own, especially an upper-half that ends before the ditch.
Rule: Place a deliberate band, emblem base, or closed border 20 to 30 mm clear of the crease. Photograph straight and bent to confirm the border never touches the fold.
Open skin corridor
Use when: Best when a full sleeve may follow later, or when both halves need a clean future handoff.
Rule: Reserve 30 to 50 mm of unmarked skin across the ditch. Name it on the plan (future bridge, breathing room) so filler does not close it early.
Tapered fade toward the joint
Use when: Best for smoke, dot fade, stipple, or slim botanical ends that should dissolve instead of stopping hard.
Rule: Thin the mark density toward the crease in one direction only, keep the lightest marks off the deepest fold, and prove the fade survives bend without bunching.
Generic arm wrap and taper mechanics stay with the arm page linked below. The table and treatments above apply those mechanics to half length only: one focal half, one flow direction, and one deliberate elbow stop.