

Printing & Transfer
How to Use Tattoo Stencil Primer
Use tattoo stencil primer correctly with a pro sequence for prep order, thin-film application, tack check, transfer onto primed skin, and clean re-prime recovery.
tattoo stencil primer · how to use stencil primer · stencil primer tacky · stencil primer thin layer · re-prime tattoo stencil
- November 10, 2026
- 11 min
Stencil primer earns its place when the skin is already clean, dry, and hair-free, yet transfer dye still needs help gripping evenly. Used well, it is a thin bonding film between prepared skin and the paper stencil. Used badly, it is the reason lines print blurred, patchy, or pale.
This page covers the primer step only: where it sits in prep order, how to spread a verifiable thin film, how to confirm the tack window before the stencil touches skin, how to set the transfer on primed skin, and how to recover from the three primer failures without guessing. For the full placement and transfer workflow, use How to Apply a Tattoo Stencil to Skin. For wrap, taper, and body-position decisions, use Fit a Tattoo Stencil to Body Placement.
Where primer sits in prep order, and when to skip it
Primer goes on after the skin is fully prepared and before the paper stencil makes contact. The working order is:
- Clean the area under your studio hygiene process and local rules.
- Shave where required, wider than the design so edge hair cannot lift the transfer later.
- Degrease and dry completely. The surface should look matte, not damp. Residual moisture dilutes transfer dye before it reaches skin and reads later as a pale, washed-out transfer.
- Apply primer as described below.
- Place the stencil once, then let the transfer set.
Primer bonds to skin, not to the film of lotion, sweat, sunscreen, or dead cells sitting on top of it. Electrum's stencil guide makes the same point directly: perfect primer on badly prepped skin still fails. If the transfer keeps failing, fix prep before changing primer brands or amounts.
Skip primer, or leave it out of the routine, in these cases:
- Your transfer product instructions do not call for it. Follow the exact product system in use. Spirit's instructions, for example, describe a thin layer of its matching transfer cream for its paper families, and Electrum describes a thin, even layer of its primer. Do not stack two bonding products because each seemed useful alone.
- You are doing freehand marker work, not a thermal transfer. Primer is formulated for transferring paper stencils. Electrum's guidance for freehand work is to draw directly on prepped, dry skin with a stencil marker and let it set. A primer film under freehand drawing changes how the marker bites and smears.
- The skin is broken, razored raw, scratched, or irritated. Irritated skin takes transfer unpredictably and no primer amount fixes that. Move the placement or reschedule. That is a judgment call, not a product problem.
- Soap film or residue is still on the skin. Primer over residue grips the residue. Clear the area to the condition your transfer product instructions assume, then prime.
This page does not prescribe cleansers, shaving procedure, or antiseptics. Those belong to your studio protocol, local rules, and the directions on the products you use.
Spread a verifiable thin film
The most common primer mistake is using too much. A heavy coat stays wet, the stencil floats on it, and lines print soft and spread, as if printed underwater. Manufacturer directions converge on the same target: Spirit calls for a thin layer of transfer cream, Electrum specifies a thin, even layer of primer, and working artists describe the same discipline (a thin coat rubbed in well, then left until slightly tacky).
Execute it this way:
- Dispense a small amount. You can add a second pass if coverage is incomplete. You cannot easily remove excess without restarting the coat.
- Spread edge to edge across the prepared area with a gloved hand or a folded paper towel, slightly beyond the design footprint so edges land on primed skin.
- Aim for a coat you can barely see. Uniform sheen, no ridges, no puddles, no dry islands. Streaks now show up later as patchy transfer with clean gaps.
- Keep the film clean. Fresh glove surface for spreading, no touching the primed area afterward, and nothing (bottles, spray tips, forearms) resting on it while it airs.
Verify before moving on: sight along the skin at a low angle under station light. A correct film reads as one continuous faint sheen. Any glossy bead, ridge, or dull dry patch means that region is not one film yet. Even it out or restart the coat. Thirty seconds of inspection here is cheaper than a second full transfer.
Confirm the tack window before transfer
Do not place the stencil on wet primer, and do not wait so long that the film goes fully dry and stops grabbing. You are looking for tack: slight resistance with no wet shine.
The knuckle test, used across manufacturer and shop guidance:
- Wait after spreading. In most shop conditions the window lands roughly between thirty seconds and two minutes, depending on how much was applied, room humidity, and the product. Treat that range as orientation, not a rule. Your product instructions win.
- Press a gloved knuckle lightly to the primed edge, outside the design footprint.
- Ready means the skin pulls back with slight resistance and leaves no shine on the glove.
- Too wet means visible gloss transfers or the glove slides freely. Wait longer.
- Too dry means no pull at all, a slick or dusty feel. Do not place the stencil on it.
If you overshoot into too-dry, wipe the area down and start the coat over. Layering fresh primer on top of a dried coat builds a slick sandwich that grips worse than either coat alone. One clean film beats two stacked ones every time.
Transfer onto primed skin and check the set
Once the film tests tacky, the transfer itself is single-attempt work. The primer does not forgive repositioning.
- Align in the air. Hold the paper above the skin and confirm position, rotation, and landmarks before anything touches. Have the client hold the pose they will actually be in during the tattoo, not a relaxed version of it.
- Commit once. Bring the stencil down without sliding it after first contact. Do not lift a corner to check progress while the rest stays attached. That check smears the design every time.
- Press flat and even, working outward from the center with the whole palm to push air out. Firm and even beats hard. Hard pressure on a curved surface prints the high points dark and leaves the low points blank. On ribs, knees, and elbows, use both hands and take the time full contact needs.
- Hold per your product instructions, then peel slowly from one corner with the paper kept close to the skin rather than pulled straight up.
- Hands off while it sets. Do not touch the fresh transfer with a glove, towel, or client fingers. Electrum's guide puts the value of this pause plainly: about five minutes of patience buys hours of stencil life. Your exact product sets its own time, but contact time and setting time are different stages, so confirm both in its instructions.
Check the set the way you checked the film. Sight the transfer against the approved paper stencil: position, orientation, outer contours, internal landmarks, lettering, and negative-space openings. A small missing decorative mark is not the same as a missing facial landmark, lettering baseline, or centerline. The question is whether the transfer is still a clear working guide for this design. If it is not, stop before tattooing and reset using How to Remove and Reapply a Tattoo Stencil rather than fixing lines mid-session.
Curved areas deserve one deliberate note, not a second placement guide: if one part of the paper must buckle, drag, or stretch to fit, the body-fit plan is unresolved and no primer adjustment compensates. Revisit placement with the body-fit guide before the next attempt.
Primer failures and clean re-prime recovery
Read the failed transfer, name the film error, and restart from the correct step. Changing three variables at once teaches nothing.
| What you see | Likely film error | Fix |
|---|---|---|
| Blurred, thick, or spread lines across the whole design | Over-wet. Stencil placed on glossy primer or far too much product, so dye floated | Remove the transfer, wipe the area down, and restart with a smaller amount spread to a barely-visible film. Wait for the knuckle test to pass before committing |
| Pale, washed-out transfer that looks weak straight off the paper | Over-wet surface or damp skin. Water film diluted the dye, or the primer coat was still fully wet | Confirm the skin goes fully matte before priming on the next attempt, then apply the thin film and wait for tack |
| Transfer refuses to grab at all, paper lifts nearly clean | Under-dry (over-waited) film. The window passed and the coat went slick | Wipe down and lay one fresh coat. Do not layer new primer over the dead coat |
| Patchy transfer with clean gaps while neighboring regions print fine | Uneven film. Streaky coverage, a dry island, or a touched/contaminated region | Spread edge to edge with a fresh glove surface, verify the continuous sheen at a low angle, and keep everything off the film while it airs |
| Sharp center, missing edges | Coverage or contact at the perimeter, often edge hair or primer stopping short of the design footprint | Shave and prime wider than the outermost lines on the next attempt, and press outward from the center |
The re-prime protocol after any failed transfer:
- Remove the failed transfer following the removal guide and your studio hygienic protocol. Do not prime over dye residue.
- Return the skin to matte. Clear residue and moisture completely. Residue under a new film repeats the failure.
- Lay one fresh thin coat, verify the sheen, and pass the knuckle test at the edge.
- Commit one placement with flat, even pressure and a slow peel, then hands-off set.
- If two clean attempts fail identically, stop changing primer variables. Suspect the paper stencil itself (faint print transfers faintly) or placement fit, and diagnose with the Transfer Troubleshooter before a third attempt.
What this table does not cover is deliberate: stencil loss that happens later, during wiping or mid-session, belongs to different owners. Loss before work starts points to the transfer baseline (this page and the application guide). Loss that follows a discrete touch before tattooing is diagnosed in Tattoo Stencil Wipes Off Too Easily. Fading after needle work begins is covered in the green-soap workflow and session-loss guides, not here.
Studio-ready primer routine
Keep this sequence visible at the station:
- Clean, shave wide, degrease, and dry to fully matte under studio protocol.
- Confirm primer is the right product for this paper system, and skip it for freehand marker work or irritated skin.
- Dispense little, spread edge to edge, verify one continuous faint sheen at a low angle.
- Wait for the knuckle test: slight pull, no shine on the glove.
- Align in the air, commit once, press flat and even outward, peel slow and low.
- Hands off for the product's full set time, then check the transfer against the paper stencil.
- On failure, name the film error, remove, return to matte, and lay one fresh coat. Never stack primer on primer.
FAQ
How much tattoo stencil primer should I use?
Less than feels intuitive. Dispense a small amount and spread it to a uniform film you can barely see, slightly beyond the design footprint. If any region beads, ridges, or shines glossy while the rest looks dry, that region holds too much. Even it out or restart the coat rather than proceeding.
How do I know primer is ready for the stencil?
Use the knuckle test at the primed edge: press a gloved knuckle lightly to the skin. Ready means slight pull-back resistance with no shine left on the glove. Glossy sliding means too wet, and no pull at all means the window passed. Timing varies by product, amount, and humidity, so test the film rather than counting seconds.
How long should stencil primer dry before applying the stencil?
Until it is tacky, not wet and not fully dry. Manufacturer and shop guidance converges around roughly thirty seconds to two minutes in normal conditions, but that is orientation only. The film test decides, because amount applied and room humidity move the window every session.
Can I reapply primer over a coat that already dried?
No. Wipe the area down and lay one fresh coat instead. Stacking fresh primer on a dried coat builds a slick layer that grips worse, and it is one of the fastest routes to a transfer that lifts nearly clean off the paper.
Why did my stencil blur on primed skin?
The usual cause is an over-wet film: too much primer, or placement before the tack window. The stencil floats on the wet coat and dye spreads sideways. Remove the transfer, restart with a smaller amount, verify the faint continuous sheen, wait for the knuckle test to pass, and commit one placement without sliding.
Why is the transfer patchy with clean gaps on primed skin?
That pattern points to uneven film: streaky spreading, a dry island, a touched region, or primer that stopped short of the design edge. Spread edge to edge with a fresh glove surface, verify coverage at a low angle under station light, and keep everything off the film while it airs.
Should I use primer for freehand stencil drawing?
No. Primer is formulated for transferring paper stencils. For freehand work, draw directly on prepped, dry skin with a stencil marker and let it set before starting. A primer film under freehand drawing changes how the marker bites and smears.
Sources and scope
- Electrum: Why Your Tattoo Stencil Won't Stick - thin even primer coat, knuckle-style tack check, single placement, flat pressure, slow peel, hands-off set, and wipe-down restart instead of layering.
- Electrum: Gold Standard Tattoo Stencil Primer - manufacturer directions describing a thin, even layer with separate thermal and freehand guidance.
- Spirit Tattoo: Create a Stencil - manufacturer guidance on thin transfer-cream application, no movement after contact, careful removal, and setting.
- Tattooing101: How to Keep a Tattoo Stencil From Wiping Off - prep order (clean, shave, degrease), thin primer to tacky, single perfect stencil rather than mid-session fixes.
This page covers the primer step: prep-order placement, thin-film spreading, the tack check, transfer onto primed skin, and re-prime recovery. End-to-end application depth stays with How to Apply a Tattoo Stencil to Skin, paper choice with Tattoo Stencil Paper, placement and body fit with Fit a Tattoo Stencil to Body Placement, and removal with How to Remove and Reapply a Tattoo Stencil.
Related Guides
Keep reading from here
How to Apply a Tattoo Stencil to Skin
Apply a tattoo stencil to skin with a clear professional workflow for placement, transfer solution, clean contact, curved areas, setting, and final checks.
how to apply tattoo stencil · tattoo stencil application
Read guide
Tattoo Stencil Paper: Choose the Right Media for Your Workflow
Choose the right tattoo stencil or transfer paper for thermal printers, freehand tracing, portable printers, and inkjet stencil systems.
tattoo stencil paper · tattoo transfer paper
Read guideHow to Fit a Tattoo Stencil to Curved Body Placement
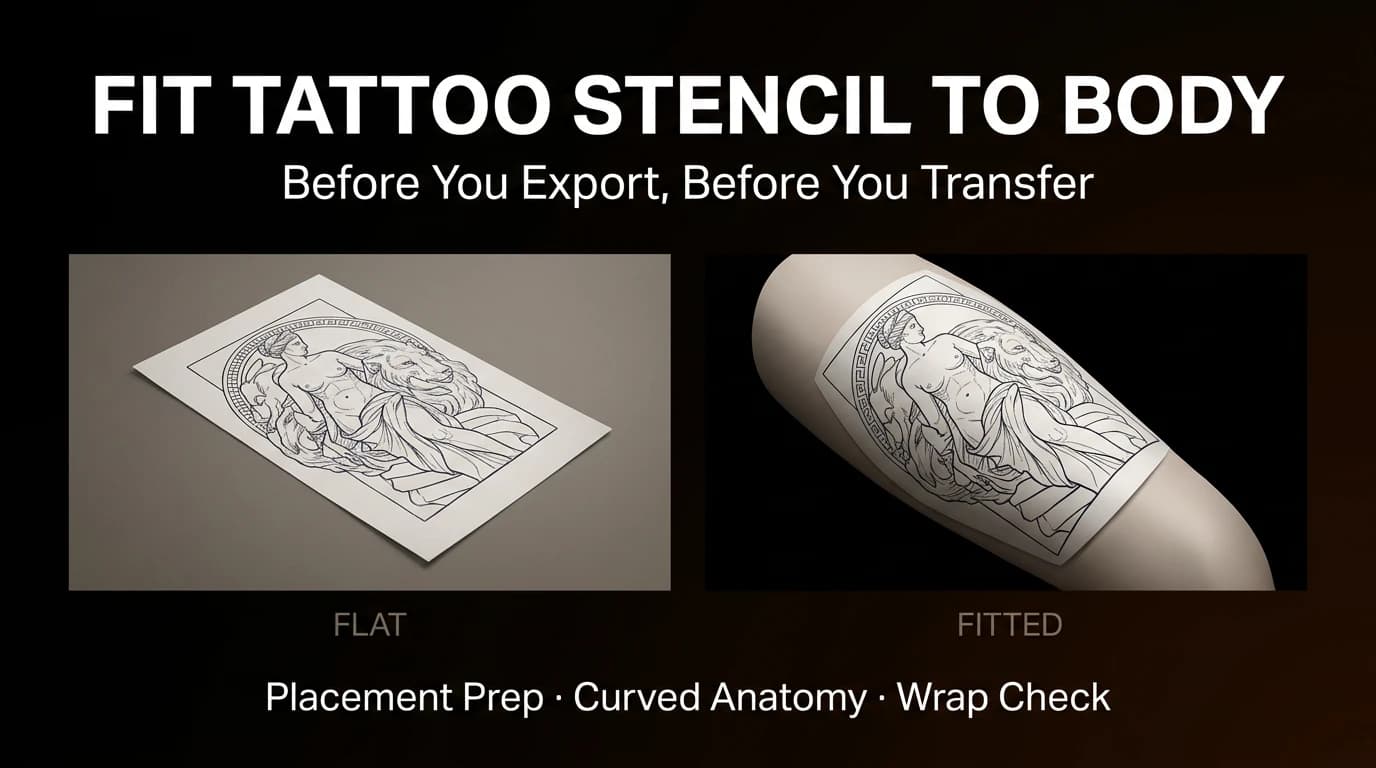
Review focal point, wrap, compression, negative space, and body line before exporting a tattoo stencil for a curved placement.
fit tattoo stencil to body · tattoo placement prep
Read guideAuthor
Andrea Mezzadra
Founder and product builder at StencilStudio
Andrea builds StencilStudio and tests how the tools fit into real stencil prep, using real references and outputs to document what works, what changes, and where artist judgment still matters.
In the App
Primer routine is right but the transfer still fails?
Separate paper, placement, and contact problems from primer problems before you change anything at the station.