

Studio Cleaning
Green Soap and Tattoo Stencils: Keep the Transfer Legible While You Wipe
Keep a tattoo stencil readable while using green soap. Dilution starting points, skin-prep order, wipe pressure and direction, re-application cadence, and over-wipe recovery for live sessions.
green soap tattoo · green soap stencil · tattoo stencil wiping · stencil stays visible during tattoo
- November 9, 2026
- 9 min
Green soap does not have to erase a good stencil, but it is one of the fastest ways to lose one. The transfer pigment sits on the skin surface, and every soapy wipe is a small cleaning event on top of it. The working question is therefore narrow: how do you clean ink, blood, and ointment well enough to see your work while leaving enough transfer behind to finish the tattoo?
This guide answers that question for stencil legibility only. It assumes the stencil was placed correctly and given its product-specific set time. For the placement and transfer-solution workflow itself, use How to Apply a Tattoo Stencil to Skin. For turning reference into a transfer-ready design, use How to Make a Tattoo Stencil.
Why green soap lifts stencils first
Green soap is a plant-oil based concentrate made to cut surface oil, ink residue, and blood. Supplier guidance from Aesthetic Tattoo Supplies and Ultimate Tattoo Supply describes the same two properties that matter here: it cleans effectively and it is meant to be diluted before it touches skin. That cleaning action does not distinguish between unwanted residue and transfer pigment.
Three factors decide how fast a given mix removes stencil:
- Soap concentration. Stronger mix, more surfactant per wipe, faster lift.
- Mechanical action. Pressure, lateral travel, and repeat passes over the same marks.
- Transfer maturity. A stencil wiped before its product-specific set time lifts far more easily than the same stencil wiped after a full set.
So when a stencil vanishes mid-session, the fix is rarely one variable. It is the combination of mix strength, wipe mechanics, and timing that you control next.
Dilution and skin-prep for stencil work
Green soap concentrate must be diluted before skin contact. Supplier guides converge on a common starting point of roughly 1 part concentrate to 8 or 9 parts distilled water in a spray or wash bottle, with distilled or purified water preferred over tap water because it avoids mineral and microbial content from municipal supplies. Treat that ratio as a starting point, not a universal law: follow the label on the concentrate you actually use and your studio protocol.
For stencil legibility, set up two liquids before the session:
- Diluted green soap in a spray or squeeze bottle for cleaning ink and residue.
- Plain distilled water in a second bottle for rinsing or for light clearing passes over areas where the stencil is still needed.
The reason is practical. Many artists find that plain distilled water removes fresh surface ink with less stencil disturbance than a soapy pass, so reserving soap for genuinely soiled areas reduces total surfactant exposure on untouched guidance. Keep the spray tip off the skin to avoid cross-contamination, and follow your studio hygiene process and local rules for skin preparation, shaving, and disinfection. This page does not replace those requirements.
Skin-prep order matters for the transfer that follows. Clean the area with diluted green soap, complete shaving where required, then clear residue and hair before stencil application. Soap film left on the skin changes how transfer product grips, so the area should be in the condition your transfer product instructions assume before transfer product goes on. Do not compensate for a weak transfer by making the soap stronger or weaker at prep; fix the transfer step itself using the application guide.
A short pre-session check:
- Mix is dilute, labeled, and in a bottle that does not touch skin.
- Second bottle holds plain distilled water.
- Wipe towels are disposable and within reach so no pass drags longer than needed.
- Transfer has had its product-specific set time before tattooing begins.
Wipe pressure, direction, and cadence that preserve the transfer
Once needle work starts, every clearing pass should answer one question: is this pass over worked skin, or over stencil you still need?
Work from worked skin outward
Clear the active area first, then move outward. Avoid starting a wipe on unworked stencil and dragging residue, ink, and soap across marks you will need later. Where possible, wipe away from untouched guidance rather than across it.
Use pressure and motion deliberately
- Blot or dab for light clearing near needed stencil. Vertical contact lifts surface fluid with less lateral travel than a sweeping wipe.
- Wipe with light, flat pressure only where cleaning actually requires it, using a fresh towel surface. Heavy pressure and scrubbing remove transfer, not just residue.
- One controlled pass beats three uncertain ones. Check the surface, then decide whether a second pass is needed rather than wiping on habit.
- Keep the working hand and glove path off unworked regions. Repeated hand contact along the same edge weakens it the same way repeated wiping does. The session-loss diagnostic explains how to read whether loss follows your contact map.
Choose soap or water per pass
A workable cadence for stencil preservation:
- Water first for light ink film over or beside needed stencil. A damp towel with plain distilled water often clears enough to see without a soapy pass.
- Diluted soap for real soil: blood, ointment buildup, or heavy ink load in already-worked areas. Spray the towel or the worked area, not the untouched stencil field.
- Water rinse after soap where a soapy pass crossed near needed marks, to avoid leaving surfactant sitting on transfer you still need.
- Fresh towel surface each pass. A loaded towel smears residue back across the skin and forces extra passes.
If you notice that even light water passes remove the transfer, stop adjusting soap and inspect the transfer baseline. A transfer that was only marginally readable at the start will fail under normal session contact, and that points upstream rather than at wipe technique. Use the pre-work wipe-off diagnostic when loss follows a discrete touch before tattooing, and the session-loss guide when a usable stencil degrades after work begins.
Signs of over-wiping and what to do next
Normal fading is gradual and leaves landmarks readable. Over-wiped lift is faster, follows contact, and removes information you still need. Watch for this progression:
- Early warning: fine detail and light secondary guides go faint while main contours hold. Edges still read, but texture cues thin out along the wipe path.
- Active lift: main contours lighten after a pass, edges soften or drag sideways, or a strip along the wipe direction disappears while distant regions stay stable.
- Structural loss: anchors you have not used yet are gone or ambiguous: placement endpoints, primary silhouette turns, lettering baselines, facial landmarks, or critical intersections.
Match the response to the stage:
| What you see | Do next |
|---|---|
| Only fine detail thinning, anchors intact | Switch to water-only passes near that region, blot instead of wipe, and reroute cleaning away from it. |
| Contours lightening along the wipe path | Dilute the working mix if it was mixed strong, reduce pressure and pass count, and rinse soapy residue off needed marks. |
| One region lifting but neighbors stable | Protect the surviving side, change wipe direction so passes start in worked skin, and keep hand contact off the weak region. |
| Anchors gone before use | Stop and assess against surviving landmarks and the approved reference. Do not invent missing geometry. |
| Whole stencil weakening including untouched areas | Suspect the original transfer or set quality, not just wiping. Review the transfer baseline with the application guide. |
When essential guidance is lost and cannot be reconstructed confidently from surviving structure and the approved design, follow your studio hygienic protocol and the relevant product guidance for any decision about re-establishing marks. This page does not give ad hoc instructions for applying stencil product over worked or compromised skin. Stopping rather than guessing is the better outcome when placement, proportion, lettering, or identity-critical structure cannot be recovered.
Session-ready green-soap workflow
Keep this sequence visible at the station:
- Mix dilute (around 1:8 concentrate to distilled water as a starting point, label permitting), plus a second bottle of plain distilled water.
- Prep skin under studio protocol, clear residue, then apply and set the transfer per product instructions.
- Confirm the stencil is readable enough to start before the first pass.
- Wipe from worked skin outward; blot near needed stencil.
- Use water for light film, soap for real soil, rinse soap off needed marks.
- Watch fine detail as the early gauge; adjust mix, pressure, direction, or cadence at the first strip of directional loss.
- If anchors disappear before use, stop and recover from surviving structure and the approved reference.
The stencil does not need to look untouched at the end of the session. It needs each piece of guidance to survive until that piece has done its job.
FAQ
Will green soap erase my tattoo stencil?
It can lighten or remove transfer pigment because it is a cleaner, not because the stencil was wrong. Dilute concentrate before use, keep soapy passes on worked or soiled areas, use water for light clearing near needed marks, and avoid repeated passes over untouched guidance.
How should I mix green soap when stencil legibility matters?
Supplier guidance commonly describes about 1 part concentrate to 8 or 9 parts distilled water as a starting point. Follow the label on your concentrate and your studio protocol. Keep a second bottle of plain distilled water so light clearing passes do not need soap at all.
Should I wipe or blot over a fresh stencil?
Blot or dab near stencil you still need, since it applies less lateral travel than a sweeping wipe. Reserve directional wiping for worked or genuinely soiled areas, use light flat pressure with a fresh towel surface, and wipe away from untouched guidance rather than across it.
How often should I re-apply soap versus wiping with water?
Use water for light ink film and diluted soap when blood, ointment, or heavy residue actually requires it. Rinse soapy residue off areas where the stencil is still needed. If even water passes remove the transfer, inspect the transfer baseline instead of changing soap strength.
How do I know I over-wiped the stencil?
Over-wipe follows contact: fine detail thins first along the wipe path, then contours lighten or drag, then unworked anchors disappear. Gradual uniform fading without a contact pattern points more toward transfer or set quality. Compare the current state with the start-of-session baseline to tell them apart.
What should I do when the stencil starts lifting mid-session?
Reduce soap exposure on that region, switch to water-only blotting, reroute wipe direction and hand contact away from it, and protect surviving anchors. If essential guidance is gone and cannot be recovered from surviving structure and the approved reference, stop rather than invent it, and follow studio protocol for any re-marking decision.
Sources and scope
- Aesthetic Tattoo Supplies: What is Green Soap - concentrate identity, roughly 1:8 to 1:9 dilution starting point in distilled water, and spray-bottle use.
- Ultimate Tattoo Supply: Why Green Soap Matters - skin-prep, during-session wipe-down, diluted spray-bottle use, and residue handling.
- Healthline: Green Soap Uses During Tattooing - diluted spray application, wipe-down before shaving and after, use during the session for cleaning, and cross-contamination precaution.
This page covers stencil-legible dilution, wipe mechanics, cadence, and over-wipe recovery. Placement and transfer-solution depth stays with How to Apply a Tattoo Stencil to Skin, stencil creation stays with How to Make a Tattoo Stencil, and pre-session or mid-session loss diagnosis stays with the linked troubleshooting guides when the baseline itself is uncertain.
Related Guides
Keep reading from here
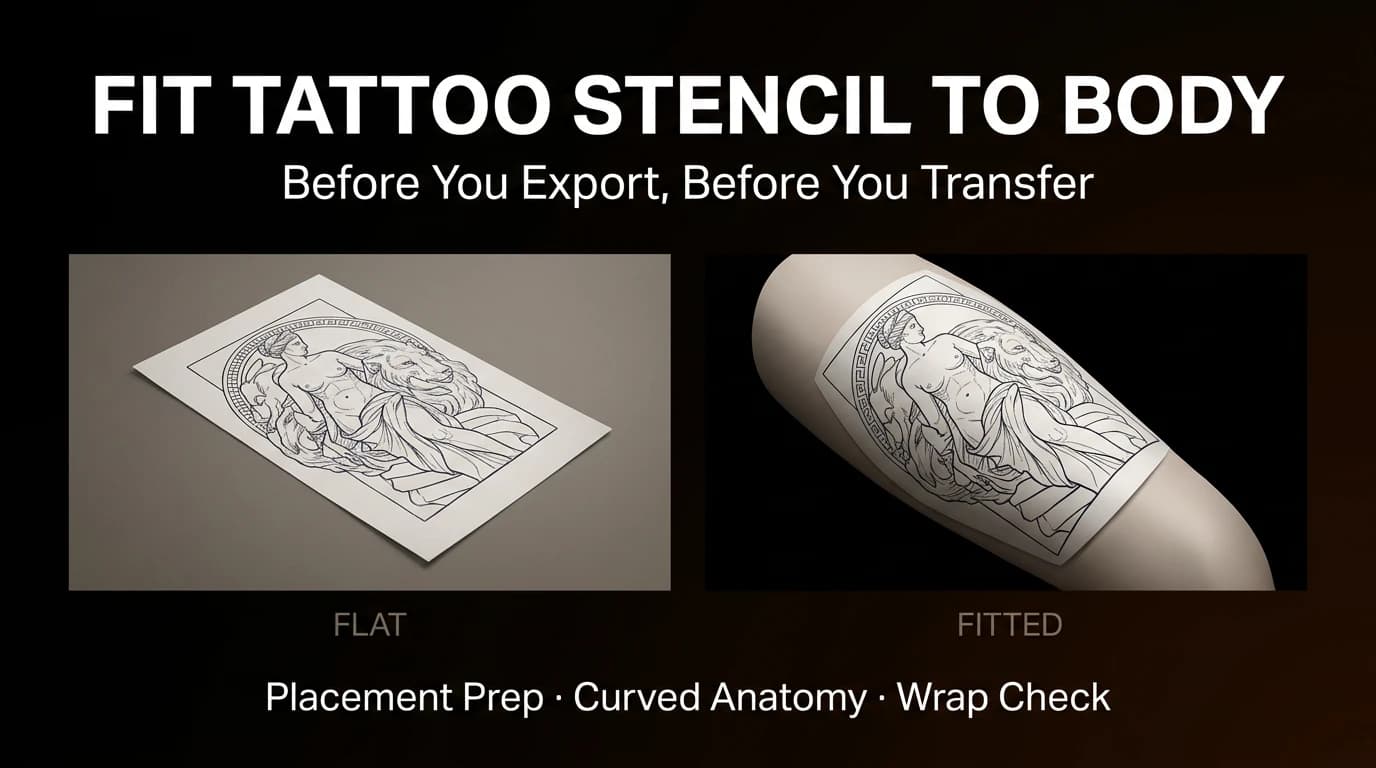
How to Apply a Tattoo Stencil to Skin
Apply a tattoo stencil to skin with a clear professional workflow for placement, transfer solution, clean contact, curved areas, setting, and final checks.
how to apply tattoo stencil · tattoo stencil application
Read guide
How to Make a Tattoo Stencil: Reference to Transfer-Ready
Turn a drawing, photo, or reference into a clean tattoo stencil by simplifying the source, choosing line hierarchy and value guidance, checking size and orientation, and preparing transfer-ready output.
how to make a tattoo stencil · tattoo stencil workflow
Read guideTattoo Stencil Disappears While Tattooing: What to Check
Your stencil was clear when tattooing started but is disappearing as you work. Use timing, location, contact patterns, and remaining landmarks to find what changed.
tattoo stencil disappears while tattooing · tattoo stencil rubbing off during tattoo
Read guideAuthor
Andrea Mezzadra
Founder and product builder at StencilStudio
Andrea builds StencilStudio and tests how the tools fit into real stencil prep, using real references and outputs to document what works, what changes, and where artist judgment still matters.
In the App
Stencil already unreadable before wiping starts?
Diagnose the transfer baseline first so you fix paper, placement, or set quality instead of changing soap strength.